Light meters are absolutely crucial when shooting on film, but are they necessary in the digital age? Modern day cameras have a range of tools that are all aimed at helping you achieve accurate exposure. These tools include histograms, waveforms, zebras, as well as false colour. With all these guides helping you with exposure you may well be asking yourself why do I need a light meter?
A light meter provides crucial information about exposure and tells us exactly what aperture setting we should use given our ISO and shutter speed/angle. Light meters help take the insecurity out of exposure. Not only are they extremely accurate but they also allow you to keep the lighting consistent over multiple shoot days even if you are moving around to different locations.
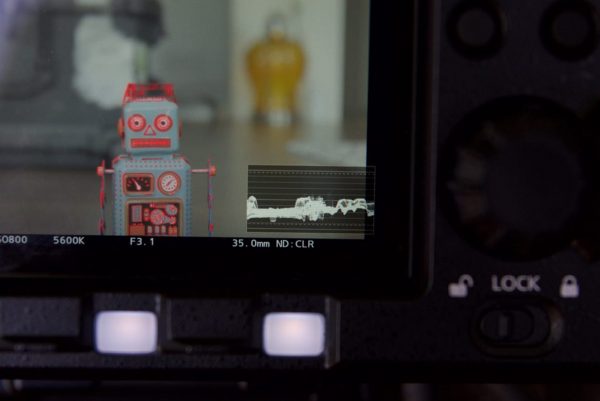
If you are a solo operator you may be thinking that you really have no need for using a light meter given the in-camera exposure tools that are available to you. I would agree to a certain extent, but what happens if you start working on larger productions with multiple people and gaffers? There is certain language that is used on set between a gaffer and a DP, and some of this revolves around the use of a light meter.
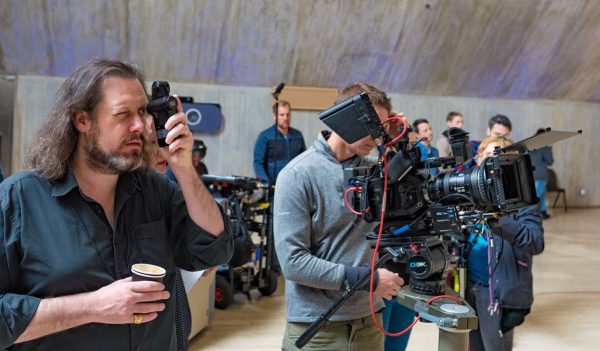
Understanding and knowing how to read and use a light meter lets you communicate quickly and efficiently on set with your gaffer. For example if you want your key light to be to be at T5.6 @ 800ISO at 25fps, and the fill light to be at T2.8, your gaffer will know exactly what you are talking about and be able to use the appropriate lights for what you require. If you want all your lights to have a key-to-fill ratio of say 4:1 the gaffer knows exactly what you are talking about.
For those of you not familiar with lighting ratios – a “lighting ratio” is a quantitative measure of the difference between two light sources. For example if you want to have a 2:1 lighting ratio the key light must be 2x (1 stop) brighter than the fill. So if 2:1 ratio meant that the key light needed to be twice as bright as the fill side, or one stop. A 4:1 ratio would require 4x as much light, or a 2 stop difference from the key side to the fill side, and a 8:1 ratio would mean 8x as much light, or 3 stops. I think you get the picture.
Lighting ratios
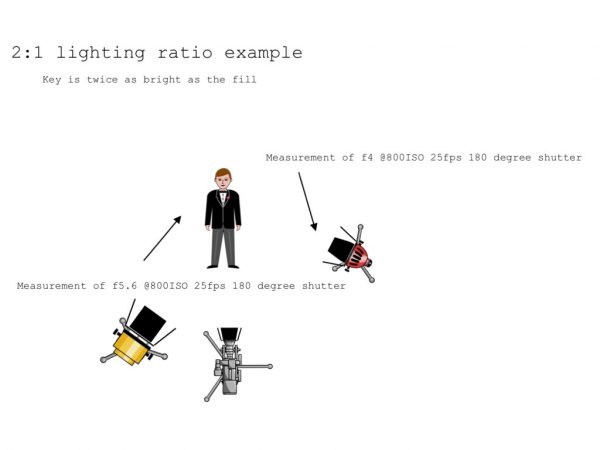
2:1 1 stop brighter
4:1 2 stops brighter
8:1 3 stops brighter
16:1 4 stops brighter
32:1 5 stops brighter
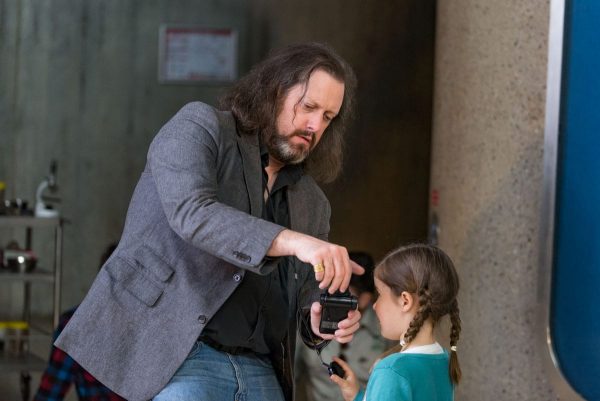
On a bigger shoot using a light meter can be a lot faster than having to run back and forth to the monitor to check what you’re doing. Another key thing to remember is that he light meter is objective and outside of the image chain. So if there’s anything wrong with camera settings, monitor calibration etc the light meter’s reading won’t be affected by it and you’ll be able to easily recognise that there’s an issue.
The newest kid on the block
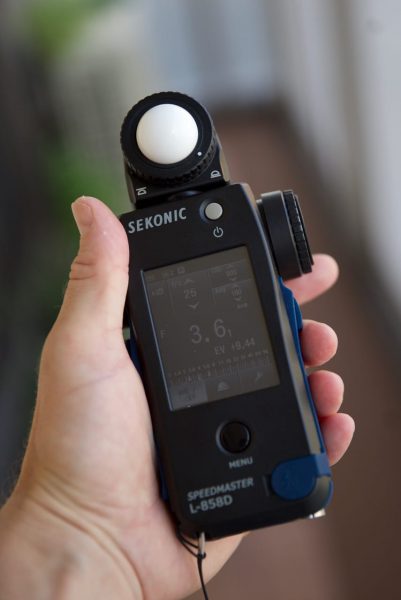
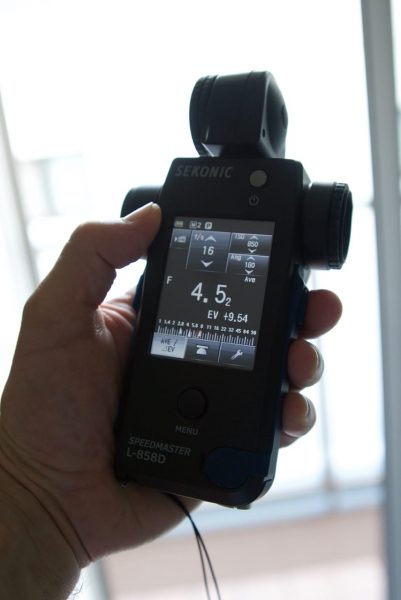
The Sekonic L-858D-U Speedmaster Light Meter is the first meter of its kind capable of being able to achieve an accurate ambient exposure reading in dimly lit scenes – as low as 0.1 lx. Along with this increased light sensitivity there are also extended ISO (up to ISO 13,107,200) and shutter speed ranges.
Sekonic have been making light meters for over 60 years, and have been a popular choice with DPs all over the world. Not only do they make extremely accurate meters, but they are also relatively easy to learn how to use.
Build quality and design
2.7″ Color dot‐matrix touch screen
Allows users to quickly and easily change settings and read important information
Connectivity with MAC/PC DTS Software
Upgrade firmware, apply custom settings, and utilize exposure profiling
All-Weather Design
Dustproof and Splashproof (JIS Standard Water Resistance Class 4, Splashproof Type).
Key features
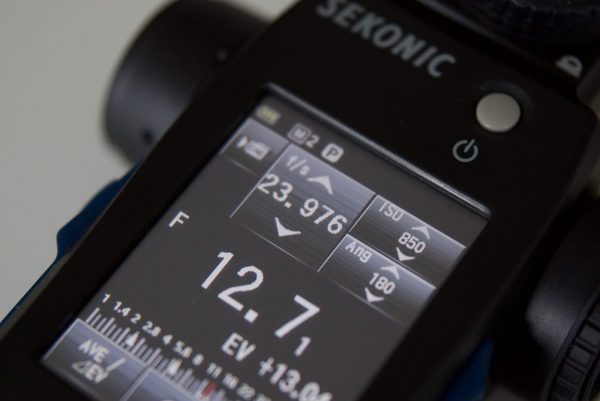
The L-858D-U Speedmaster features a range of settings for frame rates including, 23.976, 29.97 and 47.952. Even if you are shooting high speed material the light meter lets you select frame rates from 1fps up to 1000fps. However, you can customize the frame rates from 1 to 99,999.999f/s in menu if you go to “Edit frame rate”.
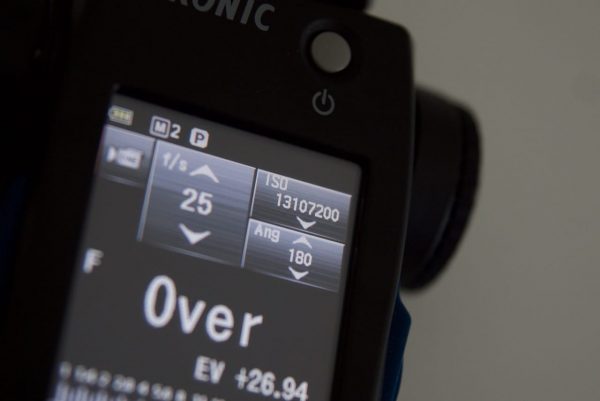
ISO speeds are selectable from three to a whopping ISO 13,107,200. Sekonic have also included ISO speeds such as 850 to help match native ISO settings of certain cinema cameras.
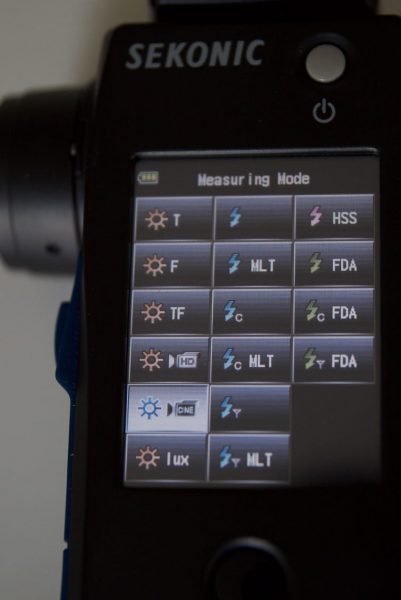
There are also two different metering modes for Cine or DSLR/mirrorless users. This is a handy option to have as certain small cameras only give you shutter speed as a degree and not an angle. As well as the default settings for the shutter angle, you can customize any shutter angle you want in in the menu under “Edit shutter angle”.
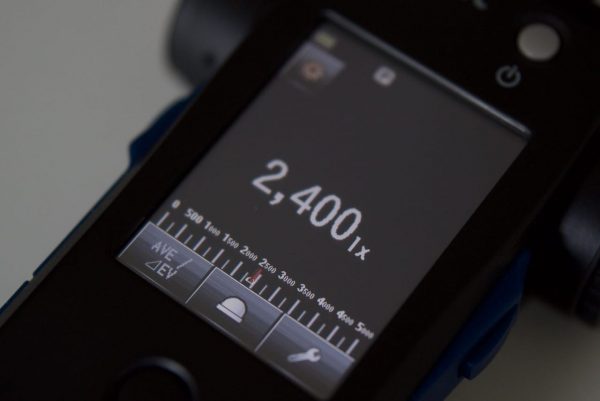
One of the nice features of the L-858D-U Speedmaster is the illuminance mode where you can measure the intensity of the light in your scene. This is very handy for working out how much light you may need to match another source and for making sure you have even lighting across say something like a greenscreen.
If you know how many lx your lights put out it is quite easy to use the illuminance mode to work out exactly which light you will require for a certain shot. For example, if I do a measurement of a scene and the natural light coming in gives me a reading of 1500lx and I want to have a 2:1 lighting ratio, with my key source being twice as bright as the natural light, I know that I will require a light that is capable of putting out 3000lx.
I can also use the illuminance mode to measure the output of my lights and then write down notes. This is extremely handy as you can measure your light and then add some diffusion and measure it again. By doing this you will have exact figures for how many lx your lights put out depending on what type and sort of diffusion you may want to use. Having this information in advance before you start shooting gives you a database of knowledge that not only saves you time on location, but allows you to know exactly what type of light and diffusion you may need.
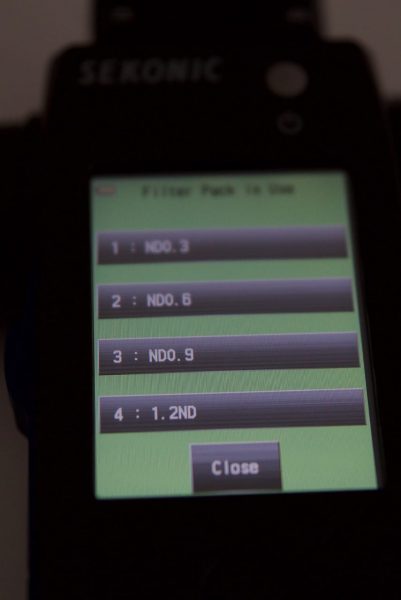
You can also save up to 30 of your favourite filters as presets to allow you to easily find out what sort of exposure compensation is required. This again saves a lot of time as I can just go into the Sekonic’s menu and tell it I’m using a particular filter and it will then tell me exactly what my f-stop needs to be changed to to compensate for adding the filter.
The basics
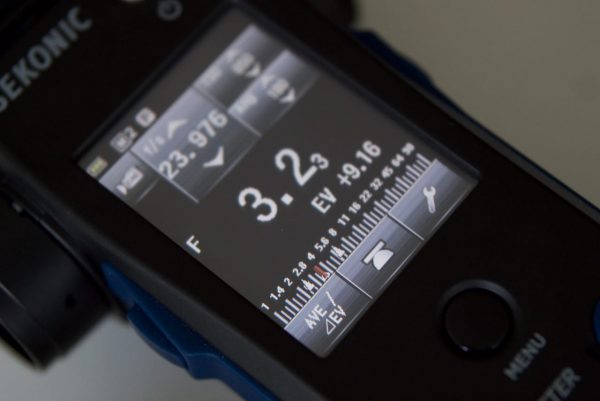
The easiest way to use a light meter is to get an exposure reading for your scene. If you have already entered your ISO, shutter speed and frame rate, all you need to do is turn the meter on and press the measure button. This will instantly tell you what your aperture setting needs to be based on the current lighting conditions.
Comparative readings
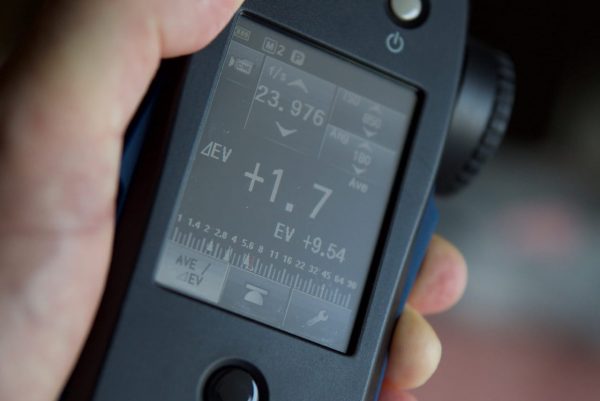
On the L-858D-U Speedmaster it allows me to take readings and compare the f-stop of two different sources. For instance I can take a measurement for my key source and then by just pressing the AVE/⊿EV button on the touch screen display I can then take another reading of say my backlight source and compare the two. If I hold down the measurement button the Sekonic will tell me exactly how many stops difference there are between the two. Once I release my finger of the measurement button it will show me the actual f-stop of that reading. By simply pressing between the AVE/⊿EV I can see the two different f-stops I just measured.
Measuring what’s already there
A light meter is also very handy in evaluating any natural light you may have in your scene that you need to match. For example if I am going to have to shoot an interview in a room where there is a large window with natural light coming in I can measure what my aperture setting would need to be so that both the window and my talent are exposed so i’m not blowing out any highlights.
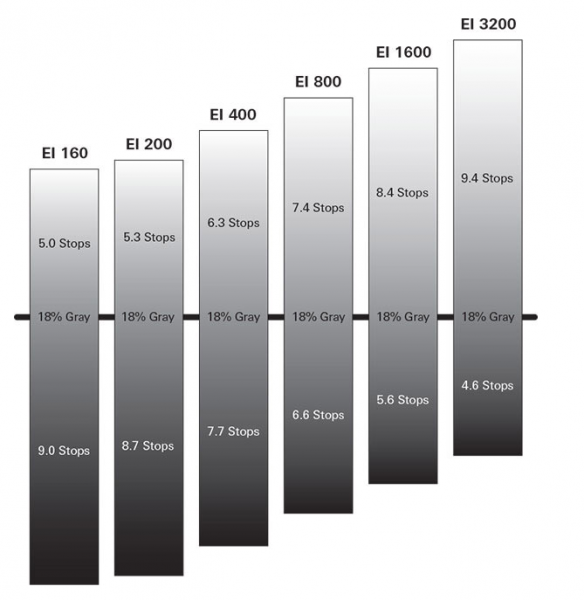
If you own a camera it’s important to know how much over or under exposure it can deal with based on its ISO setting. If for example my camera has three stops of over exposure latitude I can work out that as long as the window isn’t any more than 8x brighter (3 stops) than the light source on my subject that I will still be able to maintain information in the highlights.
To make this a little clearer If my window gave me a reading of f11, the exposure on my talent has to be at least 3 stops brighter. i.e f/4 if I want to keep information in the highlights. If I wanted to bring the exposure down on the window to say a 4:1 ratio (two stops difference), I would have to bring up the output of my key light till it gave me a reading of f/5.6. Using a light meter I can work all this out without having to even turn on my camera or look at a monitor.
The Inverse Square Law
As per my example above if I wanted to have a 4:1 lighting ratio between the window and my subject but my light was already at 100% output I would have to move the light closer to my subject to bring the f stop down on my lens. The Inverse Square Law dictates that each doubling of the distance between the light and the subject results in a decrease in the quantity of light by a factor of four (two stops). So at a distance of two metres from my subject my light has only 25% of the output compared to if it was placed placed 1 meter away from my subject. At three metres it would have 12.5% of the output (a four-stop loss of light), and at four meters it would only have 6.25% (an eight-stop loss of light).
So if for instance my light was at 100% output and was two metres away from my subject, and my f-stop reading was f/2.8, I would have to move the light one meter closer to be able to set the exposure at f/5.6. While all this may seem a a little overwhelming to understand at first, once you get your head around it can save you a lot of time on set.
Incident Light and Reflected Light
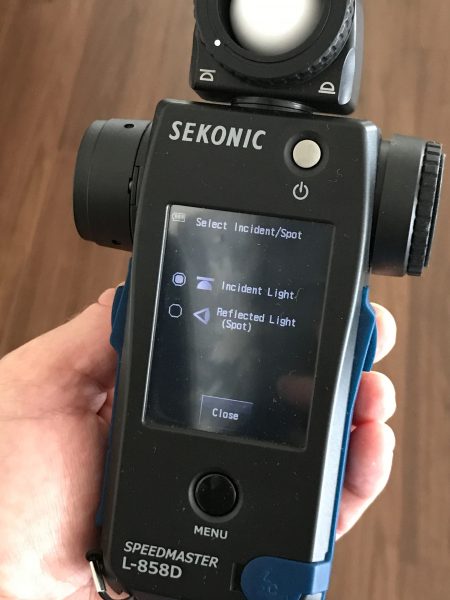
You may well have heard these terms being thrown around, but what do they actually mean?
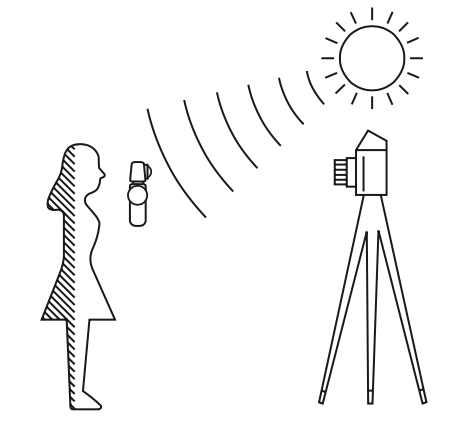
Incident light measures the light that is falling on the subject using the Extended lumisphere or Retracted Lumisphere Function. To take an Incident light reading you point the lumisphere at the camera lens from a location close to the subject, then make a measurement. For a basic incident reading you hold the meter at the subject’s position and point the dome towards the camera and it will take a balanced exposure reading.
Incident metering tells you about the light you are controlling and is designed to read all of the illumination of the subject, including the key light, line light, hair light, eye lights, etc. Besides taking nearly foolproof exposure readings, this enables you to set up and light a scene before the principal talent arrives, saving time. You can also “walk the set” to measure the evenness of the illumination and perfectly light green screens.
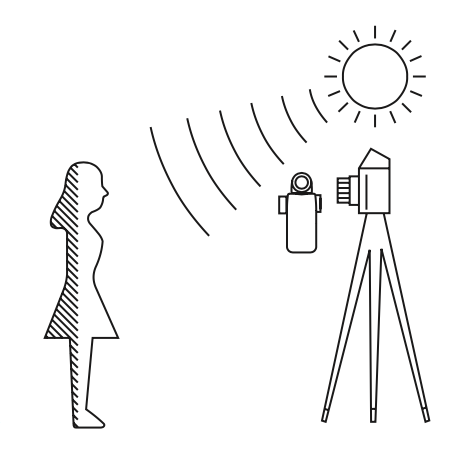
Reflected Light measures the brightness (luminance) of the light reflected from the subject. It is useful to meter distant objects such as landscapes, if you cannot go to the location of the subject, or to meter subjects that generate light (neon signs, etc.), highly re ective surfaces, or translucent subjects (stained glass, etc.). Reflected light metering tells you about value of the scene and subject. Different from incident light metering (which produces readings only for the middle of the exposure range), reflected light spot metering can show you where the edges are – highlight and shadow.
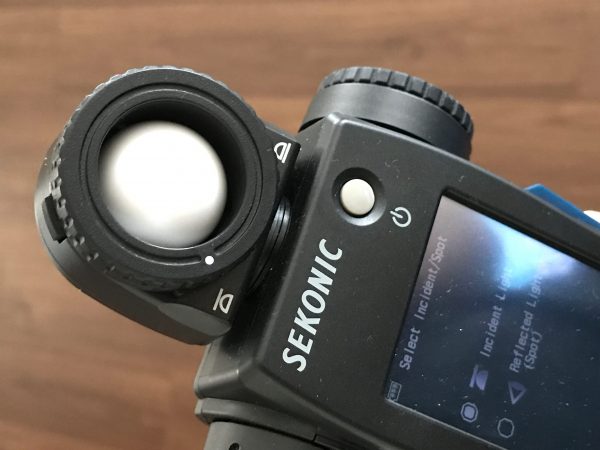
With most light meters you need to physically change the lumisphere depending on whether you want to measure Incident Light or Reflected Light. On the Sekonic L-858D-U Speedmaster you don’t need to do this, as the lumisphere can measure both incident light or reflected light.
Location scouting
Depending on the type of work you do, you may or may not get the chance to scout the location where you are going to film. If you do get the chance then using a light meter on a location scout can provide you with crucial information about what type of lighting you are going to need before the day of the shoot. A light meter lets you take readings so that you and your gaffer will know exactly what lighting package will be required in advance.
Whether or not you choose to use a light meter really comes down to the type of work you are doing. If you are a solo operator doing all your own lighting and are used to exposing your camera via your eye or through the use of exposure assistance tools, then a light meter is probably not for you. If you are a DP who is working with larger crews and gaffers then a light meter is absolutely essential. Not only does it help you communicate your lighting vision with your team, it also gives you the tools to make sure that multiple cameras are all exposed correctly. A light meter speeds up this process and takes a lot of the guesswork out of judging exposure.
Sekonic L-858D-U Speedmaster: price and availability
If you do need a light meter the Sekonic L-858D-U Speedmaster is feature packed, well made and easy to use. It retails for $599US.


