Nathan Mauger is a Beijing-based freelance cameraman who has shot for the likes of National Geographic, Discovery Channel, Animal Planet, BMW, Porsche, Mercedes Benz, Rolex, CNN, CNBC, ESPN, CBS, Bloomberg, Louis Vuitton and Nike.
In January 2010 I bought a Canon 7D kit solely for the purpose of shooting video. I’ve always loved doing time lapses with cameras like the Panasonic Varicam and Sony PDW-700, and was anxious to try DSLR time lapses with longer exposures and higher resolution.
“Too Fast, Too Much” from Nathan Mauger on Vimeo.
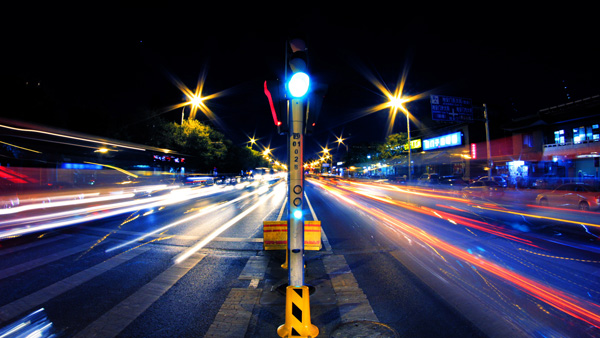
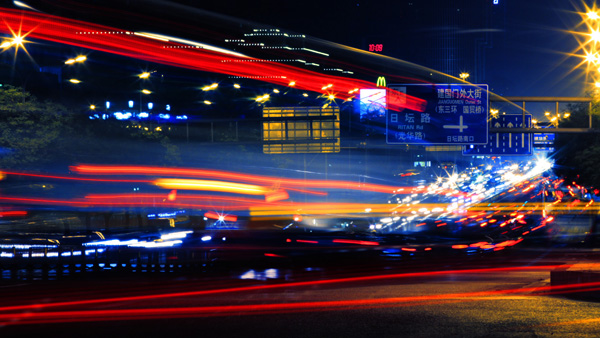
Here in Beijing we have no sky, only heavy pollution, so there are few opportunities for time lapses of clouds, sunrises or sunsets. (The pollution is so bad that most attempts at a sunset time lapse would turn out looking like a simple fade-to-black.) The traffic is horrible, but great for time lapses.
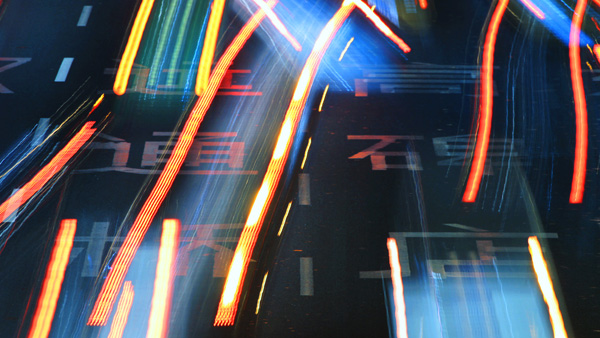
So in July I started doing traffic time lapses at night for fun. I didn’t know what the project would look like when finished, but I knew it had to be fast, loud and violent. After a week of shooting I had to stop for over a month because of pollution. I finished in late September; a total of fifteen nights shooting.
I have a pretty big video-DSLR kit, but for this project the equipment was very simple: a Canon 7D, Sachtler FSB-8 tripod and a Canon intervalometer. As for lenses, 95% of the video was done with a Canon 70-200mm f/2.8L USM IS II, Tokina 10-17mm fisheye, and a Canon 2x extender. A couple of shots were done with the Canon 50mm f/1.2L. Fast lenses were NOT needed; apertures were usually between f16 and f22. And I always leave the image stabilizer off.
Another important piece of equipment was an iPod. When alone and filming on the street with a tripod-mounted DSLR I’ve found there’s always at least one stupid motherf*****r who comes up and puts his eye up to the viewfinder and jiggle the camera and ruining the time lapse. Normally you need to make a physical intervention. But with earphones on, for some reason these guys magically stay away. Don’t ask me why.
Next up I had to determine which shutter speeds to use. A few of the early time lapses were at four seconds, then I settled on 3.2 seconds with a four-second interval after the first couple days. On Beijing’s Sanlitun intersection time lapses it would have been better to use a four-second shutter with a longer interval (the traffic there moves damn slowly). I sped those shots up in Final Cut Pro, but longer exposures would have been better.
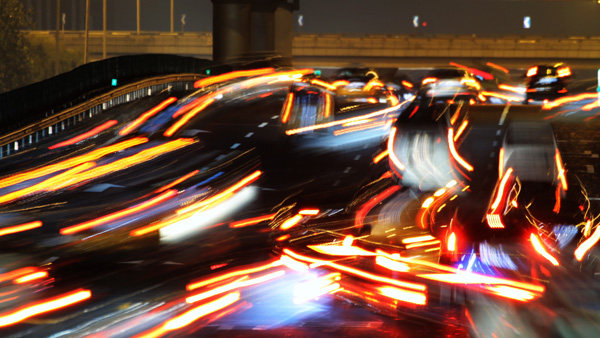
Exposure for traffic time lapses is important and I wish I had good advice here, but the truth is with each clip the color grading is so extreme that even shots I completely screwed up exposure-wise turned out basically ok. One key point however is to expose off of the taillights. Overexpose and they blow out towards the center and the tracers become white, yellow and red; just right exposure they’ll retain the redness without blowing out. When time lapsing cars come head-on at an angle in a medium shot you have to compromise between having the headlights massively blow out or having everything else be way too underexposed. Unwisely, I usually went the way too underexposed route and it shows, but now I know better.
In post I had a pretty good archiving system. First I would separate all the photo sequences into folders, then use Quicktime Pro to output a ProRes HQ version. (There are tutorials everywhere on the net on how to do this, so no need to rehash it here.) This makes a monstrous 5148×3456 clip. It’s so big it can’t really be played on a normal computer. From this, I created 1920×1080 clips exported from Final Cut Pro, but I always kept the original 5k clip too (maybe it will be useful in several years when we all have 4k TV’s). In FCP you can zoom in a little and move the picture vertically to fit it into a 1080p timeline. Keeping the original 5k file also gives you options for the future if you want to reframe a clip. Then after everything was processed and downconverted I would throw out the original photos. Knowing next to nothing about photography, I just shot JPEG’s, not RAW. (What does “knowing next to nothing” mean? It means I had to look up “ISO” on Wikipedia!)
Early on, I tried putting the big 5K clips into a 1080P timeline and adding some color filters and then rendering. Bad idea — this crashes FCP 7.0 every time. I found the best way is to import the 5k clip; put it into a 1080P timeline, rescale to 37.5%, and reframe. I then export with current settings, without sound but with compression markers, and with the recompress all frames box clicked.
Everything at night in Beijing except bus stops is lit with unflattering sodium vapor lights, so all or almost all clips have the FCP Color Corrector 3-Way on them to combat this. Color grading was radical. Most of the clips have the Magic Bullet Look Suite Max Contrast filter on, with post-contrast and saturation both at about +30 to +60 and pre-gamma at around +15. If you’re familiar with Looks Suite then you know how screwed up this is!
Titles were done in Apple Motion with a simple image mask and a basic motion zoom in/out.
Compressing this video for the web didn’t turn out too well. With the picture changing so fast, the compressions I did turned out very blocky, and with reduced dynamic range and detail.

