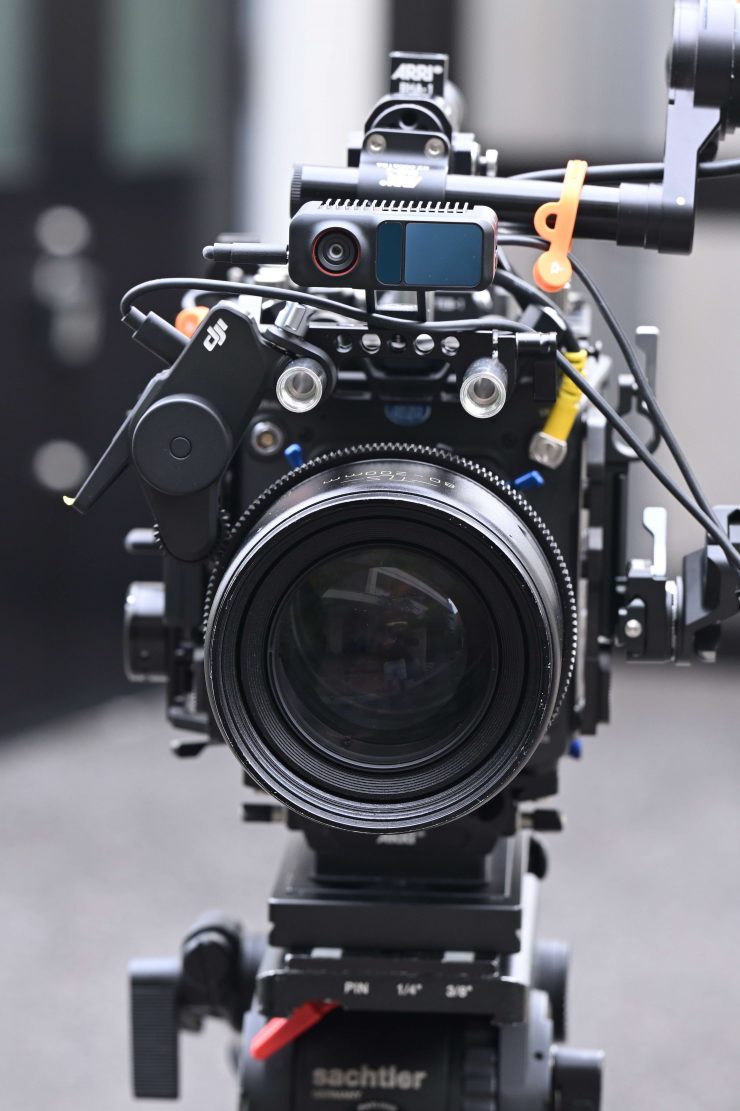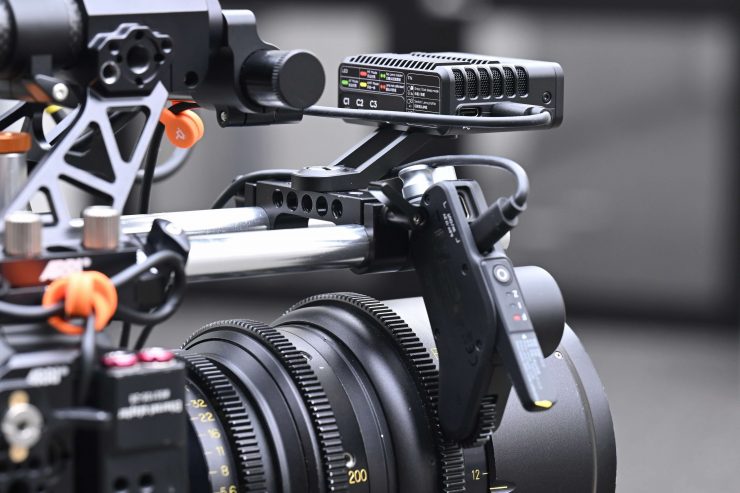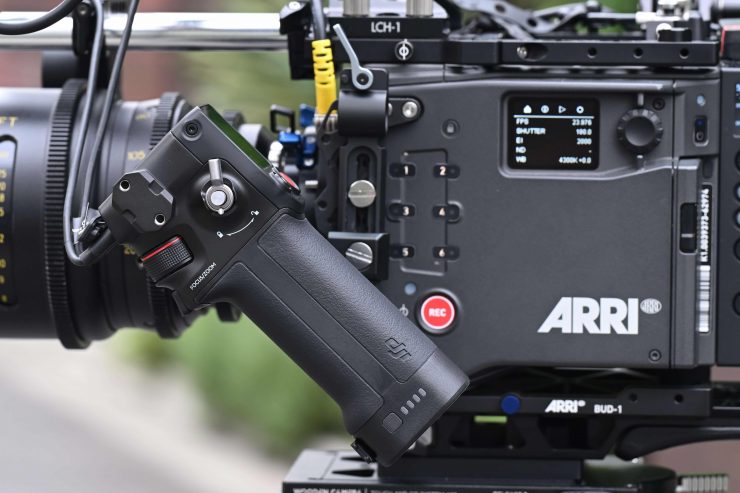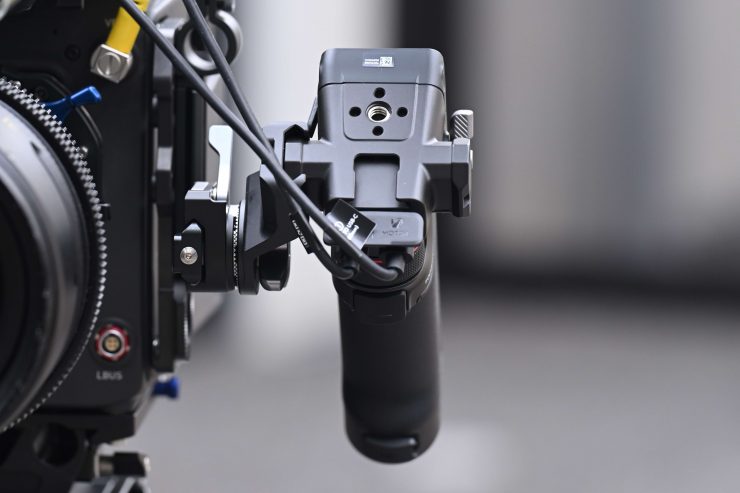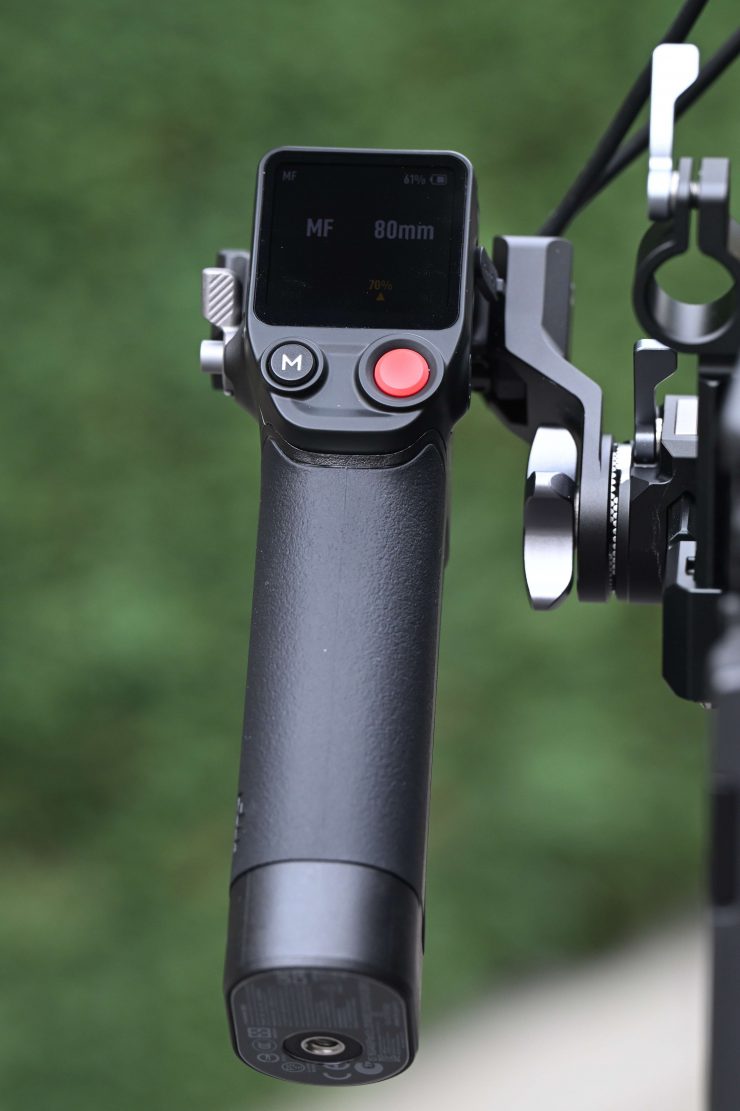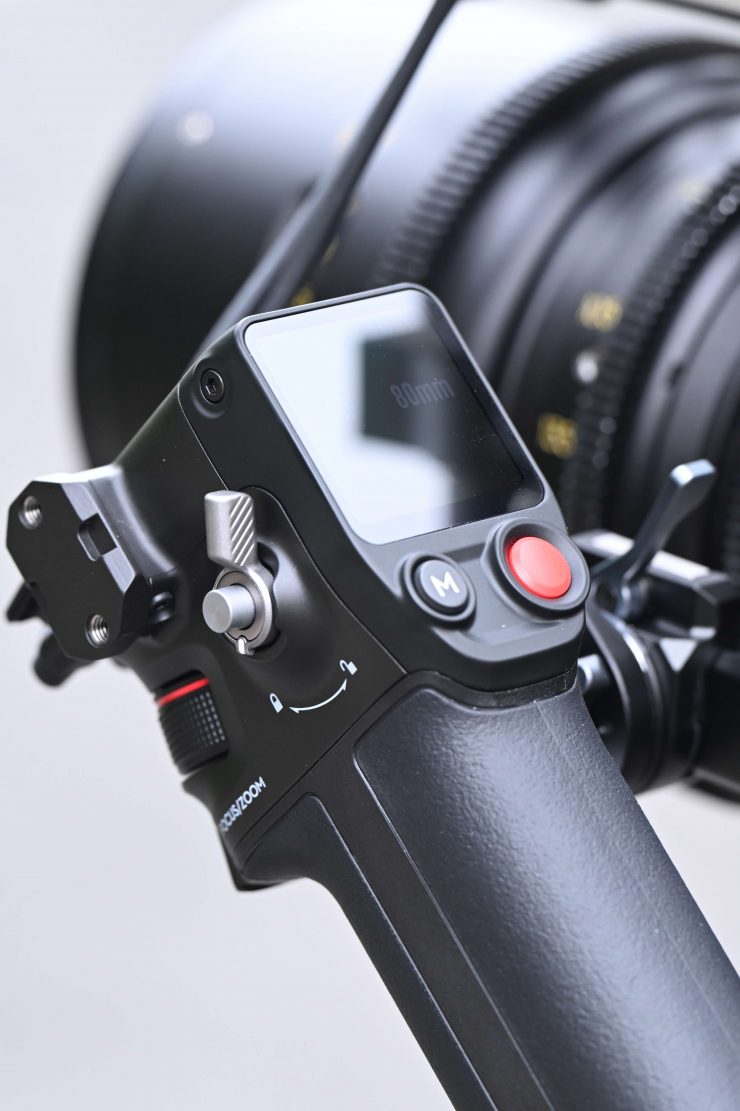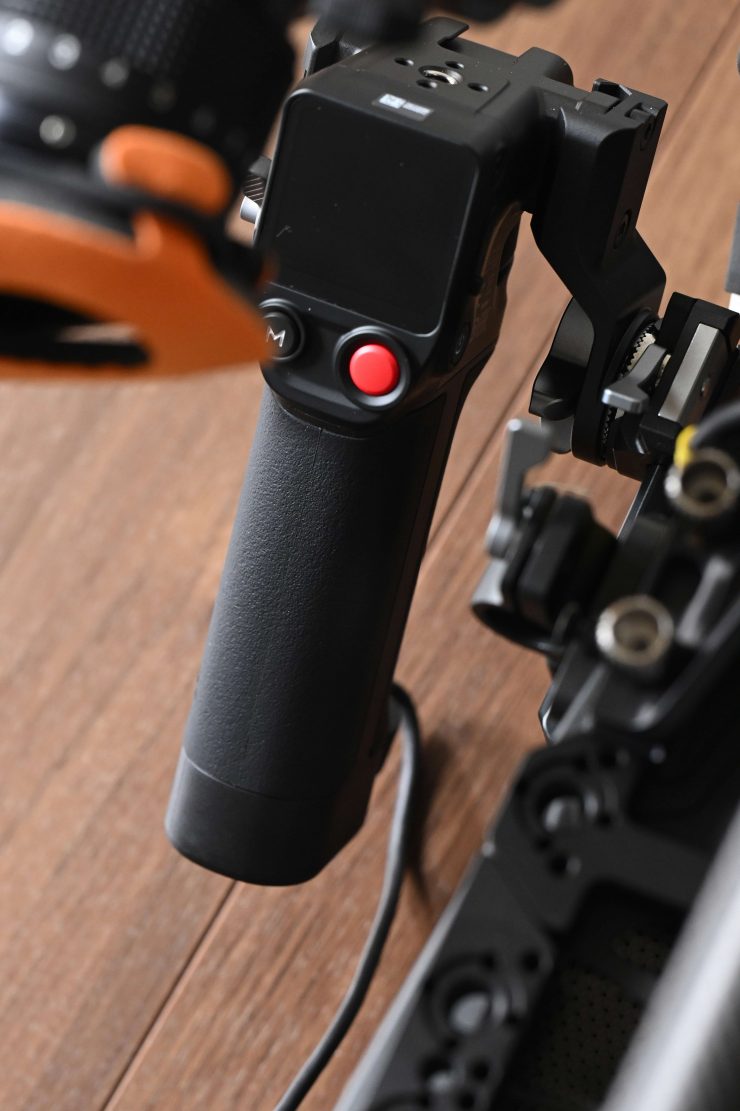
The DJI Focus Pro ecosystem was announced back in April, but after initially shipping it was listed as out of stock in a lot of places around the world for quite a long time. With it finally back in stock, I decided to purchase a DJI Focus Pro Creator Combo to take a closer look.
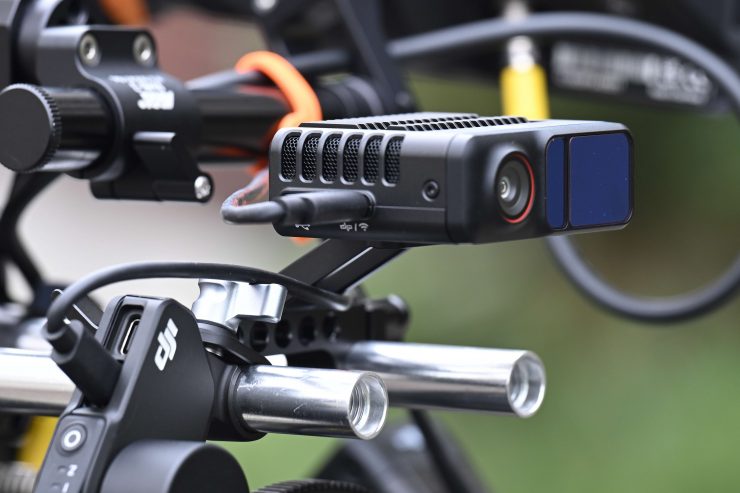
According to DJI, the Focus Pro Creator Combo equips you with all the tools you need to achieve precise FIZ control in single-shooter configurations. The combo includes a LiDAR unit, a Focus Pro Motor, and a Focus Pro Grip for more accurate, distant, and intelligent autofocus.
Now, I am going to be looking at this solely from the view of adding pseudo-AF to cinema lenses. In all honesty, if I want to use AF I still think it makes much more sense to choose a camera and lens combination that allows for that instead of having to Frankrig up a solution to achieve a result that isn’t going to be as good.
What do you get?
The DJI Focus Pro Creator Combo comes with the following items:
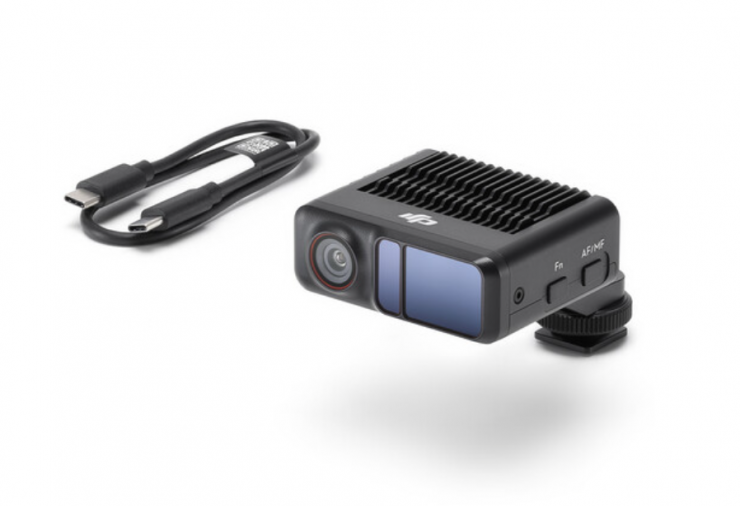
DJI Focus Pro LiDAR
- Multicamera USB-C Control Cable (11.8″)
- Limited 1-Year Manufacturer Warranty
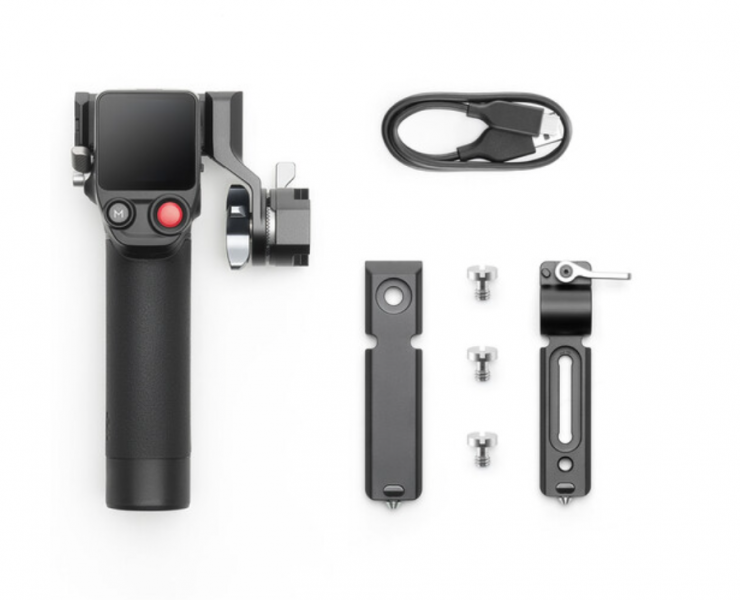
DJI Focus Pro Grip
- BG21 Battery Grip
- NATO Mount Adapter
- Side Rail Rod Adapter
- Horizontal Side Rail Adapter
- USB-C Charging Cable (15.7″)
- M4 Screw
- 1/4″-20 Screw
- Limited 1-Year Manufacturer Warranty
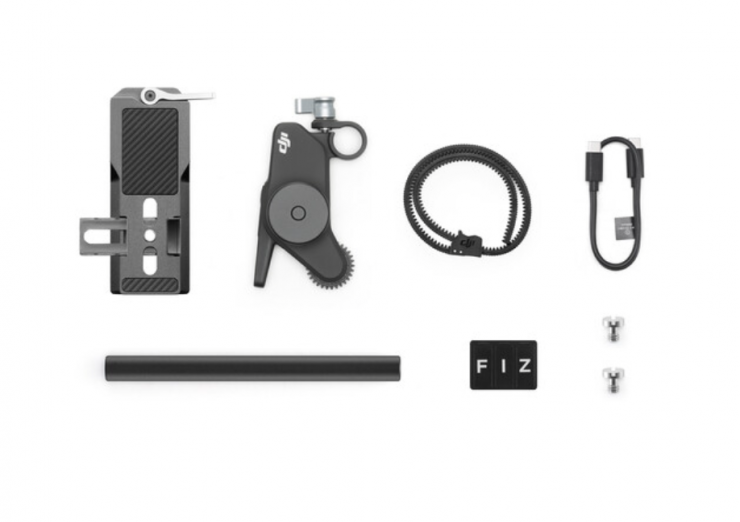
DJI Focus Pro Motor
- Rod Mount Kit
- Focus Gear Strip
- Multicamera USB-C Control Cable (11.8″)
- 15mm Rod
- 1/4″-20 Screw
- FIZ Sticker
- Limited 1-Year Manufacturer Warranty
Carrying Case
Build Quality
The overall build quality is decent. The Grip feels well-made and so does the Motor and LiDar unit.
Size & Weight
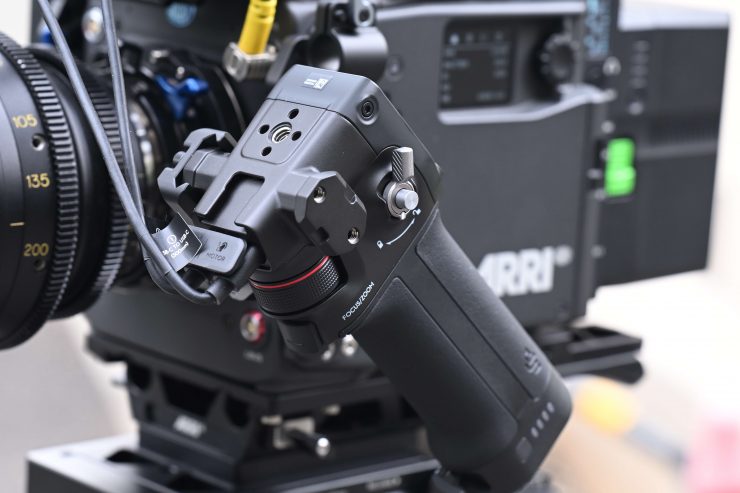
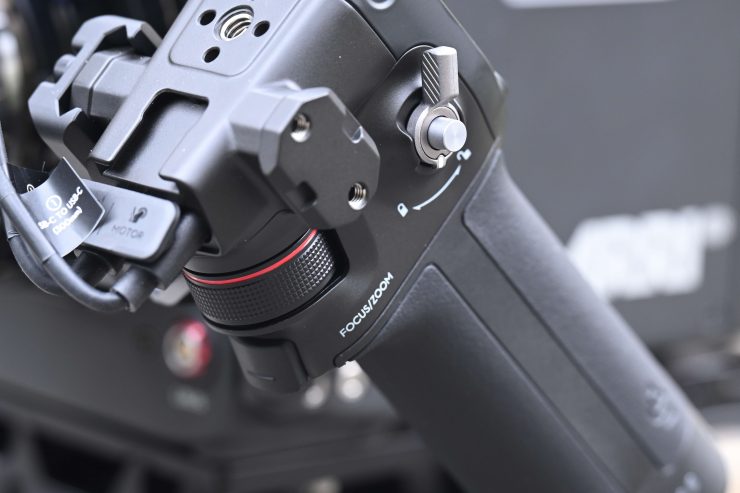
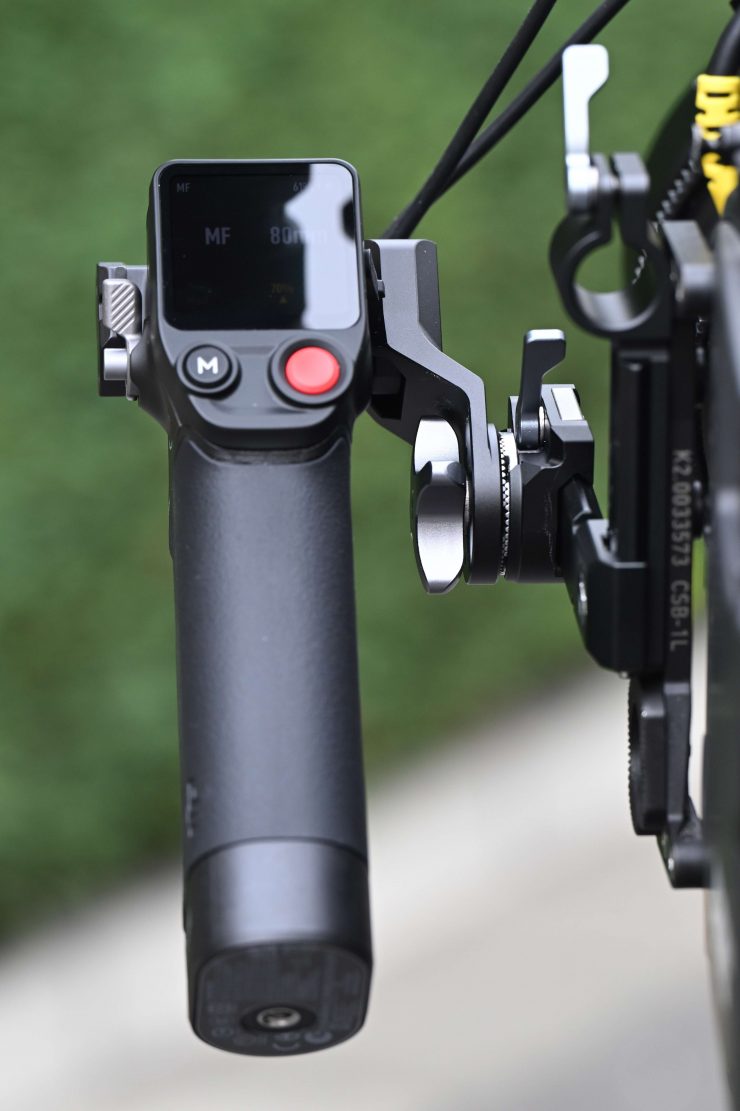
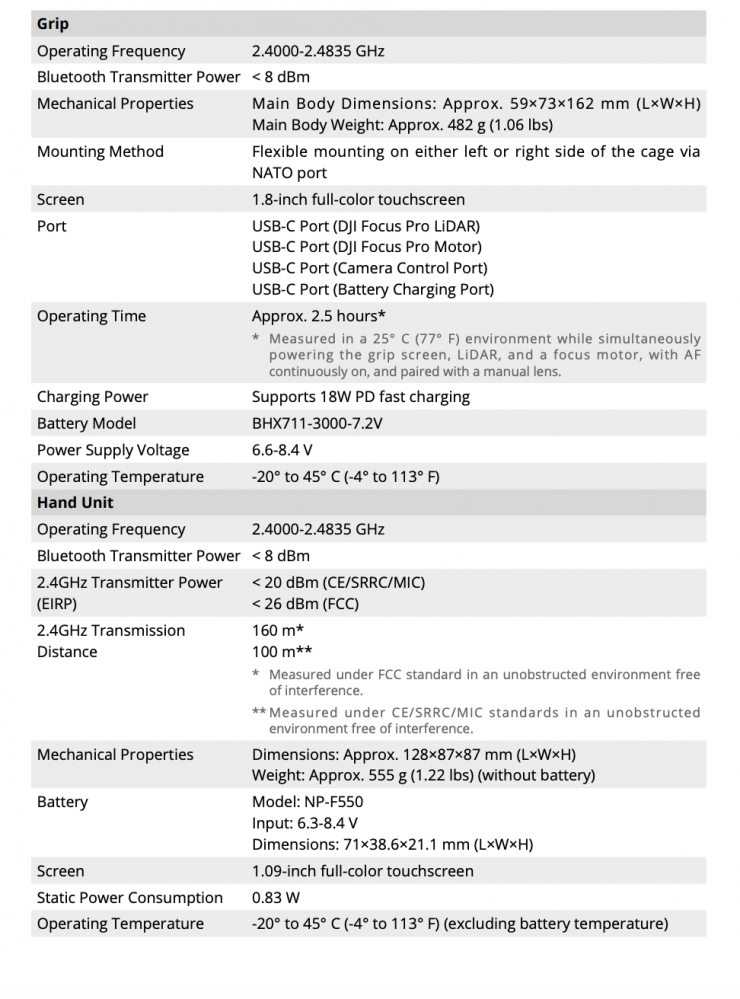
One thing you shouldn’t overlook is that the Grip alone weighs in at 555g / 1.22 lbs. This is a lot of weight, especially if you are using it with a mirrorless hybrid or small-sized digital cinema camera.
Not only is it reasonably heavy, but it also has physical dimensions of 128 x 87 x 87mm (L x W x H).
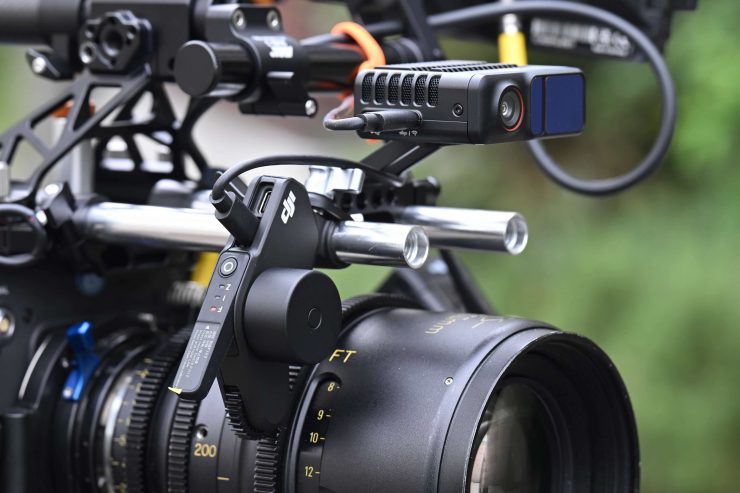
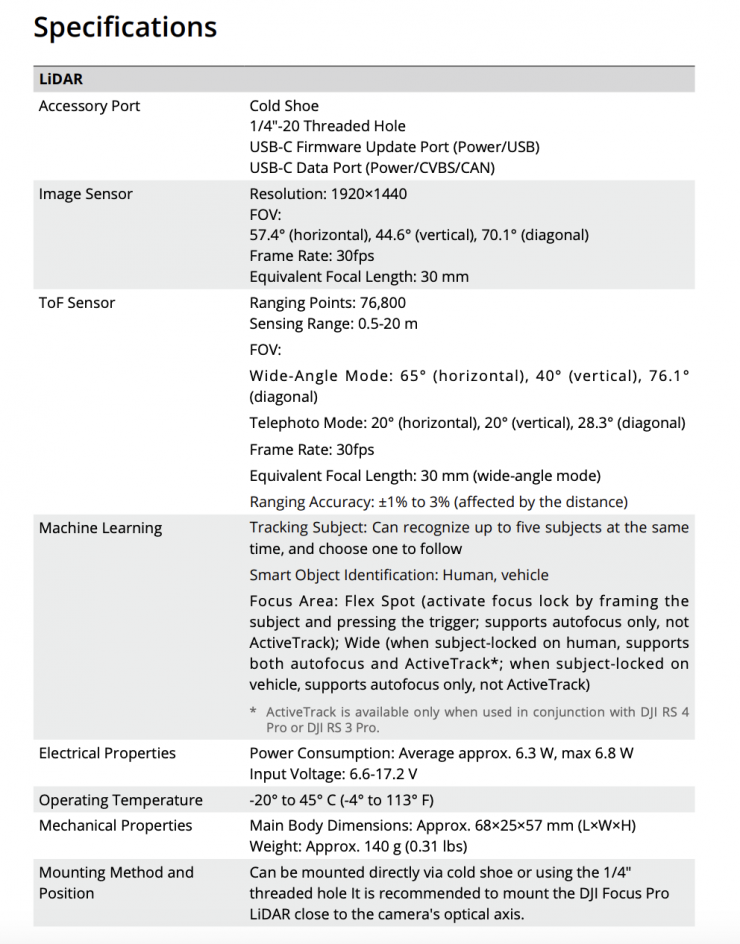
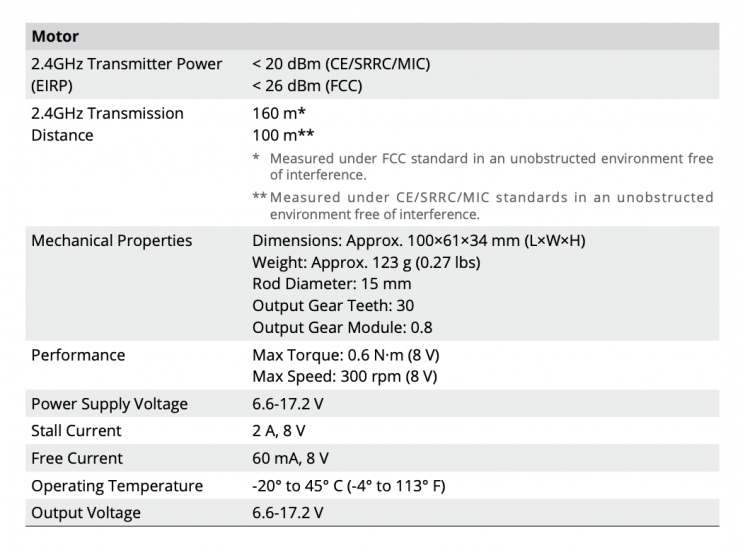
The Motor weighs 123g / 0.27 lbs and the LiDar unit weighs 140g / 0.31 lbs.
Mounting
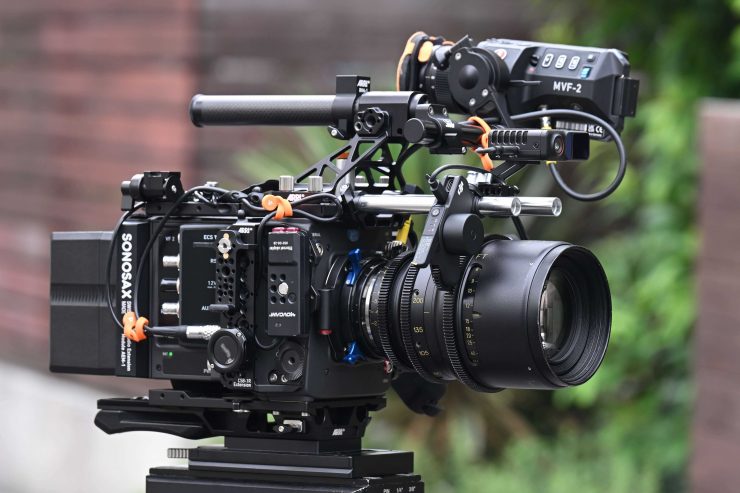
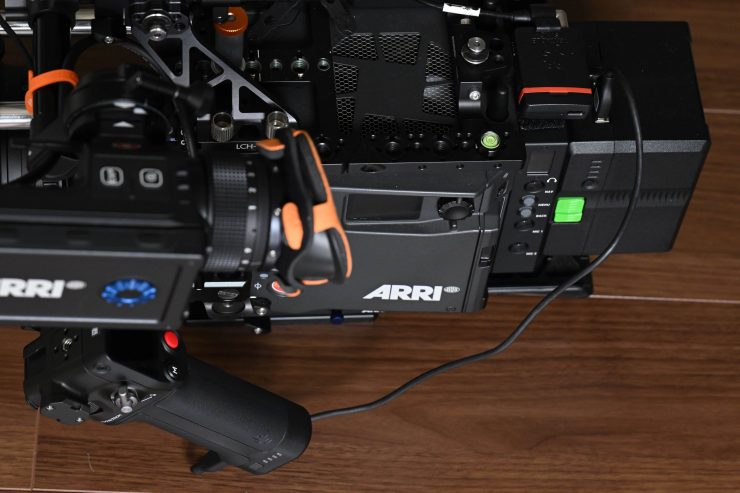
This is something you really need to consider very carefully. Where are you going to put everything so that it not only functions correctly but also allows for easy operation for the way you want to work? This will vary greatly depending on the camera you use and what type of style you like to shoot with.
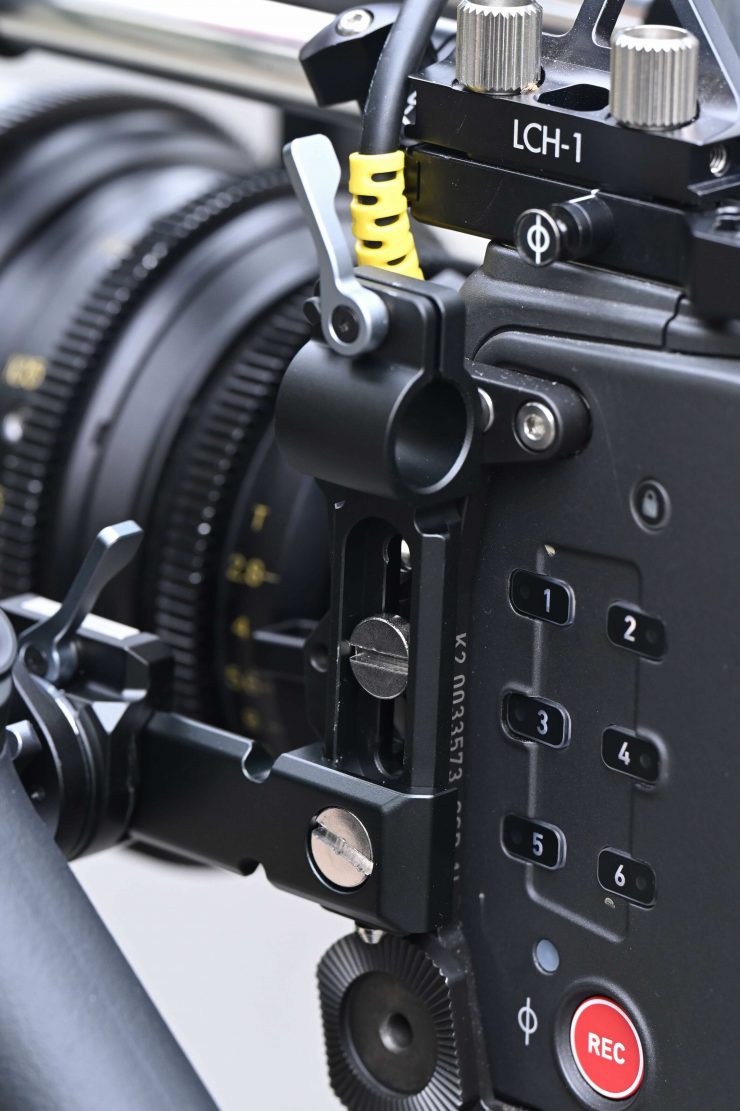
As I just mentioned, the Grip is fairly heavy and it is long, so you have to work out where you want to mount it on your camera. To mount the Grip with the included parts it needs to be attached to a NATO rail. You can mount it on either the right or left-hand side.
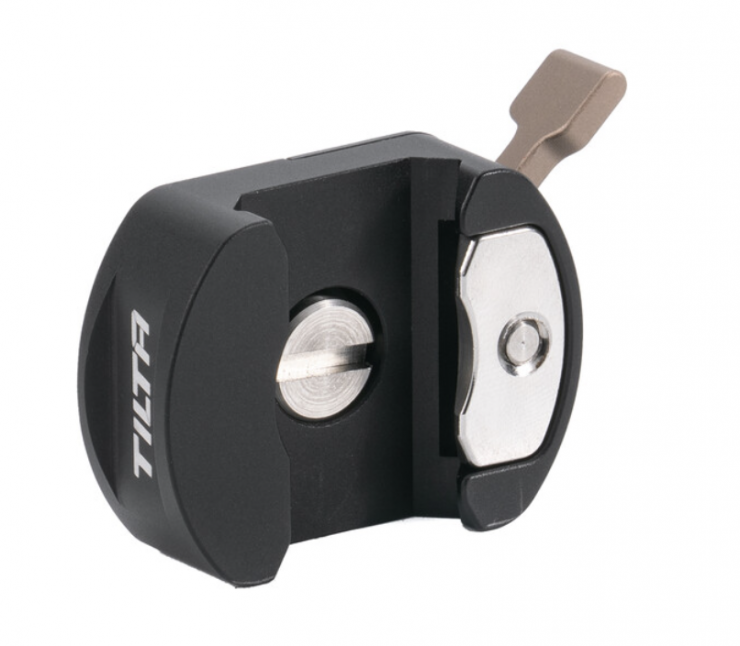
If this mounting solution doesn’t work for you you can simply undo a couple of screws and remove the NATO attachment from the Grip and then attach an alternative option that works for you.
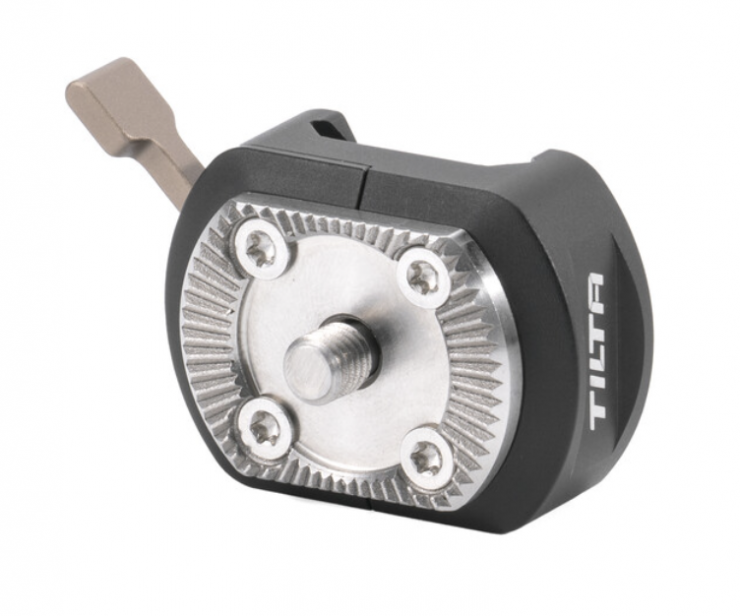
This is what I ultimately did by purchasing a Tilta NATO to Rosette Adapter (TA-NATO-RA-B).
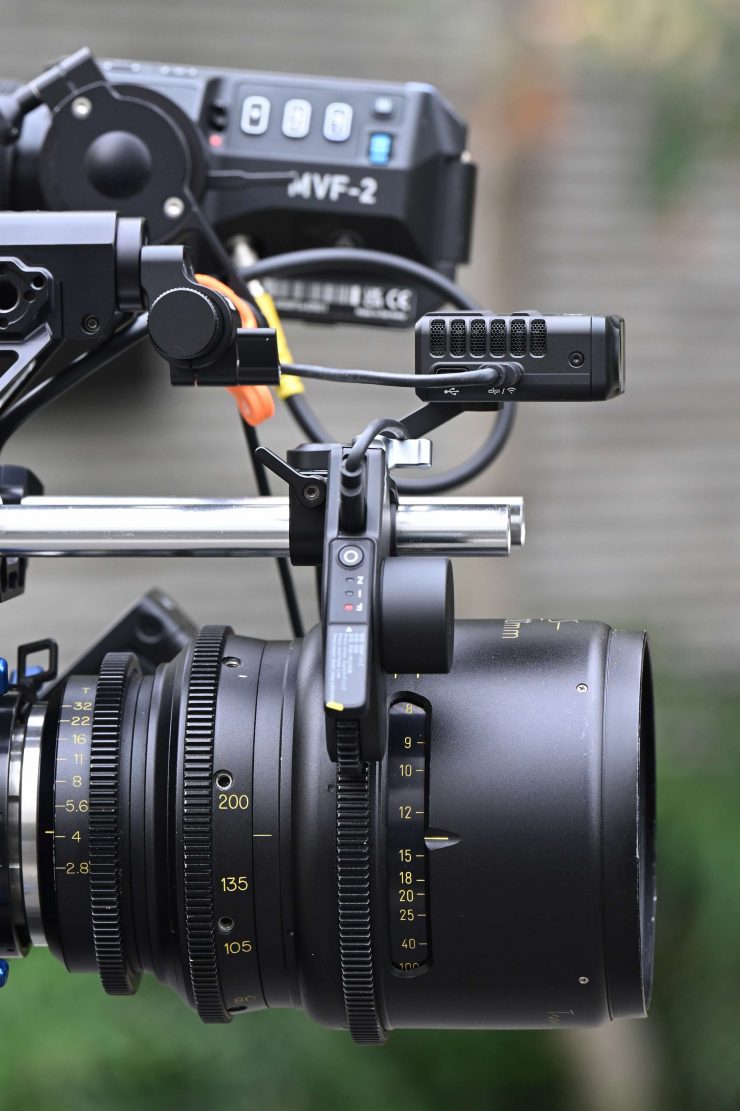
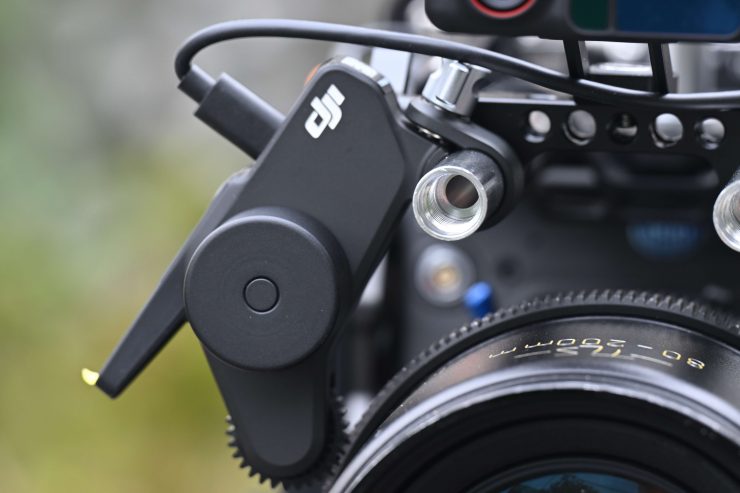
You then need to mount the motor to a 15mm rod. DJI does give you a 15mm rod in the kit, but I personally wouldn’t recommend attaching a single rod as it can easily twist and move the motor (especially during calibration). I personally find it much better to use two rods and have something that holds both securely so there isn’t any flex.
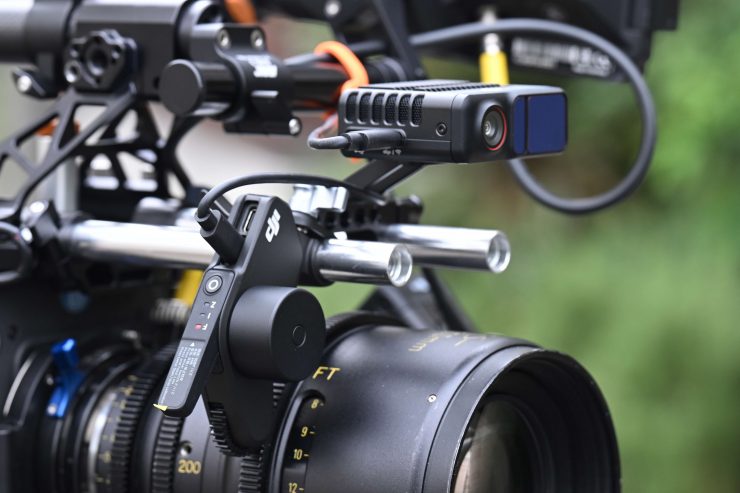
The LiDar unit needs to be mounted in a certain position to work correctly. You also have to tell the system how far it is located from the camera sensor plane.
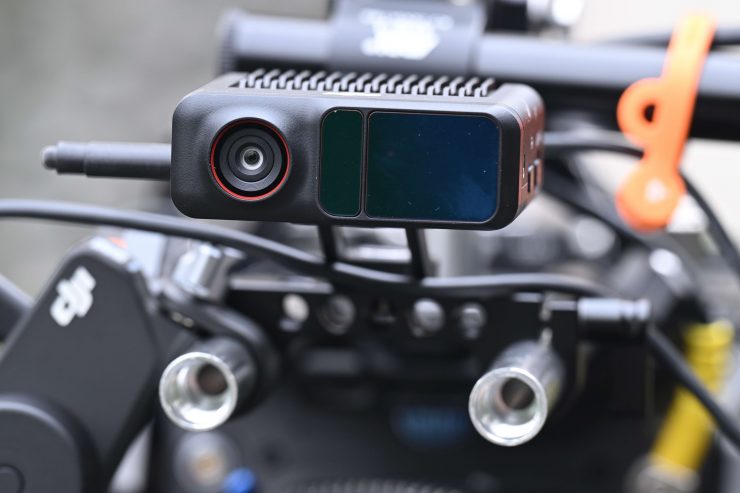
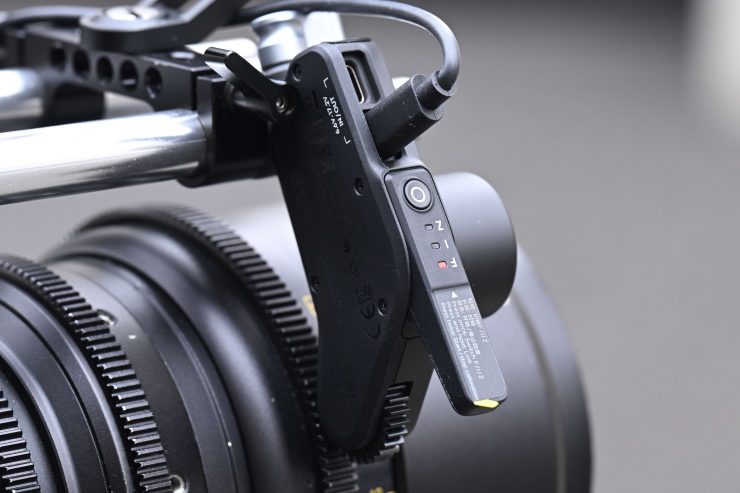
You ideally want to place the LiDar unit as far forward as possible and keep it horizontal and in the center. To do this I just attached it to a bracket on top-mounted 15mm rods.
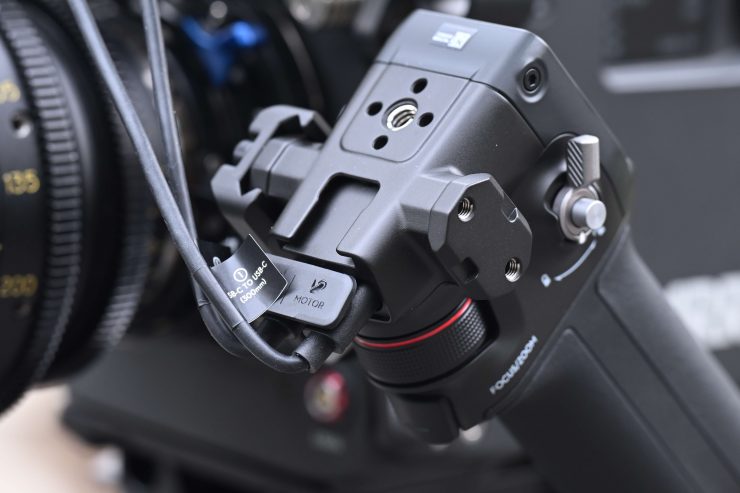
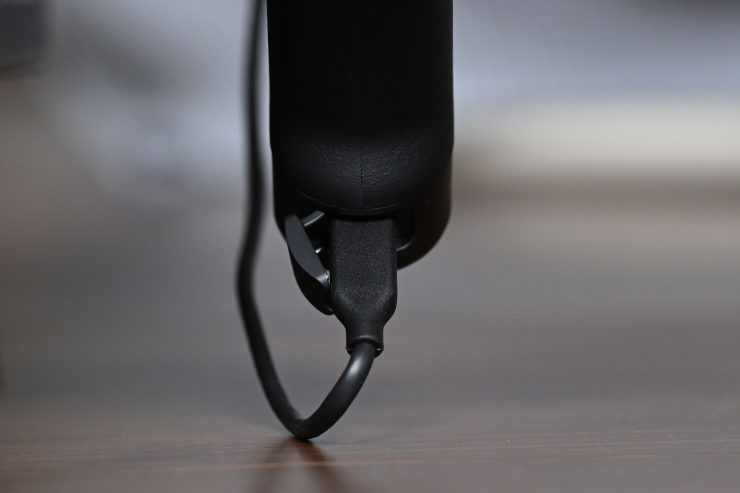
I did find that the provided USB-C cables are a little on the sort side and with certain cameras you may find that the cables are not long enough. It’s always better to include longer cables than shorter ones. You can make longer cables shorter, but you can’t make shorter ones longer! DJI should offer longer cables, even if they were optional extras. Please note that you cannot just use any USB-C cables, you can only use the DJI ones that come in the kit. If use a different cable to power the Grip or LiDar it will result in serious damage to the unit. Now, I have heard people getting it to work with USB-C cables that support data and power, but I tried that and it didn’t power on.
Some people may well argue that they would have preferred to have seen DJI come up with a wireless system so you wouldn’t need to connect up so many cables. Yes, that would add cost, especially if you went with a dedicated frequency and didn’t use Bluetooth or WiFi-based frequency bands, but I think a lot of professionals would be happy to pay that cost. The only problem with that idea is that even if the devices are wireless they still need to be powered.
Set Up
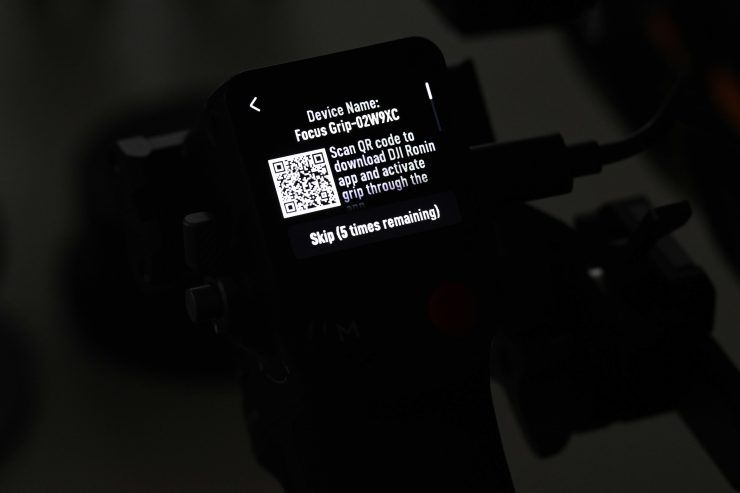
While I appreciate what DJI does, they do tend to have a habit of making devices a little overly complicated to set up and use.
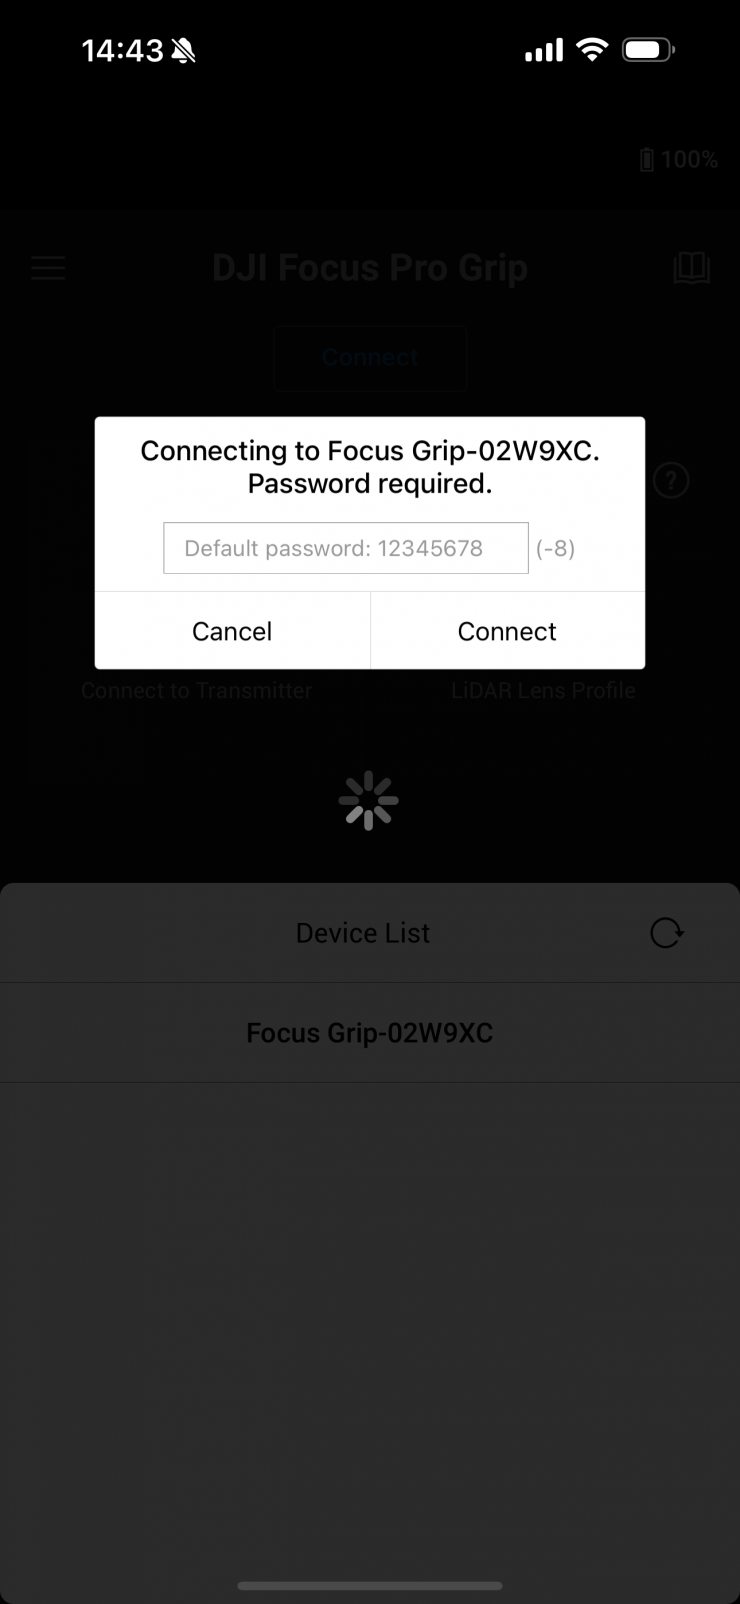
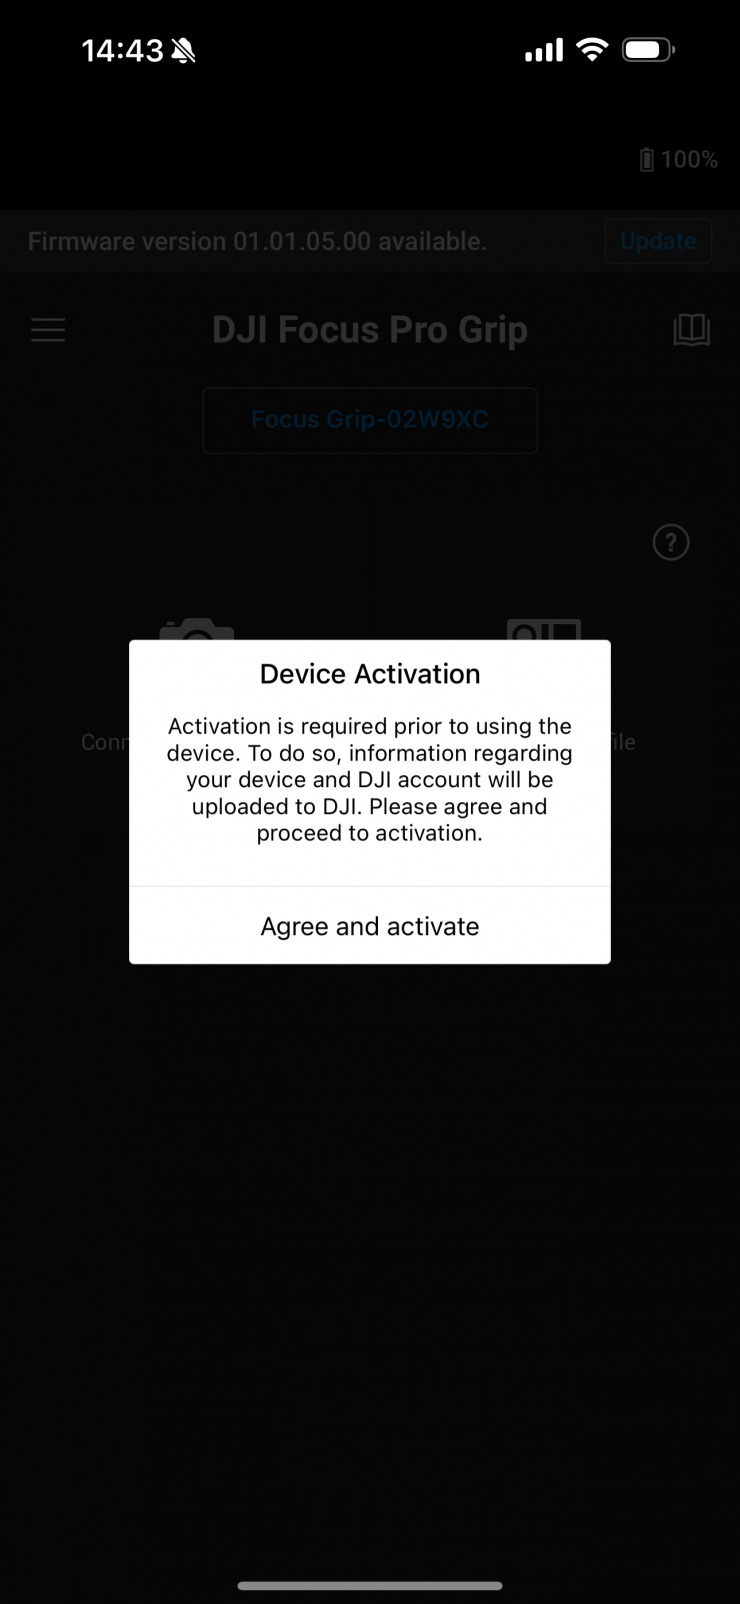
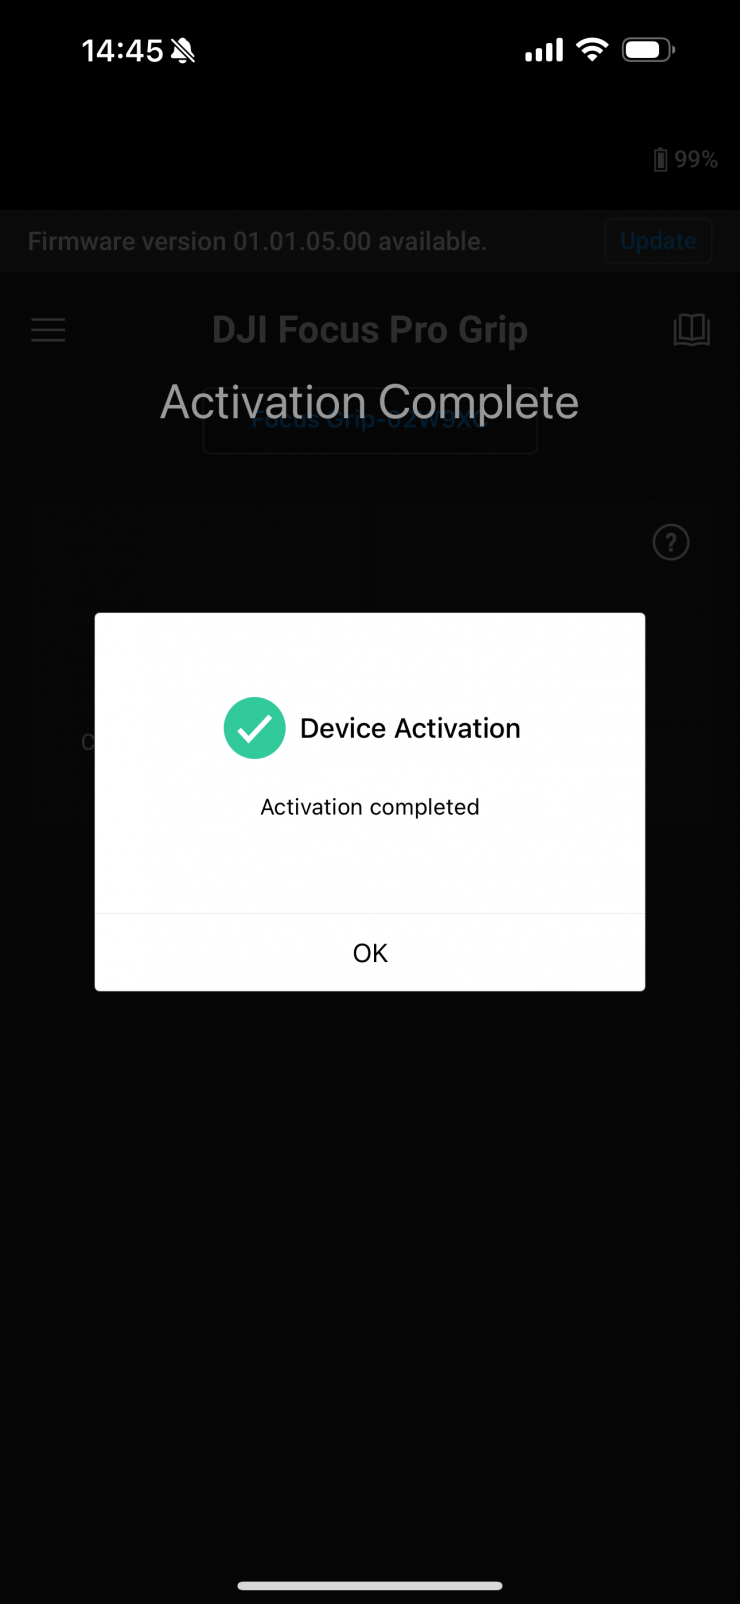
Activating the Grip
To activate the grip you need to do the following three steps:
- Press and hold the power button to power on the grip, and select the language on the touchscreen.
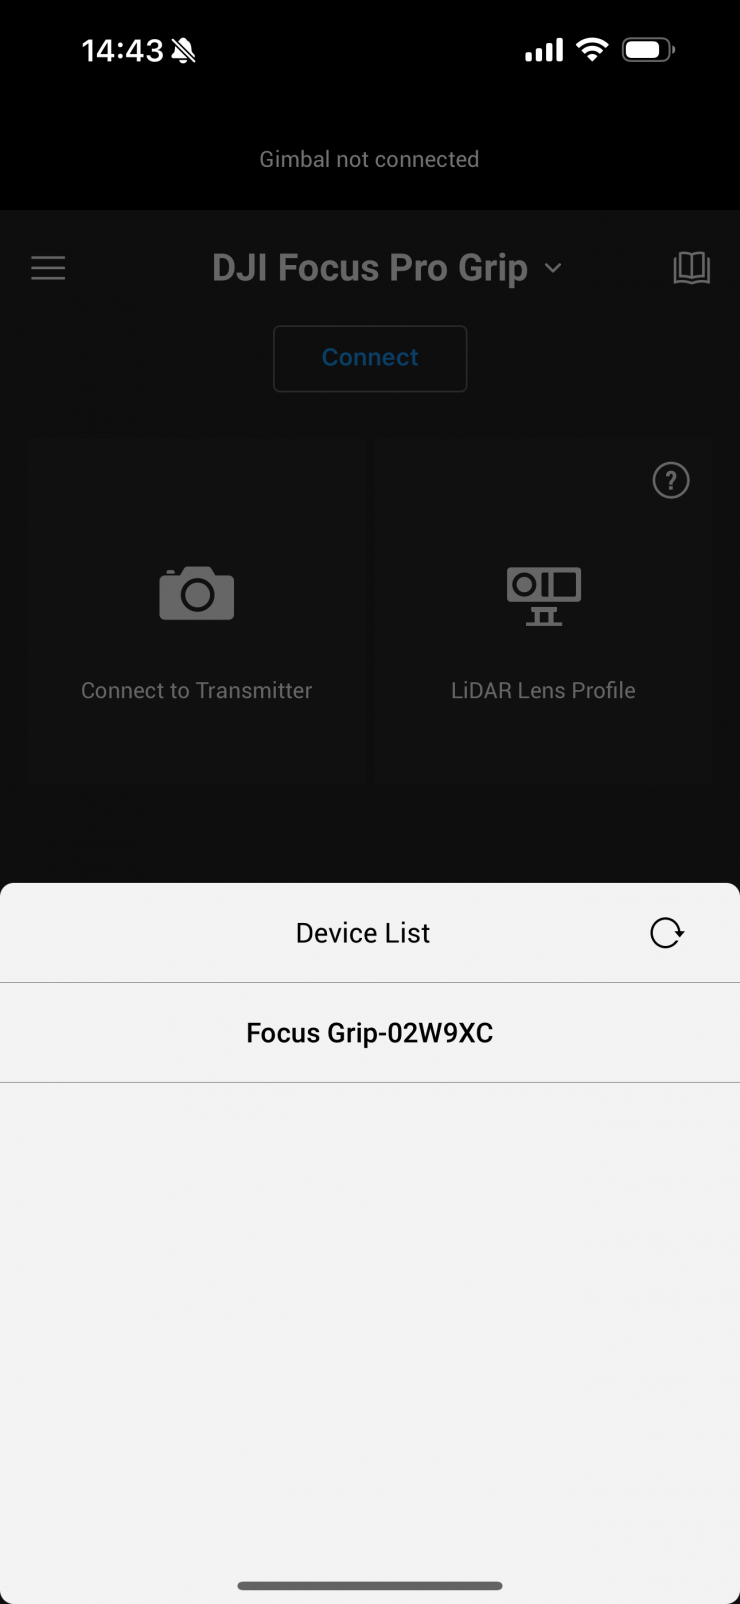
- Enable Bluetooth on the mobile phone. Launch the Ronin app and log in with a DJI account.
- Select Focus Grip, type in the default password 12345678, and activate the grip according to the instructions.
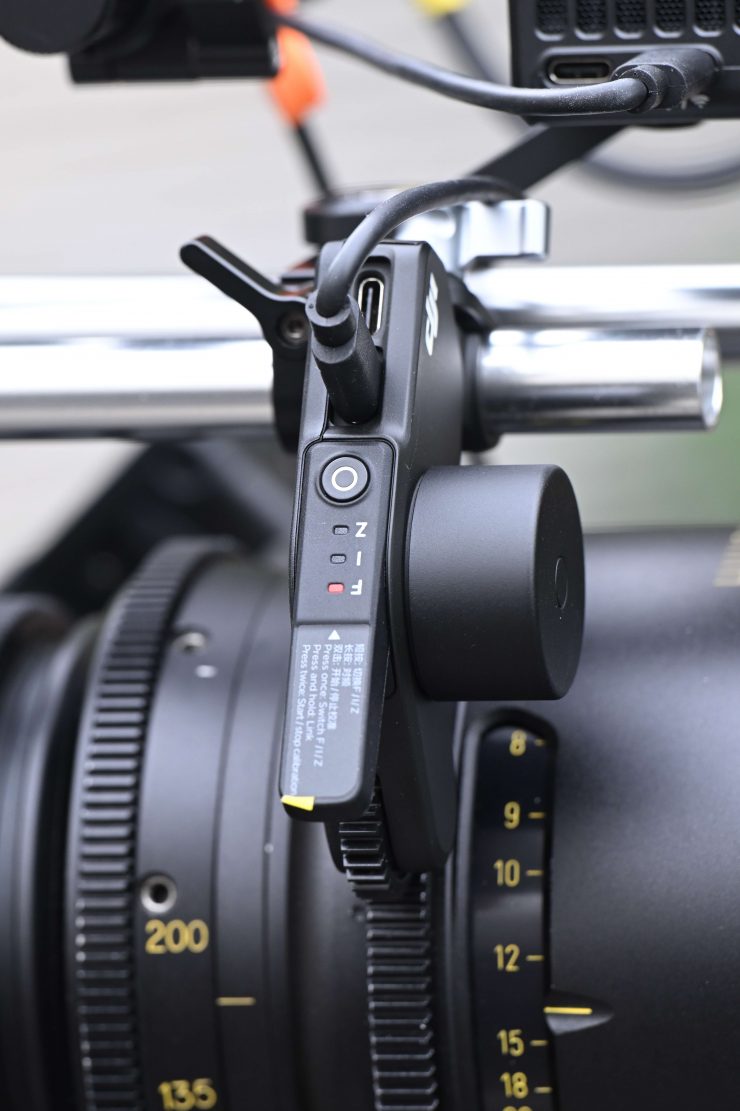
Once you have mounted the grip you then need to attach the focus motor and connect one of the USB-C ports of the motor to the motor port of the grip.
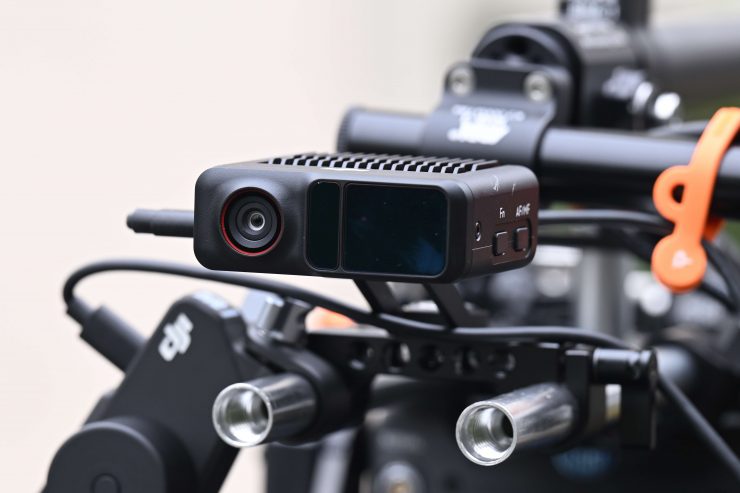
To utilize AF after you have mounted the LiDar unit you use a USB-C cable to connect the data port of the LiDAR and the LiDAR port of the grip. The LiDAR is powered by the grip, it can only be used once the grip is powered on.
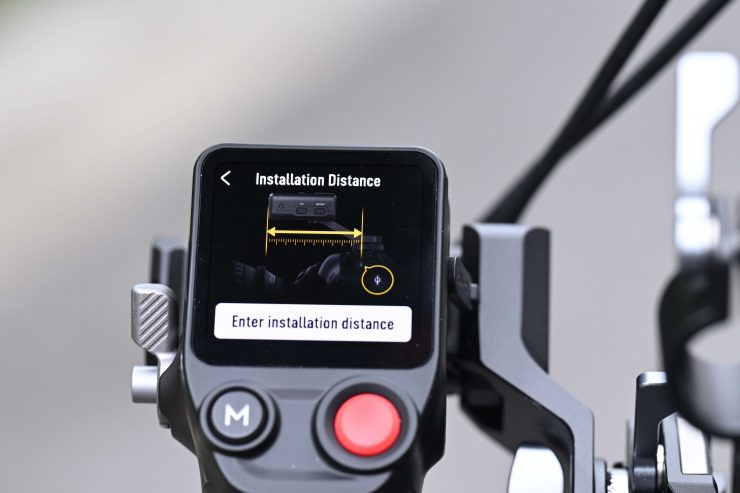
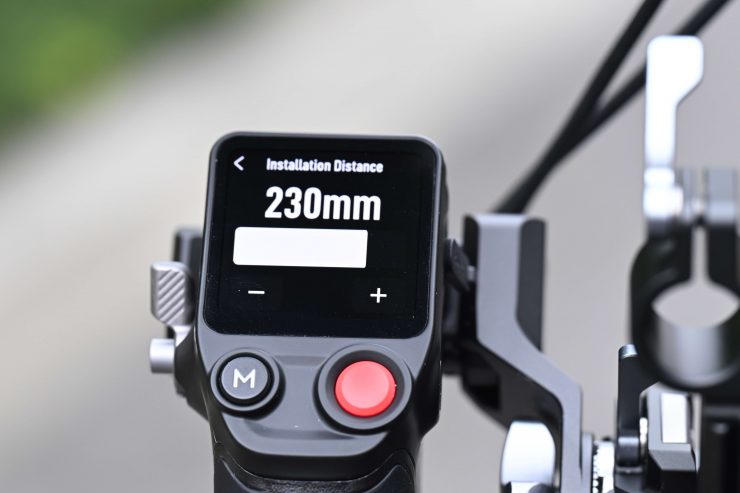
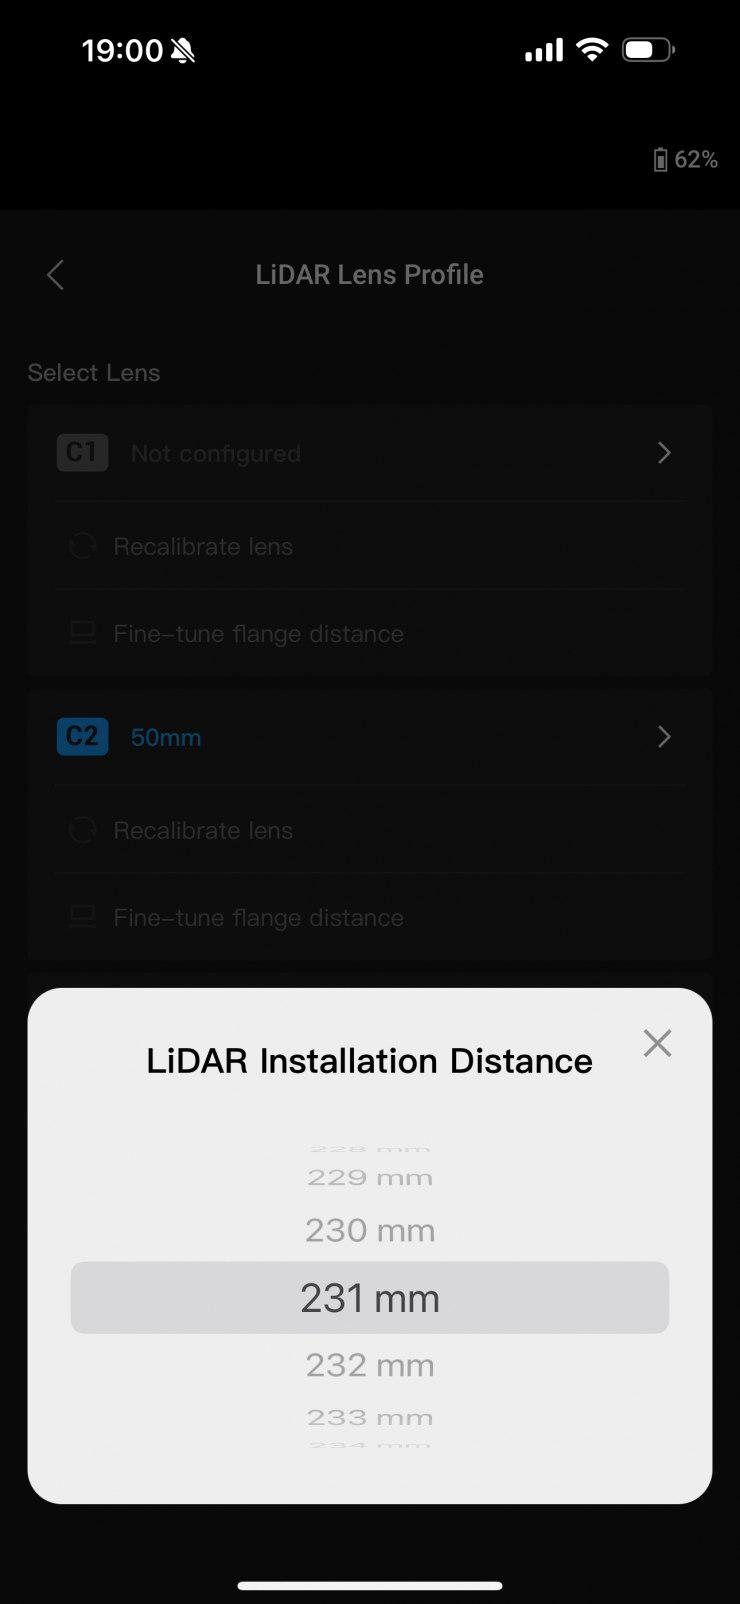
You need to tell the system what the distance is between the camera’s sensor plane and the front of the LiDar module. You need to measure this distance yourself and then input it. You can do this in the app and on the Grip. I found it best practice to mount the LiDar module in one position and then just leave it even after changing lenses otherwise you will need to re-enter the distance every time you change it.
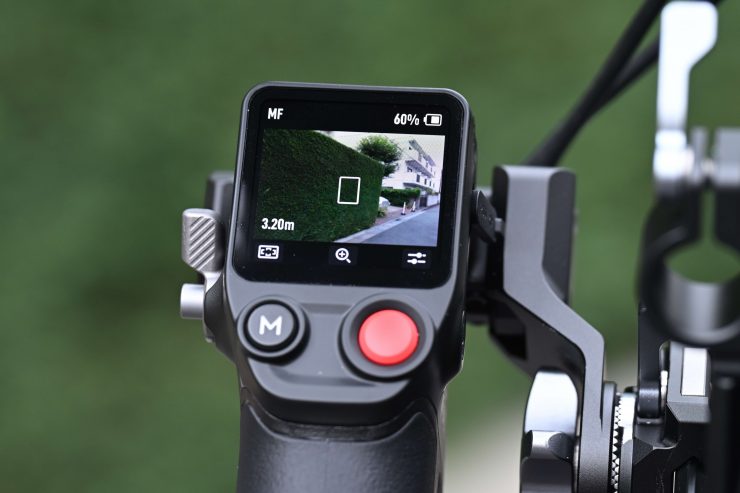
The next step is to swipe right on the screen to access video transmission so that the LiDAR shooting view can be displayed.
To set the distance when using a particular lens you can use the scale on the provided focus card to measure the distance from the image sensor plane of the camera to the glass surface of the LiDAR. In the video transmission view, tap the settings icon on the bottom right corner to access LiDAR Settings, and input the value after tapping Installation Distance.
Calibrating the Lens via the Grip
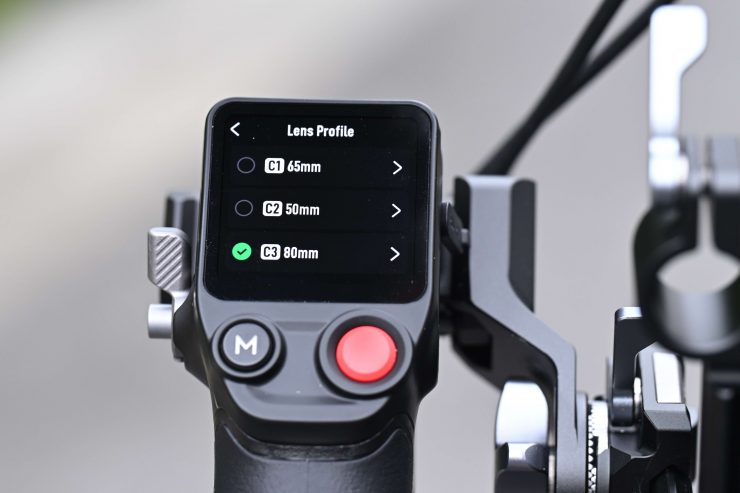
- In the video transmission view, tap the settings icon on the bottom right corner to access LiDAR Settings.
- Tap Lens Profile and + to add a lens profile, input the lens focal length and then tap Confirm, the motor will calibrate the focus range of the lens.
- It is recommended that the focus card be used to complete lens calibration after motor calibration is completed.
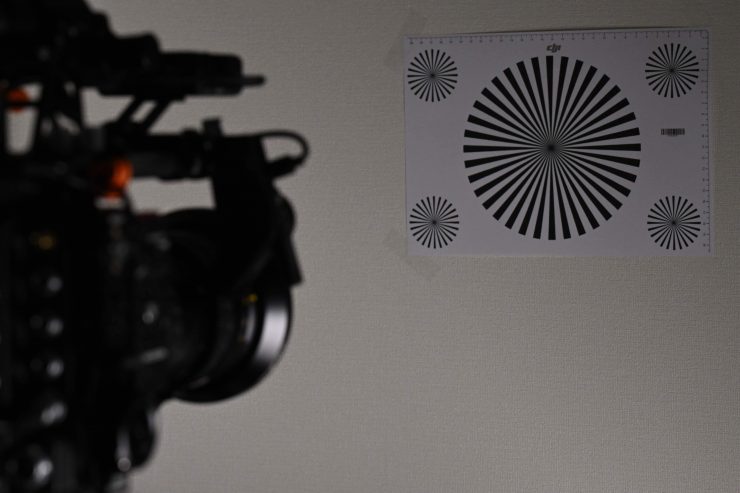
When calibrating the lens, attach the focus card to the wall and place the camera at a distance of 0.5 to 1.5 m from the focus card, then align the focus card in the center of the camera view.
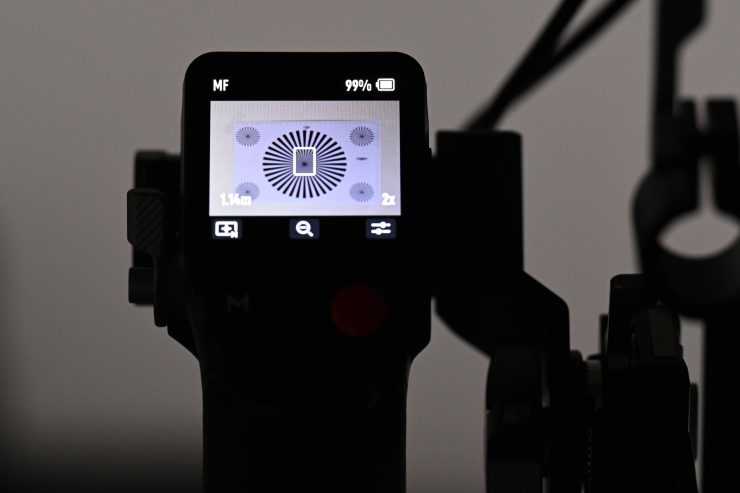
When the scale pointer ranges from 0.5 to 1.5 m, rotate the front dial to adjust the focus and check the focus peak. When the focus peak is largest, the lens is in focus.
Place the camera at a distance of 4 to 5m from the focus card and align the focus card in the center of the camera view. Use the same method to adjust the focus.
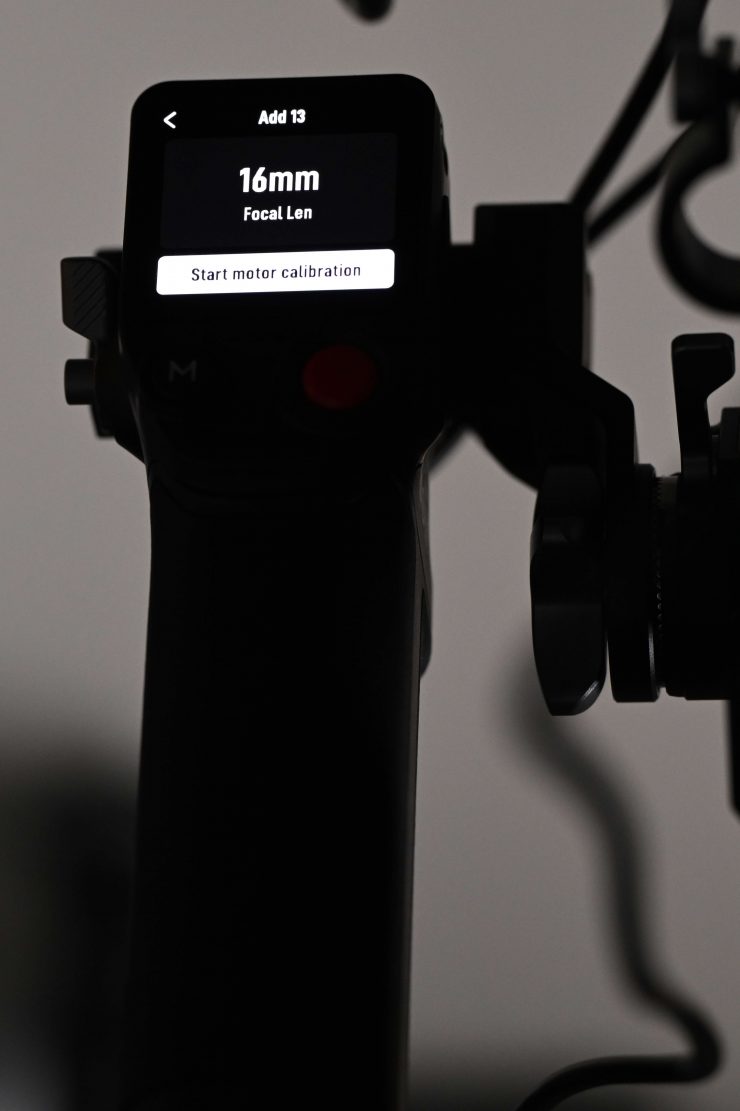
You then tap Start motor calibration to complete lens calibration.
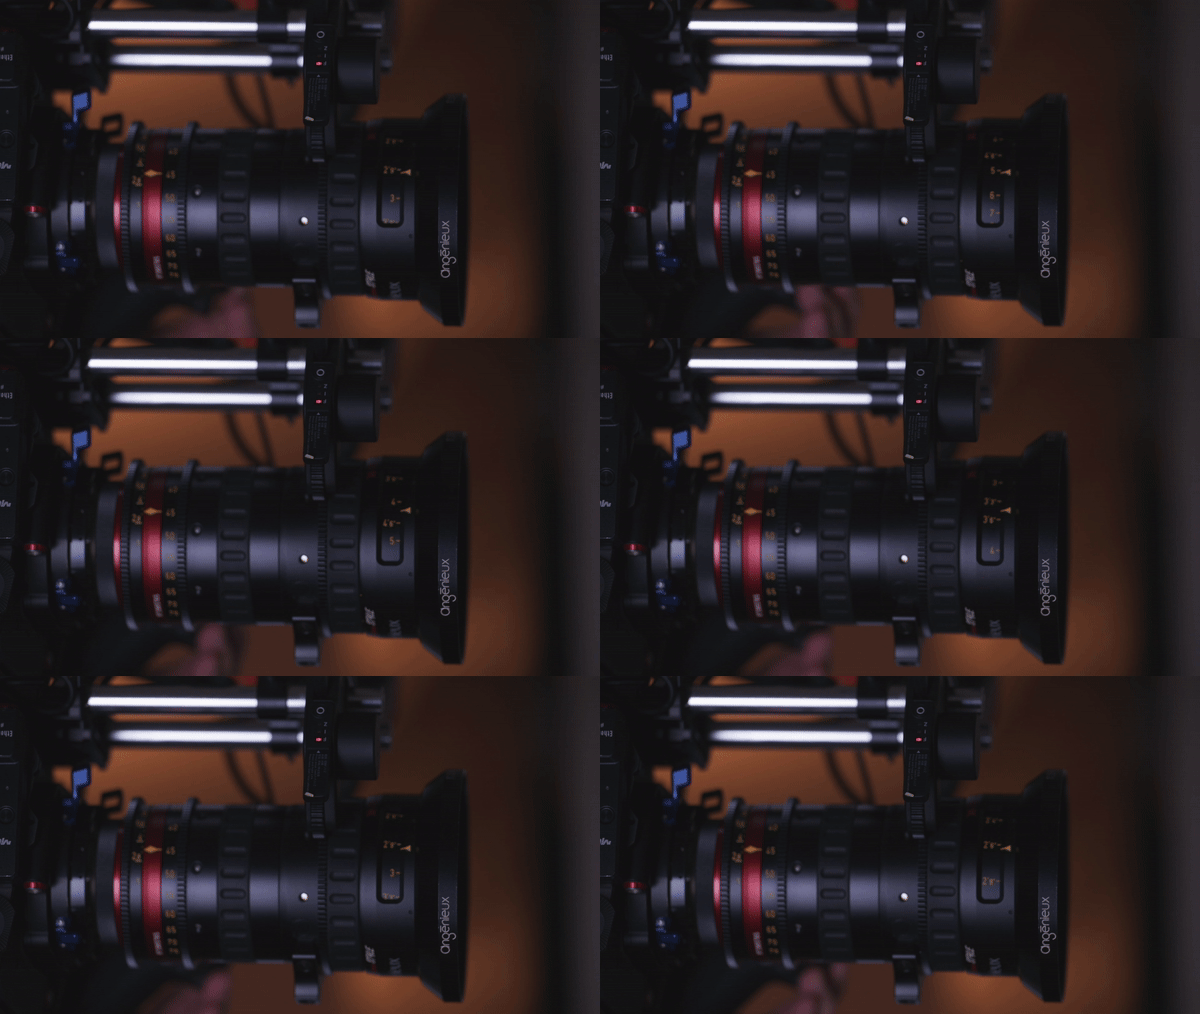
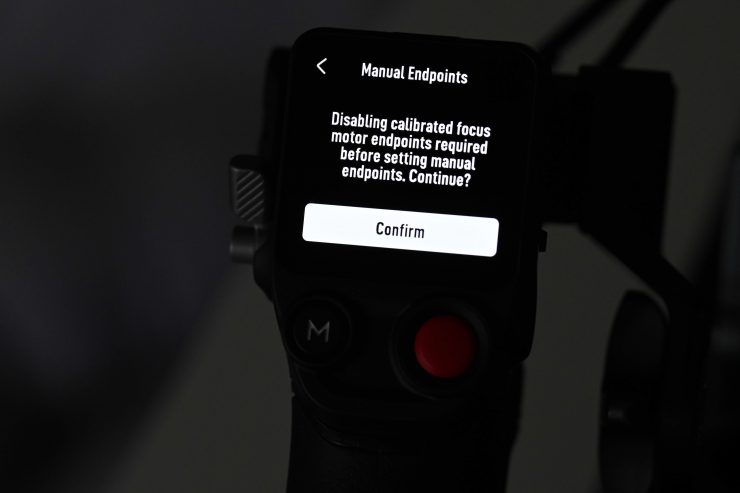
Now, here is where the attention to detail is lacking. When using the front dial the motor tends to jump around all over the place and this makes finite adjustments difficult. Again, and I will keep saying this like a broken record, I have found DJI to be lacking when it comes to fixing issues that they are surely aware of.
Calibrating Lens via Ronin App
If the lens profile is configured in the Ronin app, lens calibration is much quicker to do. There are two steps to do this:
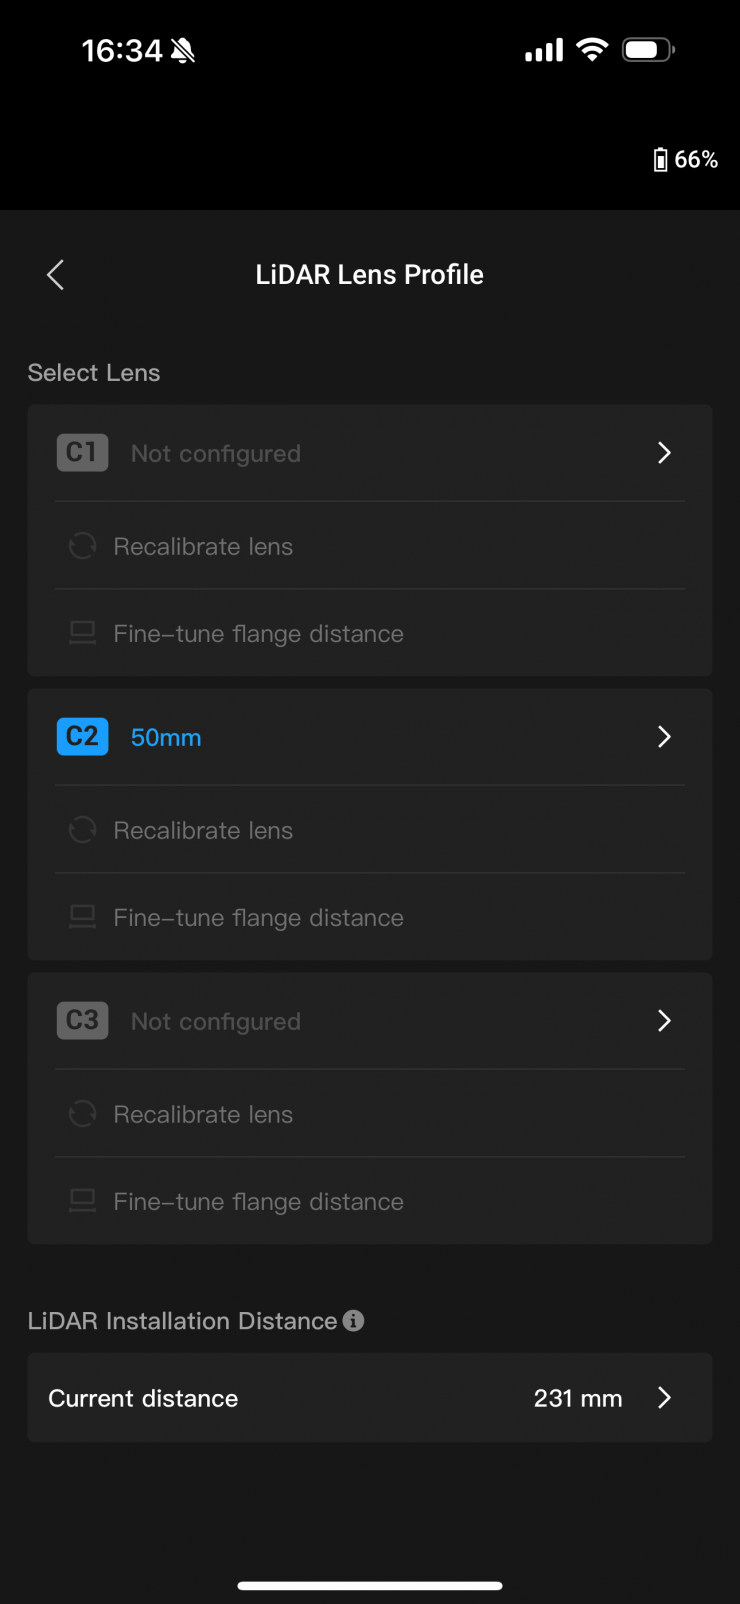
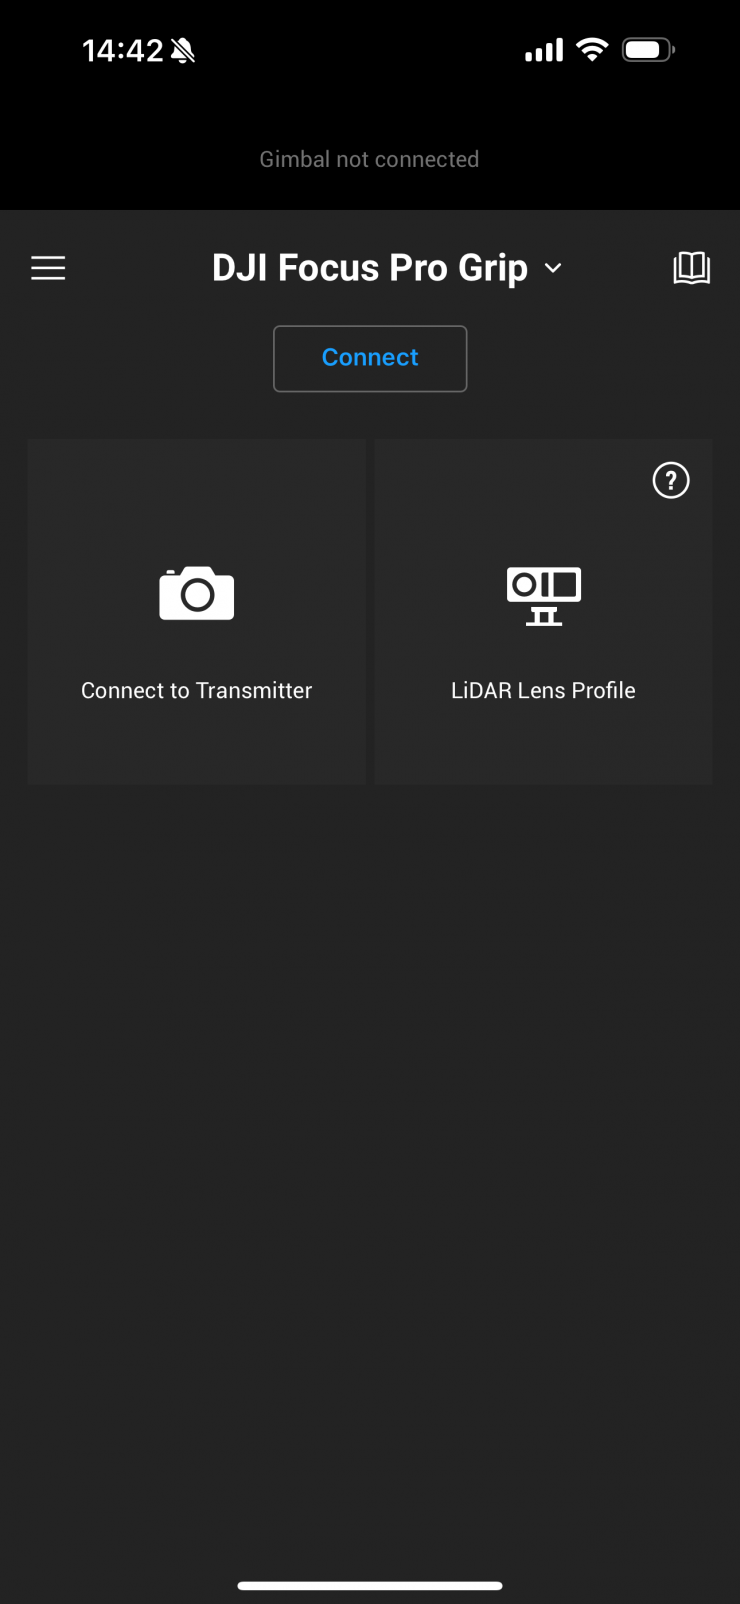
- Access the home page of the Ronin app and select LiDAR Lens Profile.
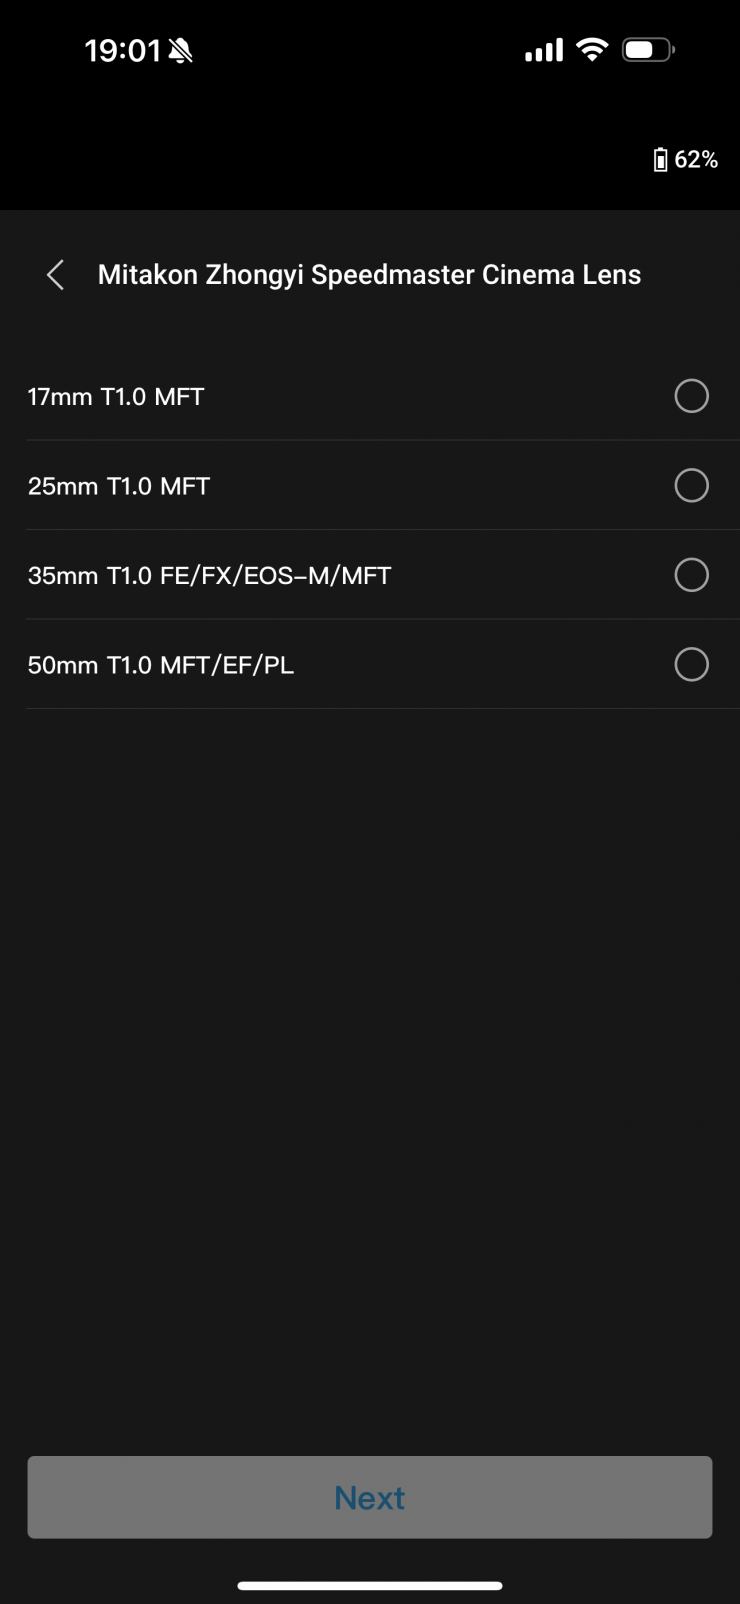
- Tap + on the C1/C2/C3 to add a new profile, then select Lens Brand, Lens Series, and Lens Focal Length.
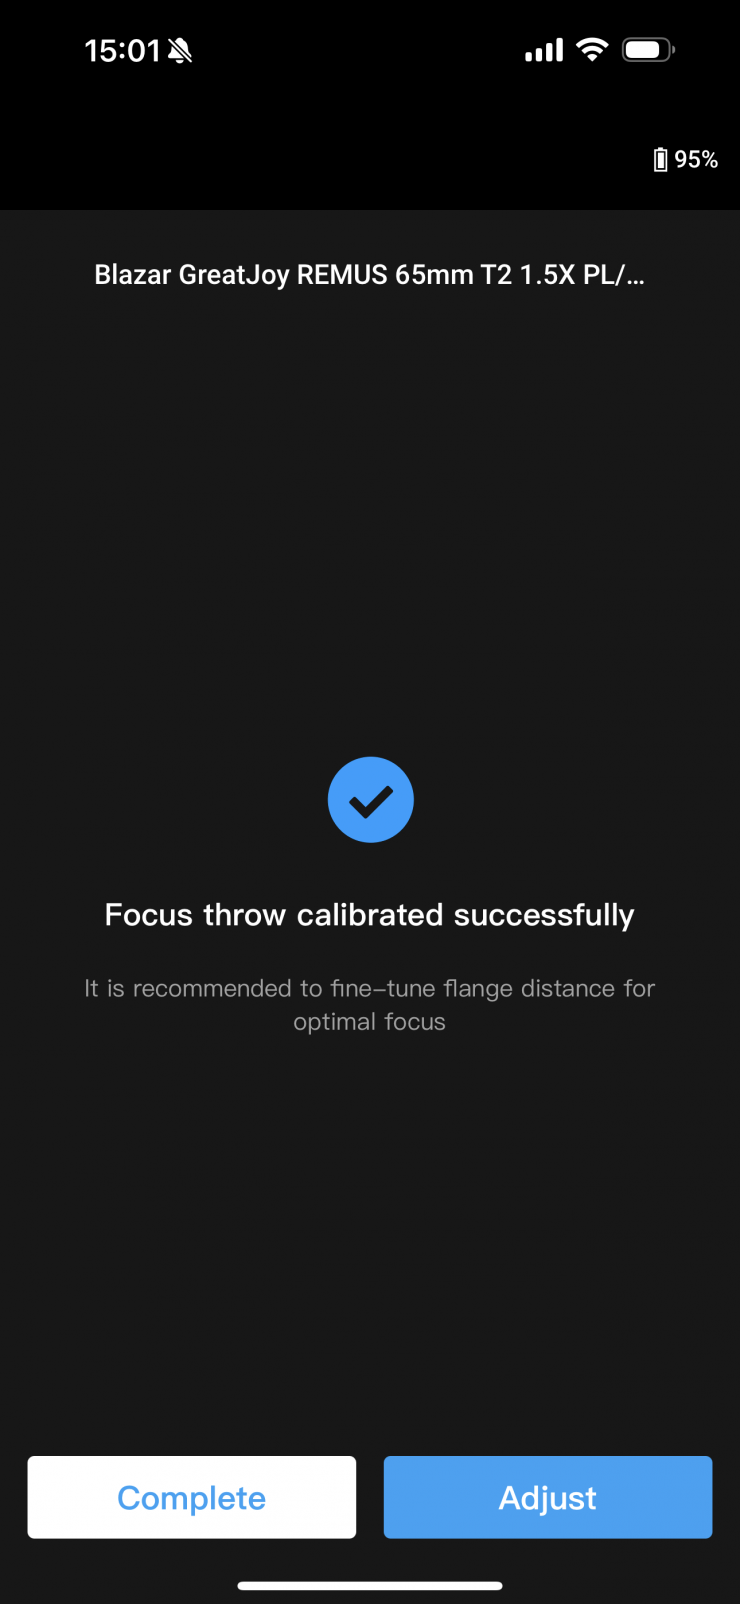
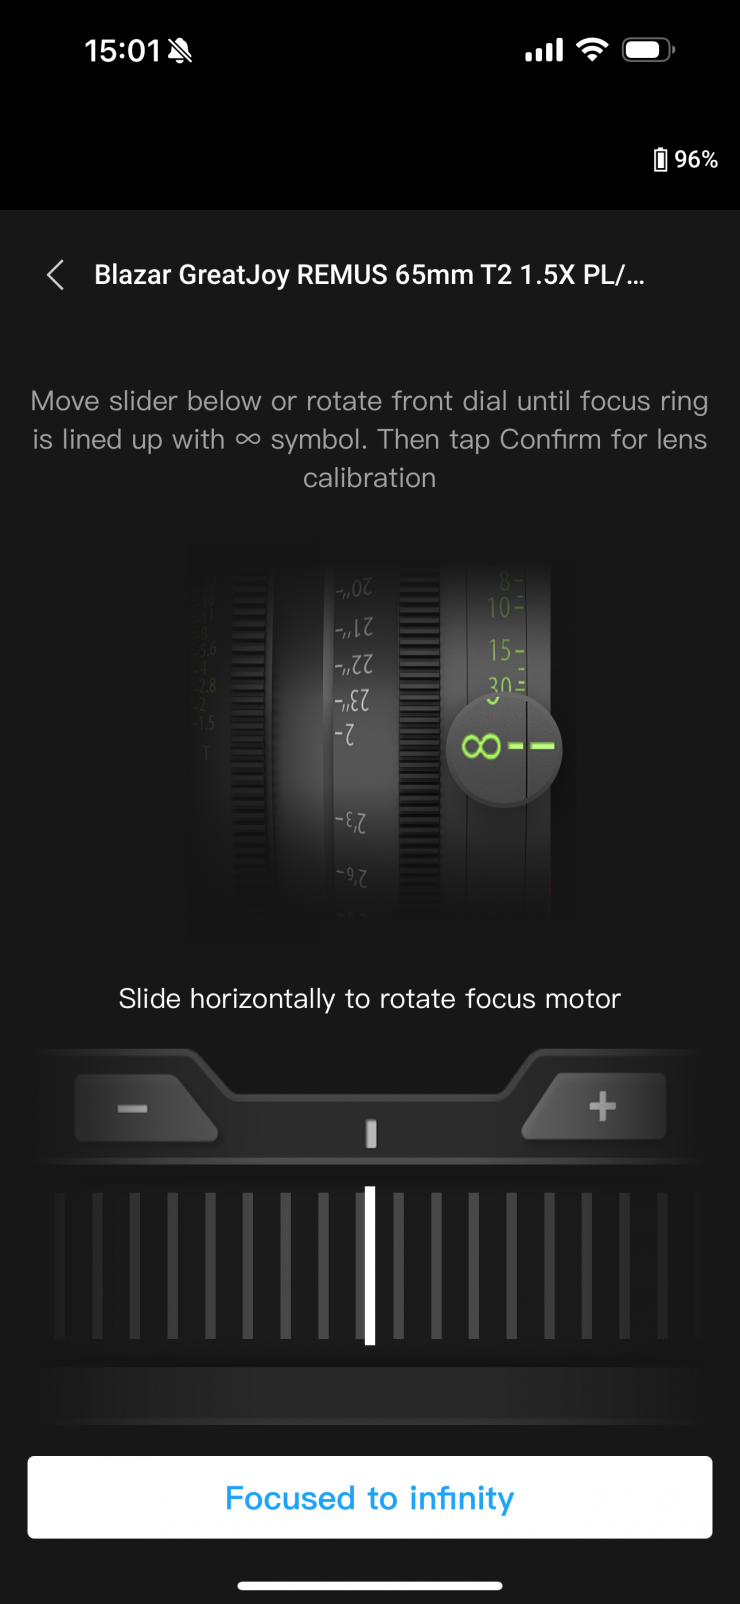
- Tap Next to enter the focus ring calibration page, slide the focus ring to o, and then tap Confirm to start lens calibration. The lens profile will be saved after calibration is completed.
If there is a prompt to adjust the flange, users can confirm using the provided focus card. You point the lens at the focus card, when the image is clear, this indicates it is not necessary to adjust the flange. Tap Complete to confirm. If the image is not clear, tap Adjust. Slide left or right on the slider until the image is clear, tap Complete to finish lens calibration.
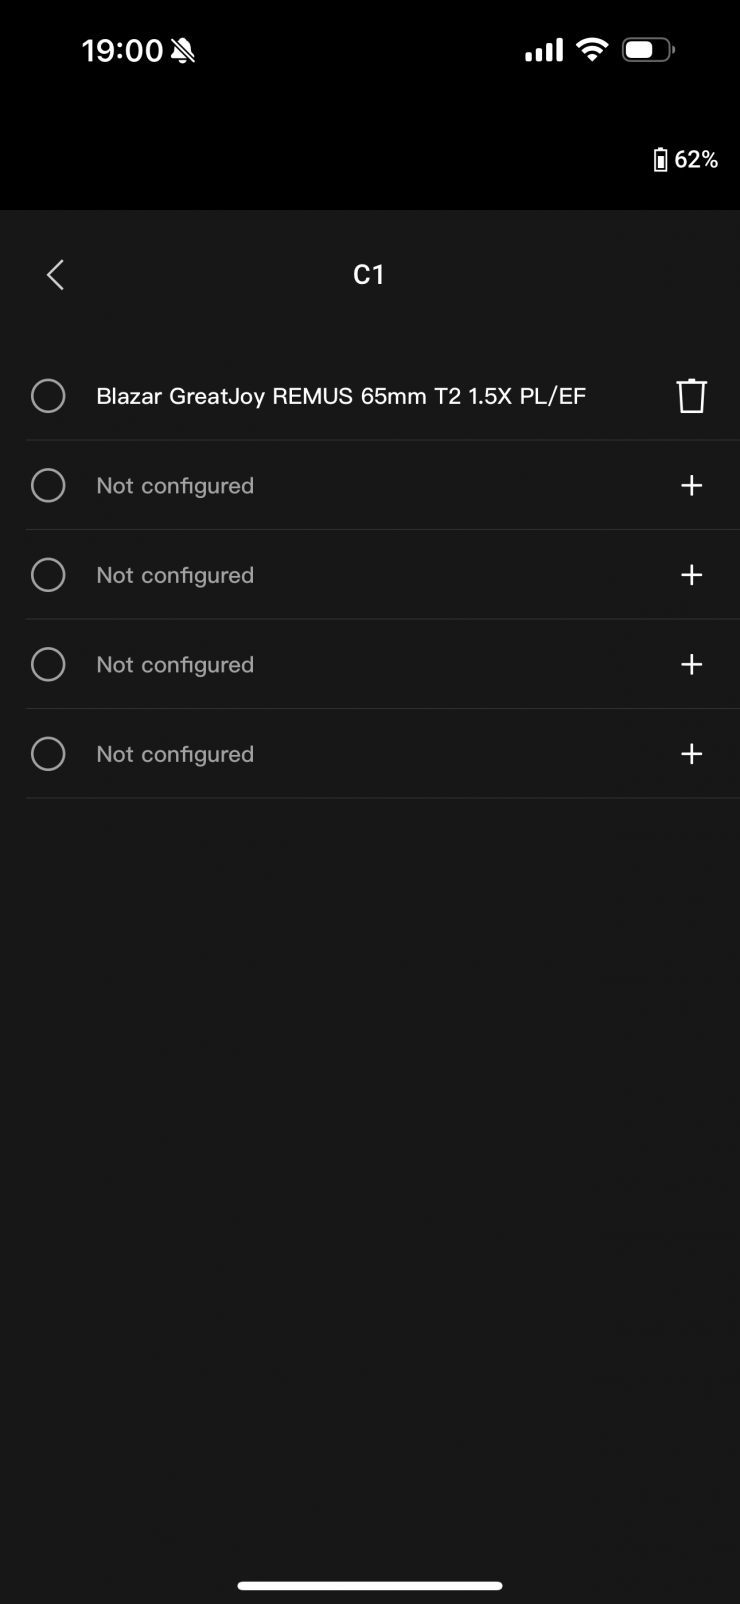
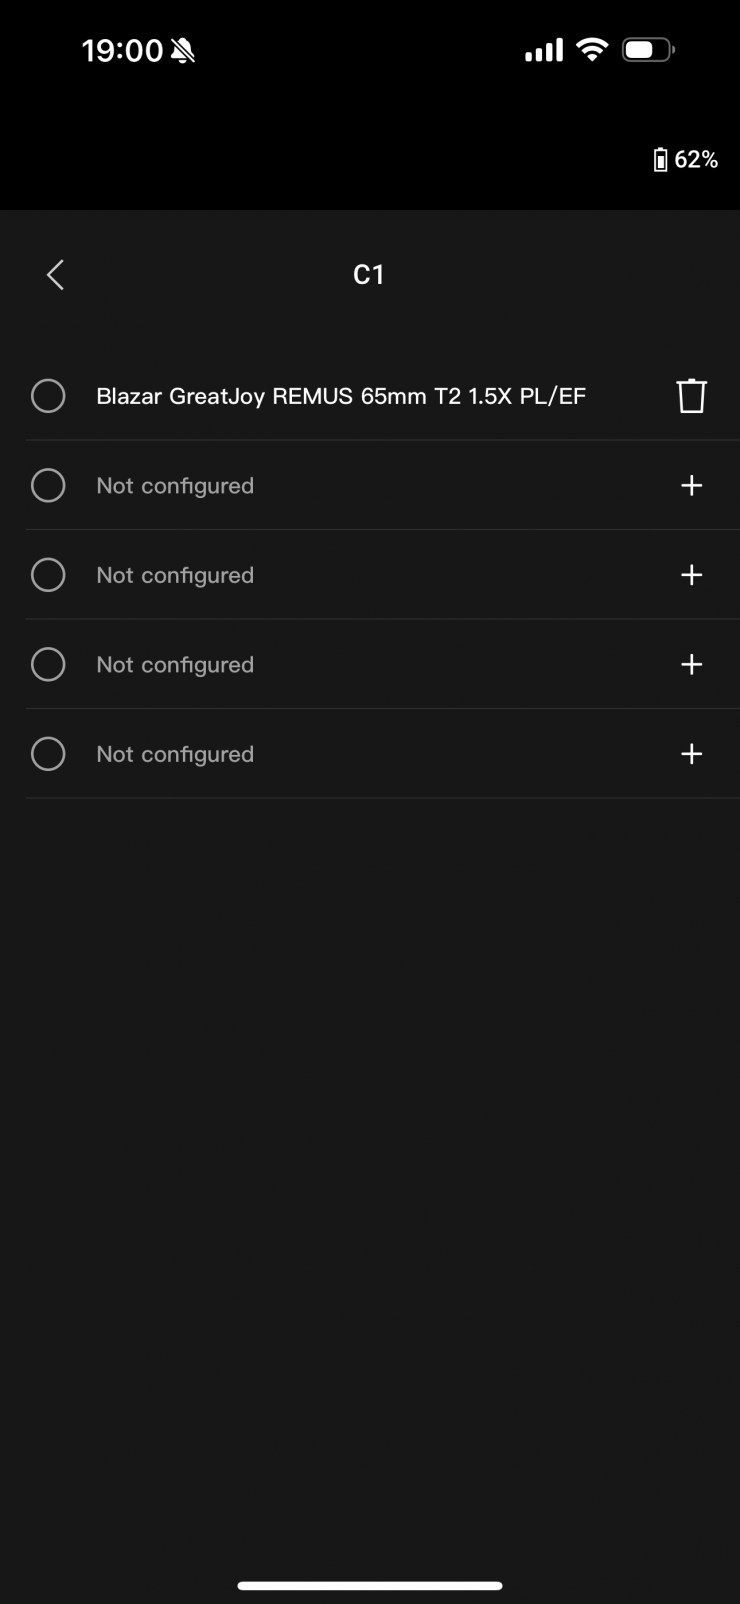
With the latest firmware, you can save up to 15 lenses in the app (5 in C1, 5 in C2, and 5 in C3). What I really don’t like is you should have the ability to name the lens you are using instead of just inputting a focal length. This surely would be an easy fix because DJI has lenses named that are pre-installed.
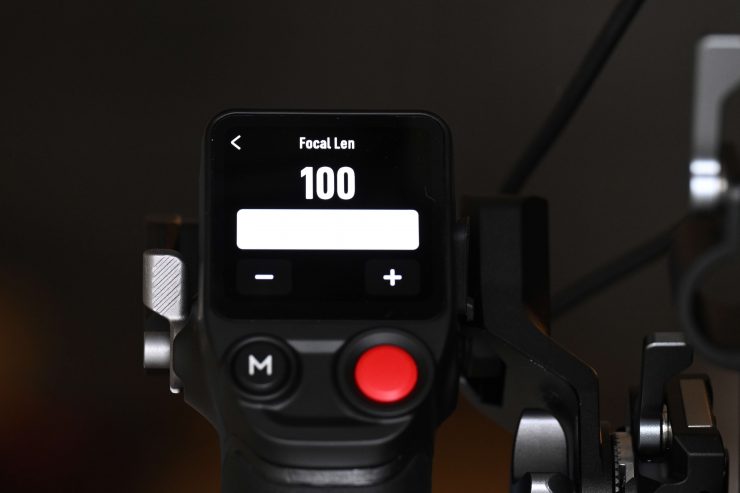
Now, a big issue I found is that when you are configuring a new lens, you can’t select a focal length of more than 100mm. This is very strange.
If you are using a lens that has a minimum focusing distance that is greater than 1.5m then you also have no option to set it up correctly. These are things that DJI should really be on top of. This is a product that has now been available for quite some time and the lack of updates to add features or fix issues should be a concern if you are considering buying one.
Pre-Installed Lenses
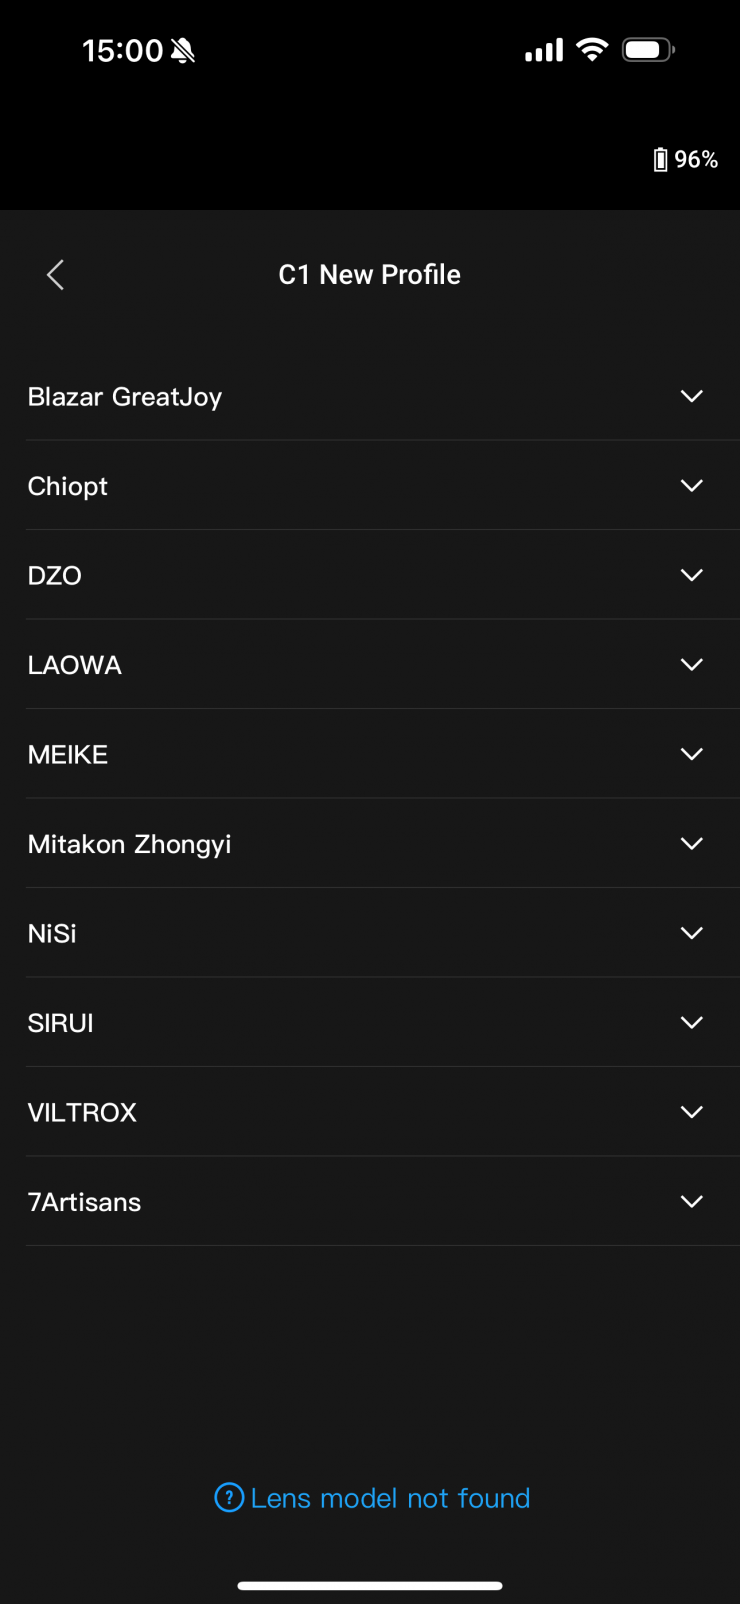
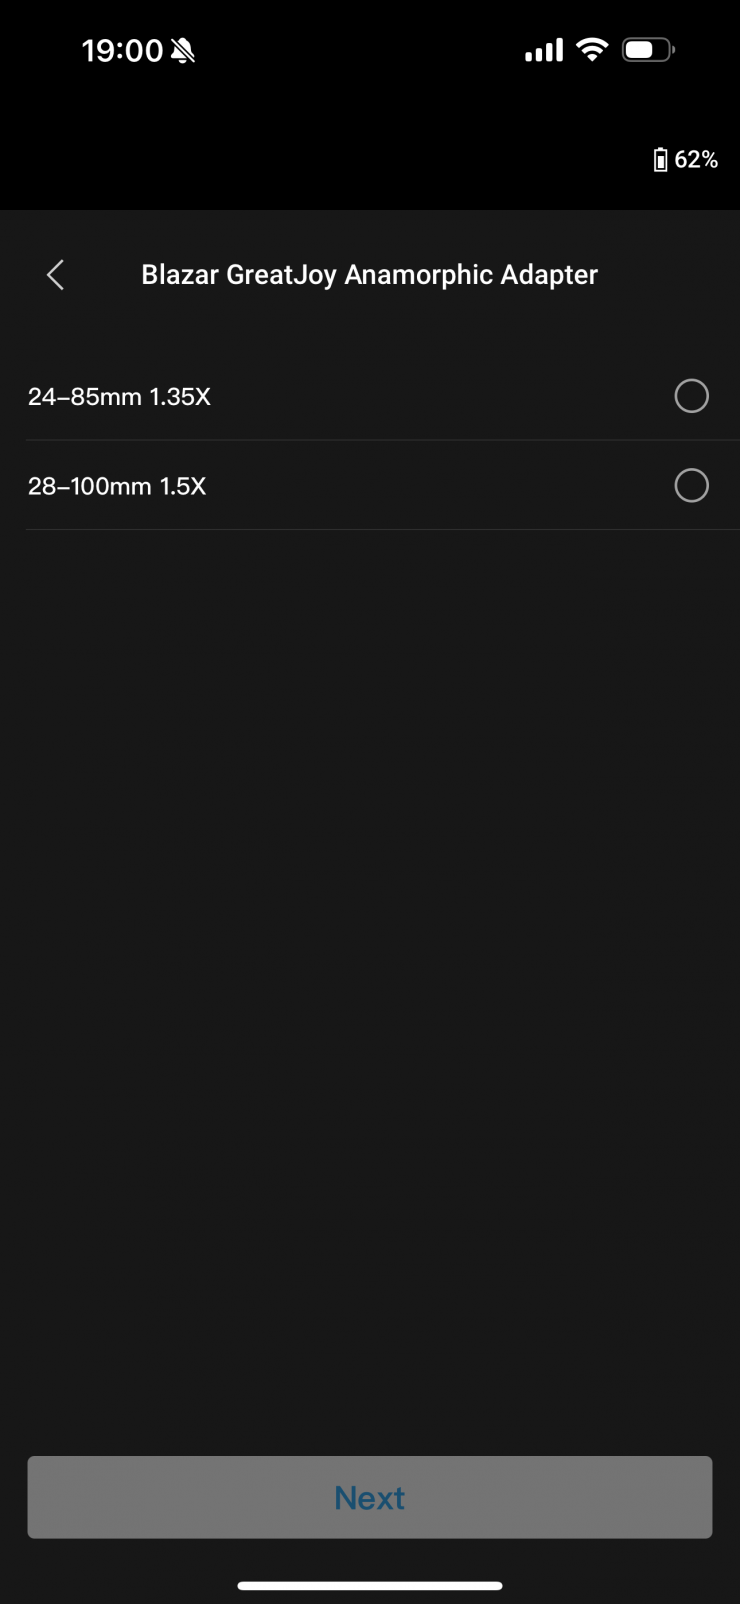
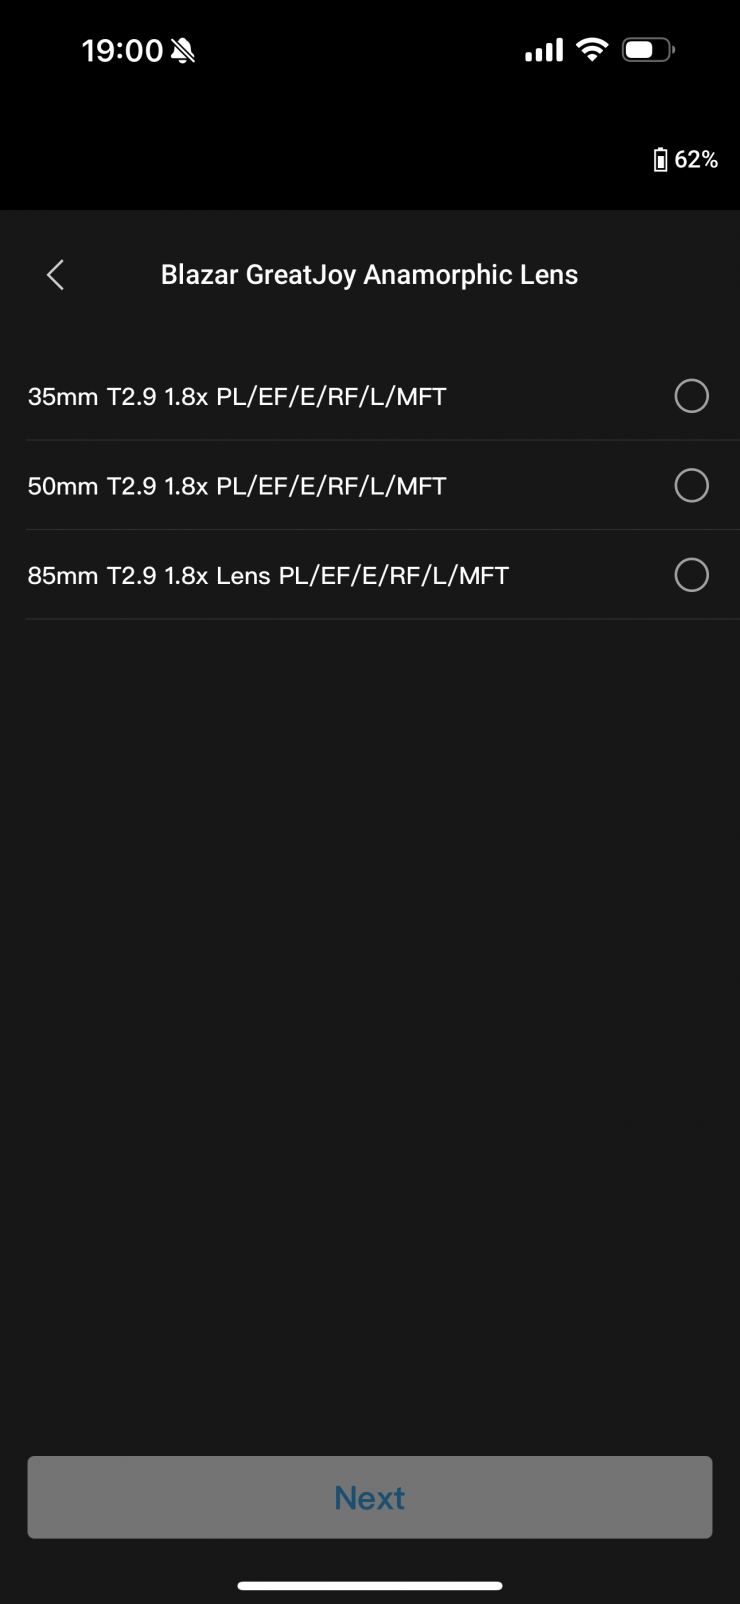
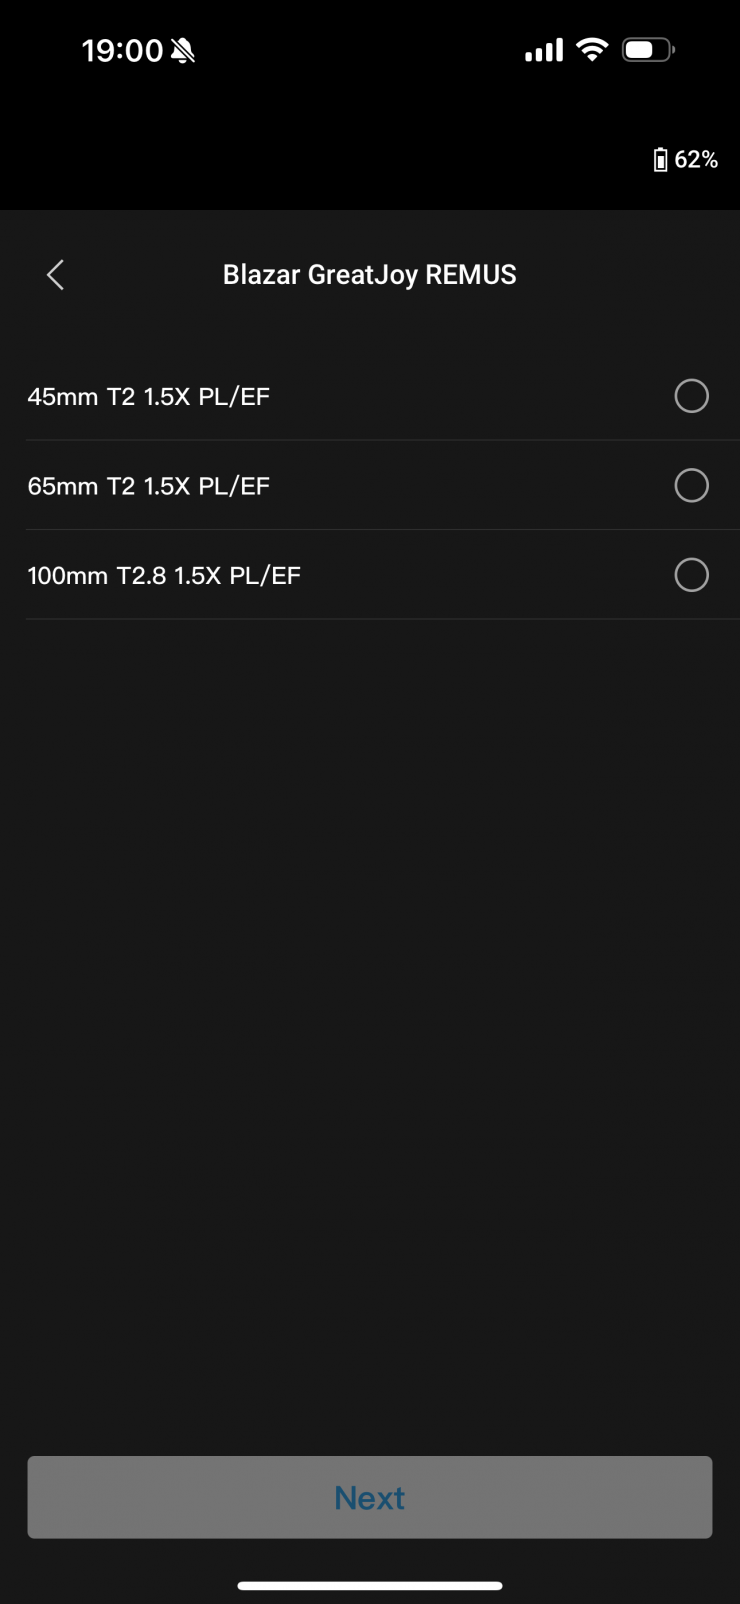
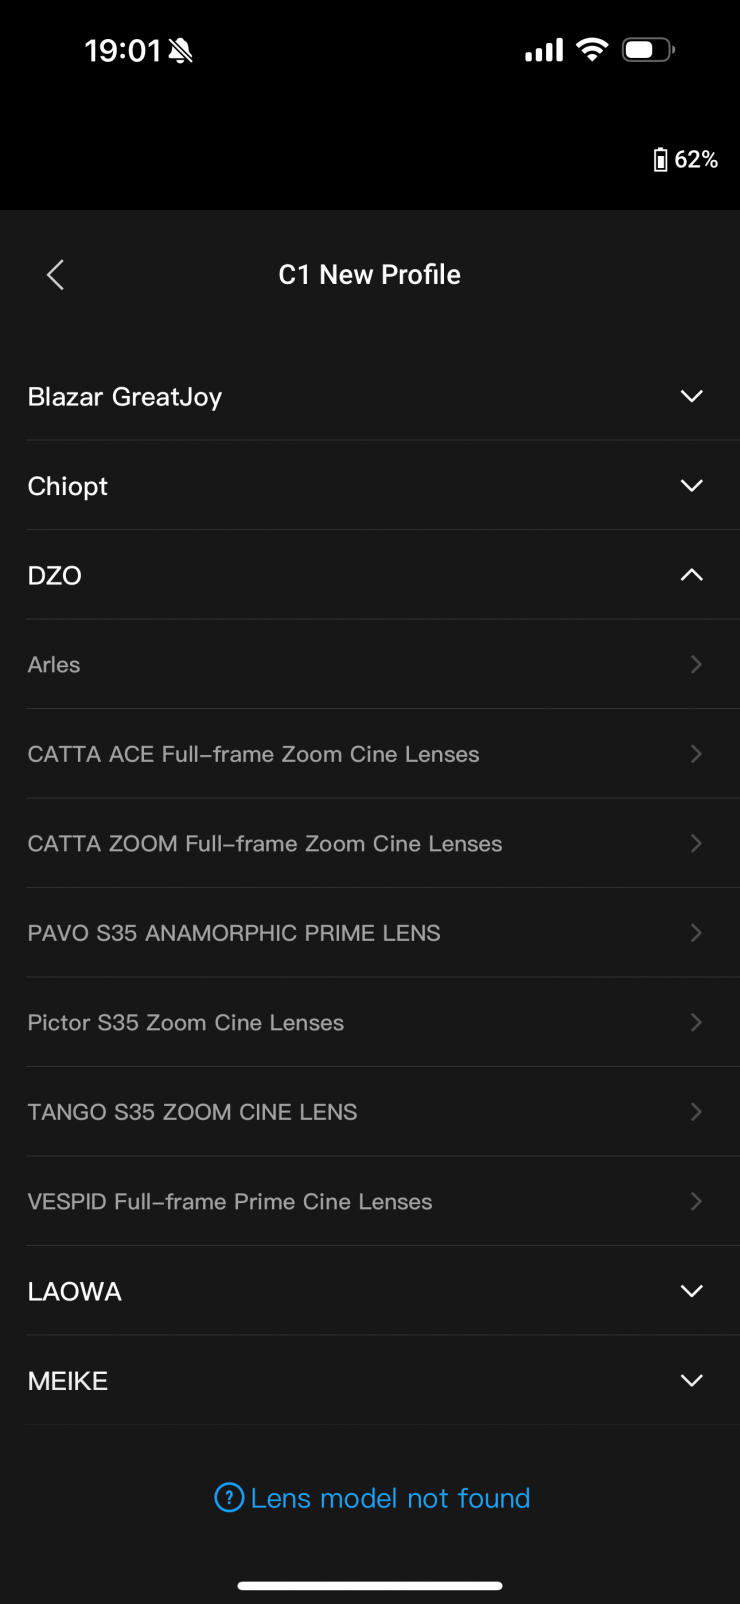
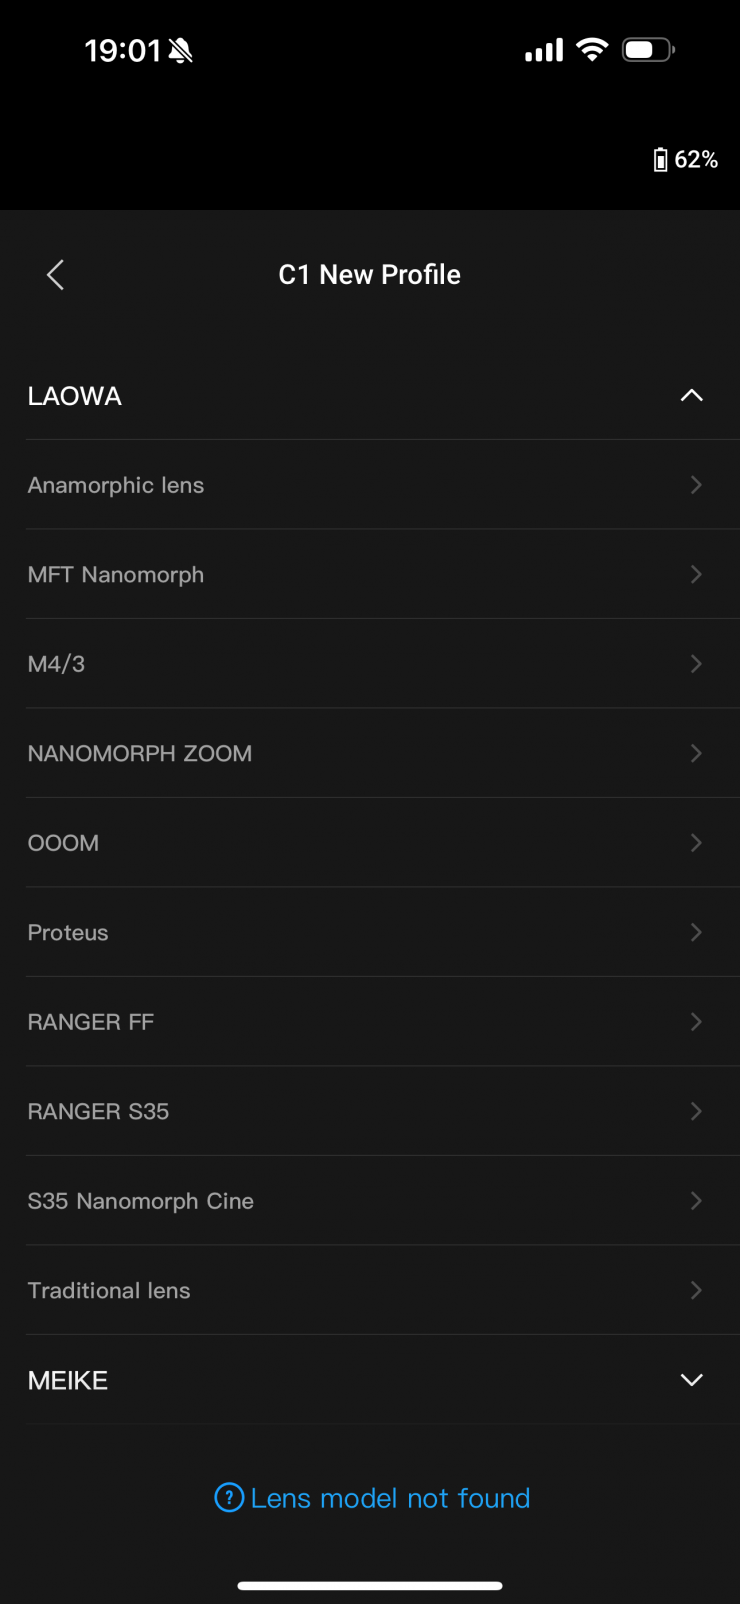
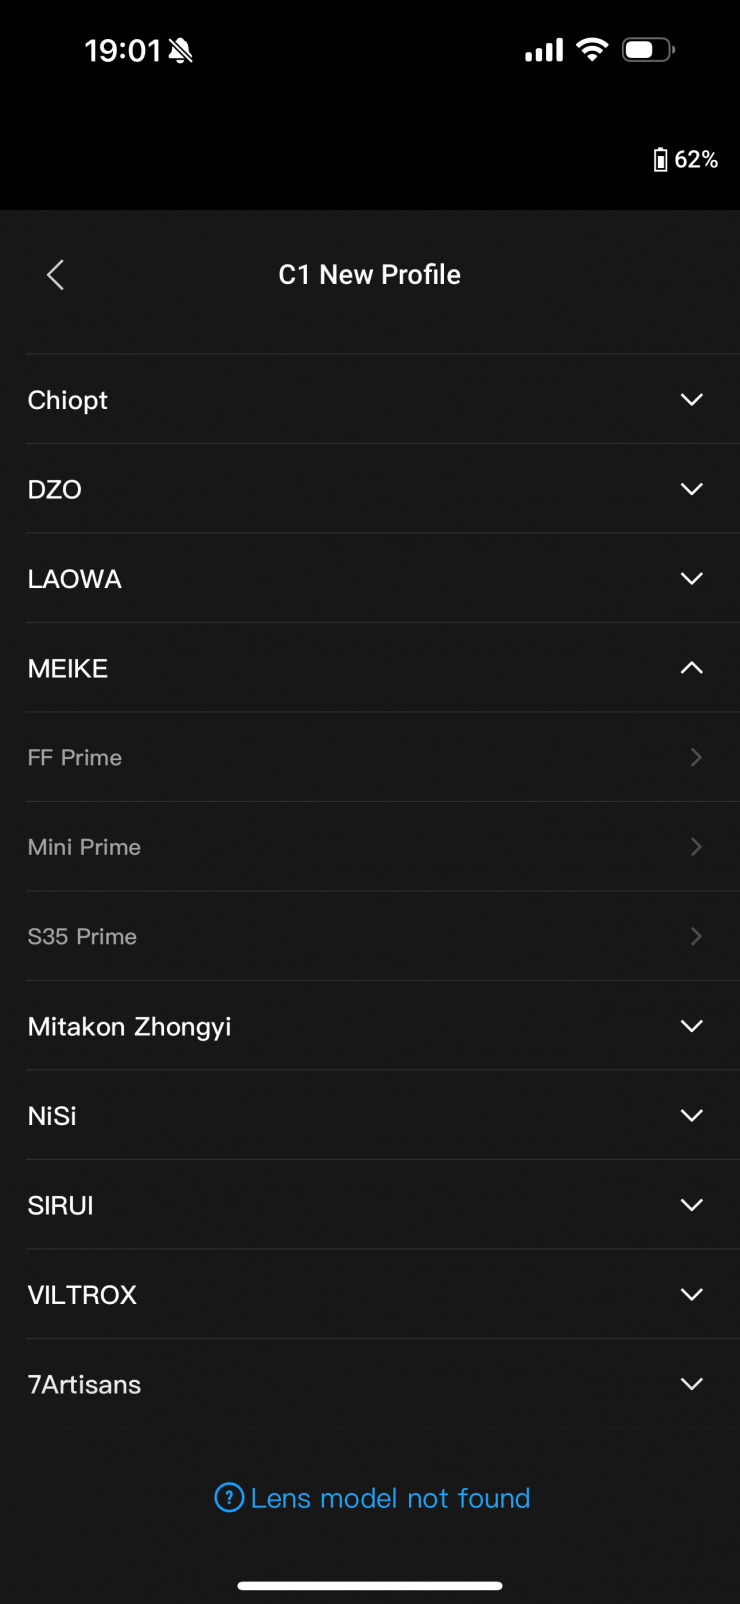
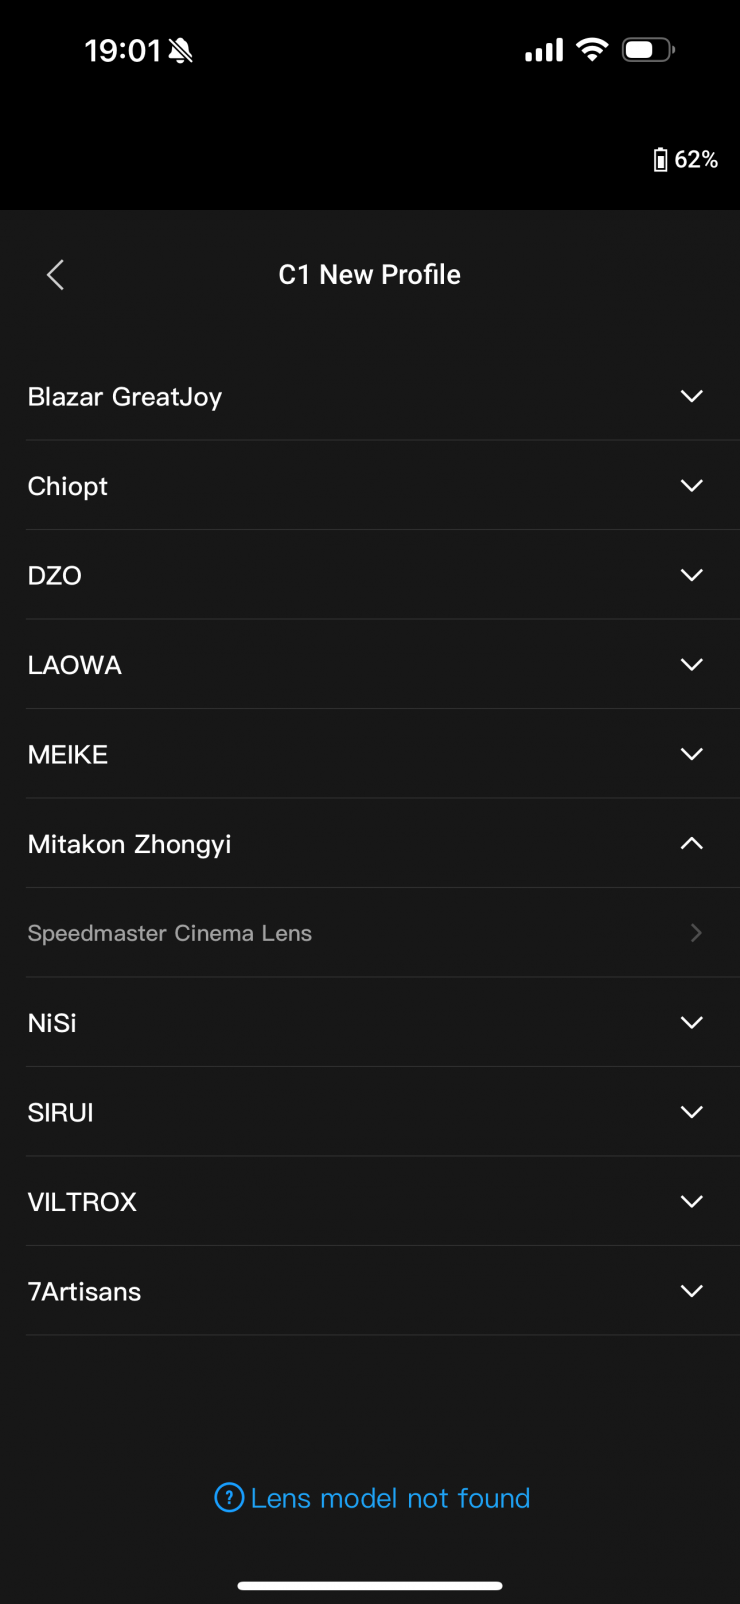
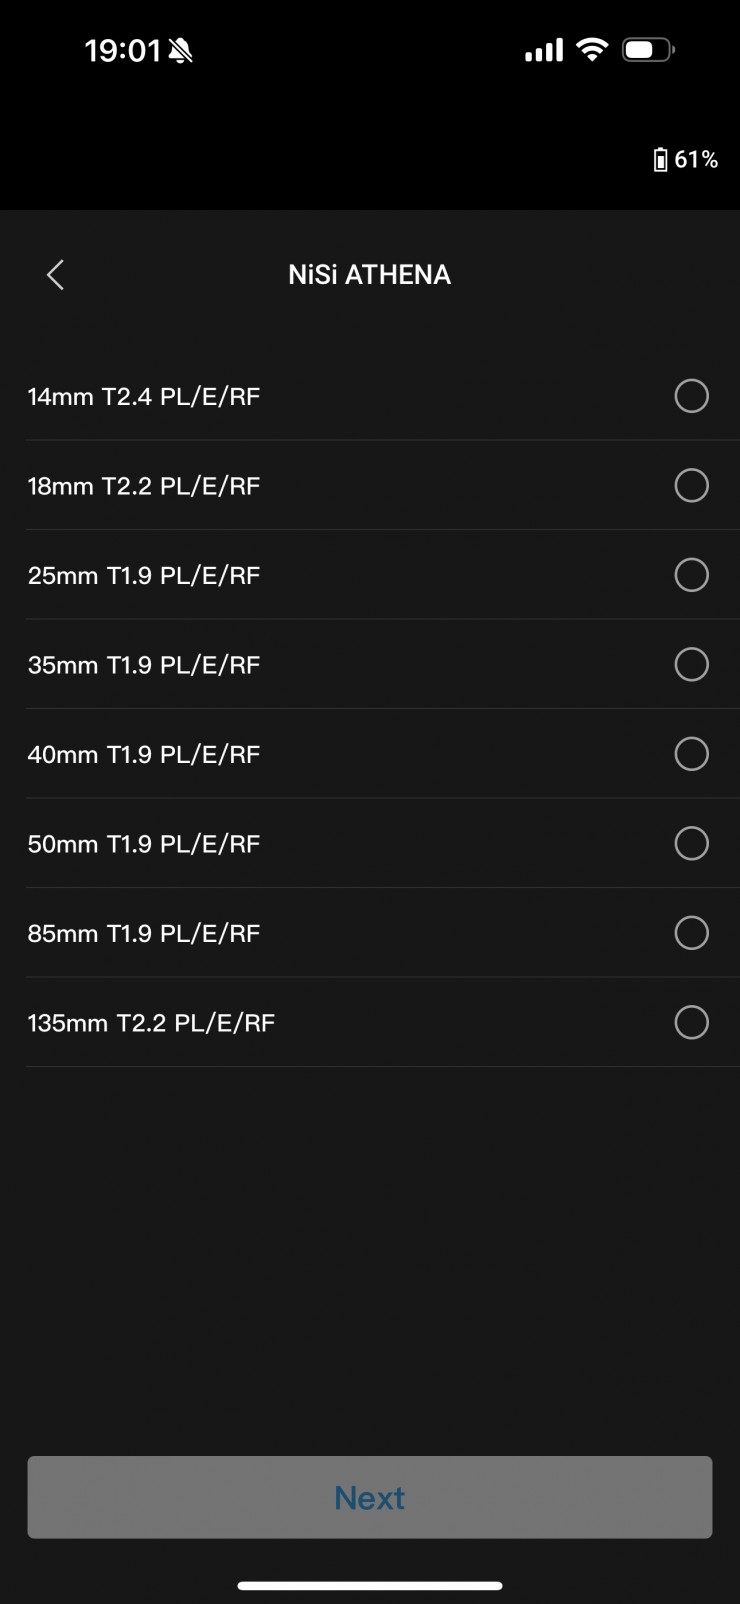
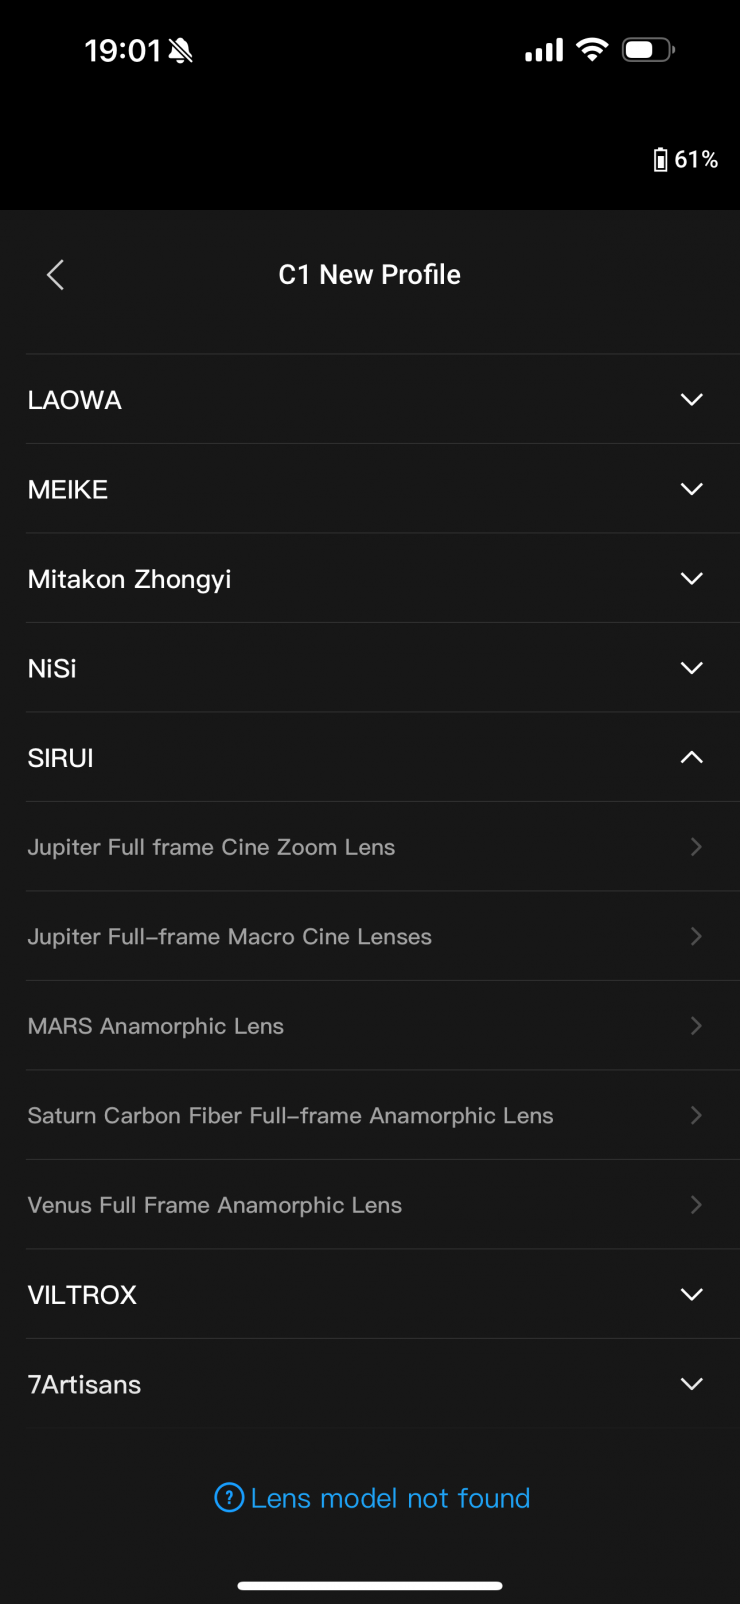
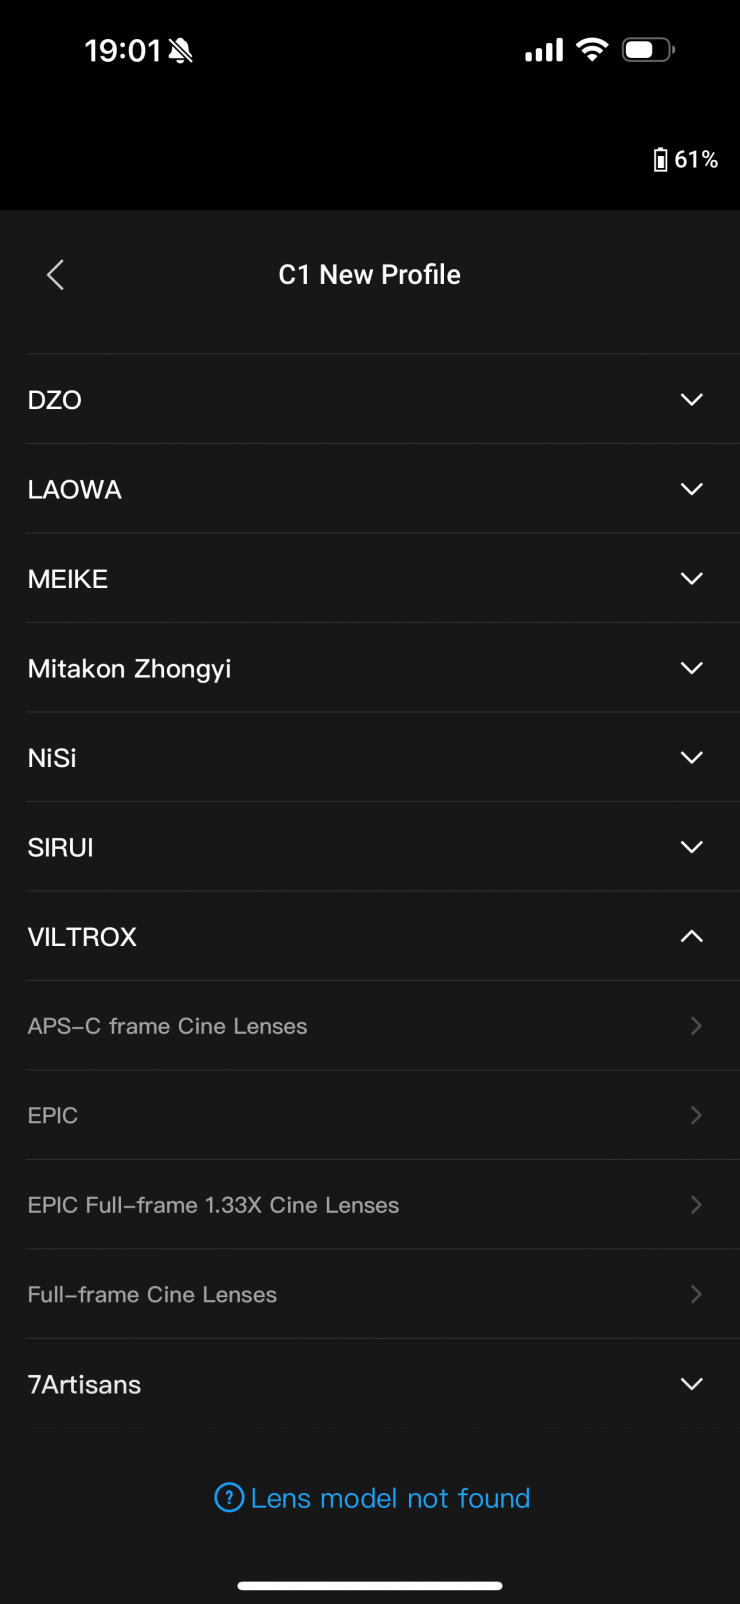
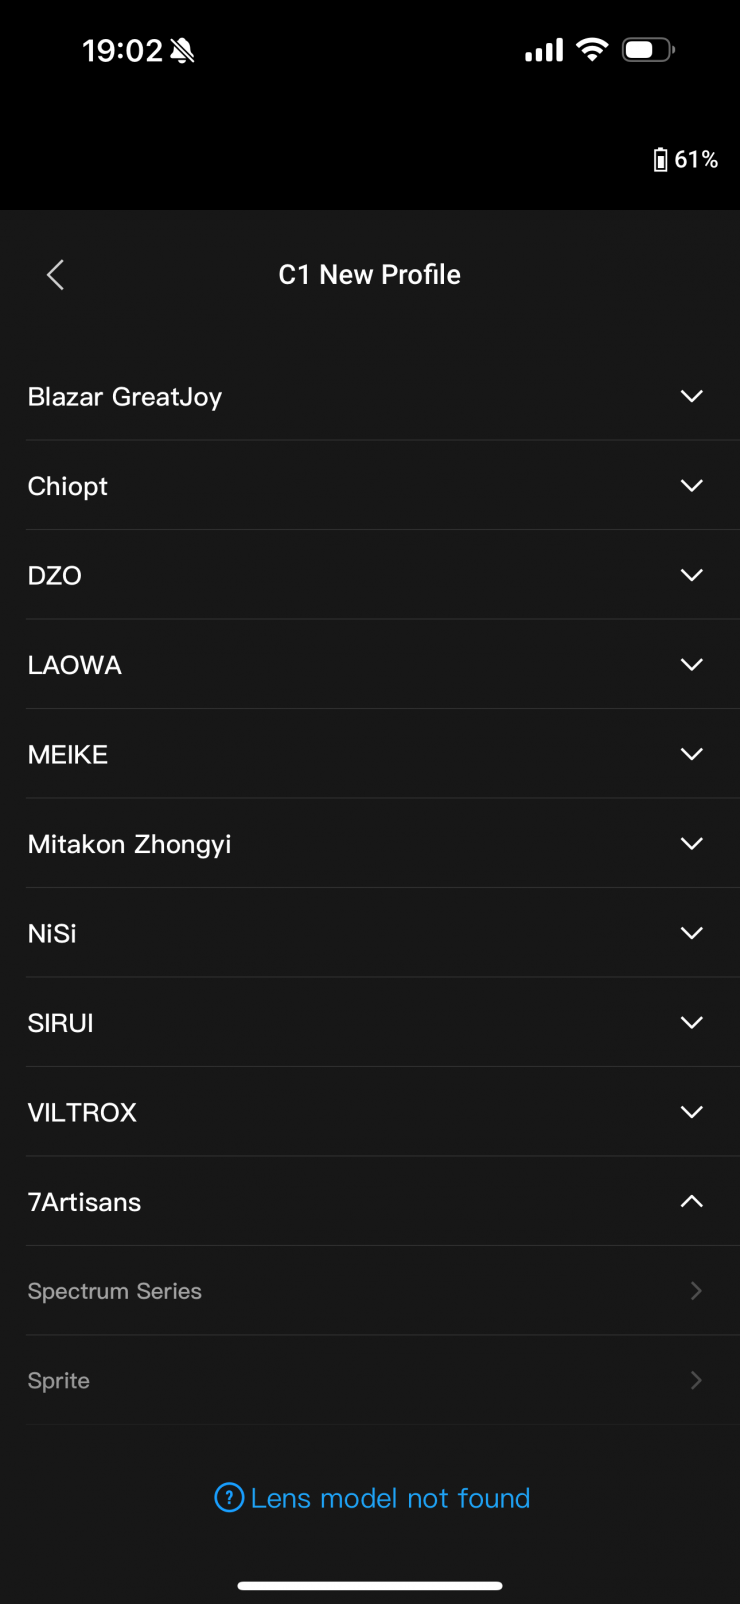
DJI has included a range of lenses that have been pre-calibrated. unfortunately, this list isn’t very comprehensive and it’s basically limited to Chinese brands.
Above you can see all the lens series that are pre-installed.
I am not sure why a company with DJI’s resources can’t add all the popular lens brands which would drastically reduce set-up times.
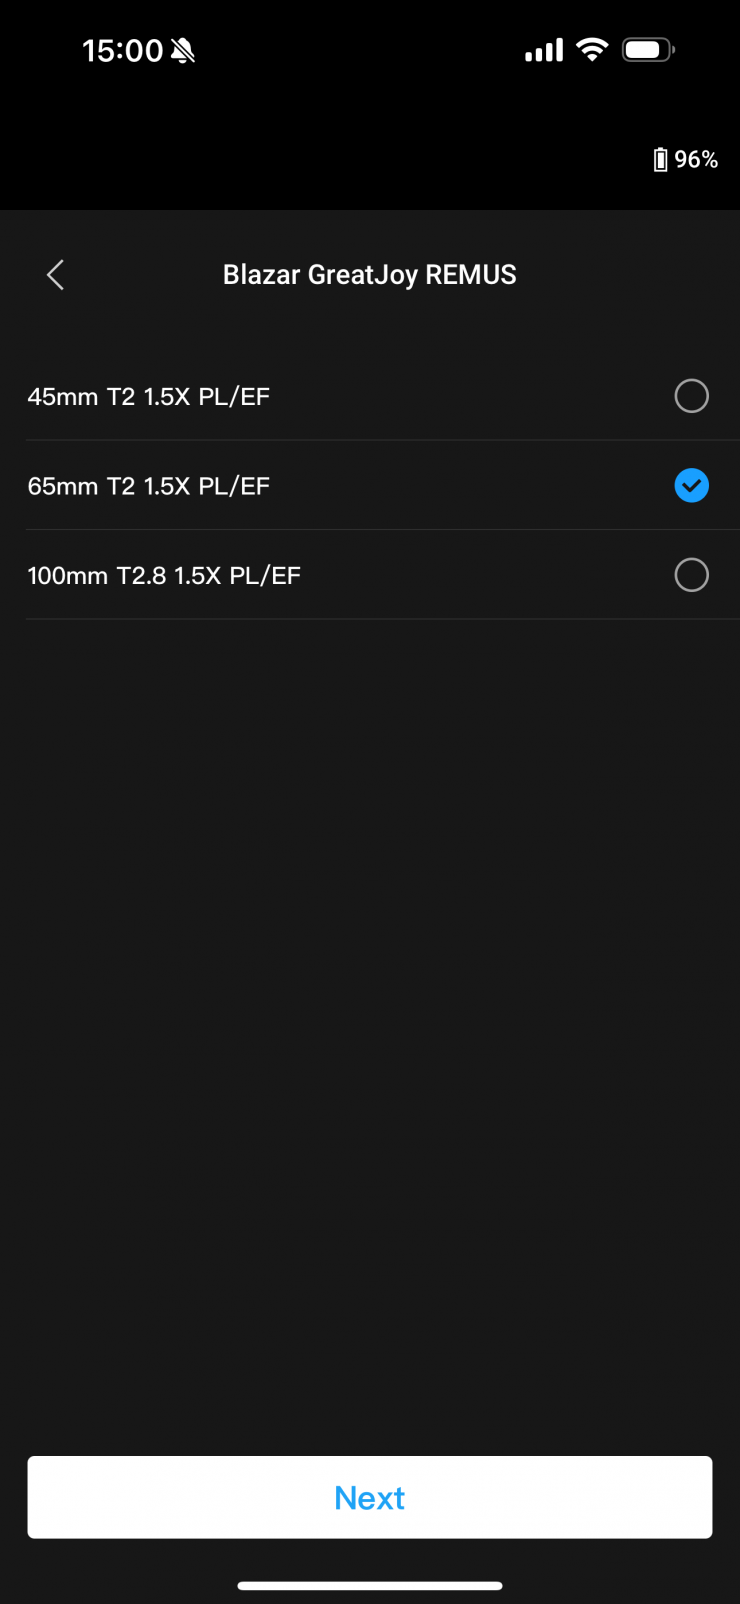
If you are using a lens on the list, all you need to do is select it from the list, then tap next.
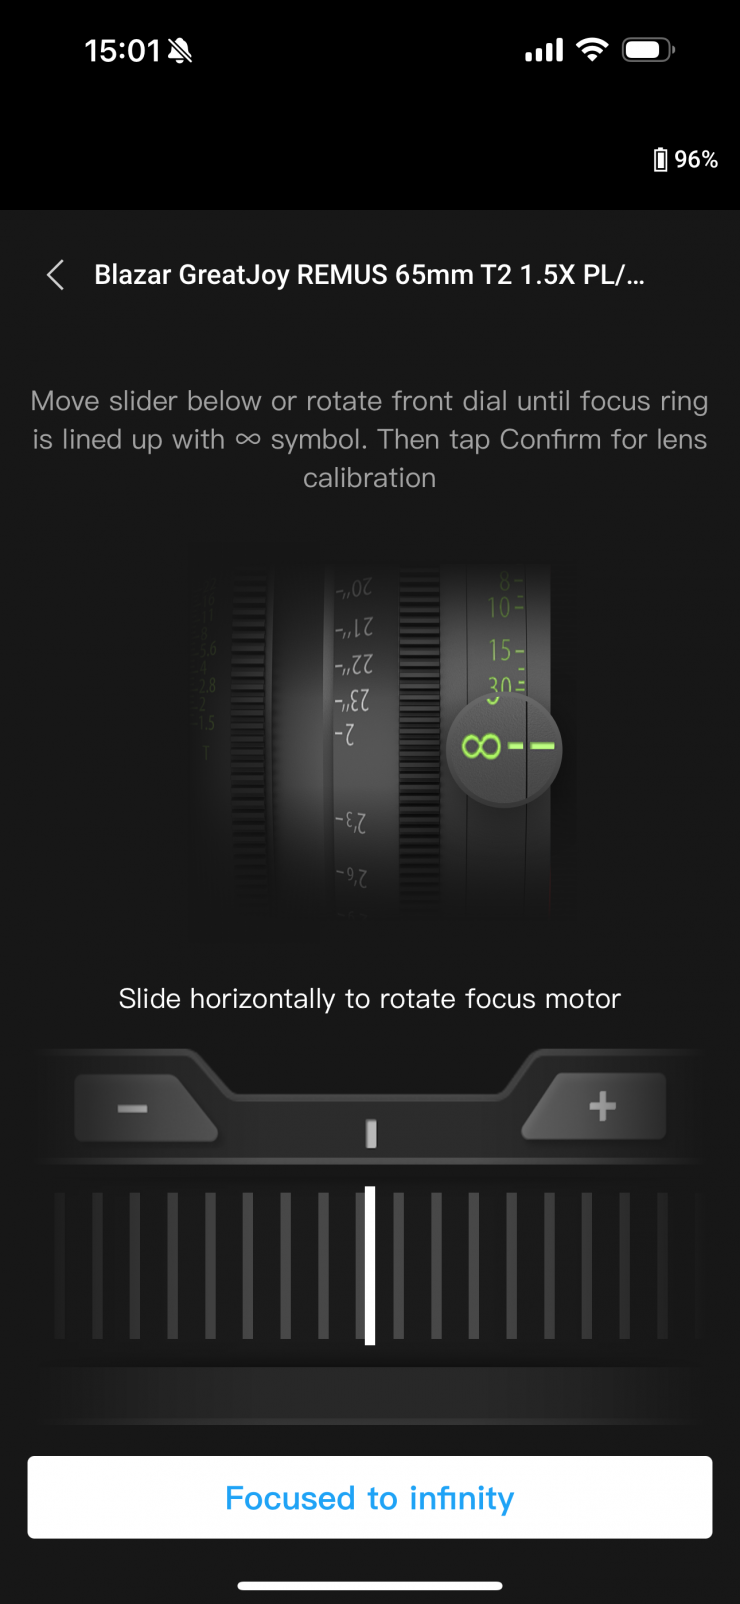
You will then be taken to a page where you use the virtual slider to move the lens focus to its infinity marking. Once you do this you press on Focused to infinity. The lens will then calibrate itself and be ready to go.
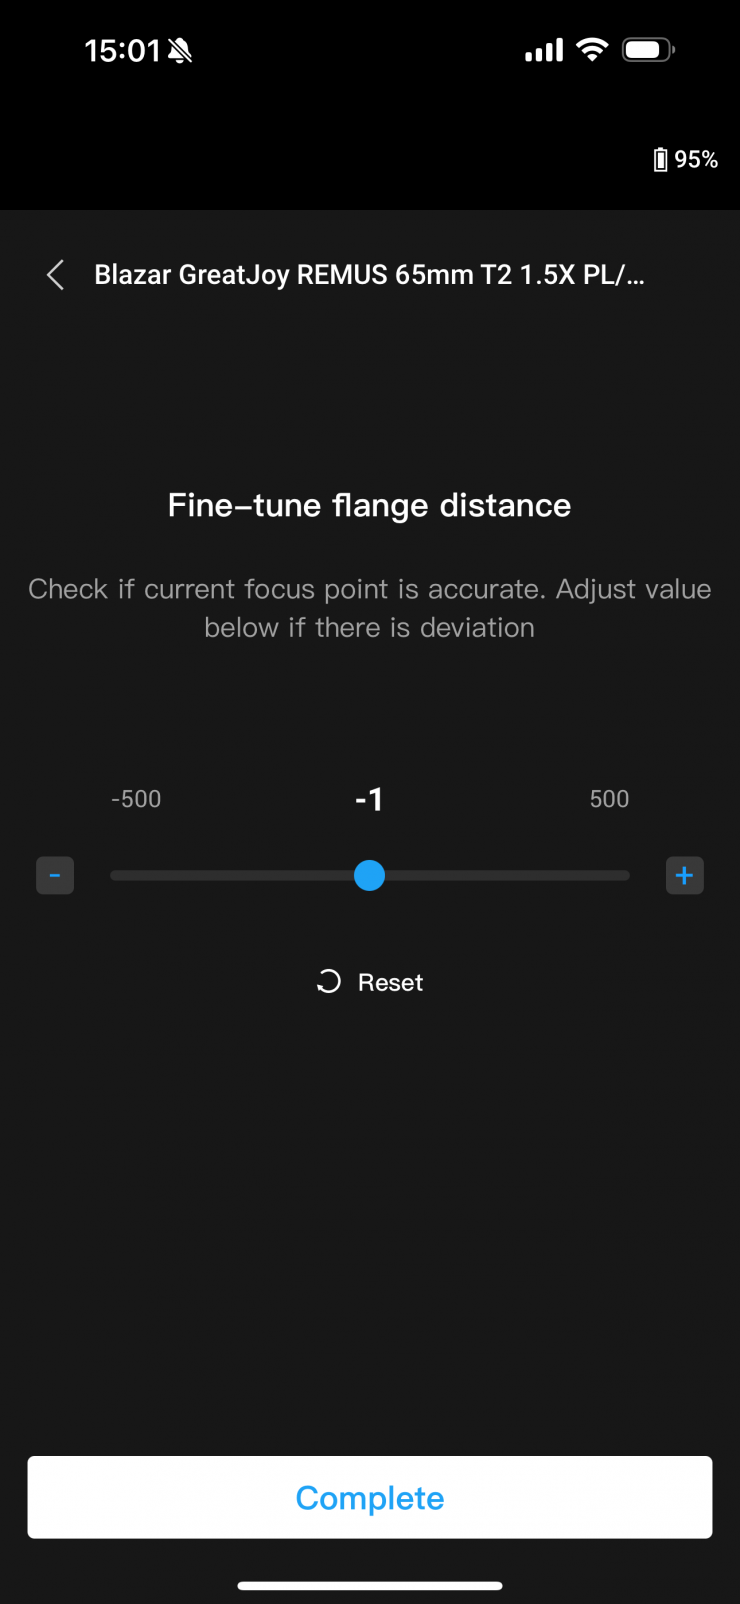
If you need to you can also make a tuning adjustment to the flange distance. This is relatively easy to do and very handy.
AF Tracking Sensitivity Settings
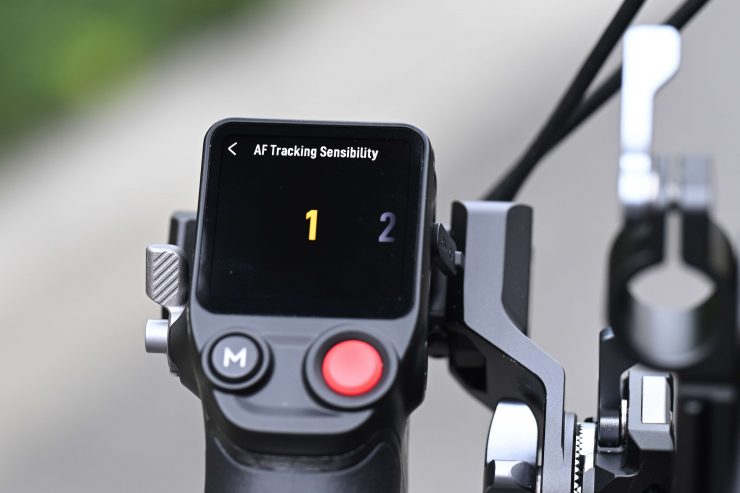
The AF Tracking Sensitivity can be set from 1 to 5. The larger the value, the faster the focus speed. I personally preferred to keep it on 1, and even at its minimum setting I found it to be a little too fast.
Focus Area Settings
You can tap the bottom left button on the screen to switch the focus area.
In Wide mode, the LiDAR automatically recognizes subjects such as people or cars and focuses on the subject nearest to the center of the camera view. If there are no people or cars in the camera view, the LiDAR will focus on the center of the camera view. Up to five subjects can be recognized in Wide mode, the white frame indicates the subject is selected and focused, the gray frame indicates the subject is recognized but not focused, and the yellow frame indicates the subject is locked. The subject can be locked and unlocked via the front dial or the trigger on the grip.
In Flex Spot mode, the LiDAR automatically focuses on the subject in the frame. Users can also tap the image or drag-select to select the subject.
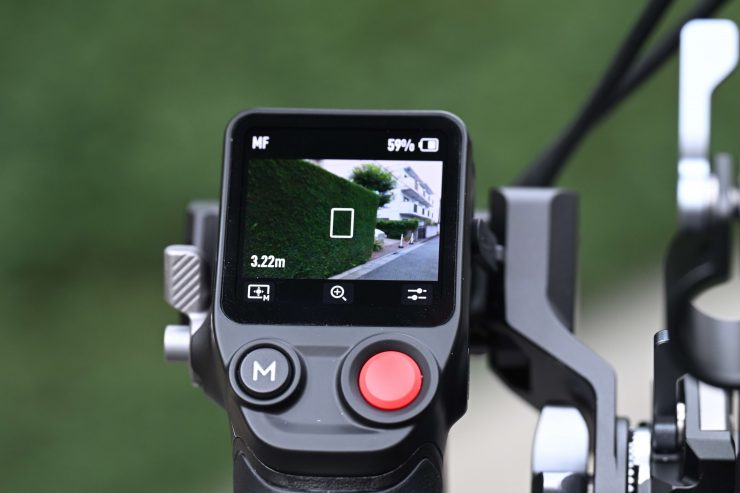
Normal view 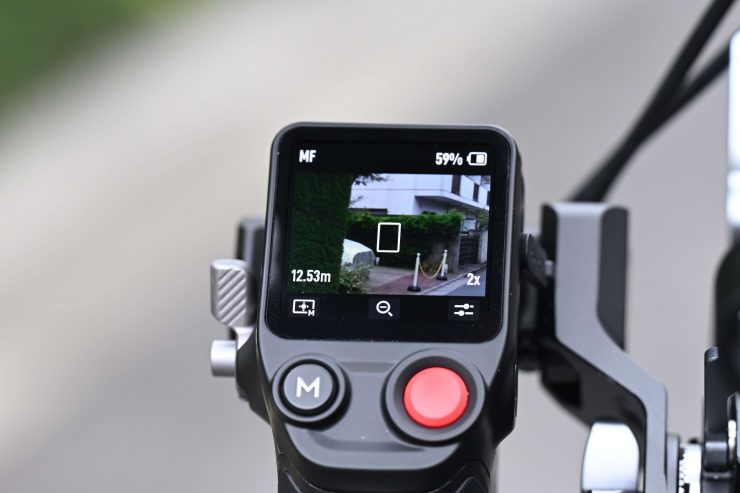
Enlarged view
You can tap the + and – icon to zoom in or out. The default equivalent focal length is 30mm, while the LiDAR focus distance is 0.5 to 10m. When the view is enlarged, the LiDAR focus distance is 0.5 to 20m.
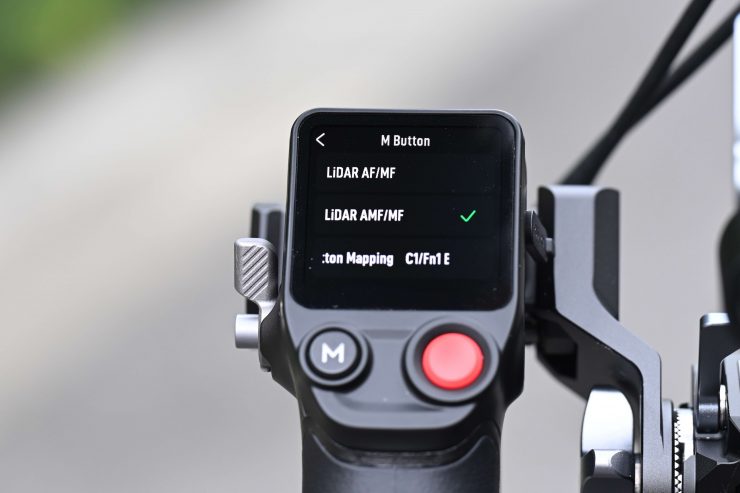
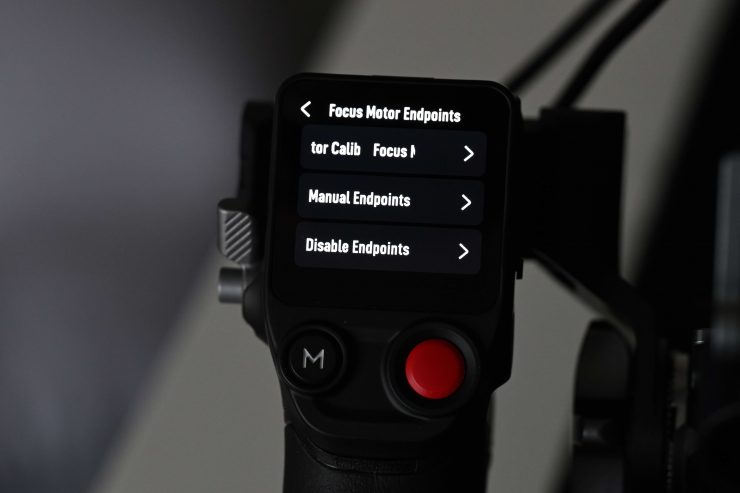
You can also change the focus mode settings by setting the M button function to AF/MF or AMF/MF via the grip touchscreen.
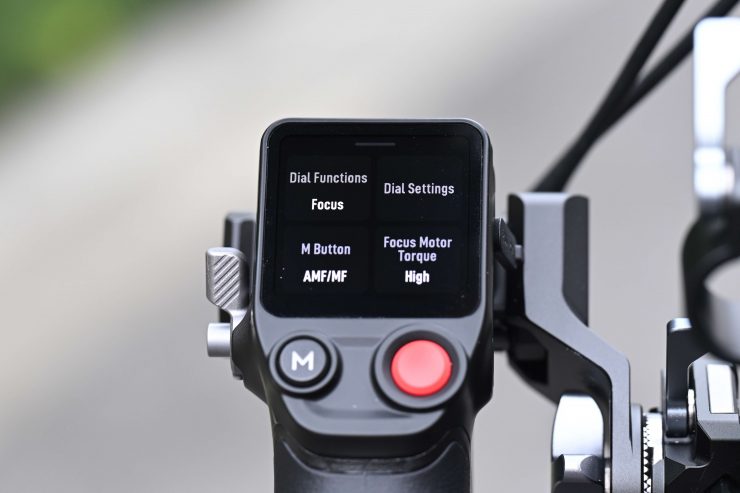
On this same screen, you can also change the torque of the motor and change what the dial does.
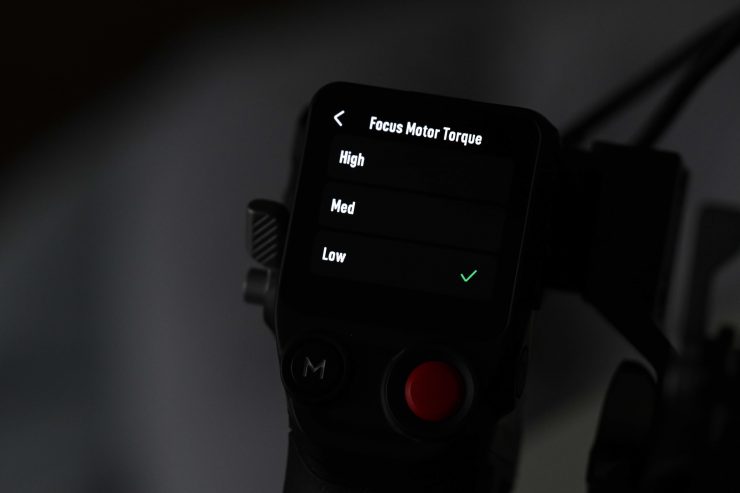
I left the torque setting on Low and I found that was easily capable of moving large and heavy cine lenses without any issues. I tried it on High and I found the torque was way to much.
AF: The LiDAR will focus automatically. The front dial can be used to select the focus subject (in Wide mode) and the AF Tracking Sensitivity can be set from 1 to 5.
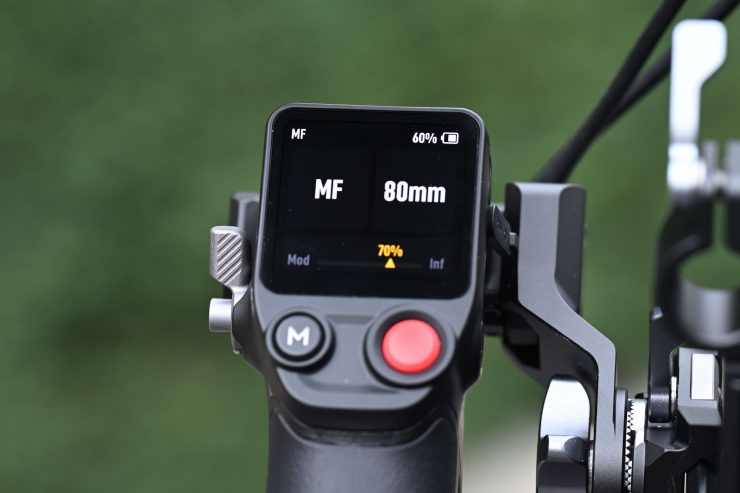
MF: Users can focus manually via the front dial, the focus range can be adjusted by changing the dial speed.
AMF: The LiDAR will focus automatically. The front dial will rotate when the focus changes, users can focus manually at the same time. Unfortunately, there is no subject shift speed adjustment for the AMF setting
I did find this the best mode to use and you can set the AF on a certain point and then use the dial to transition between two focus points. While this is a little tricky to do because the dial is pulling against you, it does work well for some shots as long as you can feather the dial smoothly enough.
On the LiDar unit, there are the following buttons:
Function Button
Press once to switch lens profiles. Press twice to calibrate the motor. Press and hold to enter sleep mode for LiDAR, and press once to exit sleep mode.
AF/MF Button
Press once to switch between auto focus and manual focus.
Status LED
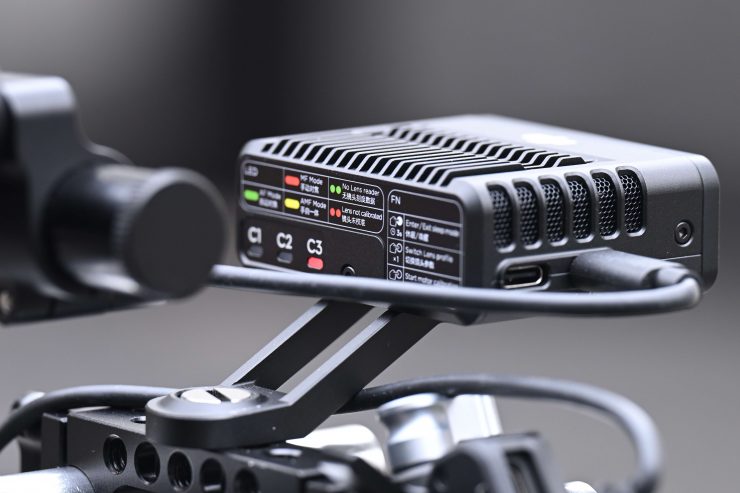
Indicates C1, C2, or C3 lens profile is in use when C1, C2, or C3 is on.

Battery Time
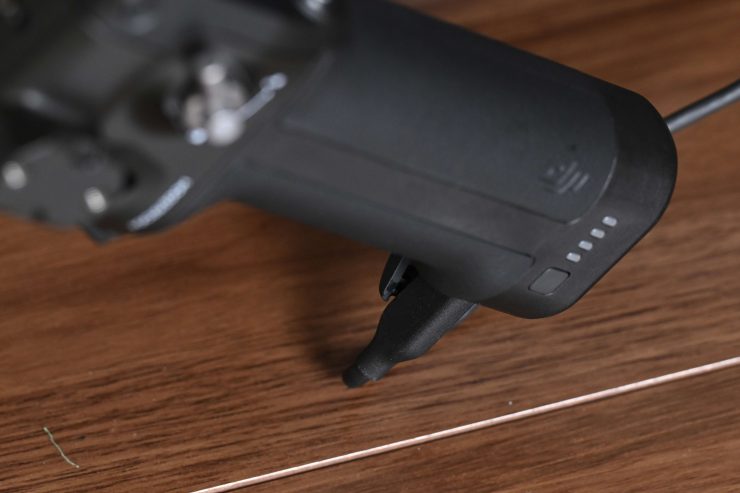
The battery time isn’t great for the Grip. You can get around 2.5 hours of continuous run time when the AF LiDar is activated. This is far from ideal and DJI really needed to think a little more carefully about how people are likely to use this.
While USB-C is fine, you may well be asking, shouldn’t DJI offer alternative powering solutions? Well, here’s the problem with that. The way the system has been designed it requires the use of DJI’s own USB-C cables as they need to send both data and power and this is why you can’t power the LiDar or the motor with other options. DJI could, however, give you an alternative way of powering the Grip, because it is the grip that is powering everything else.
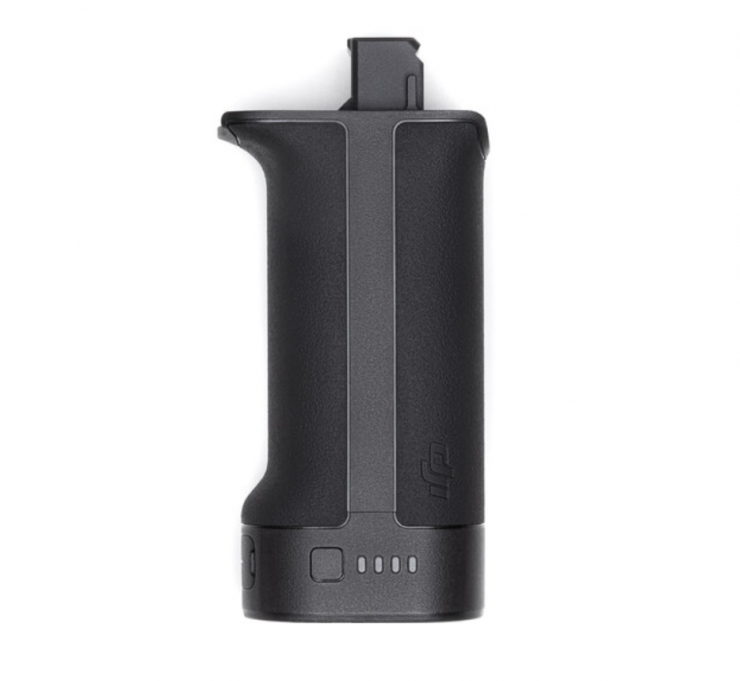
You really need to buy an additional DJI RS BG21 Battery Grip if you want to run the system for extended periods of time.
You can also run another cable to the Grip to power it via a power bank or battery. I didn’t find this solution to be that great because of the location of the USB-C input on the Grip.
DJI Ronin App
As I mentioned earlier, you need to download the DJI Ronin App to register the product and activate it.
Rear Filters will cause problems
If you want to use this system in combination with rear filter systems that can be an issue because you are changing the flange distance. What you need to do if you are going to do this is to fine-tune the flange distance in the set-up menu on the smartphone app to get the right back focus so the system works correctly. You need to select Fine Tune Flange Depth and use the slider to make an adjustment until the focus is corrected. Unfortunately, this is only available for lenses that are already in the DJI database.
If you are adding a lens manually and not using the database then you should be fine as you do the setup with the rear filters in place.
DJI currently doesn’t give you the option to store back focus settings with certain lenses which would be very handy.
Can you use it with lenses that don’t have hard stops?
DJI does not recommend using Photo/DSLR style lenses that don’t have hard stops with the DJI Focus Pro ecosystem. With lenses that have no mechanical hard stops, the position for manually stopping the lens focus ring cannot be controlled with any type of accuracy which will result in inaccurate focus.
AF Performance
Nobody for one second should think that this product is going to be able to go head-to-head with AF systems on mirrorless hybrids and some digital cinema cameras. The AF system is ok when people are center-framed. With other items, it is very hit-and-miss and it reminds me of the early days of DSLRs and AF. If you think you are going to get an AF system that rivals what Sony, Nikon, and Canon do then you are going to be very disappointed.
Above you can see some quick example footage of how it performs. For the most part, it works reasonably well, although the biggest problem I found is that it isn’t always consistent or reliable.
It does have a habit of hunting and if you press AF when in MF mode on the Grip it does do some strange things. I would only really recommend it for tracking or shooting people.
Faces
Let’s face it, for a lot of the content that is being shot, there are usually going to be people being filmed. The whole reason I bought the DJI Focus Pro LiDAR System was for those times when I need to track someone’s face when it becomes a little difficult to do manually.
This works reasonably well as long as the person stays toward the center of the frame. It certainly isn’t foolproof and it can lose focus at times, but generally, I was pretty happy with its performance.
It’s not a magical solution
This system isn’t a one-stop solution that is perfect for every situation. You need to be aware of how it works in different environments and conditions and use it accordingly. I didn’t buy it thinking for one second that I could just put it on my camera rig and get the same AF performance as a Sony, Canon, or Nikon camera. That wasn’t the point of buying it. I bought it for select situations where I wanted to do specific shots.
It does seem to play catch up and it sometimes feels like it is constantly adjusting from out of focus to in-focus if you look at it carefully. It isn’t as snappy or as realiable as a lot of modern day AF systems.
Caveats
The biggest caveat with the system is that it needs to take into account the needs of users.
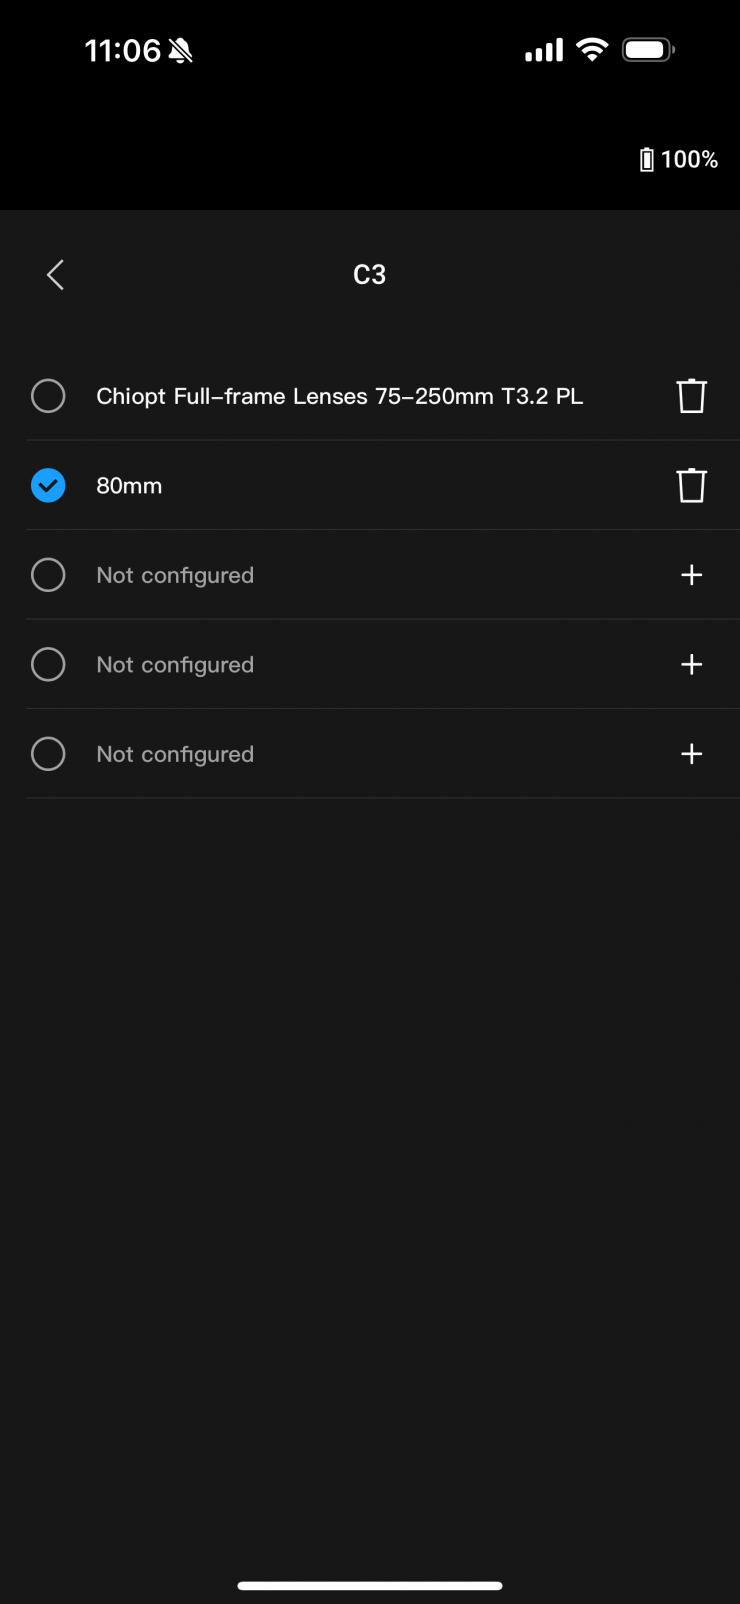
You need to be able to store more lenses and name those lenses correctly. You should also be able to enter focal lengths of over 100mm and set up the AF correctly. There is absolutely no reason why DJI couldn’t have a much larger database of lenses for people to choose from. This is something that needs to be addressed.
Nobody wants to be stuffing around with equipment on set, especially for a product that is arguably being targeted at solo operators or small crews.
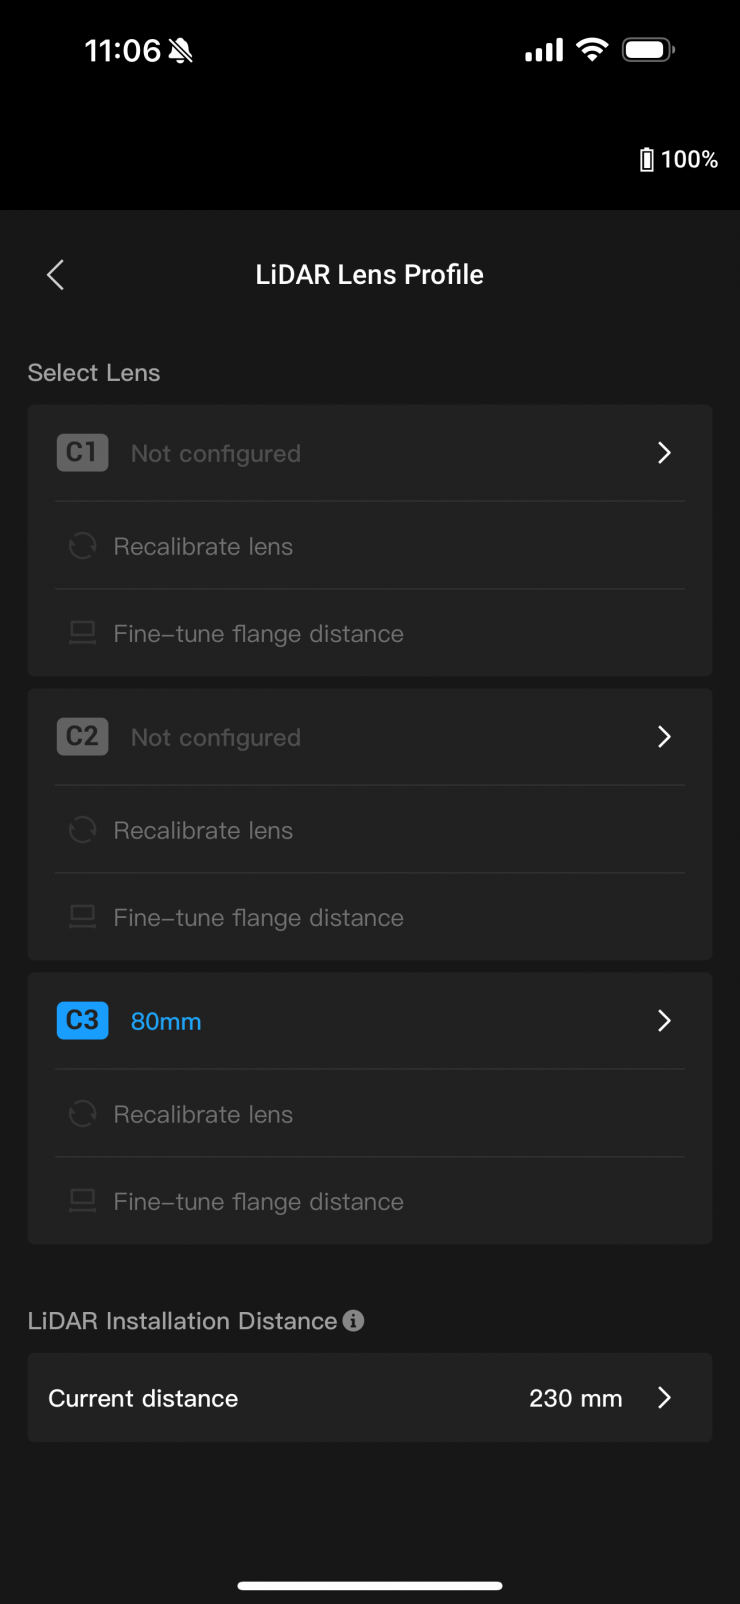
You should also be able to make a Flange Depth adjustment to a lens once it has been manually added, but this is greyed out on the DJI Ronin App.
Not offering longer cables is also an issue.
There should also be a way of setting A and B focus points on the Grip, which would be very useful.
Specifications
Final Thoughts
Don’t get me wrong, I like the concept of the system, but in its current guise, it can be too slow and fiddly to use for certain applications, especially if you need to keep changing over lenses or are working in fast-paced environments. It is certainly handy for certain shots and it works reasonably well as long as you are aware of its strengths and weaknesses.
The physical size of the handgrip is not ideal and the short cables make it difficult to use with certain camera combinations.
It’s really a product that you need to set up and leave attached to your camera, even if you are only going to use it occasionally. I personally found that it was just too big and kept getting in my way, but it will really depend on what type of camera you are using and how you like to work. Some people are bound to love this product, but my expectations going in were reasonably measured and the product didn’t exceed what I was expecting it to do.
While you can just use it as a lens motor for focus or iris there are arguably cheaper and smaller solutions that can do that job with less hassle.
I think this is a product that over the course of a couple of iterations will eventually get to a point where it is a lot more user-friendly. Having the ability to adapt pseudo-AF to cinema lenses is something that wasn’t possible before, but I can’t help but think that if you want to use AF just get a camera and lens combination that allows you to do that without any of the hassles.

