Nikon has released several videos about the benefits of N-RAW and how to shoot with it.
The videos released are fairly basic and don’t go into a ton of depth, so I decided to feature my own thoughts about using N-RAW.
It is interesting to see Nikon releasing videos about N-RAW after they purchased RED. I think a lot of shooters will be more interested in seeing when or if RES RAW will be implemented into future Nikon cameras.
N-RAW
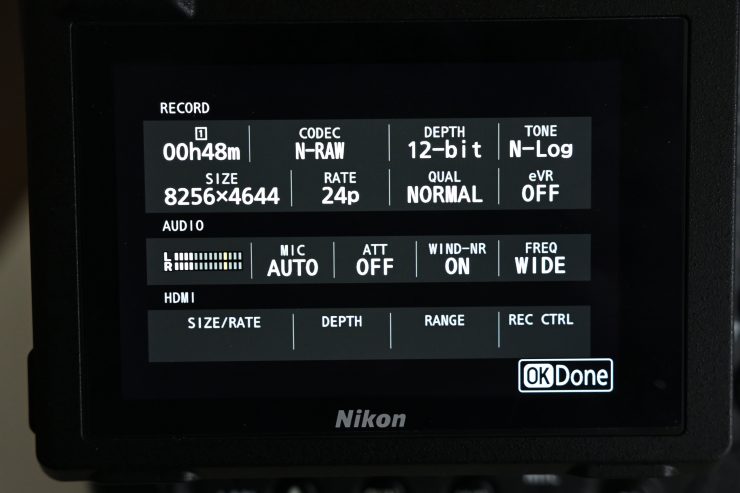
The Z9 can record 8.3K (8256 x 4644) 60p in Nikon’s N-RAW format or up to 4.1K 60p in ProRes RAW HQ. According to Nikon, this allows the Z9 to capture the largest possible color depth and a vast dynamic range for maximum flexibility when color grading and in post-production.
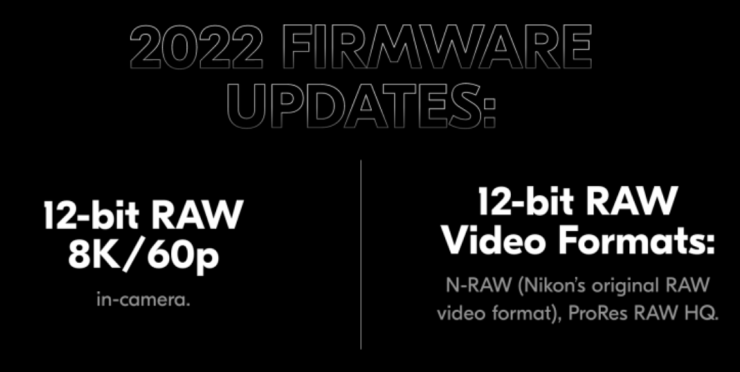
Nikon’s N-RAW (.NEV file) produces a 12-bit RAW video file that’s half the size of equivalent ProRes RAW HQ files. The whole aim of N-RAW is to create smaller file sizes so users can record for longer periods of time as well as have fewer data-intensive files to work with in post.
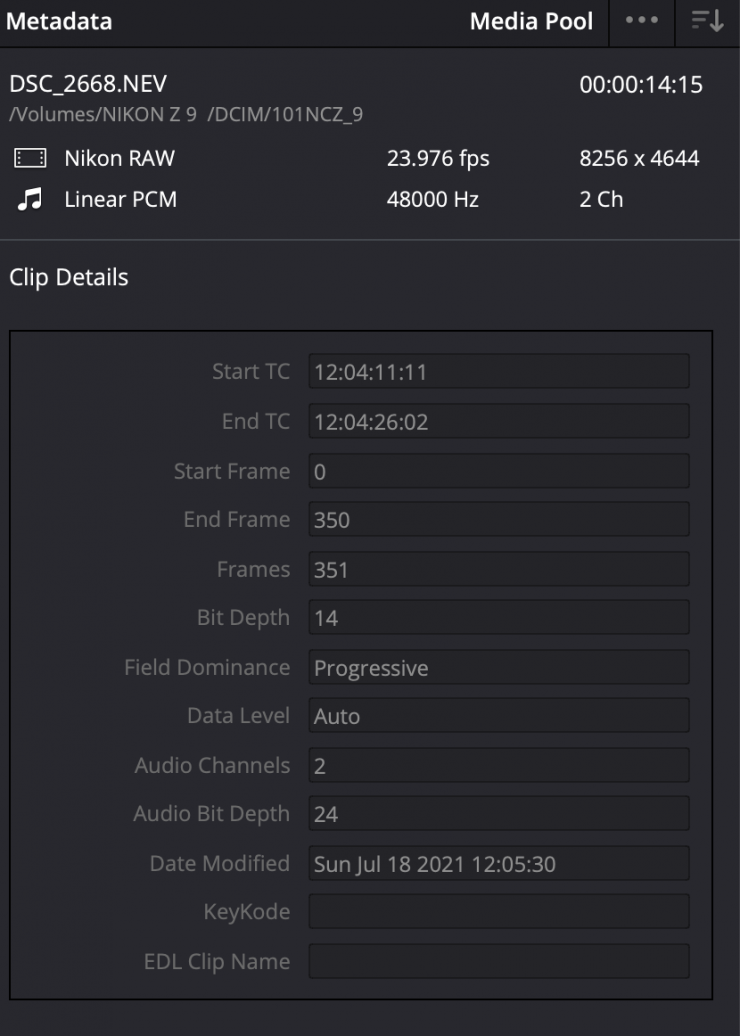
Strangely DaVinci Resolve shows N-RAW as being 14-bit and not 12-bit but I have a feeling it is simply just displaying the linear RAW value and not the Log value.
N-RAW footage on the Z9 can be recorded in the following formats:
Full Frame/FX Mode
- 8.3K 60p
- 8.3K 50p
- 8.3K 25p
- 8.3K 24p
- 4.1K 120p
- 4.1K 100p
- 4.1K 60p
- 4.1K 50p
- 4.1K 30p
- 4.1K 25p
- 4.1K 24p
2.3x Crop
- 3.8K 120p
- 3.8K 100p
1.5x DX Crop
- 5.4K 60p
- 5.4K 50p
- 5.4K 30p
- 5.4K 25p
- 5.4K 24p
What is nice is that when you record N-RAW it also creates an mp4 proxy file. You don’t have to select this in a menu, it automatically creates the proxy file as soon as N-RAW is selected.
In N-RAW you have a choice of two-tone modes: SDR and N-Log. This is quite unusual for a RAW format. If you choose SDR you have access to various picture profiles and other settings, which at least in my opinion, makes little sense when shooting RAW.
There are also two quality settings High and Normal
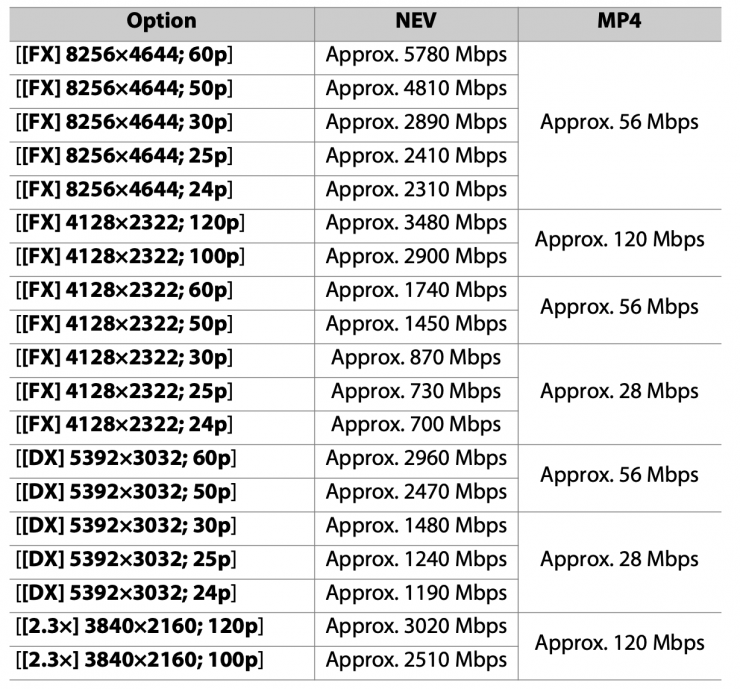

N-RAW High Quality 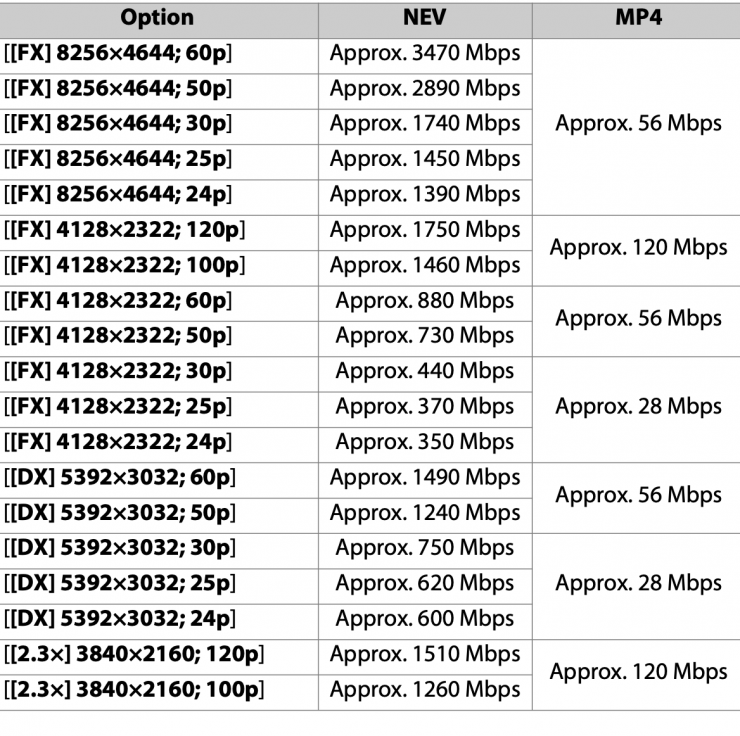
N-RAW Normal Quality
Above you can see the bitrates when recording in N-RAW High Quality and Normal. There is a fairly big difference in the recorded file sizes for these two modes. TicoRAW does have three different compression ratios, but Nikon doesn’t list what the High Quality and Normal modes are.
Despite the file sizes being fairly small for 8K RAW, a 1TB CFexpress card will let you shoot 23 minutes of 8K 60p N-RAW in the High Quality setting. If you switch to the Normal quality setting you get 38 minutes.
At the time of its launch, it was interesting to see that the Z9 had the ability to be able to record N-RAW and ProRes RAW internally. I was quite skeptical at the time that this would actually materialize because we have seen both Kinefinity and DJI announce cameras with internal RAW and then subsequently that was been removed before they ever shipped.
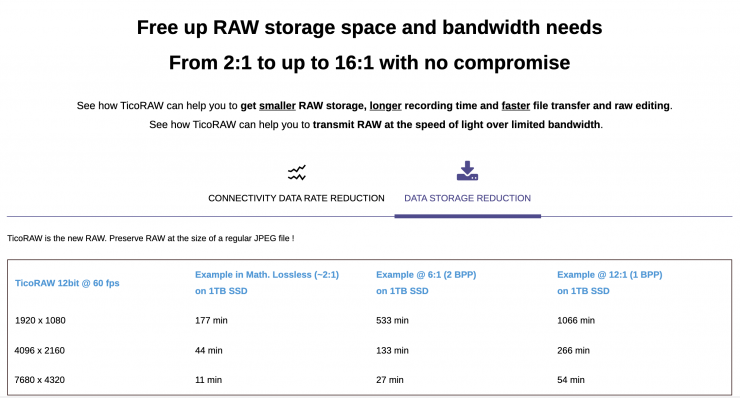
The Z9/Z8, and Z6 III use a high-efficiency RAW codec for stills that comes from intoPIX. intoPIX also makes a video version of this same RAW codec called TicoRAW. One of the options available is IPX-TicoRAW-8K (up to 8192-pixels width). This is available in 12-bit and up to 60fps. This is what Nikon is using in the Z9.
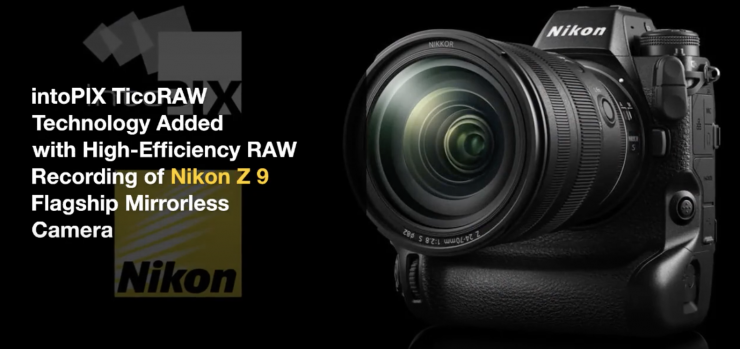
Here is what intoPIX officially said a few years ago when the Z9 launched: The new Z 9 camera offers High-Efficiency RAW recording up to 8K and 60fps (available through the 2022 firmware update), preserving all the benefits of the RAW format, while ensuring very low power processing and very fast transfer speed.
With TicoRAW, the full quality of the captured sensor data is preserved while reducing the bandwidth and the storage needs. It can be used for both Still pictures and RAW movies. This patented technology offers high image quality, and the capability to manage very high resolutions, high frame rates and high dynamic range workflows. TicoRAW is the world’s first RAW codec that can offer compression efficiency with such low complexity. It also has the advantage of retaining this very fast format for editing, regardless of resolution and/or frame rates used.
Now, in saying that, RED did take Nikon to court, but that case was dismissed. Subsequently, Nikon bought RED.
So how do you deal with N-RAW?
Here is where things get a little tricky as there aren’t many options for dealing with N-RAW. DaVinci Resolve is arguably the best program to use if you are shooting N-RAW.

In DaVinci Resolve you can see your N-RAW clips as well as the MP4 proxies.
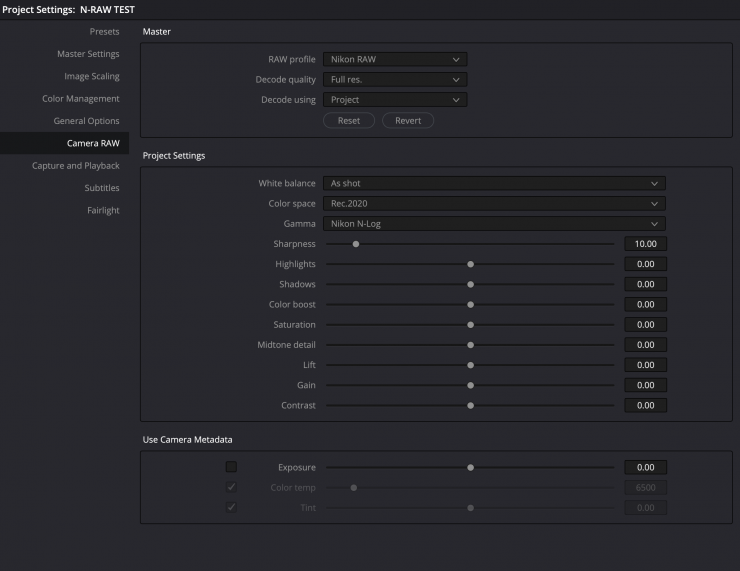
In your Project Settings, you can set your camera RAW to Nikon RAW (N-RAW) and you can see what adjustments are available for you to use.
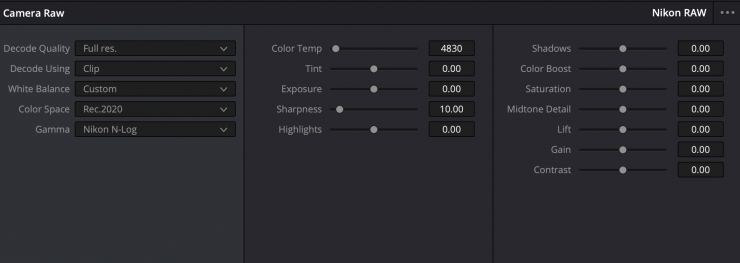
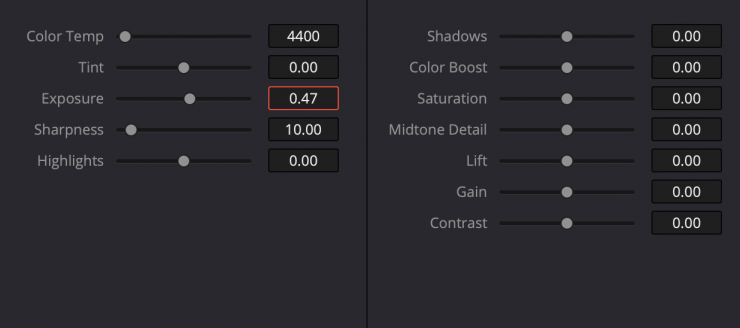
On the color page, you can also change these parameters if you don’t want to do it earlier. What you will notice is there is no way of adjusting your ISO in post with N-RAW. There is, however, an exposure slider that you can use to obtain a similar result as if there was an ISO adjustment. I actually don’t mind using the exposure slider because you can adjust it in very small increments whereas an ISO exposure only lets you make larger adjustments. Yes, a dedicated ISO slider would have made more sense, but it’s hardly a deal breaker.
You expose for N-RAW in exactly the same way as if you were shooting Log in H.655 or ProRes. In that respect, there is no real learning curve if you haven’t shot RAW before and are a little bit worried about trying it out. Just expose as you would when you are shooting Log and you will be fine.
There is no magical increase in dynamic range when shooting in RAW and nor should there be. No camera has more dynamic range when shooting in RAW as opposed to Log.
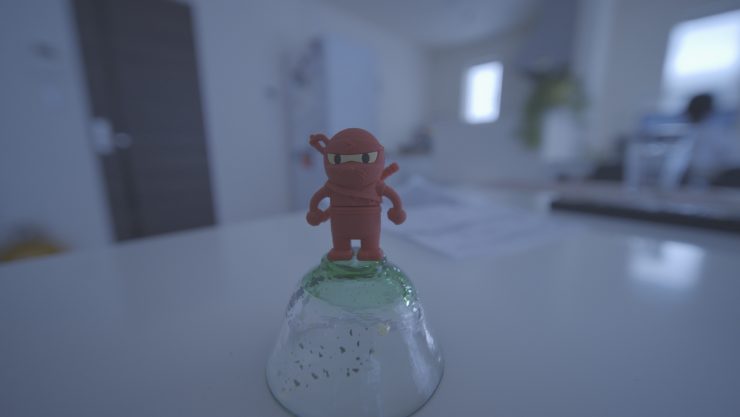
N-RAW material behaves in a very similar way to most RAW formats and it is reasonably easy to make adjustments to your images. Some people have the misconceived opinion that they need to shoot in RAW when most people actually don’t. If you shoot in a good quality codec and you get exposure and white balance in the ballpark then there are no massive advantages to shooting in RAW.
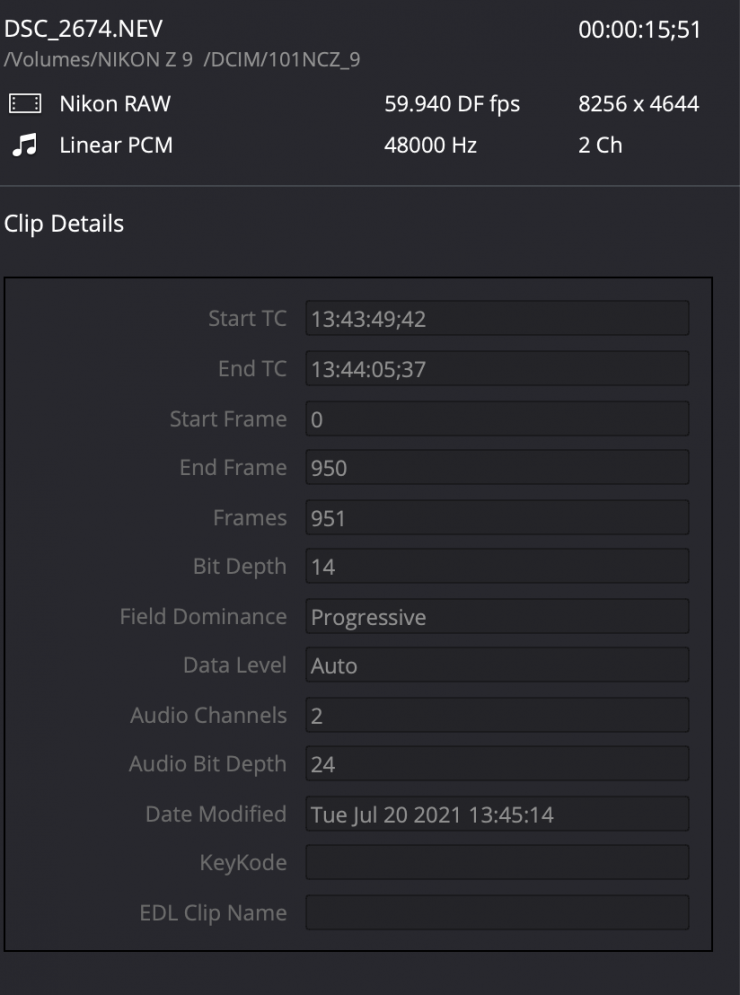
As I previously mentioned you can shoot N-RAW in 8256 x 4644 at up to 59.94p.
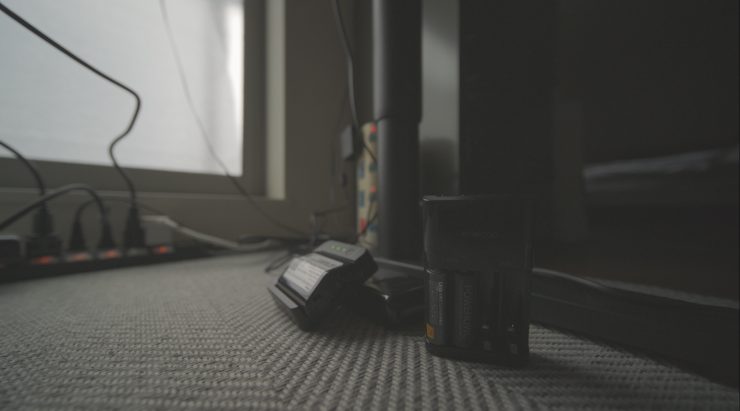
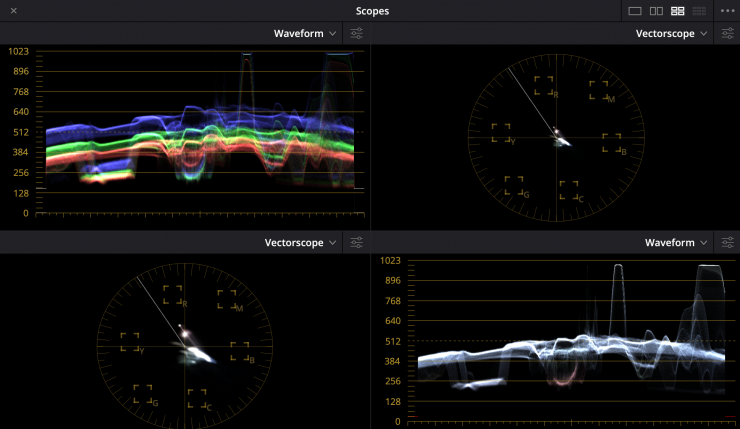
As a test above is an image captured in 8256 x 4644 59.94p at 800ISO. I have also included a shot of the waveform as well. This is a challenging scene because we have a very bright window and some very dark areas. We do have a tiny amount of clipping in the highlights and there is still information in shadows, although not a lot.
If you over-expose highlights you can’t use highlight recover in your RAW settings to bring anything back. Because the camera clips highlights quite aggressively, there is no information there that you can recover, even when shooting in N-RAW. You also don’t want to underexpose your image because that will result in quite a lot of noise being introduced into your images. The best advice I can give is to just try and expose correctly in the first place. RAW is not some magical fix where you can incorrectly expose your images and just assume you can fix everything in post.
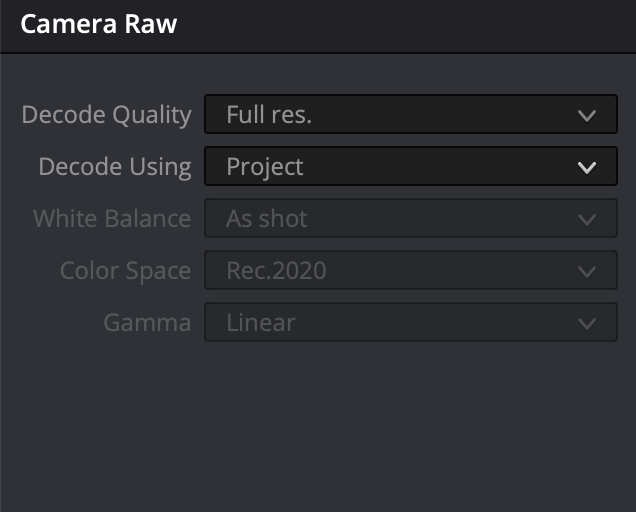
You can still shoot in N-RAW and instead of selecting N-Log as your gamma, you could choose linear instead and then do a color space transform and change it to something else.
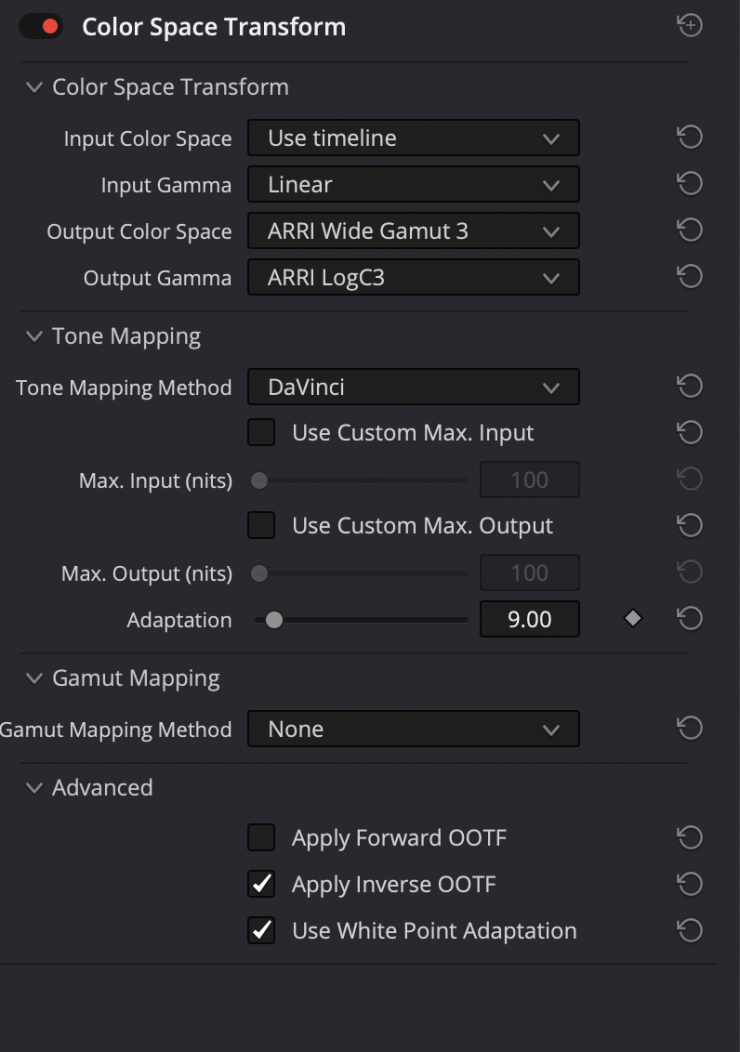
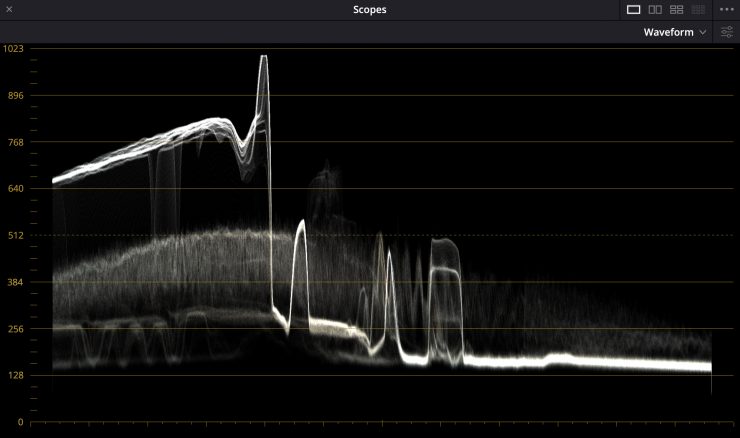
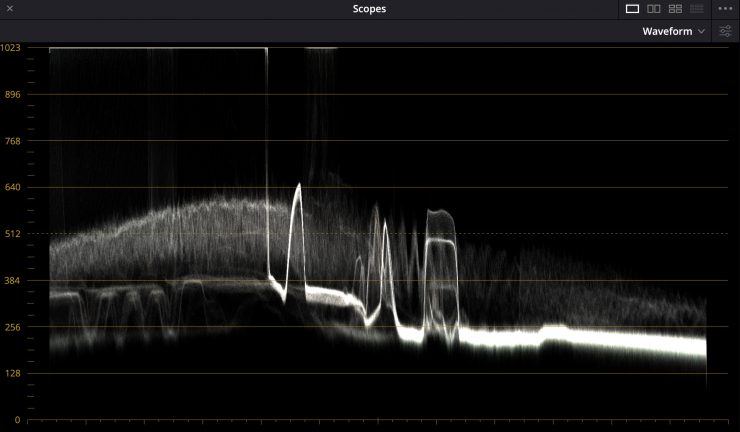
Why would you want to do this? That is a good question. You are not going to magically get better dynamic range, but what will happen is that the tonal values of your image will be distributed differently. What I found when using the Z9 is that it tends to crush the shadows quite a lot and if you underexpose your image you end up with a ton of noise. So will changing the gamma to linear and doing a color space transform help?
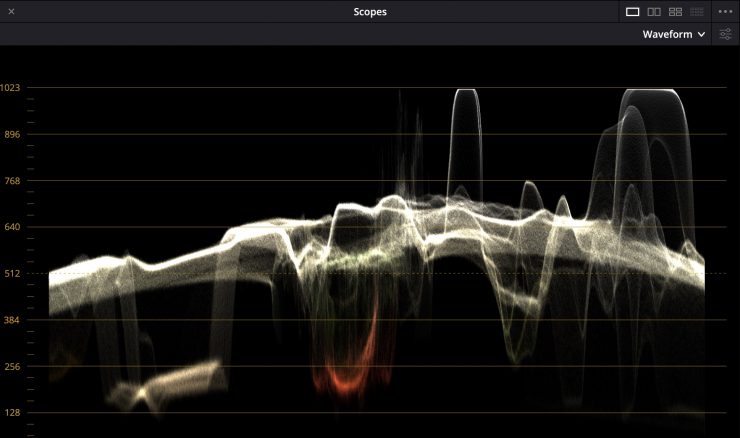

N-Log Gamma 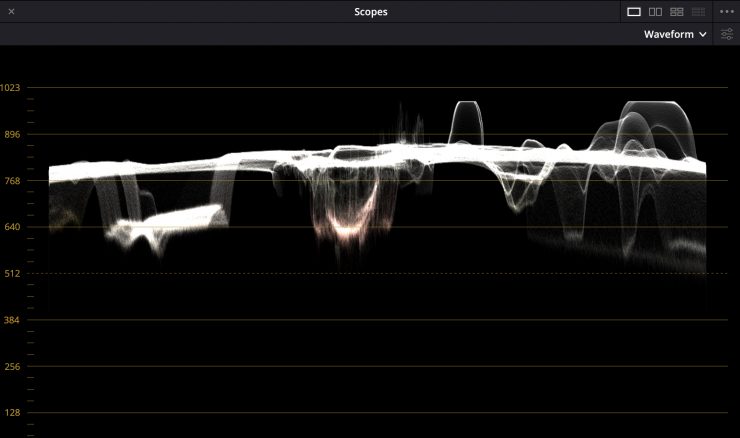
ARRI LogC3
Above you can see that the distribution of the tonal values changes dramatically if you choose Linear instead of N-Log as the gamma and then do a color space transform to use ARRI LogC3. While this can work, it does introduce extra steps and I don’t honestly feel that you gaining that much by doing this.
You also have to be very careful when using this method because depending on the type of shot you have you can introduce a ton of noise and you can end up hard clipping highlights. If the lighting in your shot is fairly even then it works well, but if you shoot a very contrasty scene you can run into big issues. The safety net behind all of this is you don’t have to use one particular method. Changing the gamma to linear might work for some things and not for others. How you process the RAW images is entirely up to you.
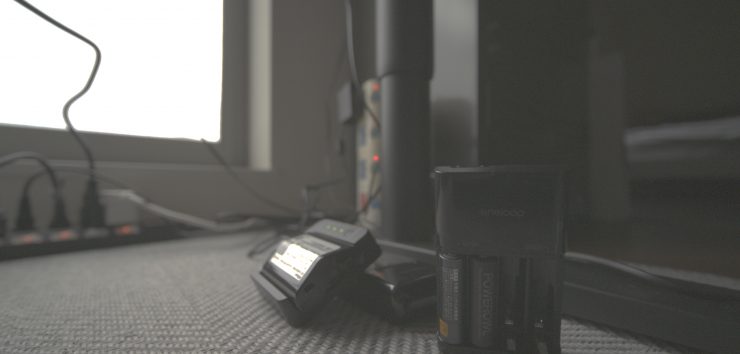
Above is a clear example of what can happen if you change the gamma to linear and then do a color space transform to say ARRI LogC3. Look what just happened to my image. I can’t recover this image. When I tried setting the output gamma to Panasonic V-Log and the output color space to Panasonic V-Gamut I did get an image I could work with but it required a lot of steps to fix it. It was a similar story if I set the output color space to Sony S-Gamut3.Cine and the output gamma to Sony S-Log3.
You need to be very careful when setting the gamma to Linear on the Z9 and then doing a color space transform as you can get very mixed results.
I am also not a fan of the N-Log LUT that Nikon provides. It is way too overly saturated and extremely contrasty. Using this method of changing the gamma to linear and then doing a color space transform seems to yield pretty decent results and you could use this as an alternative method of dealing with the N-RAW material.
The RAW images, like all RAW images, will be noisier than their Log or baked-in picture profile counterparts. Do I personally see any big advantage in shooting in N-RAW? Not really, unless you want to capture in 8K because you can’t shoot 8K ProRes. RAW does over increased flexibility in post, but it is also a lot more effort and work and ultimately I don’t think you get far superior results as opposed to shooting in Log.



-275x154.jpeg)
