The Saramonic K9 Digital Duo is an all-new wireless microphone system that operates in the wideband UHF spectrum rather than the crowded 2.4 GHz band.
The Saramonic K9 offers features such as 32-bit float internal recording and simultaneous wireless transmission (outside the US), user-replaceable batteries, 3 mm miniature lavalier mics, IFB real-time monitoring, and timecode support
There are only a handful of UHF systems on the market and it is good to see more competition in this space. There are far too many 2.4 GHz systems available, and at least in my opinion, UHF systems offer far better reliability and range for a lot of professional applications.
According to Saramonic, the K9 Dual-Channel Digital UHF Wireless Microphone is a digital wireless solution designed for professional filmmaking teams, offering clear, stable, and easy-to-use performance. Utilizing 550-940 MHz UHF wideband technology with automatic frequency scanning, and Saramonic’s proprietary LNA RF technology, it is claimed to deliver exceptional interference resistance and stability, ensuring efficient audio transmission in complex environments.
For this review I will be looking at the international version.
Key features
- 550-960 MHz Digital Ultra-Wideband UHF Transmission: Powered by proprietary LNA (Low Noise Amplifier) RF technology, it delivers enhanced anti-interference performance and global compatibility.
- Built-in Timecode Reception on Transmitter: Enables audio-video synchronization on set, supporting third-party wired input and wireless sync via the Saramonic System software (up to 48 devices).
- High Dynamic Range: Input dynamic range reaches up to 130 dB, and analog output achieves 120 dB, maximizing audio detail preservation.
- 32-bit Float Internal Recording: Equipped with a 32 GB Micro SD card, it captures detailed audio, including loud and low frequencies.
- Ultra-Compact Lavalier Microphone: Combines 20 mV/Pa high sensitivity with precise signal processing to deliver clear audio details. Reinforced anti-tensile cables ensure durability, and IP67 dust and water resistance provide professional-grade reliability.
- Dual-Screen Receiver Design: Features front and top screens for quick device status monitoring, along with 8 color-coded tags for easy device identification.
- Saramonic System Ecosystem: Offers remote real-time monitoring, device control, and firmware upgrades.
- Versatile Power Options:
- Supports various external batteries and Type-C power supply with accurate power detection.
- Compact and Lightweight: CNC full-metal body design for portability and durability.
- Multi-Device Compatibility: Works seamlessly with cameras, audio recorders, computers, mixers, and smartphones.
What’s Included
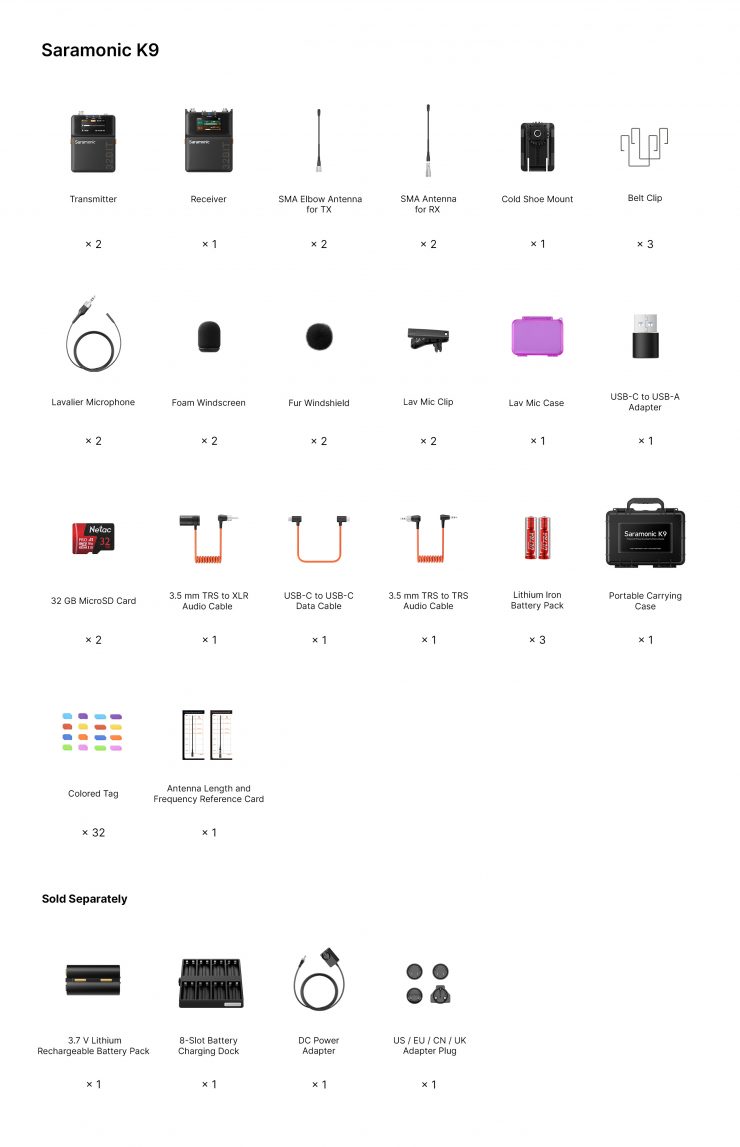
The kit contains everything you need to capture audio, including Micro SD Cards and some
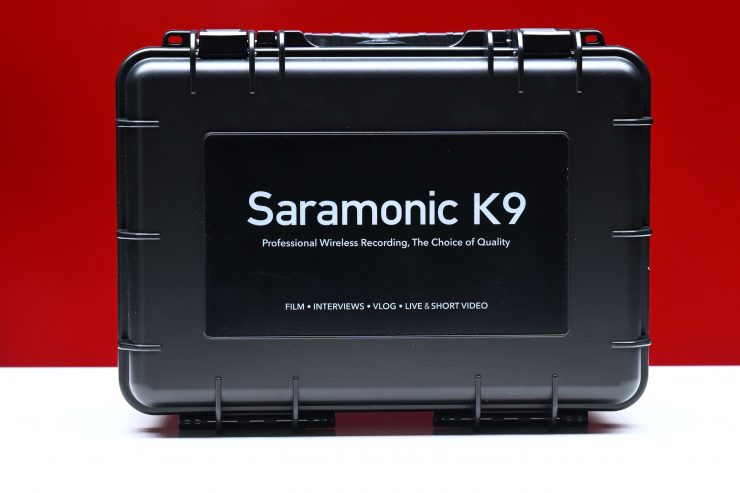
The K9 kit comes in a small hard case.
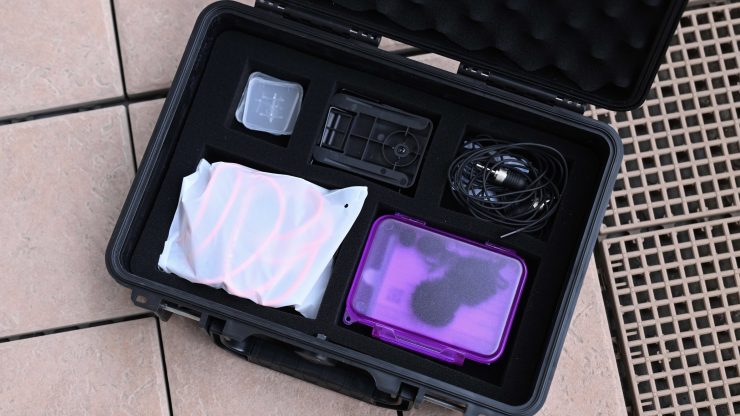
The case has a removable top tray where you will find all of the additional accessories that come in the kit.
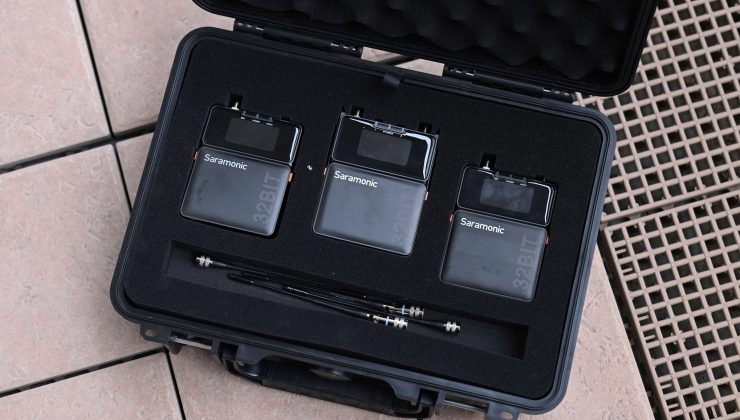
You do need to take the antennas off to store the TX and RX units in the case, but this isn’t a big deal.
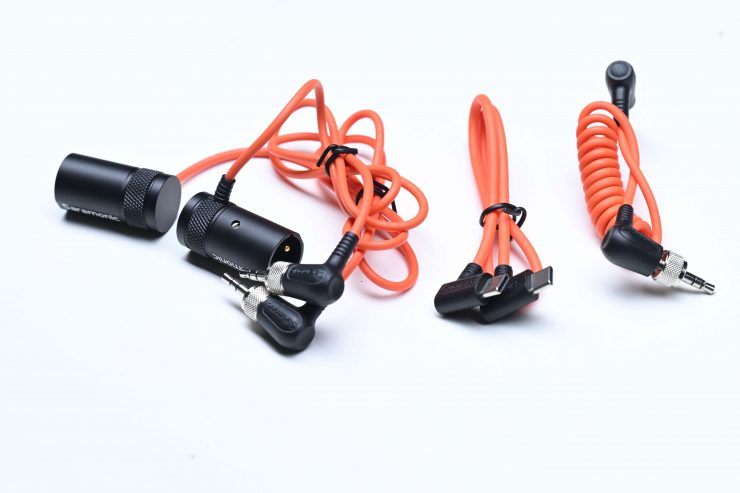
The kit includes two 3.5mm TRS to full size XLR cables, a 3.5mm TRS to 3.5mm TRS cable, and a USB-C to USB-C data cable.
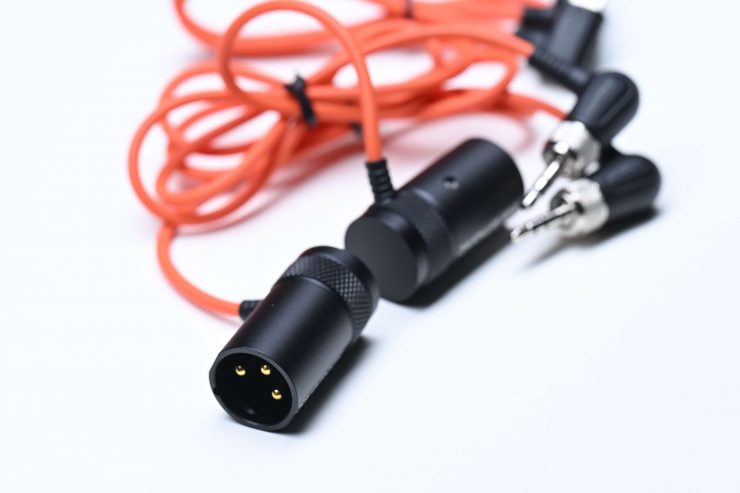
It is nice to get low profile XLR connectors in the kit.
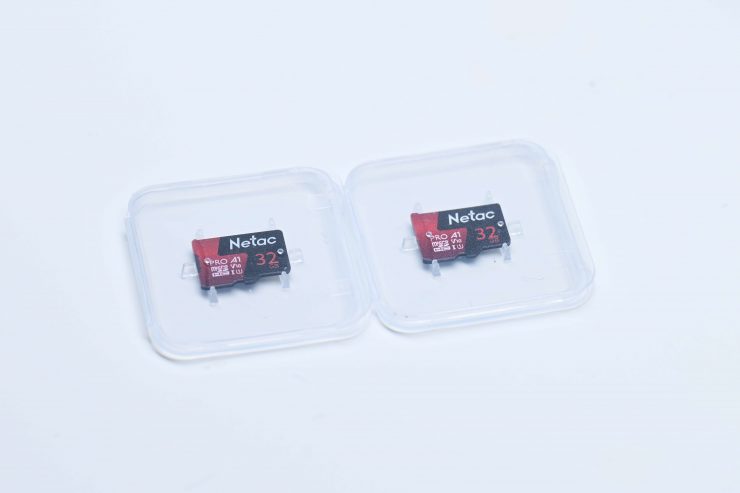
You also get two 32GB MicroSD cards. These will allow you to record about 45 hours of 32-bit float audio each. You can use cards up to 256GB in size, but that would be massive overkill in my opinion.
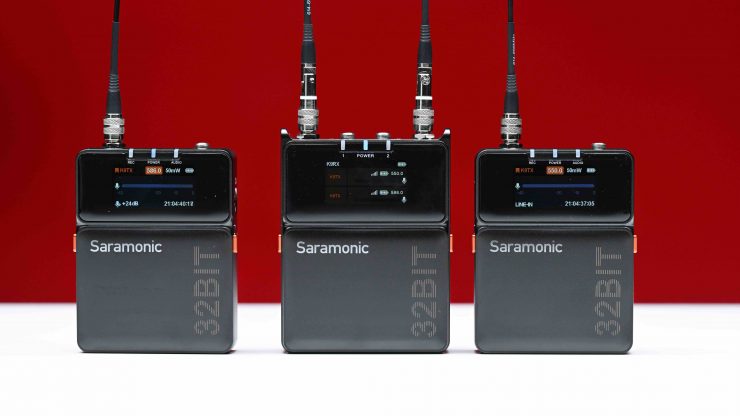
Dual Channel Receiver
The K9 dual-channel receiver is reasonably compact, and it is only marginally bigger than the TX units. It weighs in at 162g / 5.71 oz with batteries, belt clip, and cold shoe mount.
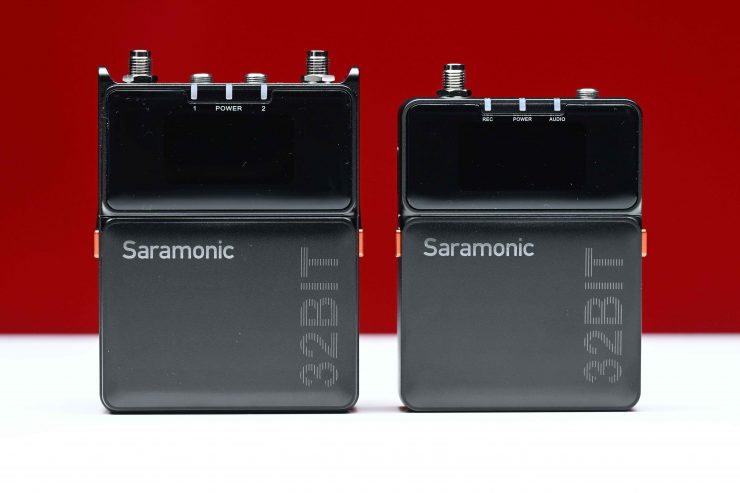

Above you can see how the RX compares in size to the TX,
So how does this weight compare to some of the competition?
| WEIGHT | |
| Saramonic K9 | 162g / 5.71 oz (with batteries, belt clip, and cold shoe mount) |
| Deity THEOS | 125g / 4.4 oz (with Antenna, Batteries) |
| Shure SLXD135 | 182g / 6.41 oz |
| Sennheiser EW-DP | 140g / 4.93 oz |
| Sony UWP-D27 | 159g / 5.6 oz (without Batteries) |
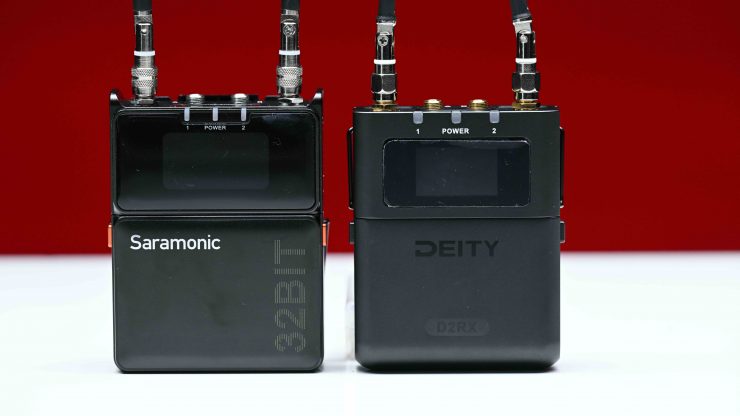
Above you can see how the size of the Saramonic K9 RX compares to the Deity THEOS RX unit.
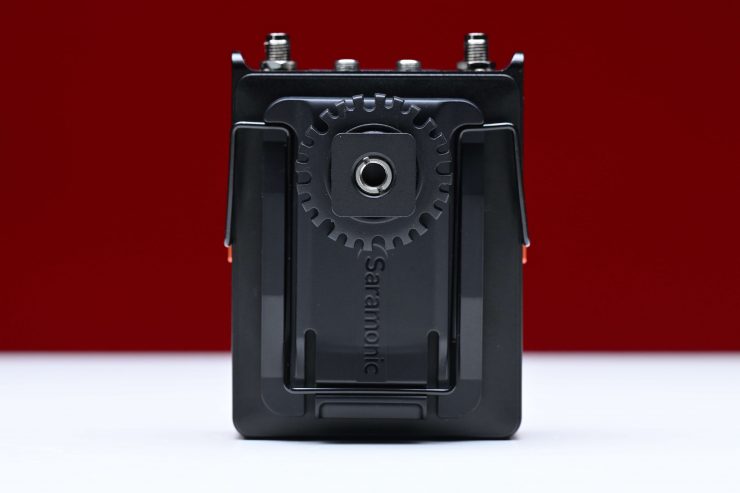
You can use the included cold shoe mount that attaches with a metal wire clip similar to other brands to mount it to a camera.
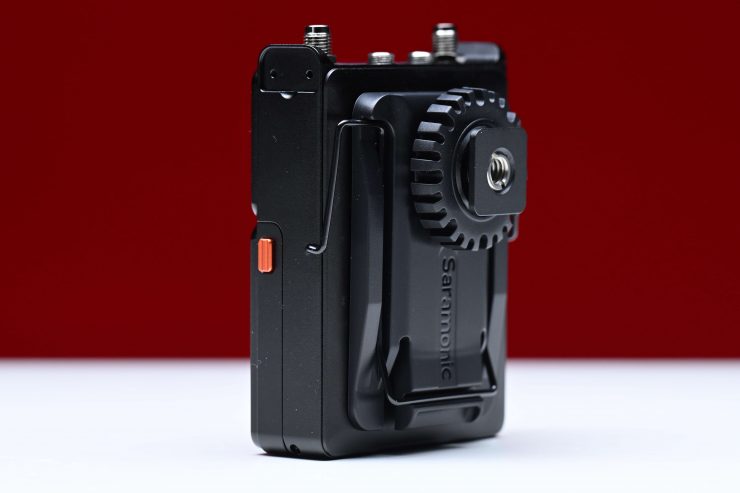
There are no physical mounting points on the TX; however, the cold shoe mount bracket features a 1/4-20″, so you could use that to mount it as well.
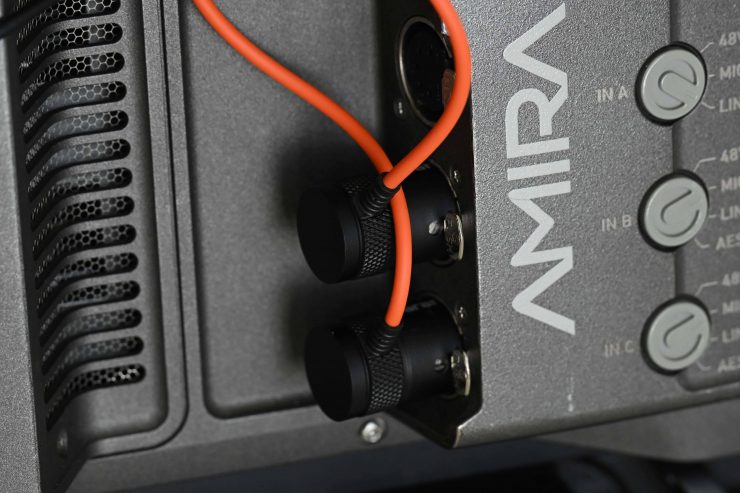
What you need to clearly take into account is that the physical size of the K9 RX unit may not make it suitable for some smaller sized cameras. UHF wireless radio mic receivers are a lot larger than their 2.4 GHz counterparts.
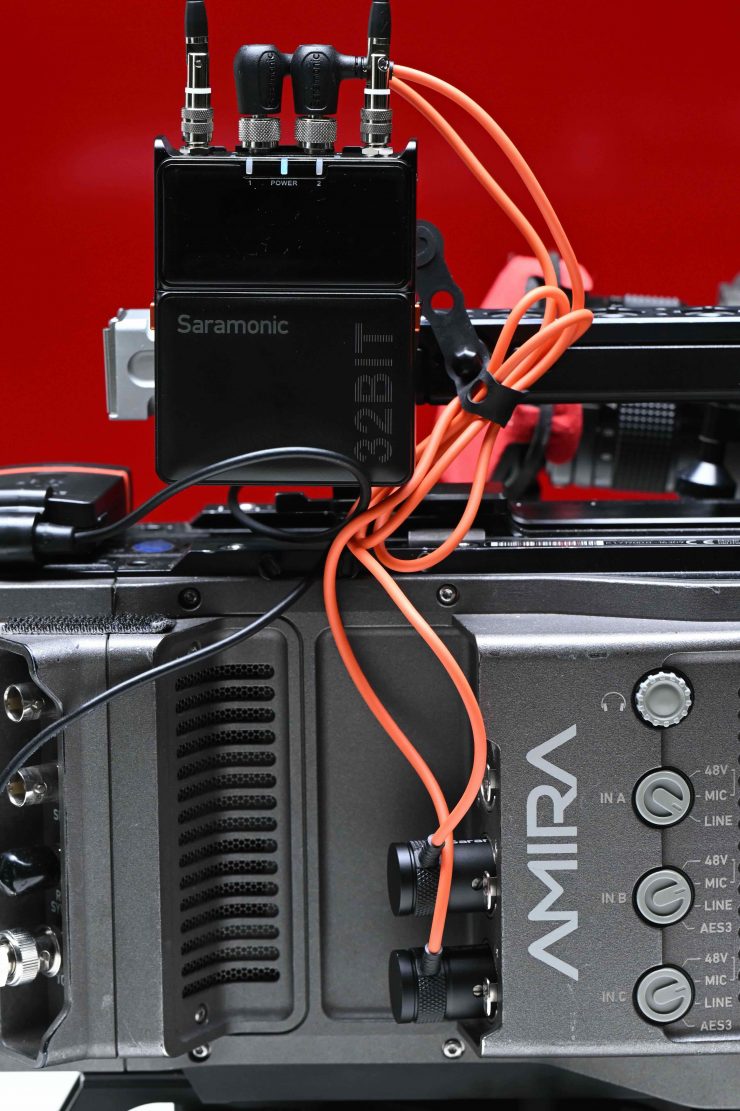
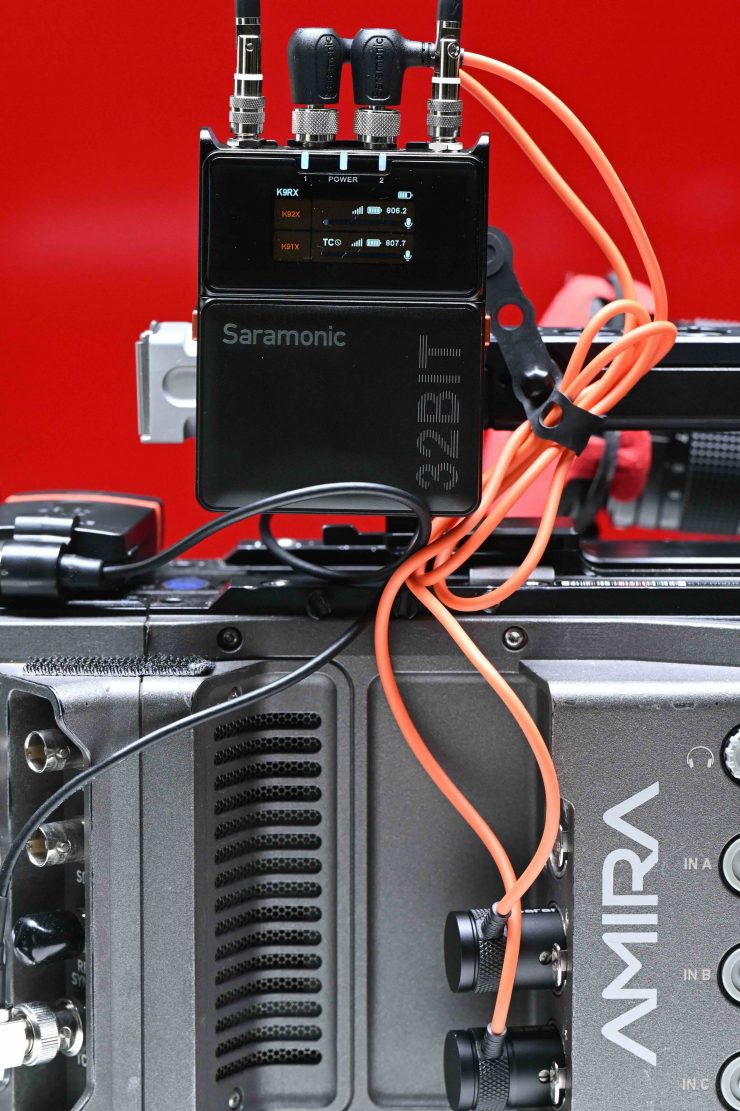
Above you can see just how much space it takes up on an ARRI Amira. I personally wouldn’t want to mount this on a mirrorless hybrid because it would take up a lot of real estate.
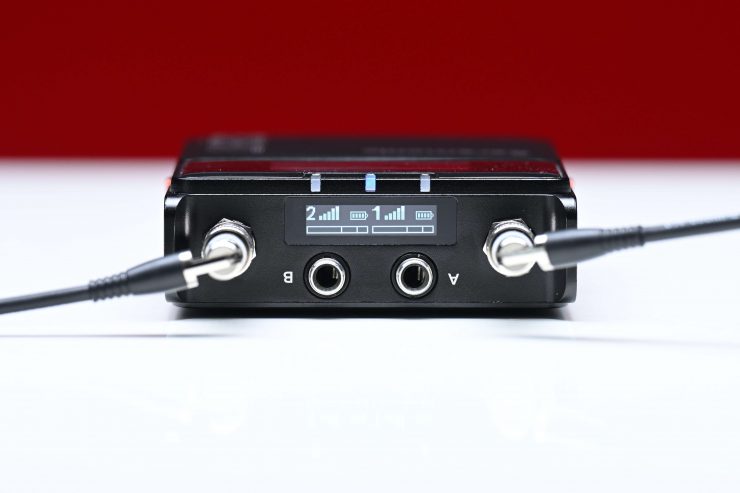
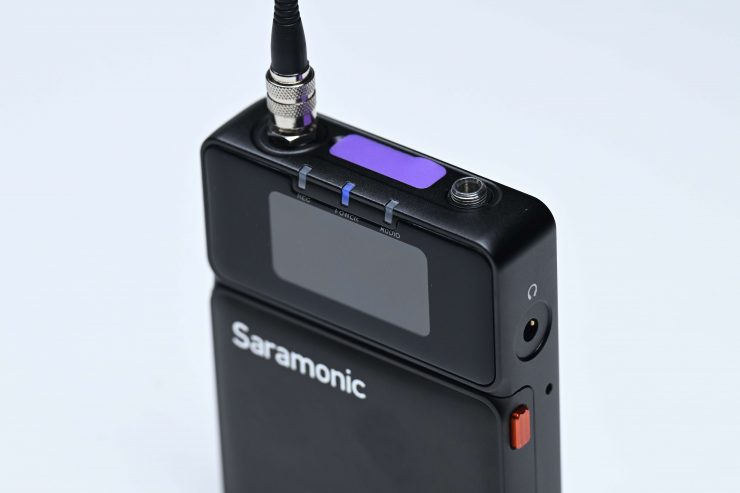
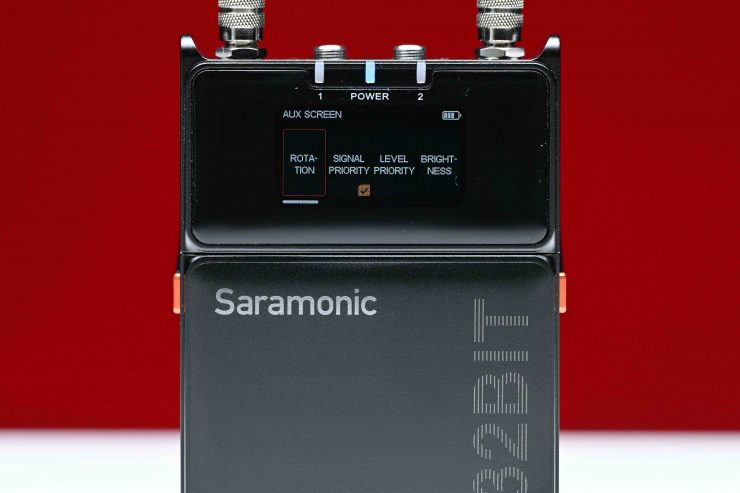
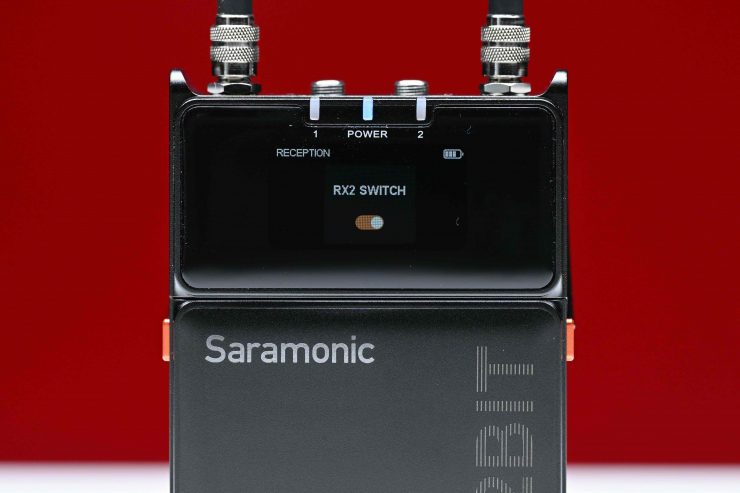
The RX unit features two display screens. One on the front and one on the top. This is handy depending on how you are mounting the RX.


You can make changes to what you want shown on the top display, including rotating the direction.
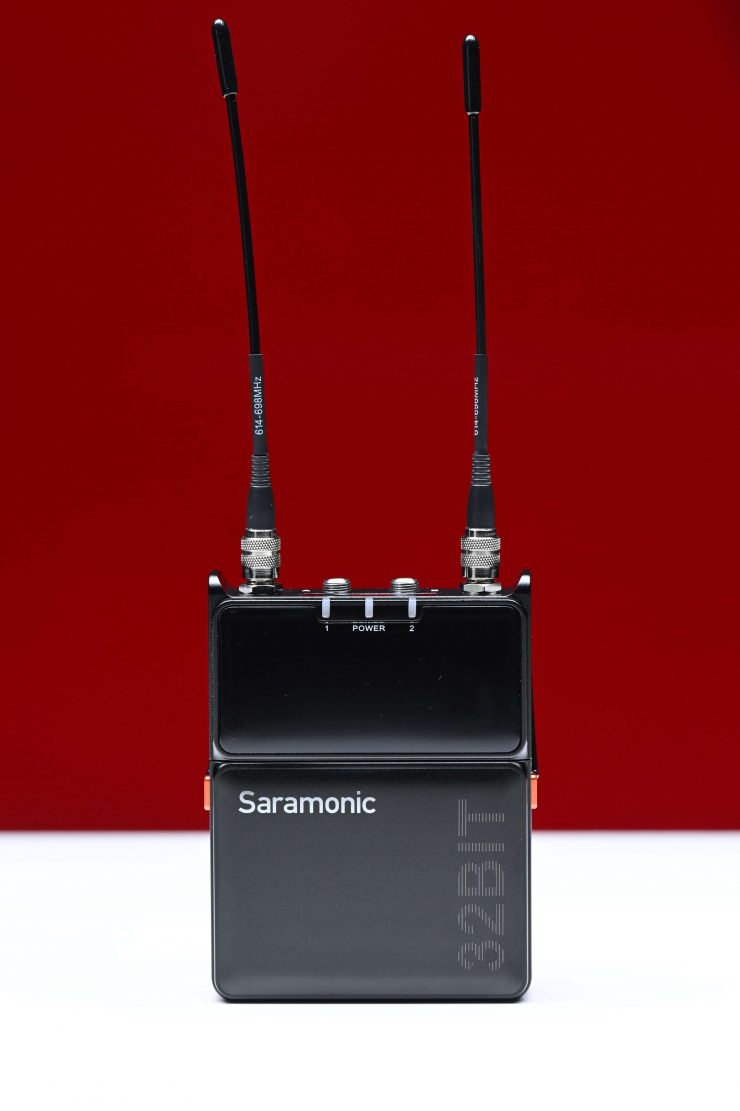
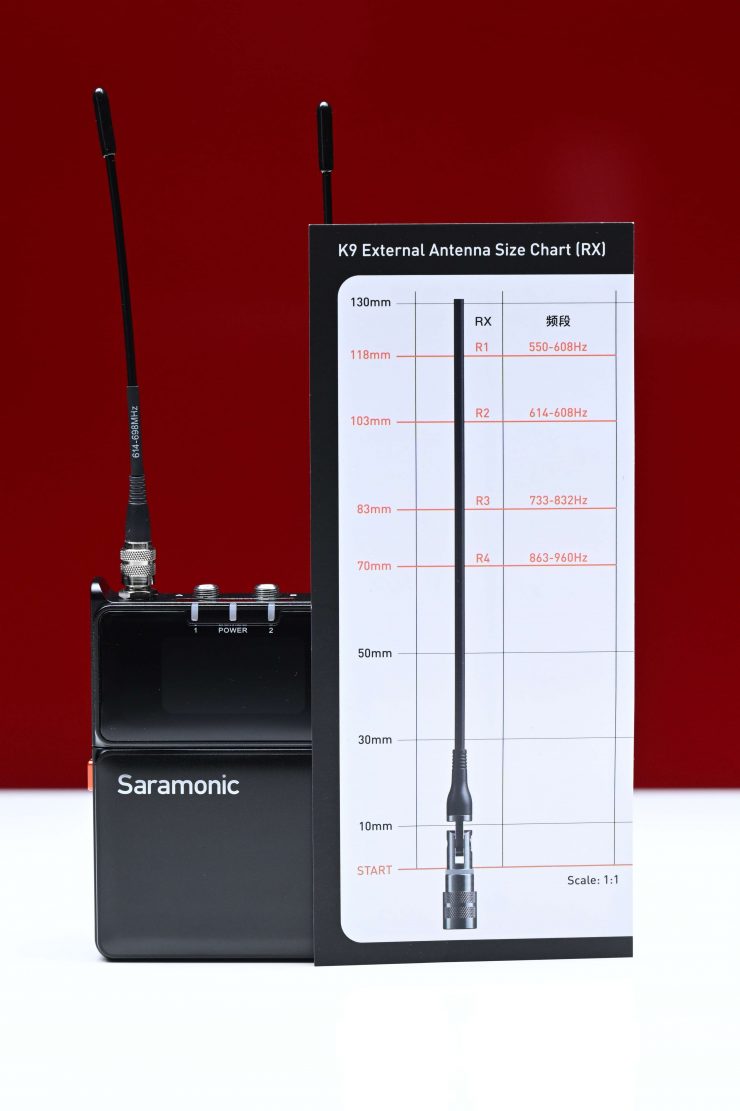

The RX unit utilizes two adjustable antennas. Saramonic includes a guide card in the kit which describes the corresponding antenna length with their matching frequencies.
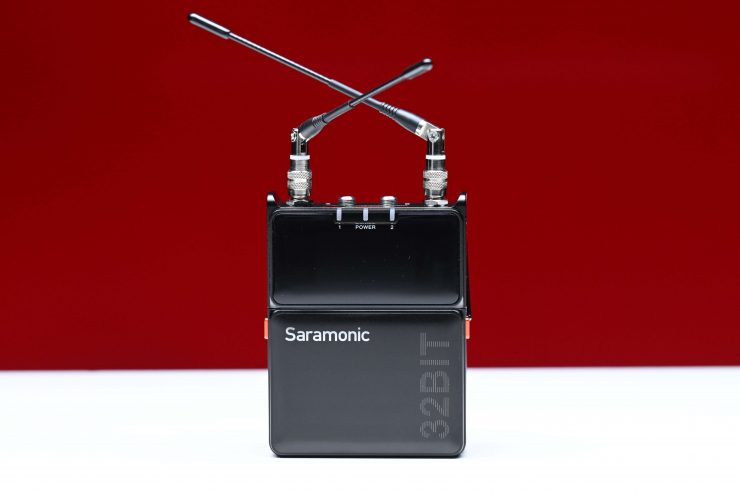
You don’t want to cross the antennas as that will affect the operating range.
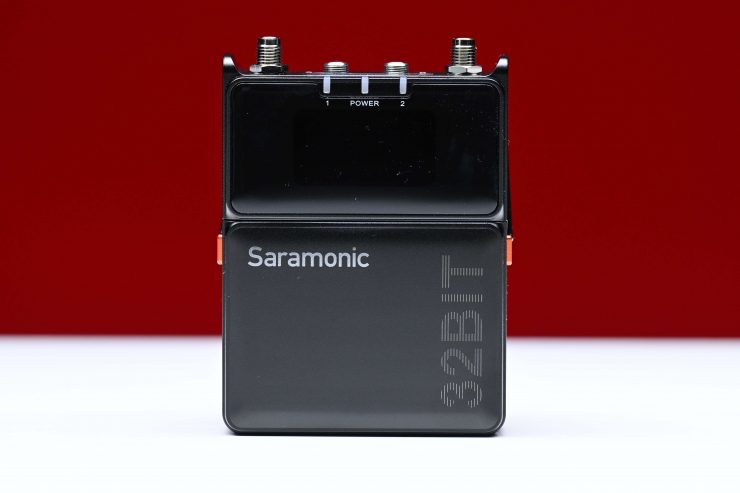
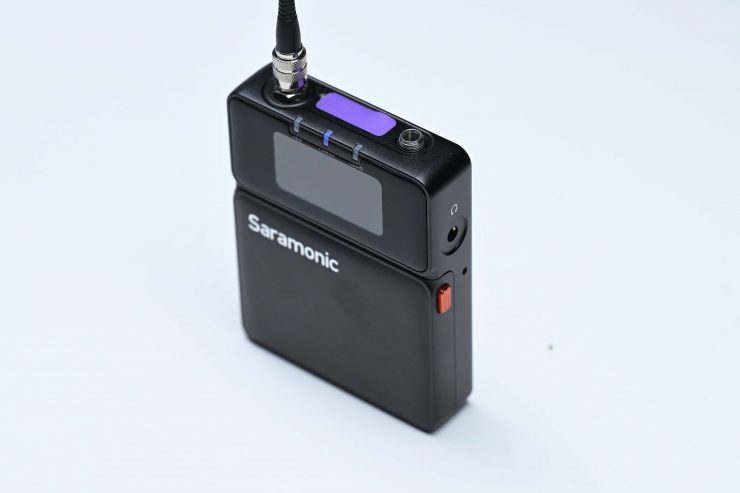
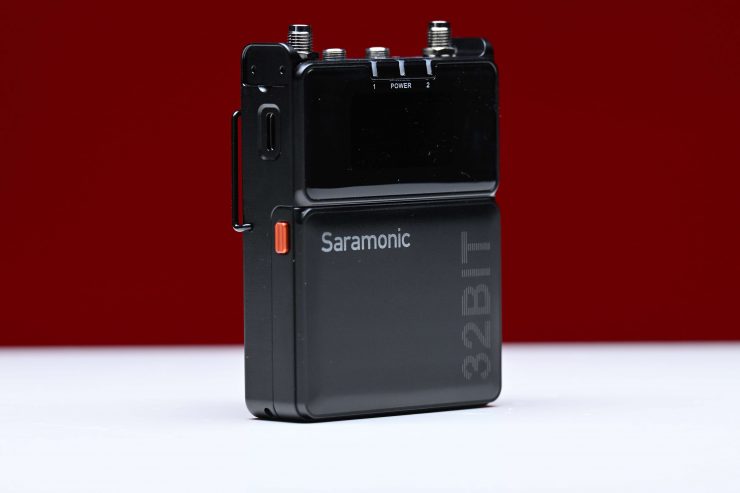
TX Units
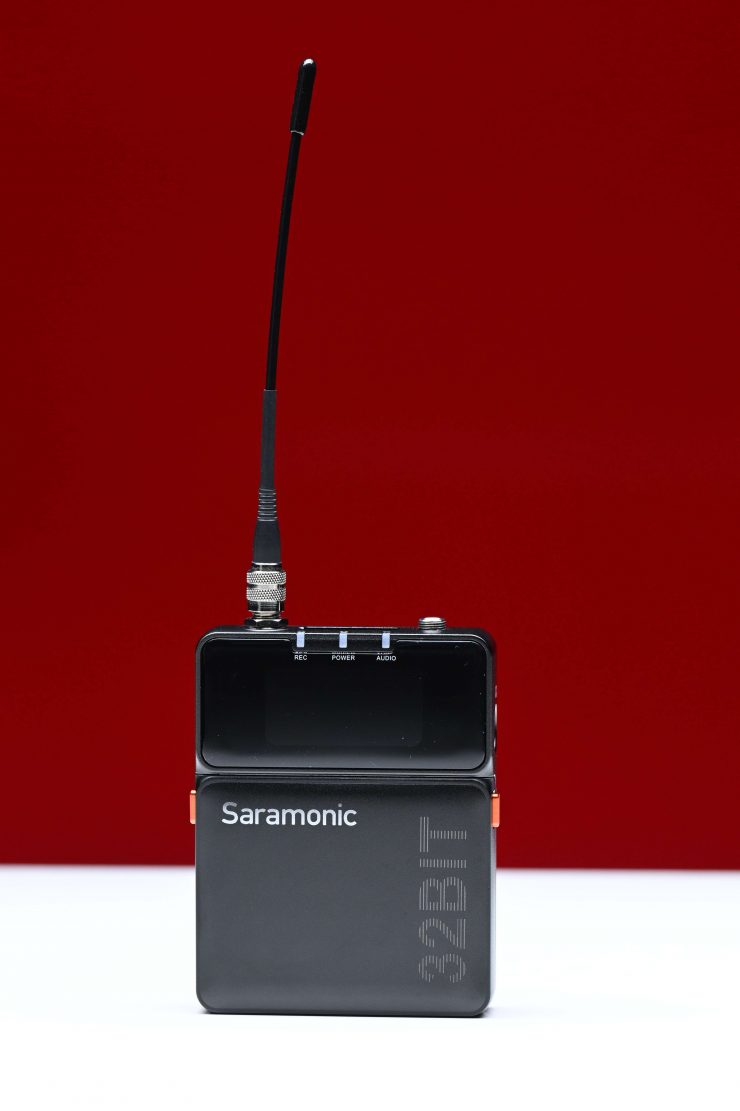
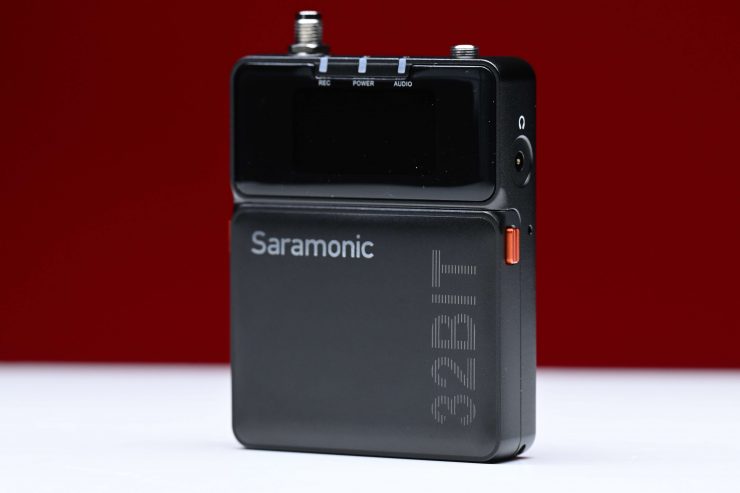
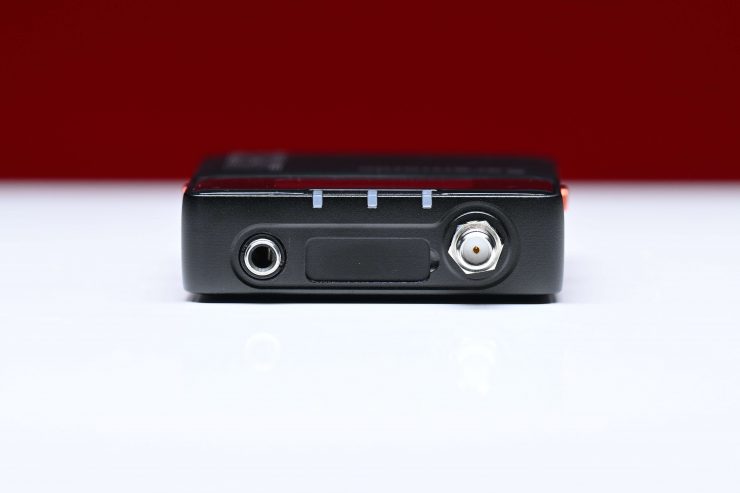
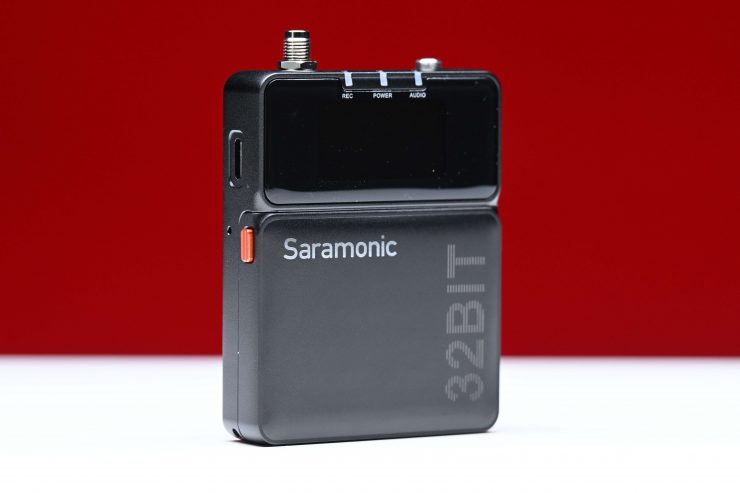
The TX units weigh in at 130g / 4.58 oz (with batteries, belt clip, and antenna). The RX units utilize a single antenna.

Above you can see how the TX compares in size to the RX,
So how does this weight compare to some of the competition?
| WEIGHT | |
| Saramonic K9 | 130g / 4.58 oz (with batteries, belt clip, and antenna) |
| Deity THEOS | 125g / 4.4 oz (with Antenna, Batteries) |
| Shure SLXD135 | 89g / 3.1 oz |
| Sennheiser EW-DP | 120g / 4.2 oz (without Batteries) |
| Sony UWP-D27 | 149g / 5.3 oz (without Batteries) |
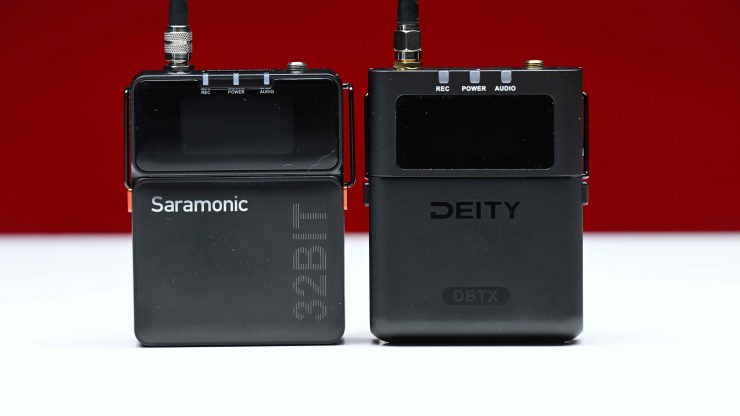
Above you can see how the size of the Saramonic K9 compares to a Deity THEOS TX unit.
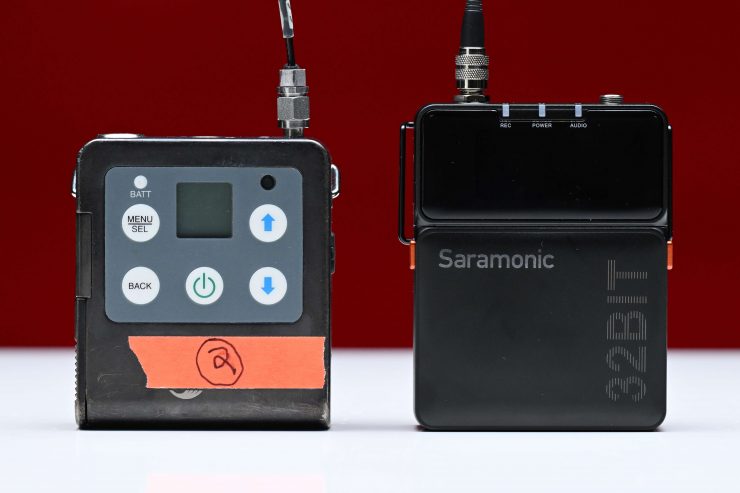
Above you can see how the size of the Saramonic K9 TX compares to a Lectrosonics Bodypack Wireless Transmitter.
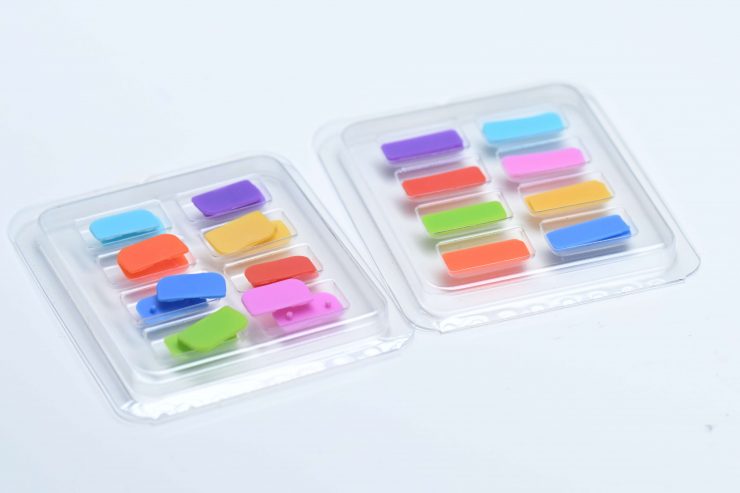
As the TX units look completely identical, Saramonic does include some colored tags that you can place on the top so that you know what TX unit it is.
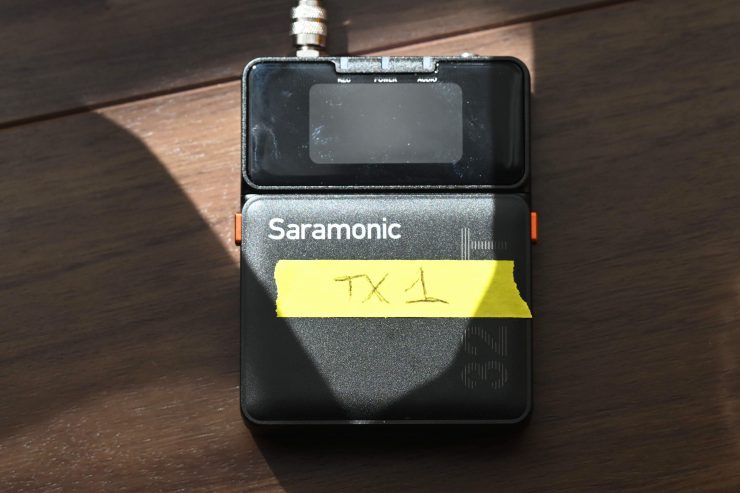
You can also rename the TX units if you want, which is what I did. I also like to just place some tape on the battery door so that there is less confusion.

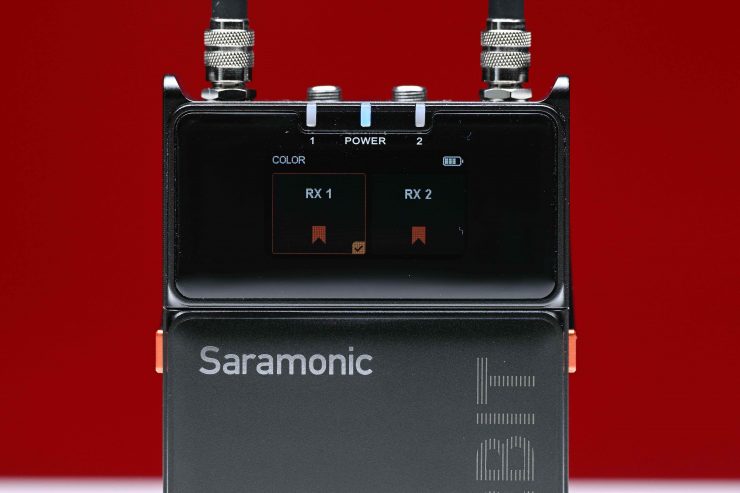
On the RX unit you can also assign the two TX units colors to more easily identify them.
What I found odd is that in the Saramonic System app, it doesn’t reflect the colors you have set for the TX units. This is something I would like to see Saramonic fix.
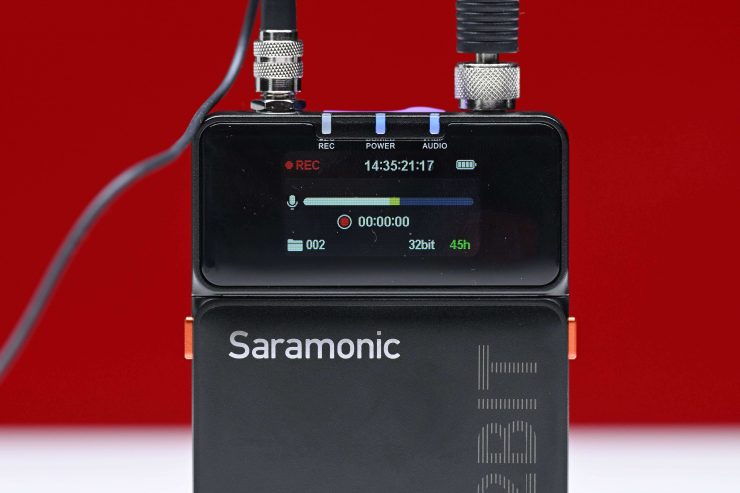
32-bit Float Recording
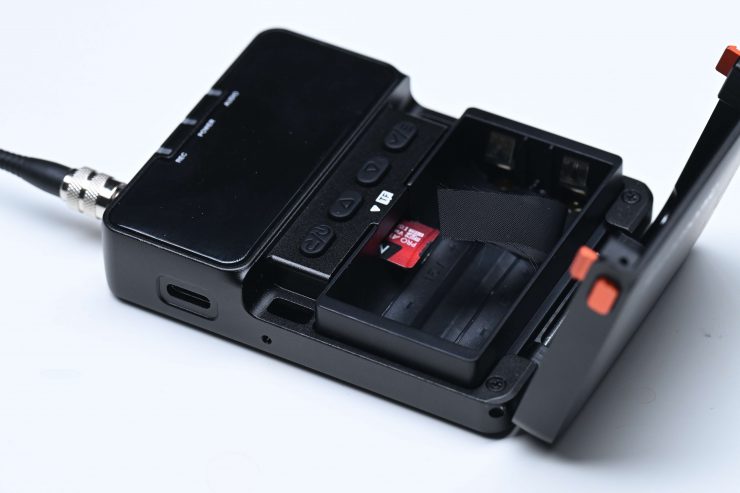
Just like the Deity THEOS, the Saramonic K9 features a Micro SD card slot in the TX units for recording. Saramonic gives you two 32GB cards that can record around 45 hours of 32-bit float each. As I previously mentioned, they can record 32-bit float while transmitting, but there is a catch. You can’t record and transmit with the US version, as Zaxcom has a patent. You need the international version to be able to record and transmit simultaneously.
It is great to be able to record and transmit simultaneously, especially when using radio mics. It gives you a back-up in case there is interference or dropouts.

It records in two format options, 24-bit and 32-bit float as a .wav BWF file. 32-bit float is very useful as you can adjust the levels in post without introducing noise. You do, however, need to be mindful not to overload the microphone you are using, otherwise 32-bit float won’t save you! I always recommend setting your levels lower when using 32-bit float. You also need to be mindful of other variables like handling noise, wind, and anything other than level, which will not magically be fixable. This is why placing the microphone correctly and using wind covers is important.
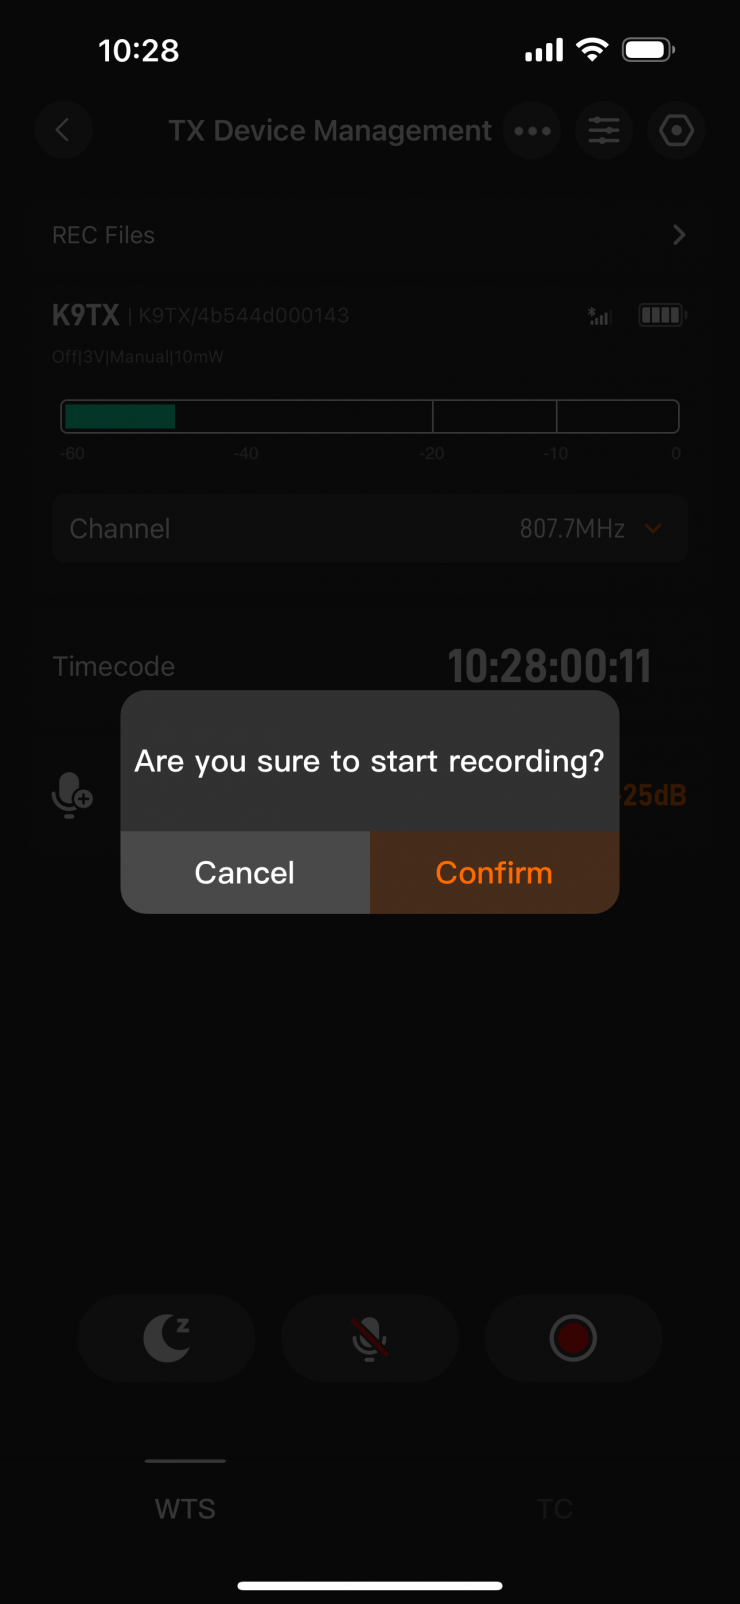
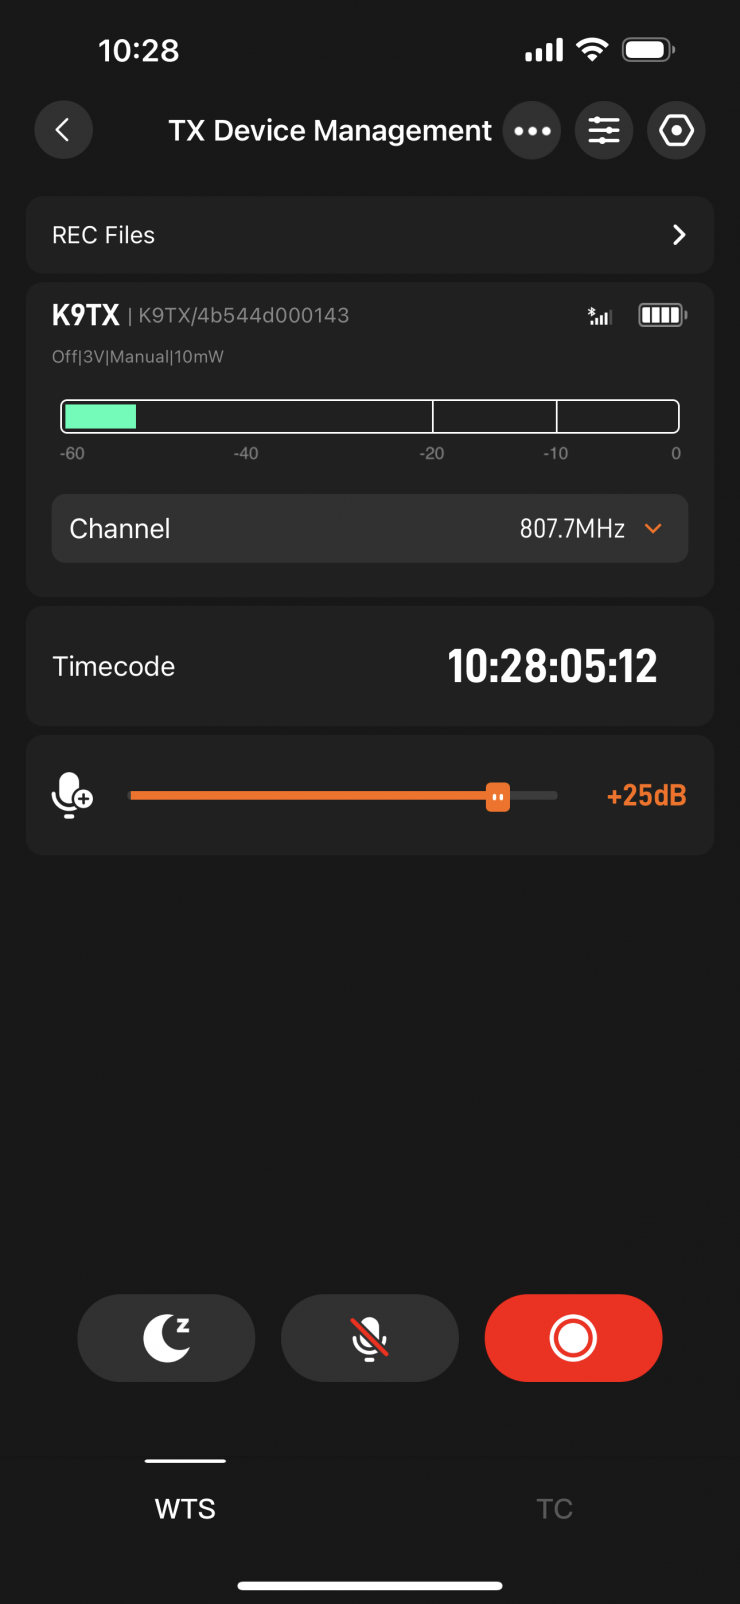
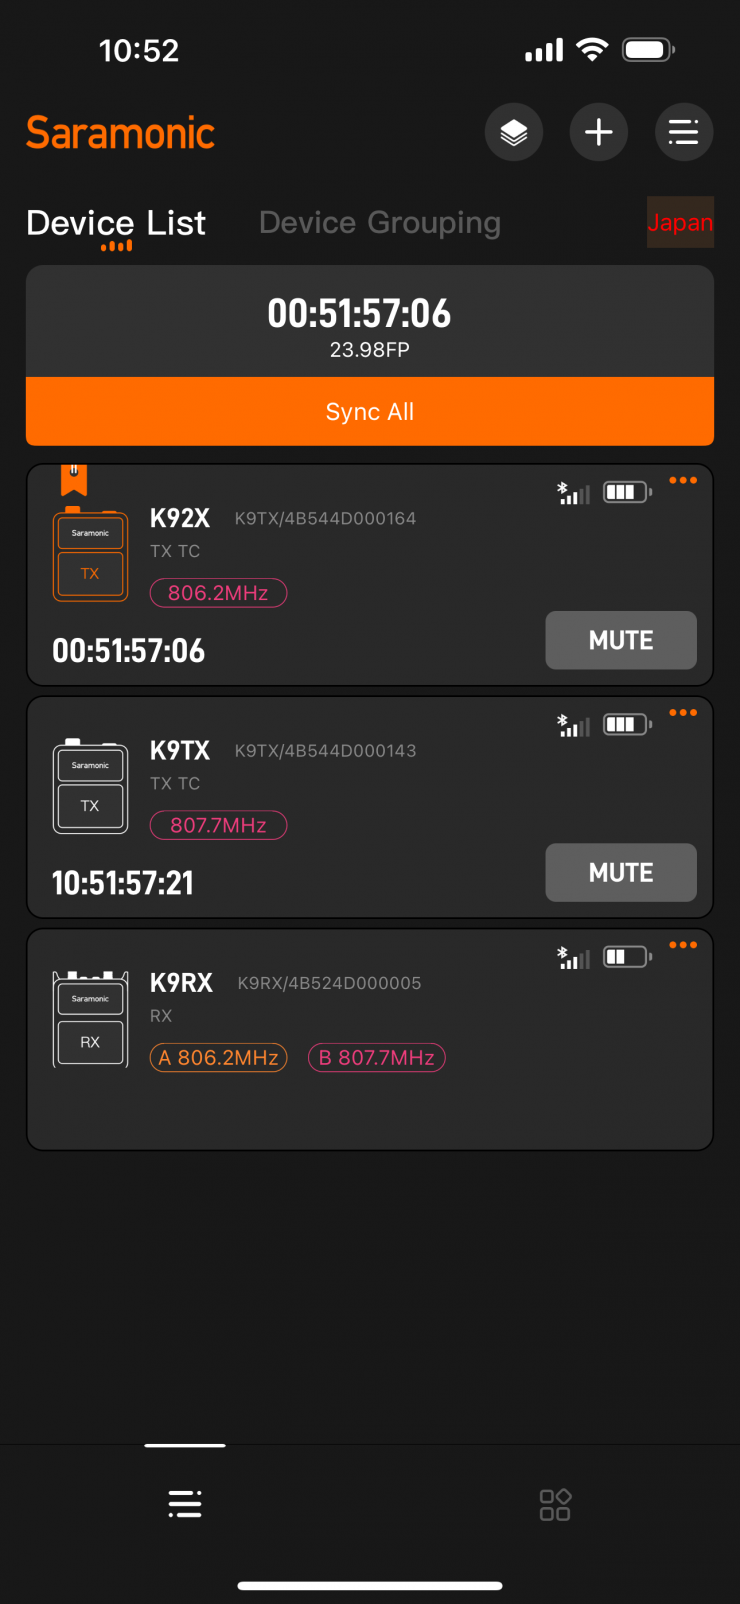
In the Saramonic System app you can easily start/stop recordings. Unfortunately, if you go back to the main screen, it doesn’t show that the TX unit is recording. It would be nice to see a record indicator.
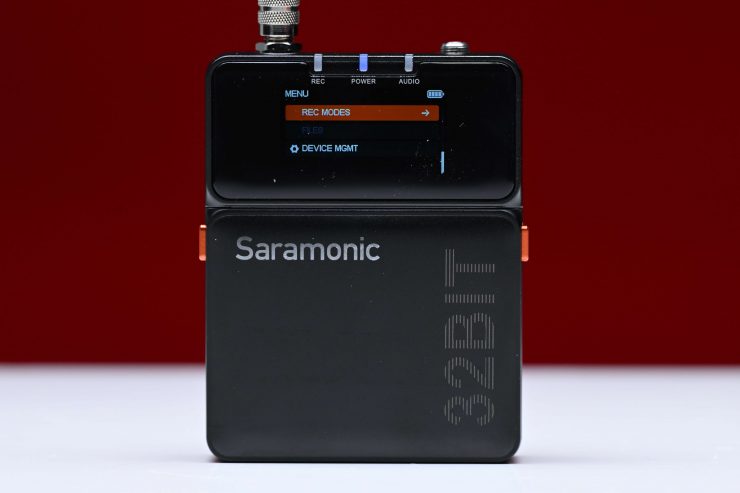
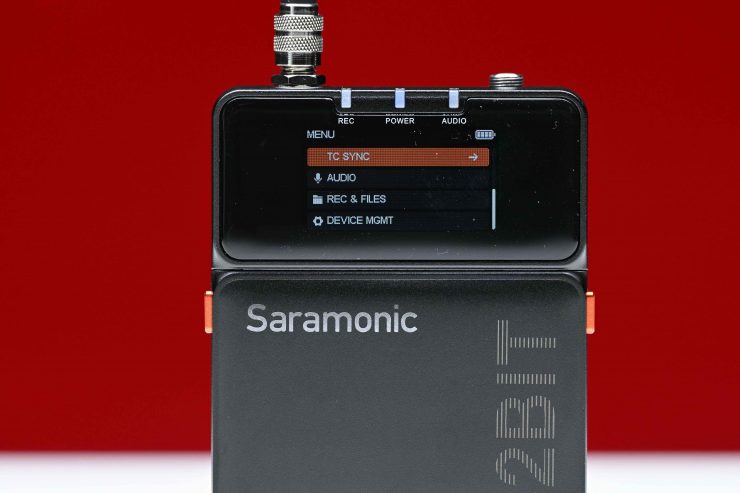
If you are not using the Sarmonic System app, then you need to go into the menu to the REC & FILES settings.
You can select to Record and you will be greeted by the above screen.
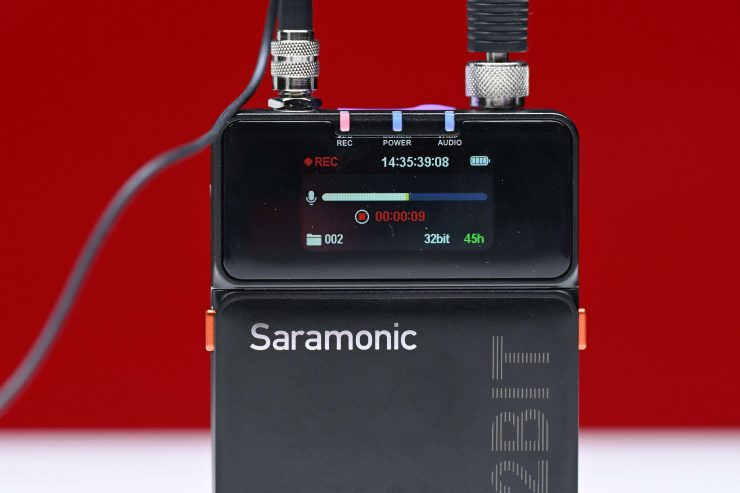
To actually record you need to press the Enter key.
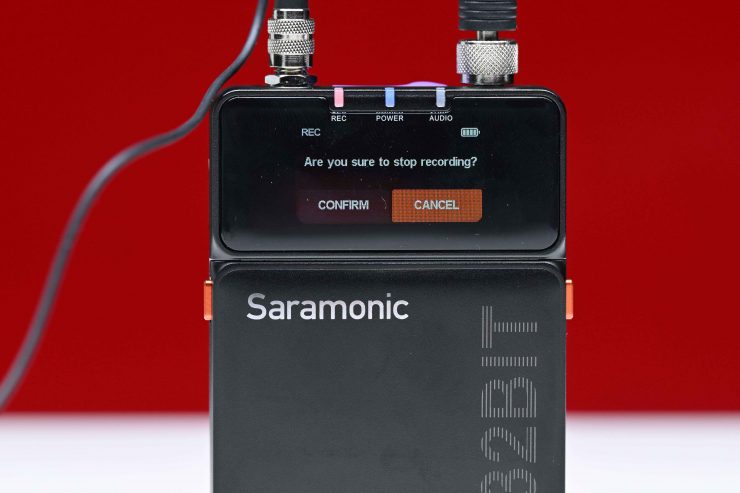
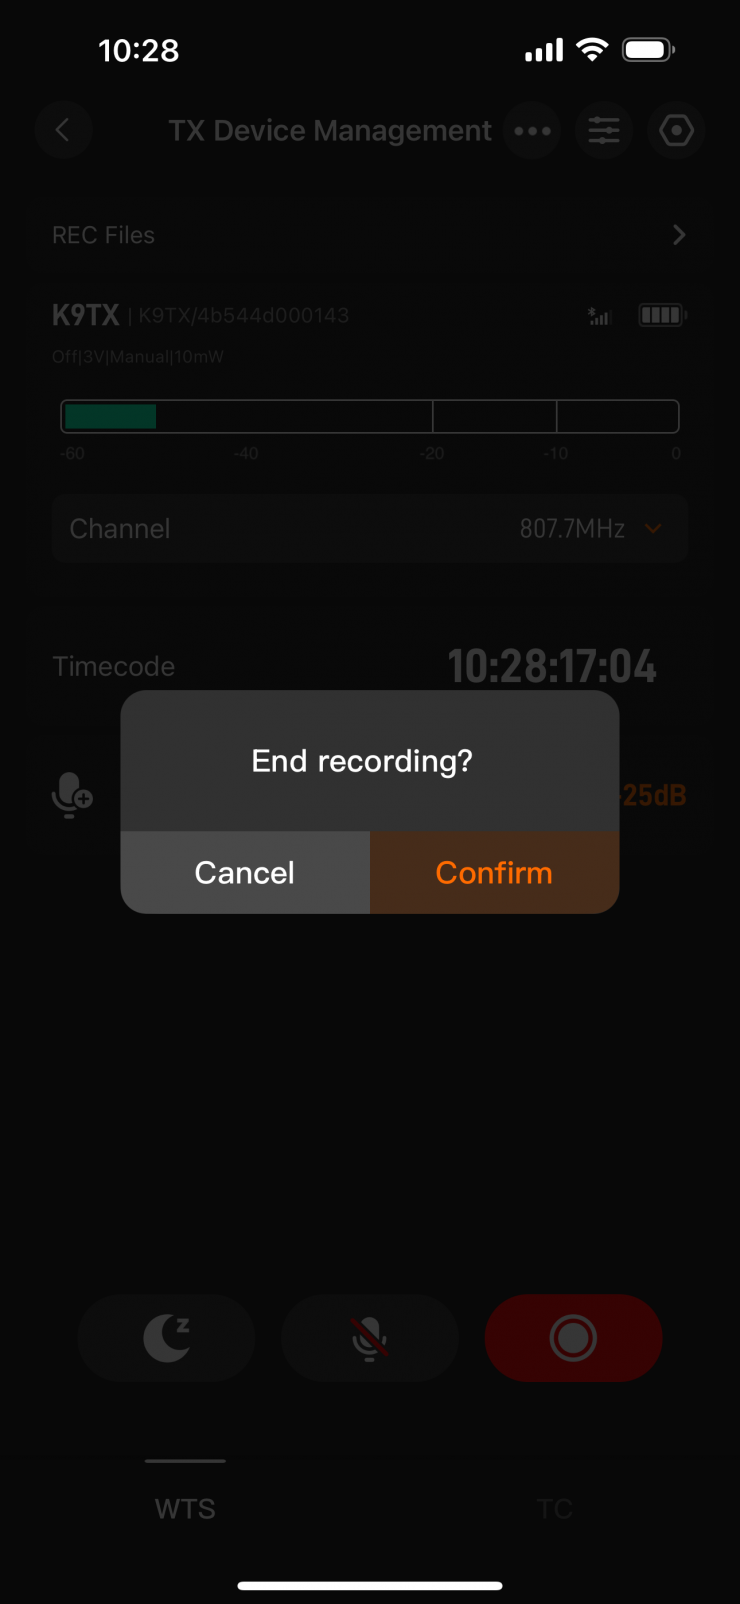
To stop the recording you need to press the Enter button again and then you will be greeted by a screen that asks you if you want to stop recording.
Saramonic does give you three options when it comes to the internal recording:
- AUTO
- MANUAL
- SYNC
If you choose AUTO, the K9 TX will start recording as soon as it is turned on. When it is set to MANUAL you need to manually start and stop recordings. In SYNC, it will start recording as soon as it receives a timecode signal.
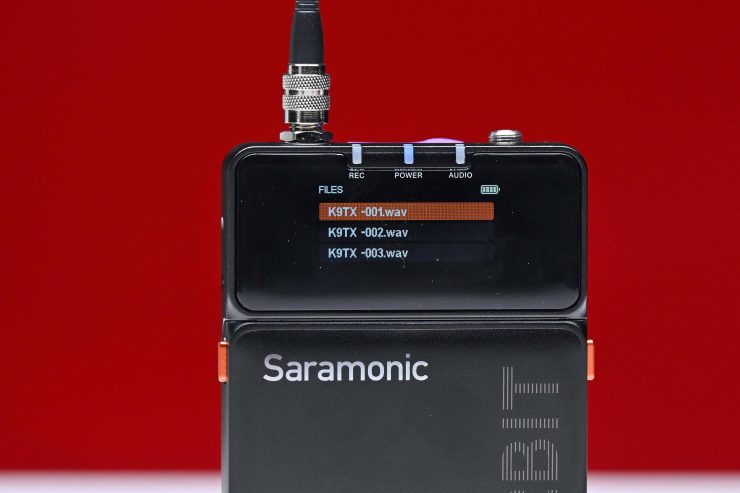
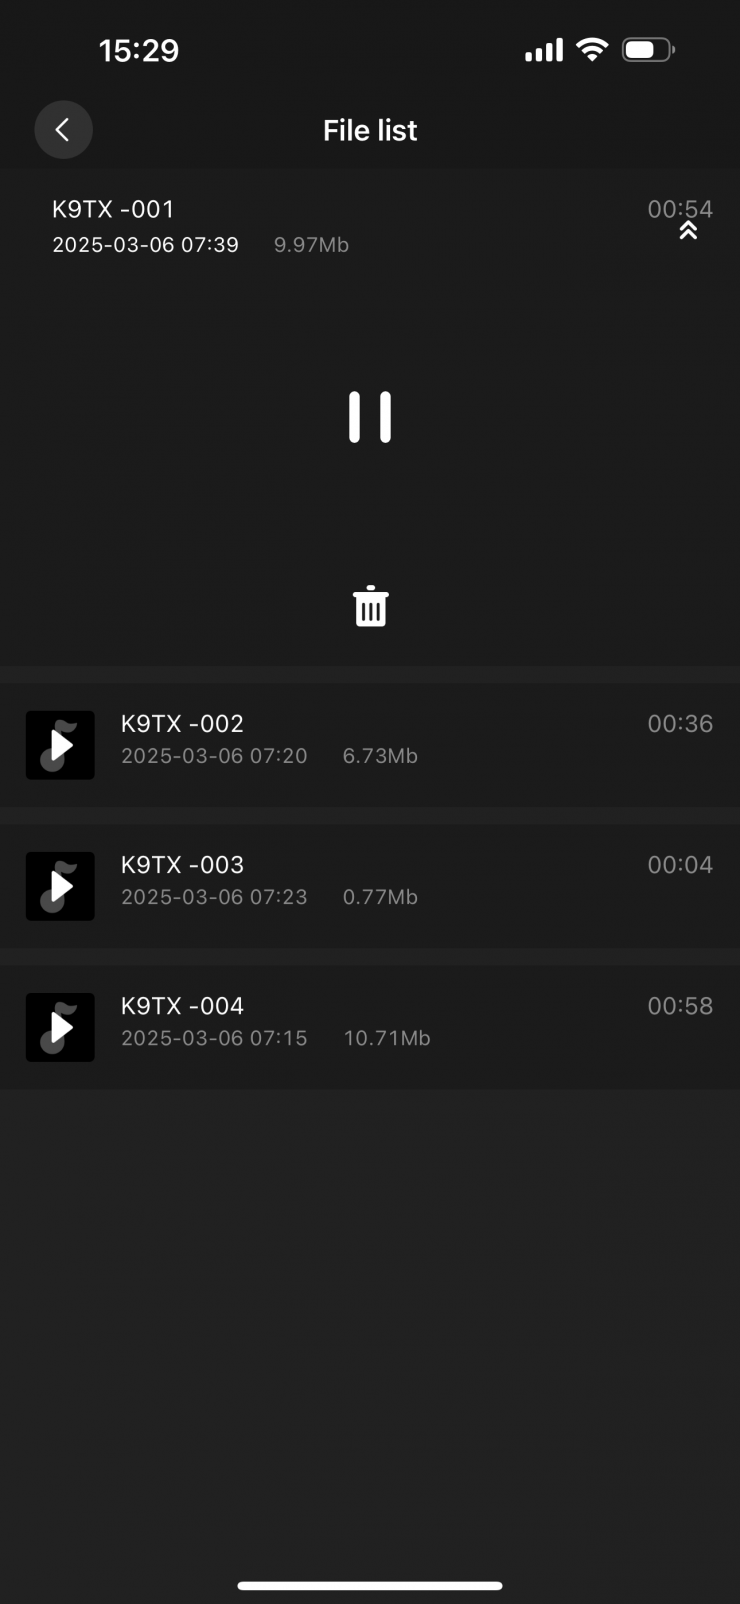
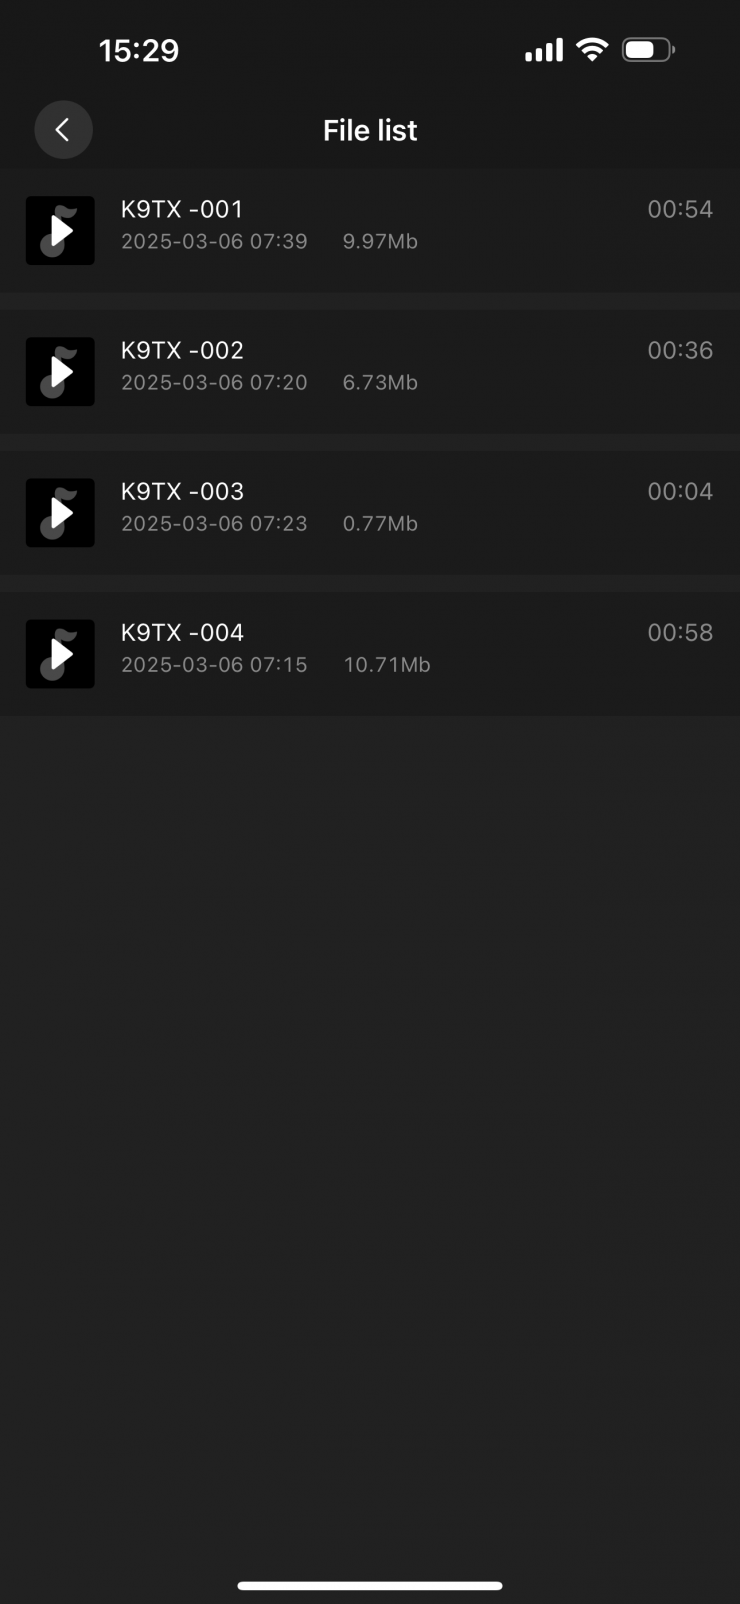
You can see all of your recorded files on the TX unit.
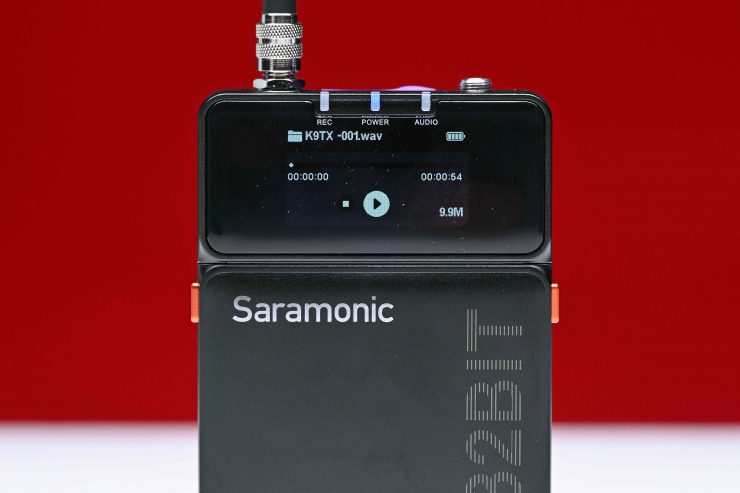
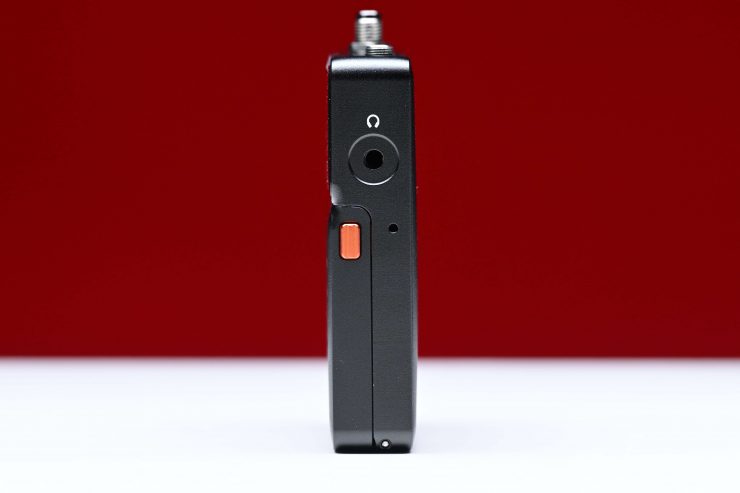
There is also a playback section where you can listen to the recordings through a set of headphones.
Unfortunately, for US consumers, you can’t record and transmit simultaneously due to a patent infringement. Zaxcom has the record while transmitting patents that are set to expire in 2030. Until then, companies who want to sell a wireless audio device that transmits and records simultaneously will have to pay Zaxcom (if they are willing to license the feature) or face legal action.
Timecode Support
The Saramonic K9 TX units feature timecode support, which is essential given their ability to simultaneously transmit and record.
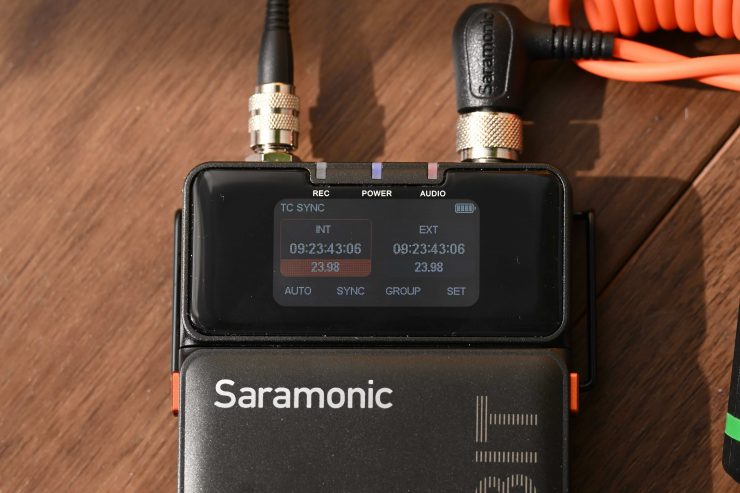
On the TX home screen, you can press and hold the down button to enter the TC SYNC (Timecode Sync) page, where a short press of the up or down button will allow you to select the corresponding setting options, and a short press of the confirm button will enter the sub menu.
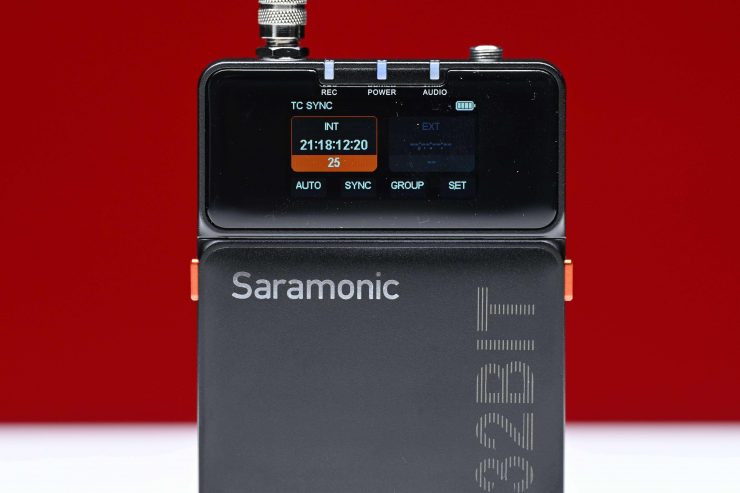
According to Sekonic, when connecting to an external timecode device, the screen will display the external timecode data. What I originally found is that the External timecode display was greyed out and it was only showing Internal timecode.
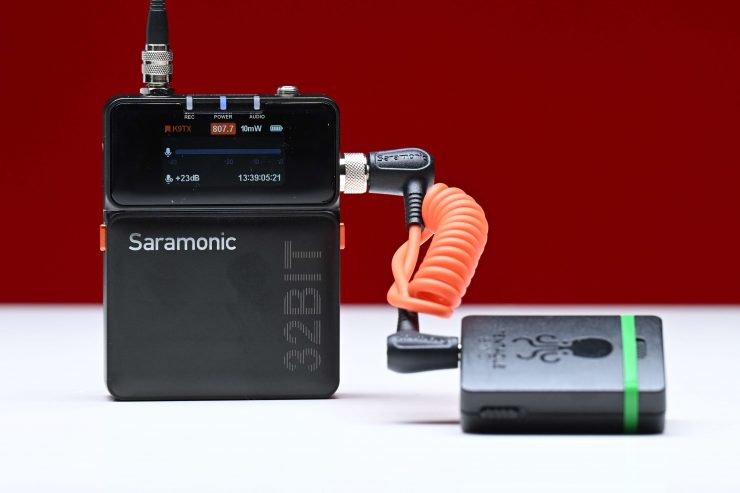

If you already own a timecode device, such as a Tentacle Sync, you can simply plug it in using the included TRS to TRS cable and then sync the Tentacle Sync that is connected to the Saramonic K9 TX. You then remove the cable and do the exact same thing for the other TX. You then plug in your microphones and you should be good to go. Should be, is the operative word here as you will find out in a minute.
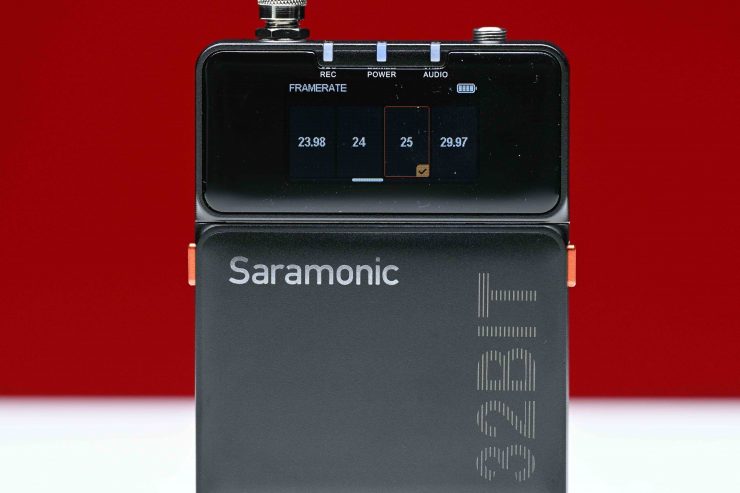
In the menu there are options to set the framerate for timecode as 23.98, 24, 25, 29.97, 29.97DF and 30. DF stands for drop frame. The default framerate is 25. You need to select the same framerate as the framerate of the timecode coming from the external device.
There are also options to adjust the timecode modes, which can be configured to off, auto, once, or free mode.
OFF: Disables the timecode.
AUTO: The default setting, which automatically recognizes and syncs wired or wireless timecode.
ONCE: Automatically syncs the timecode information once and locks it; it will not sync again until the mode is switched, which will unlock it.
FREE: The time information set on the current device acts as the timecode; it does not support resetting the timecode and does not accept external timecode signals.
Select “SYNC” when the device is in Auto or Jam mode, it can automatically detect and sync the timecode signal from the 3.5 mm input port via a wired connection. In Free mode, or when synchronized in JMD mode, the system is capable of detecting and syncing external signals.
You also have the option to set the timecode channel. To facilitate the management of Saramonic timecode, the K9 device offers eight timecode sync groups, labeled A-H. Only devices within the same group can sync timecode.
If you need to, you can manually customize the initial timecode, and start the timecode operation. Use the up and down buttons to select the reset icon O, then press the confirm button to reset the timecode to “00:00:00:00”.
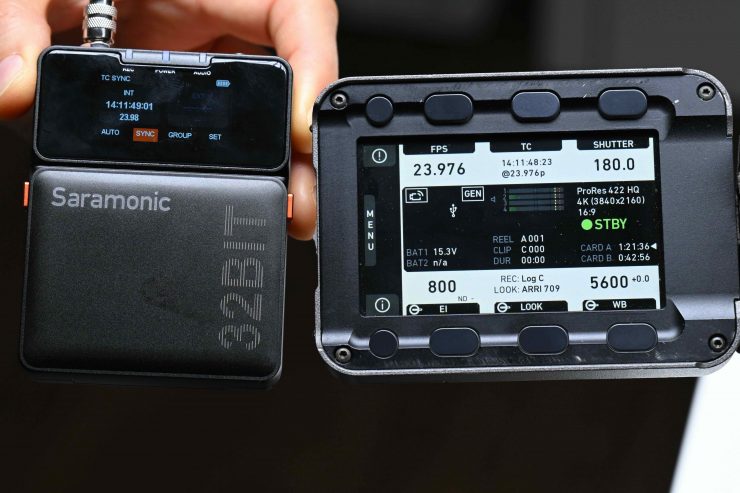
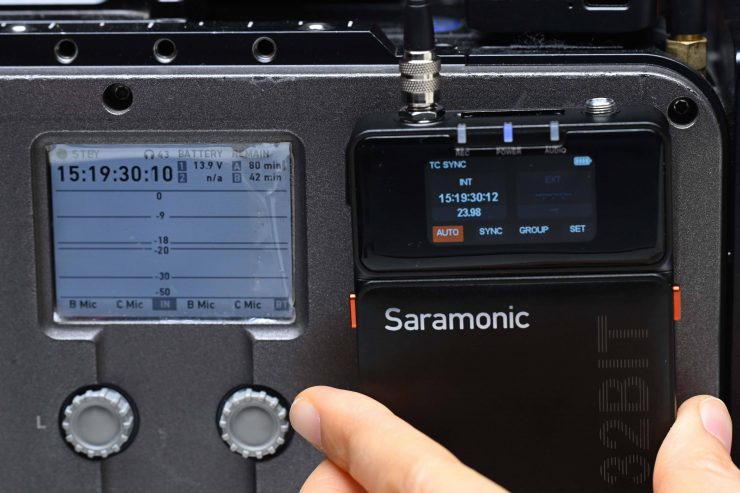
So does the timecode play nice with others? As I previously mentioned, I hooked up a Tentacle Sync via a 3.5mm cable to the Saramonic K9 TX and then synched everything to that device. In theory, that means that the internal recordings on K9 TX should match the timecode that is getting sent into my camera from another Tentacle Sync. It wasn’t showing completely frame accurate timecode sync on my camera’s screen and the K9 TX, but display screens can have some delay, so the only way to check is to bring it into a NLE and see.

Despite both TX units showing the same timecode from the Tentacle Sync, both on the devices themselves and in the Saramonic System app, if I did an internal recording, those clips had no embedded timecode when I brought them into an NLE. Ok, so what is going on?
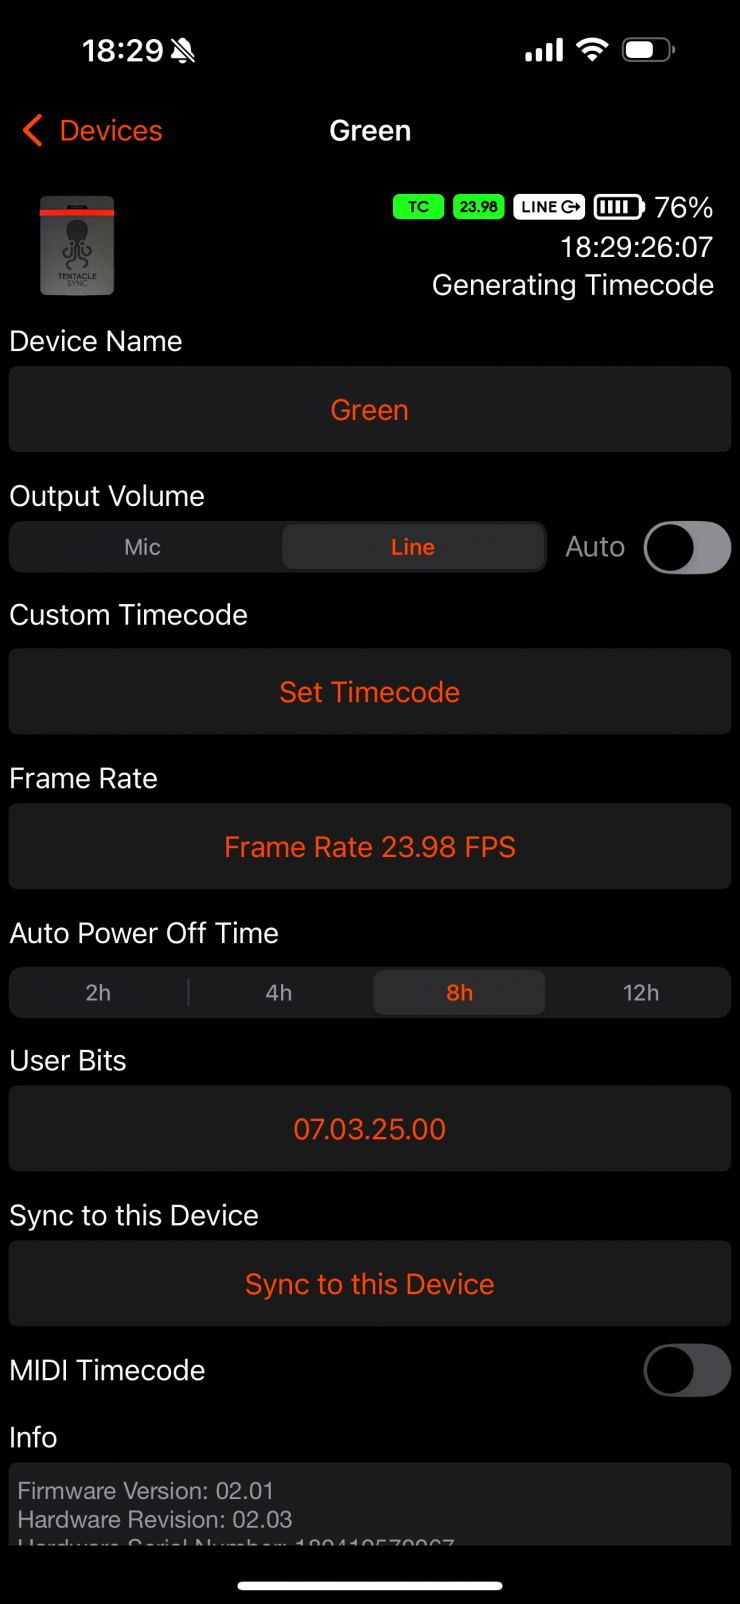
The issue was that you needed to set the Tentacle Sync ‘Output Volume‘ to ‘LINE‘. When the K9 connects to the Tentacle device, the ‘AUTO‘ assigns the output volume to ‘MIC‘ instead of ‘LINE‘ but you have no way of knowing this! It is supposed to assign it to ‘LINE‘ because ‘MIC‘ is for devices that don’t support time code and ‘LINE‘ is for devices that support timecode. Just to be clear, this isn’t an issue with the Tentacle Sync, it’s an issue with how the K9 is interpreting the signal.
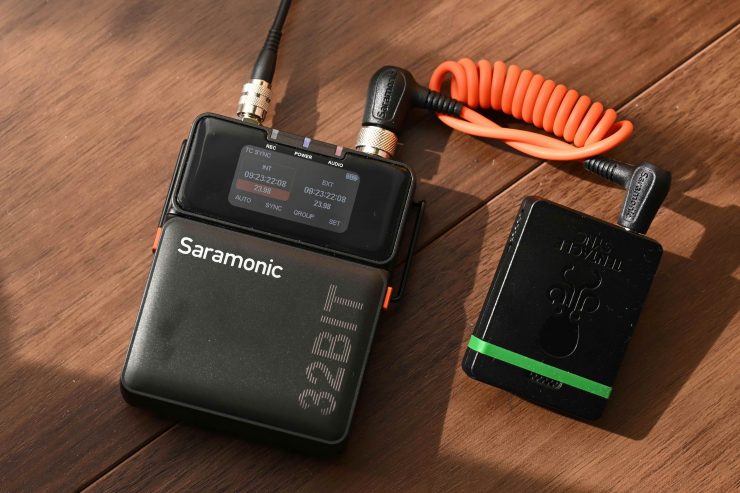
Once you set the Tentacle Sync to ‘LINE‘ and plug it into the K9 TX it will automatically sync up and the EXT Timecode Sync will be displayed. Once you remove the Tentacle Sync the EXT Timecode Sync will disappear, but don’t worry, it has already jammed the internal timecode in the K9 TX.
The manual doesn’t offer any information about how to do this, but I believe Saramaonic is going to release a video showing users how to set up timecode.
Ok, so now let’s see if this fixed the issue.
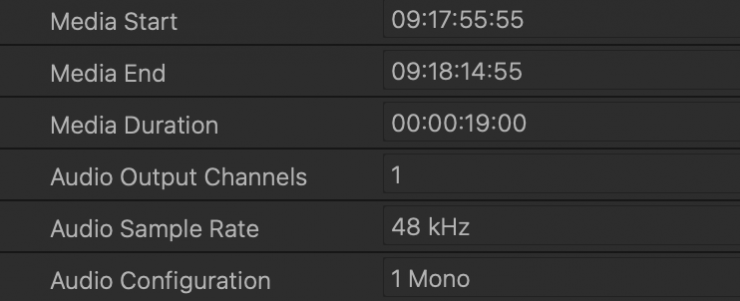
Once I bought the files into an NLE, the timecode was now being shown.
If I now record internally on the K9 TX and externally on my camera, the timecode should mean that all of the clips are in sync, but in DaVinci Resolve they weren’t.
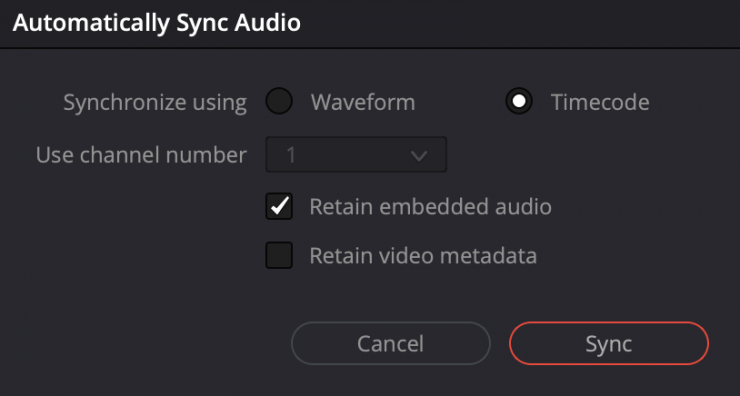
When I tried to sync the clips via timecode (and not audio) they were way off, not just by a few seconds, but by more than 50 seconds. Even if I just looked at the K9 recording files, the timecode being shown was not correct.
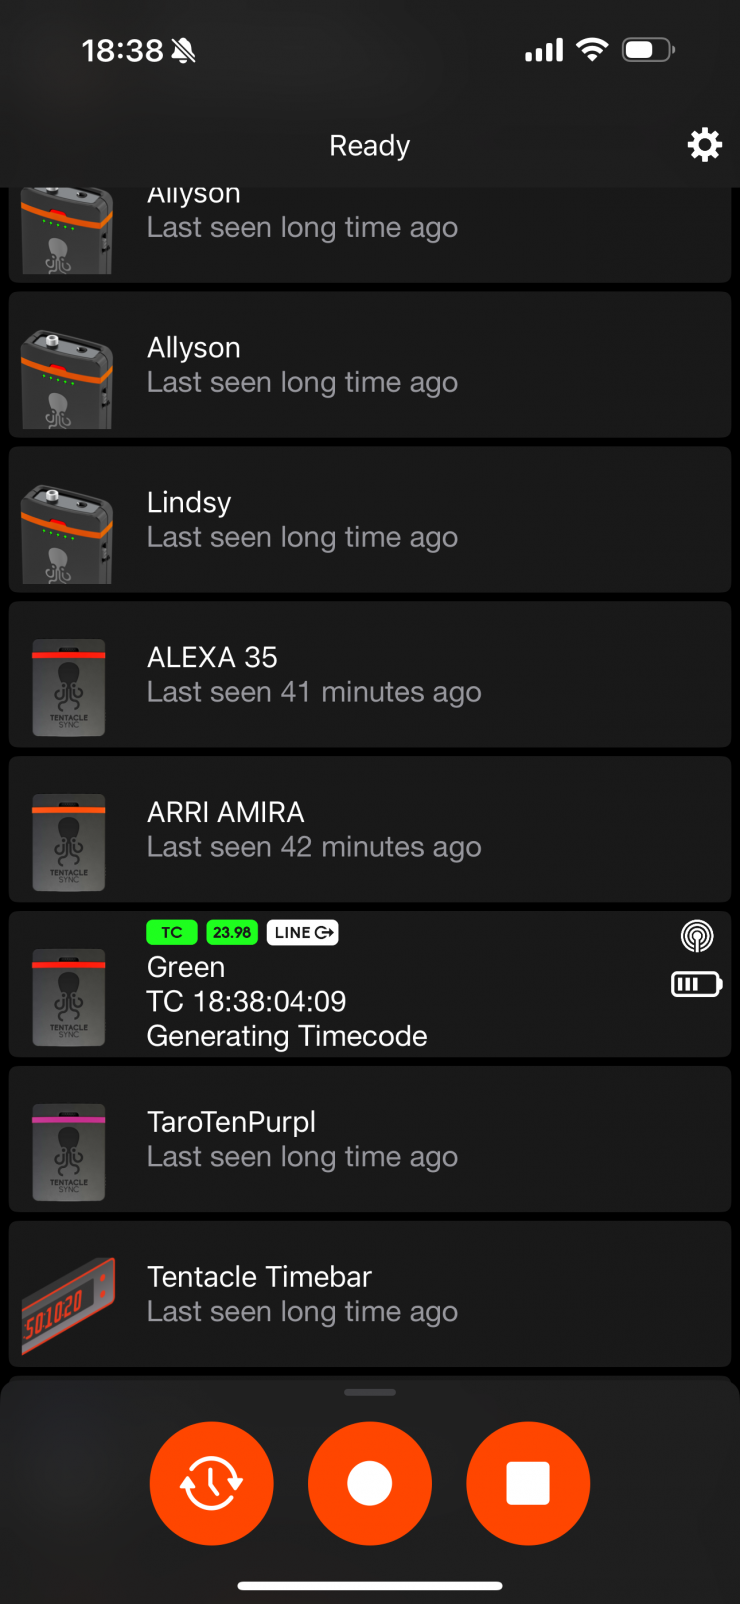
I was very puzzled by this so I tried doing the same thing with a recording from a Deity THEOS. When I did this I got the exact same result. It seems that there is an issue with DaVinci Resolve not being able to read the embedded timecode correctly from certain audio files.
When I bought those same files into Final Cut Pro, I had no issues, and the timecode displayed correctly.
When you are testing or reviewing gear, there are often a lot of issues that you need to solve and it can take a lot of trial and error to work things out, especially with devices running early firmware.
Arguably, the Deity THEOS system’s advantage over the Saramonic is that it offers a whole ecosystem of audio and timecode devices that all talk to each other seamlessly. Saramonic should have approached a company like Tentacle Sync and integrated a timecode system that would work with their devices and be shown in the Tentacle Sync app. This would make things so much easier.
Wide Frequency Range

Regardless of whether or not you choose the US or international version, the Saramonic K9 can work around the world (subject to local laws and regulations).
It is recommended to install the Saramonic System App before using the K9. When powering on the K9TX and K9RX for the first time, launch the Saramonic System app, tap the + icon, and add the K9TX units and the K9RX to the device list. Then, the app will assign a legally compliant frequency band to the device according to your smartphone’s location information. Once the frequency band has been successfully assigned, you can start using it.
If you have not enabled the location permissions on your smartphone, the software will fail to assign the correct legal frequency band, which leads to the inability to utilize the K9 device properly.
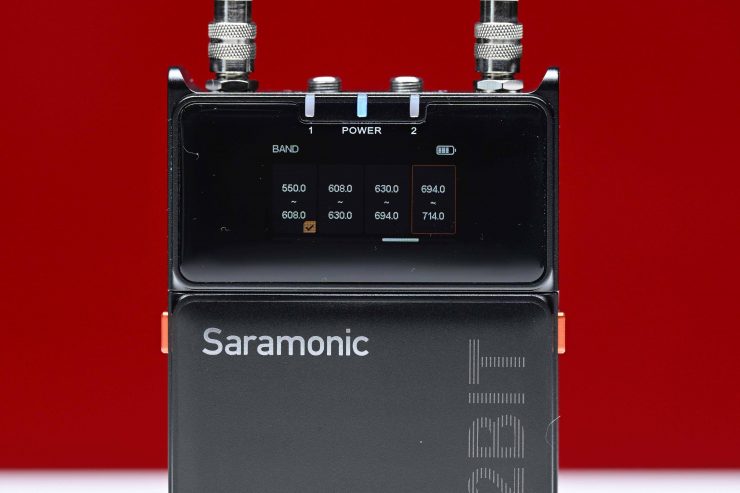
All K9 devices will support multiple bands:
- 550.0-608.0 MHZ Band
- 608.0-630.0 MHZ Band
- 694.0-7214.0 MHZ Band
- 806.2-809.7 MHz Band
Local laws limit the actual spectrum. It is recommended that you find out what your government’s rules on RF spectrum for wireless microphones.
After the device network is established, the Saramonic System app will identify the devices to be added and prompt you to enter the device addition page, where you can choose whether to add the device. If you choose to add it, as I previously mentioned, the app will determine the local legal frequency band based on your smartphone’s current location, and you can select an appropriate frequency band as needed. The device will then be added to the device list.
Once the device network is completed, the app will prompt you to decide whether to assign frequency points automatically. You can either manually enter the device list or allow the system to assign frequency points automatically.
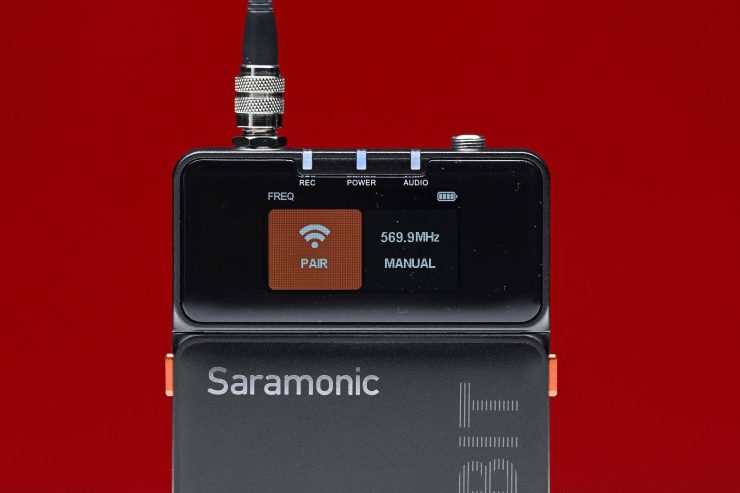
If you don’t want to use the app, you can do all this manually on the devices themselves.
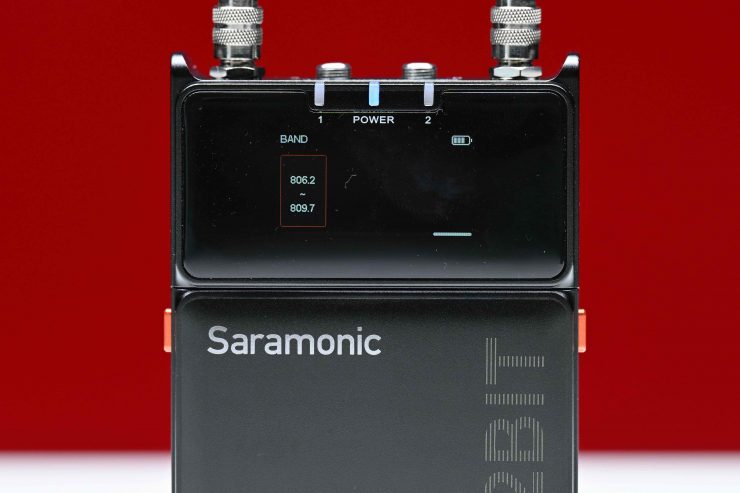
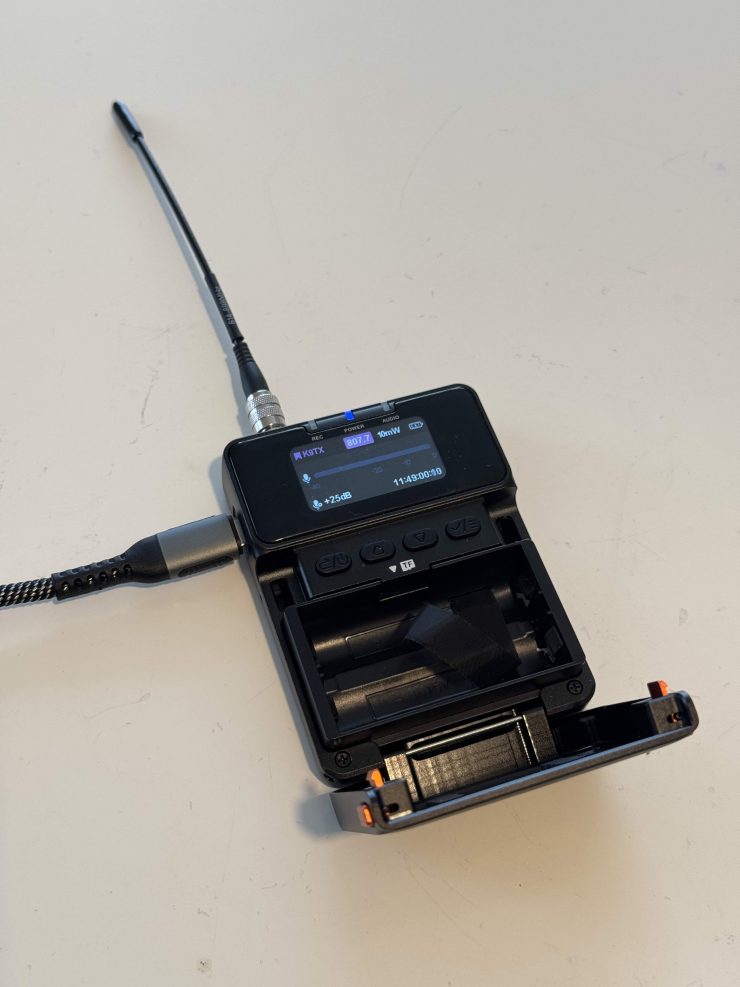
Now, I am in Japan, so I needed to set my devices to operate at 806.2MHz (which is license exempt), and the max. transmission power needs to be set to 10mW.
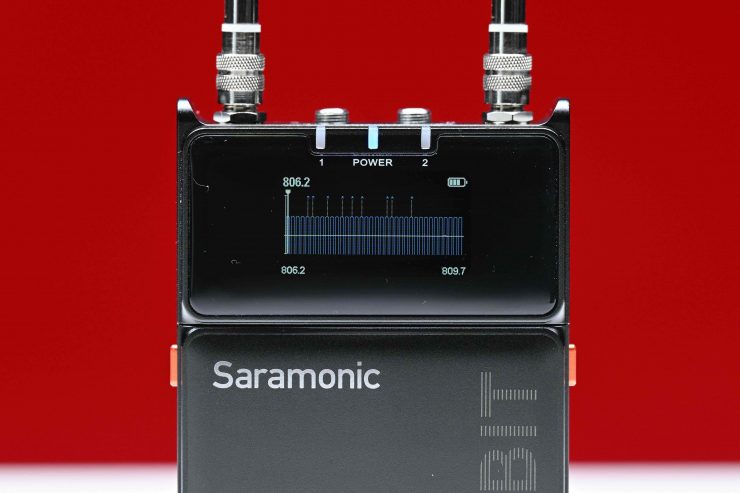
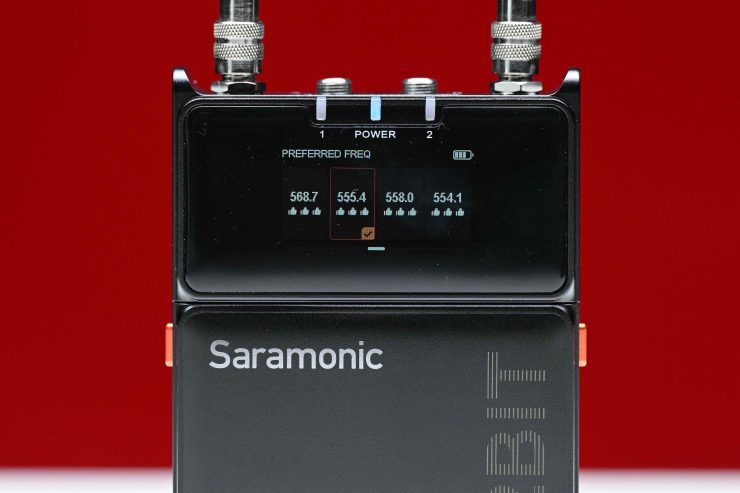
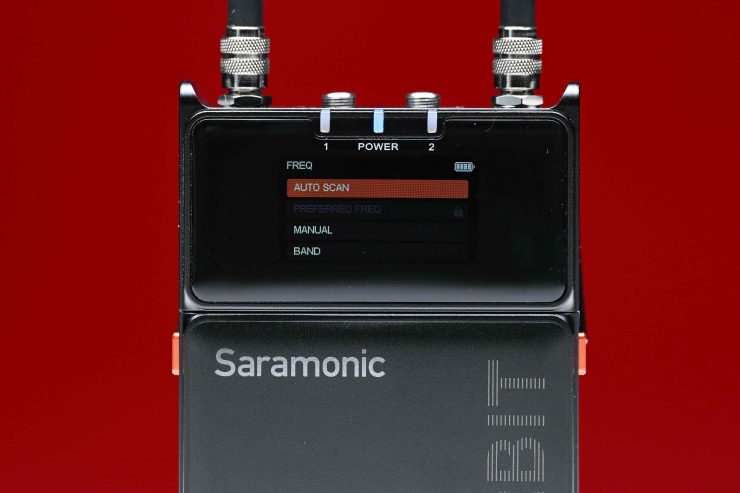
Once you change all three devices to operate in the 806.2-809.7MHz band you can then do a frequency scan on the RX unit to see what the cleanest available channels are.
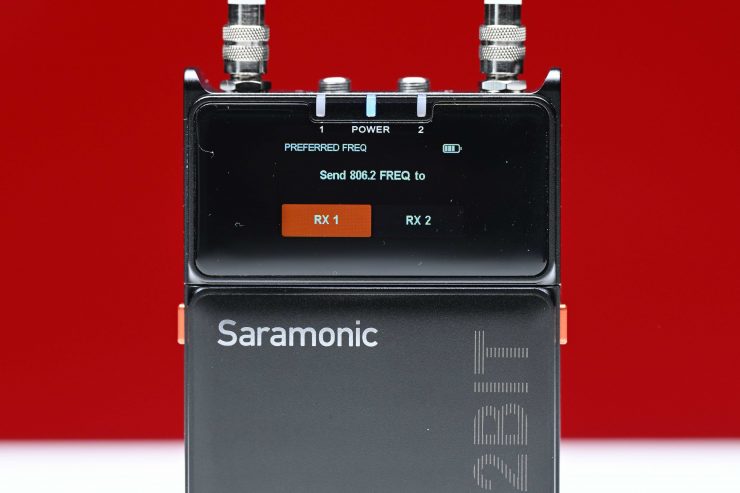
Once your frequency is set, you can then put the TX units into the pair mode and then the RX unit will send those frequencies to the TX units.
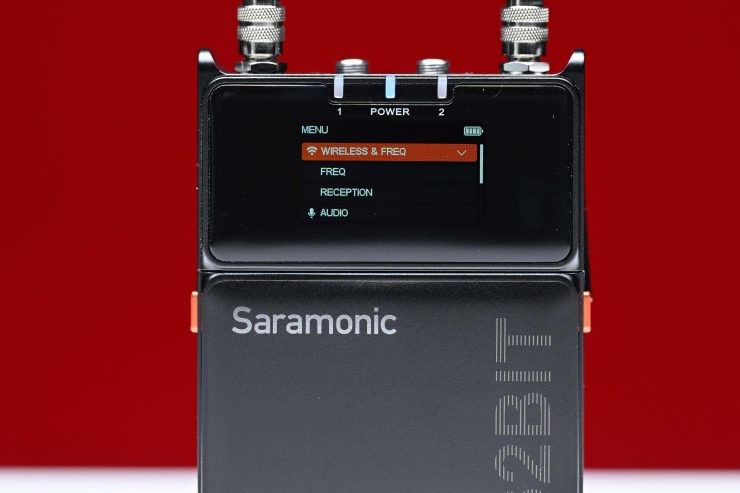
Enter the K9RX menu, go to WIRELESS & FREQ > FREQ> MANUAL, and select the channel corresponding to the K9TX you want to pair with (PAIR 1 or PAIR 2, corresponding to Pair TX1 or Pair TX2).
You press the confirm button once to initiate the RX’s pairing with the TX1. The screen will display SUCCESS if the pairing is successful, and it will display FAIL if the pairing fails. If you have any issues, you can repeat the pairing steps above or check whether the antenna is installed correctly.

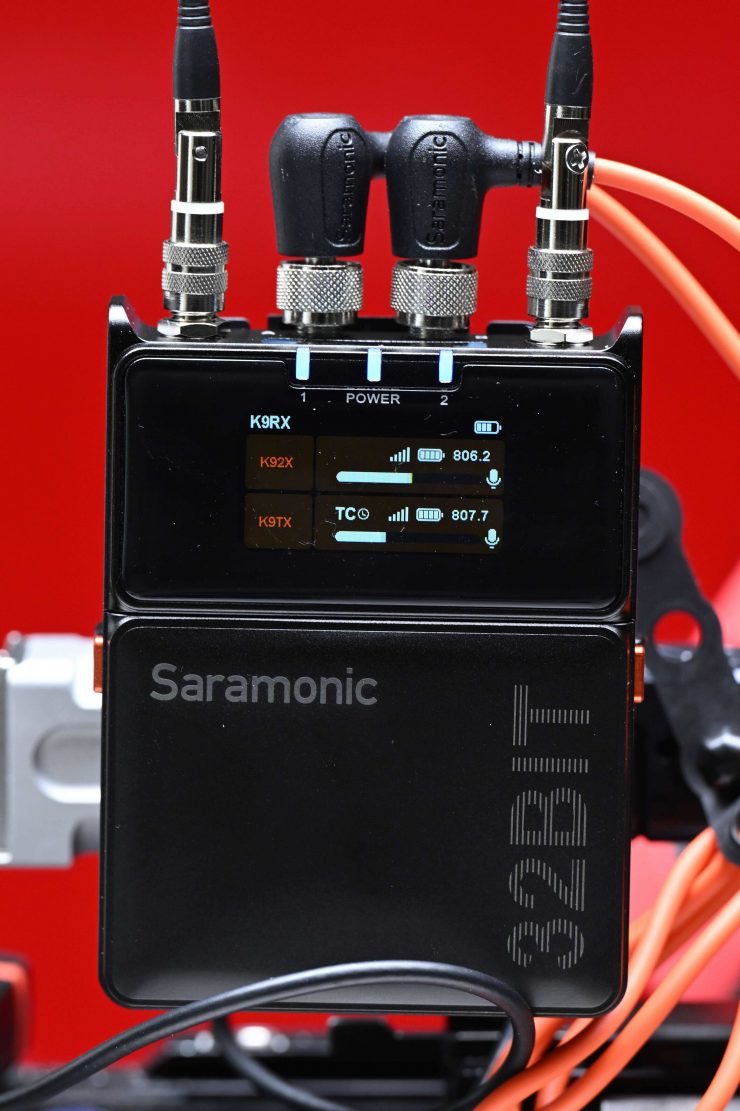
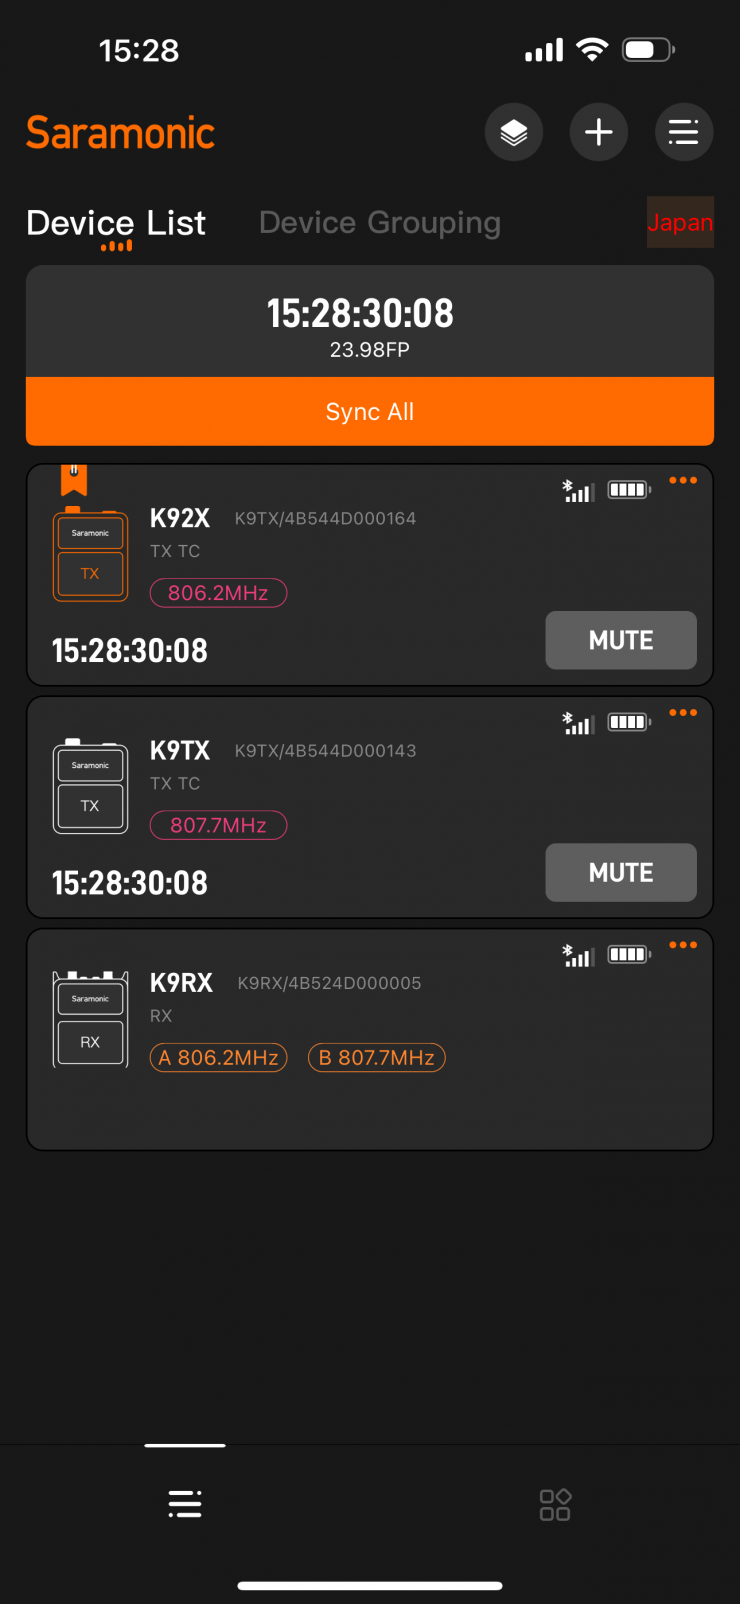
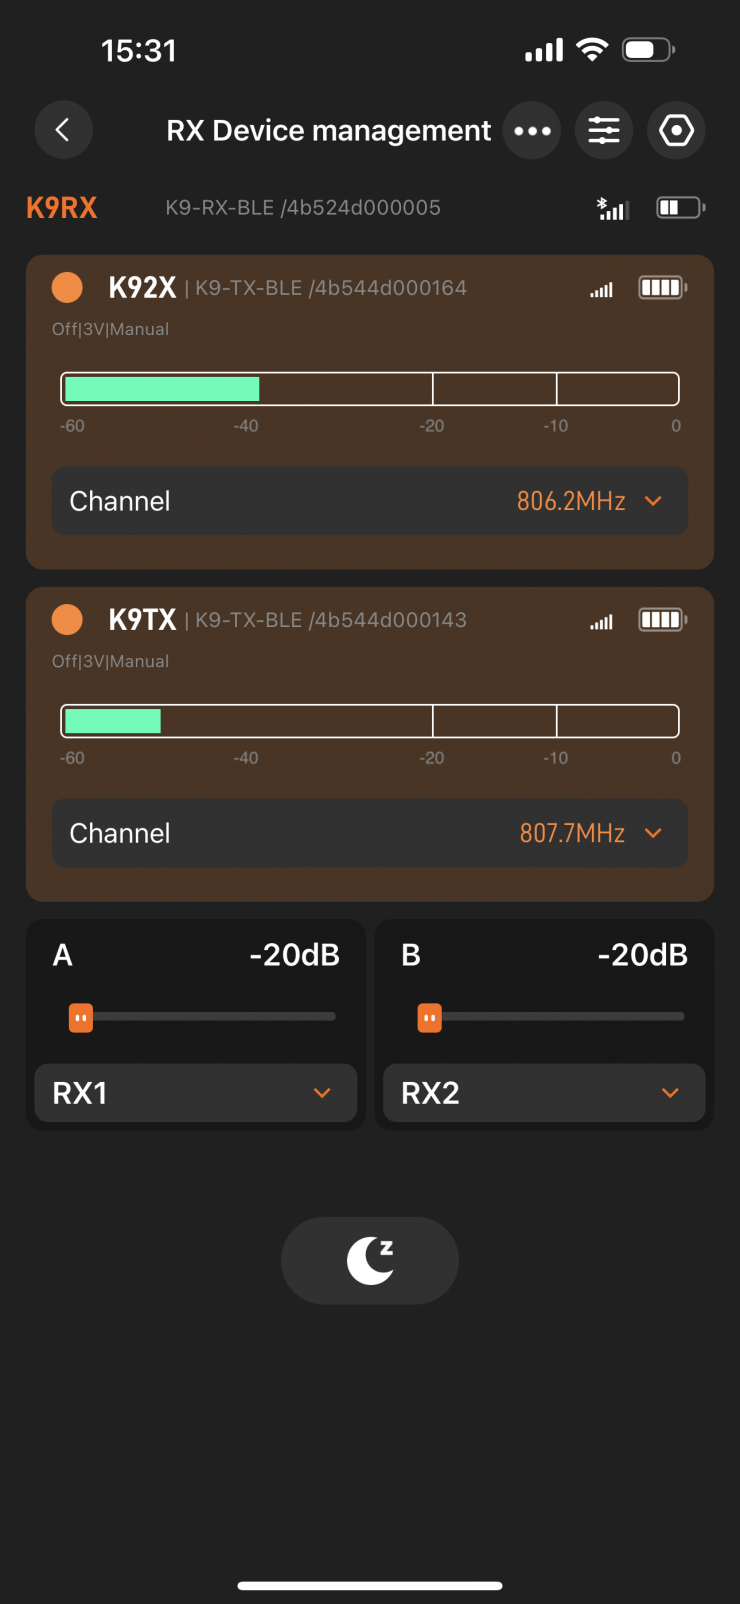
Now, what you need to remember is that if you do this it will send the exact same frequency to both TX units and you won’t receive individual signals from both TX units as you can see above.
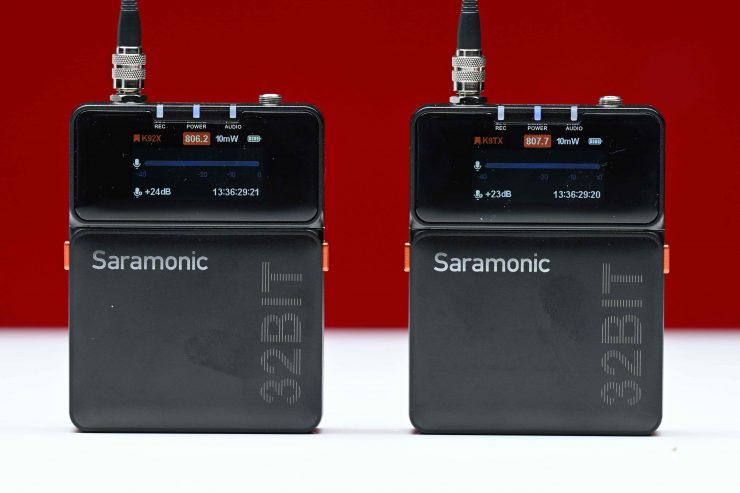
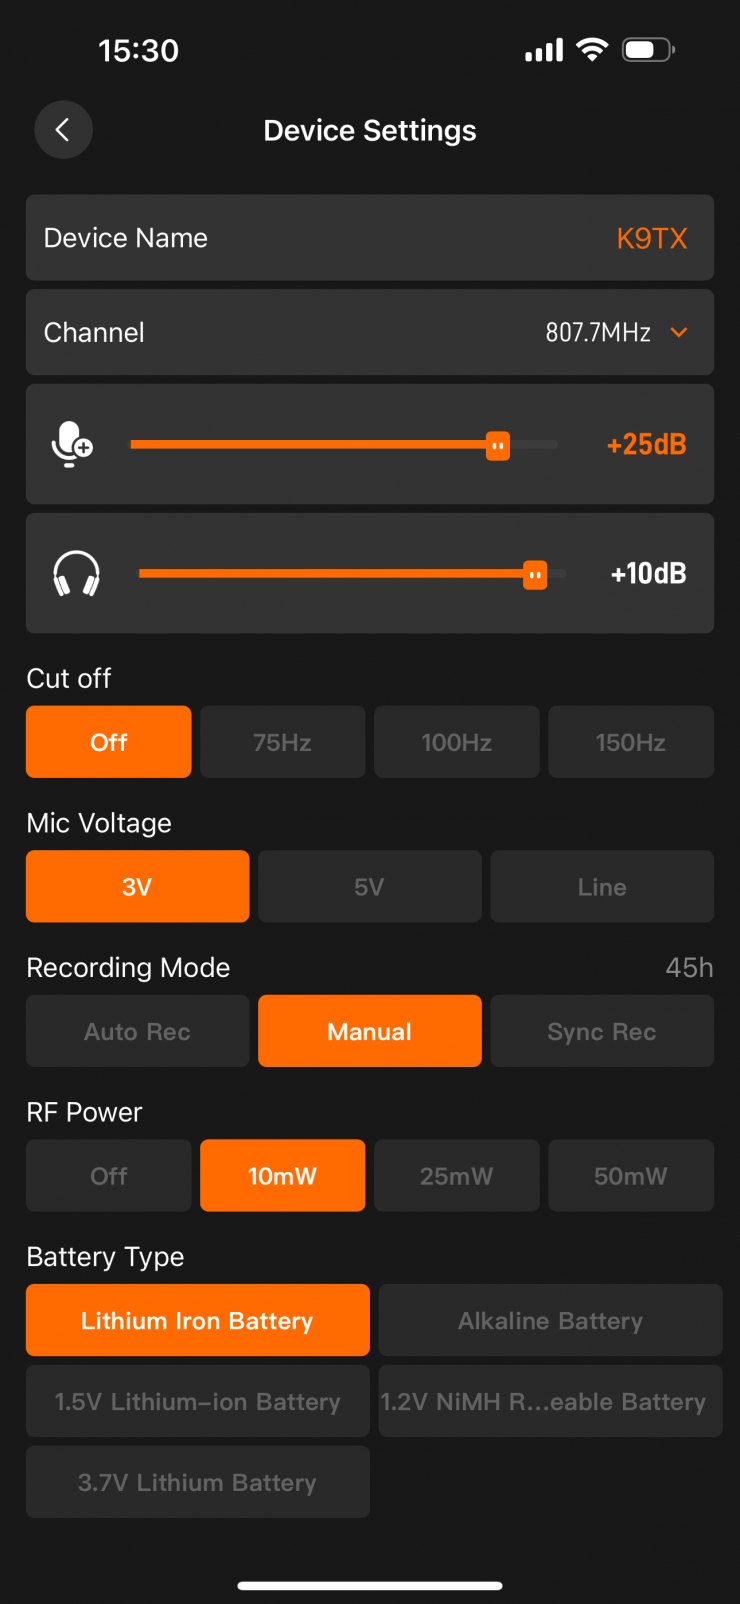
You need to go in and change the frequency on one of the TX units (or in the app) so that it is slightly different. Above you can see that I have set one to 806.2 MHZ, and the other to 807.7 MHZ. Ideally you want to space the frequencies out a bit and not have them too close to each other.
Is a UHF system worth it in 2025?
With a lot of decent and very affordable 2.4Ghz systems continuing to improve, is it worth getting a UHF system in 2025? That is a good question, but it really comes down to what you are doing and what your requirements are.
I personally prefer the UHF systems over 2.4GHz systems when it comes to wireless audio as I don’t want to have to deal with signal issues. Paying extra for a more reliable system is worth it if you are a professional; you have to deliver and clients are paying you for results, not issues. For content creators or people doing their own projects (at certain levels), you can take more chances. Again, like I previously said, it depends on what you are doing. There is a reason UHF systems are used in TV broadcast, films, commercials, etc. Reliability is key when using wireless microphone systems.
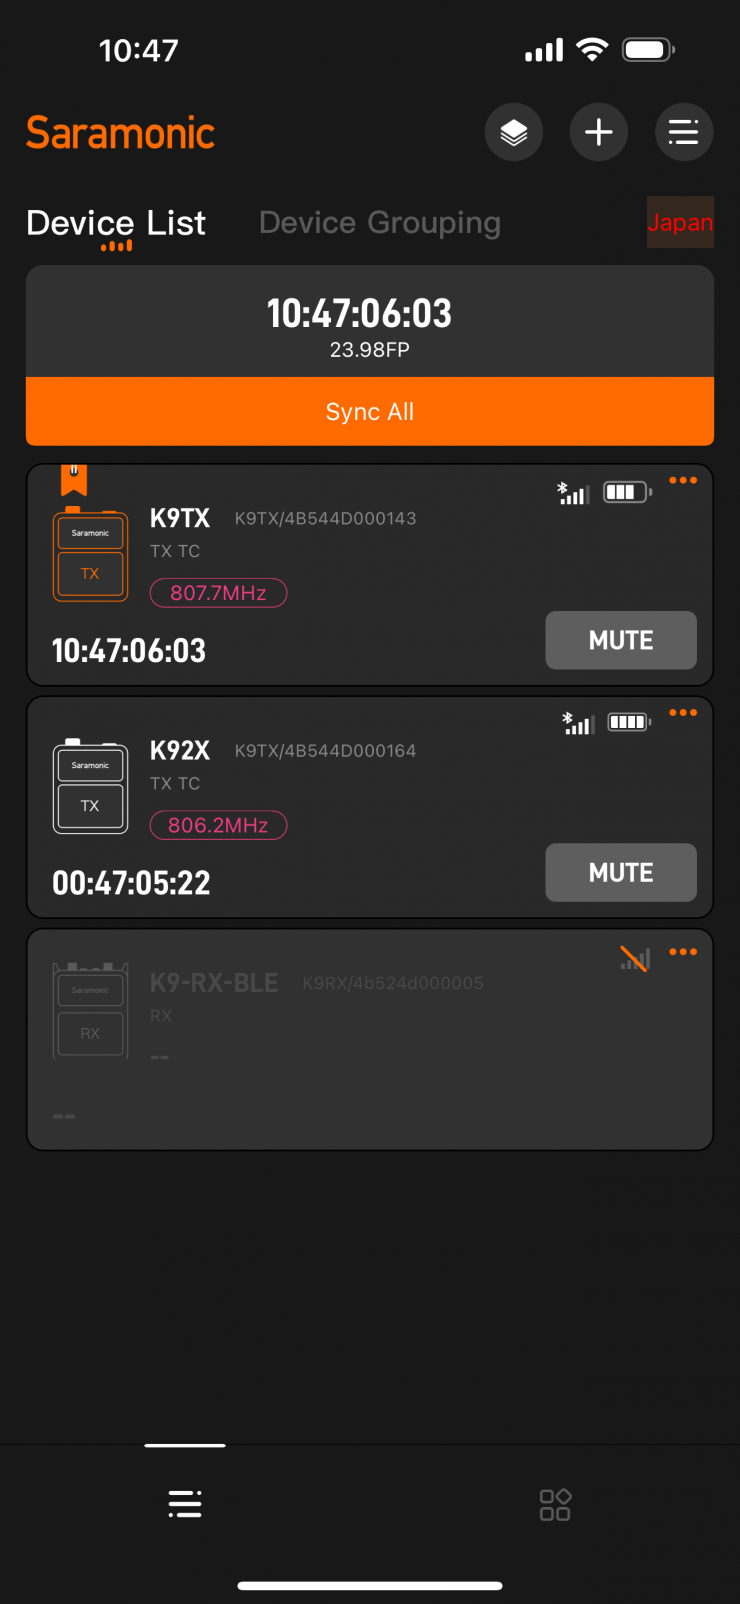
Saramonic System App
The K9 will work with the Saramonic System App for iOS and Android devices.

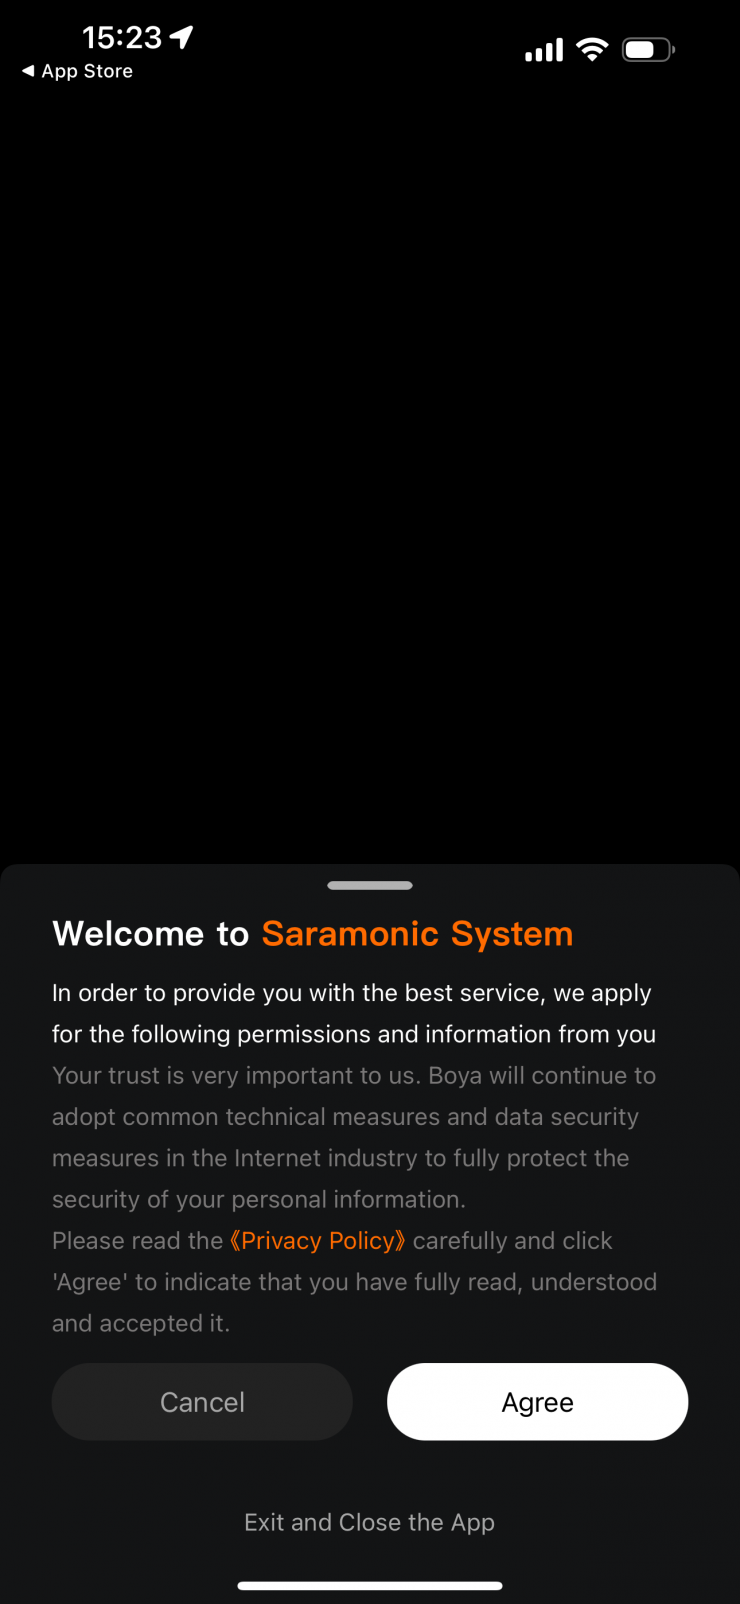
Once you download the app and you open it up for the first time, you will need to allow it to access Bluetooth devices and agree to the terms and conditions.
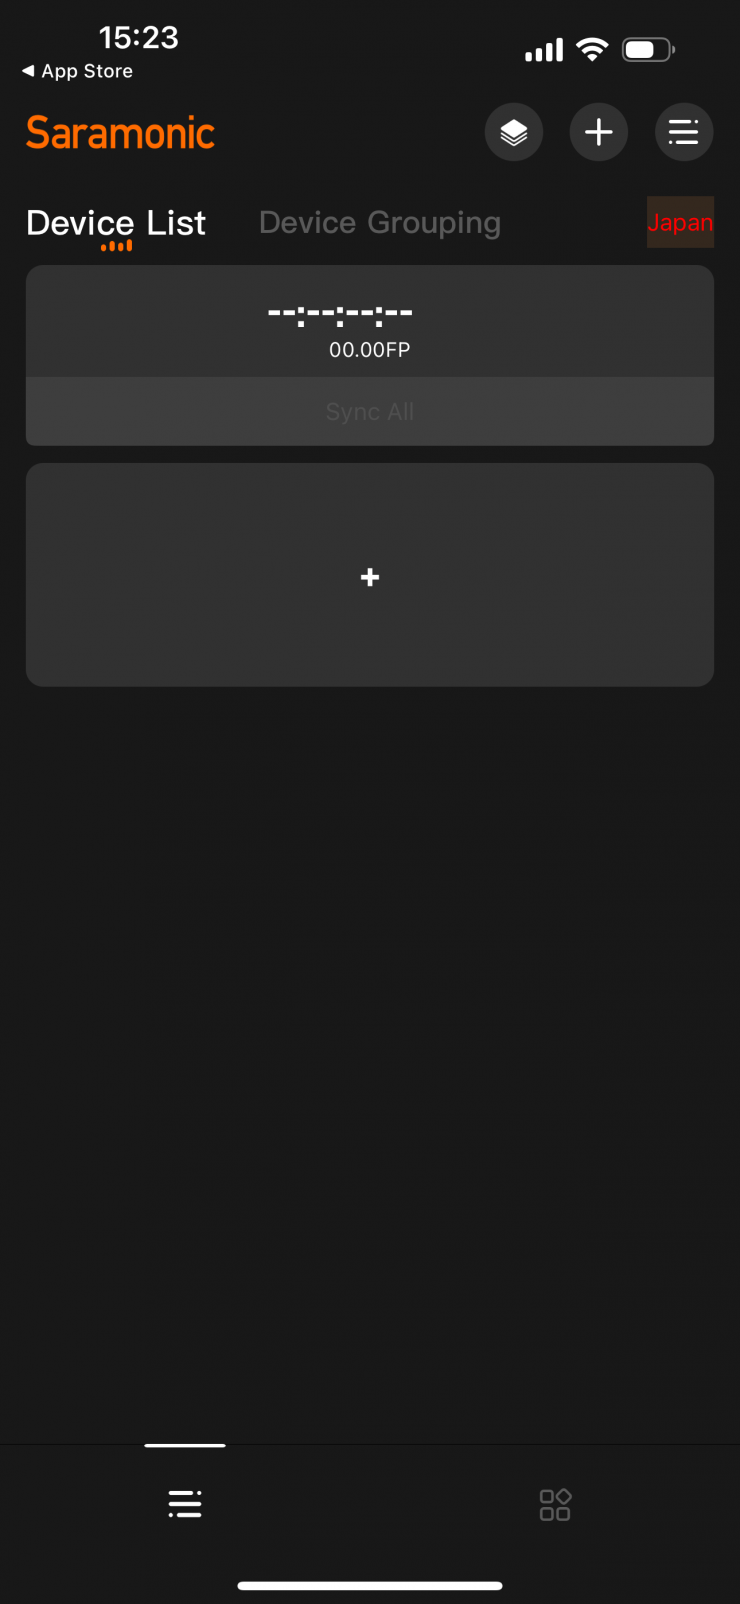
You will then be greeted by the main screen. You then need to add your K9 devices by clicking on the + symbol in the top right-hand corner.
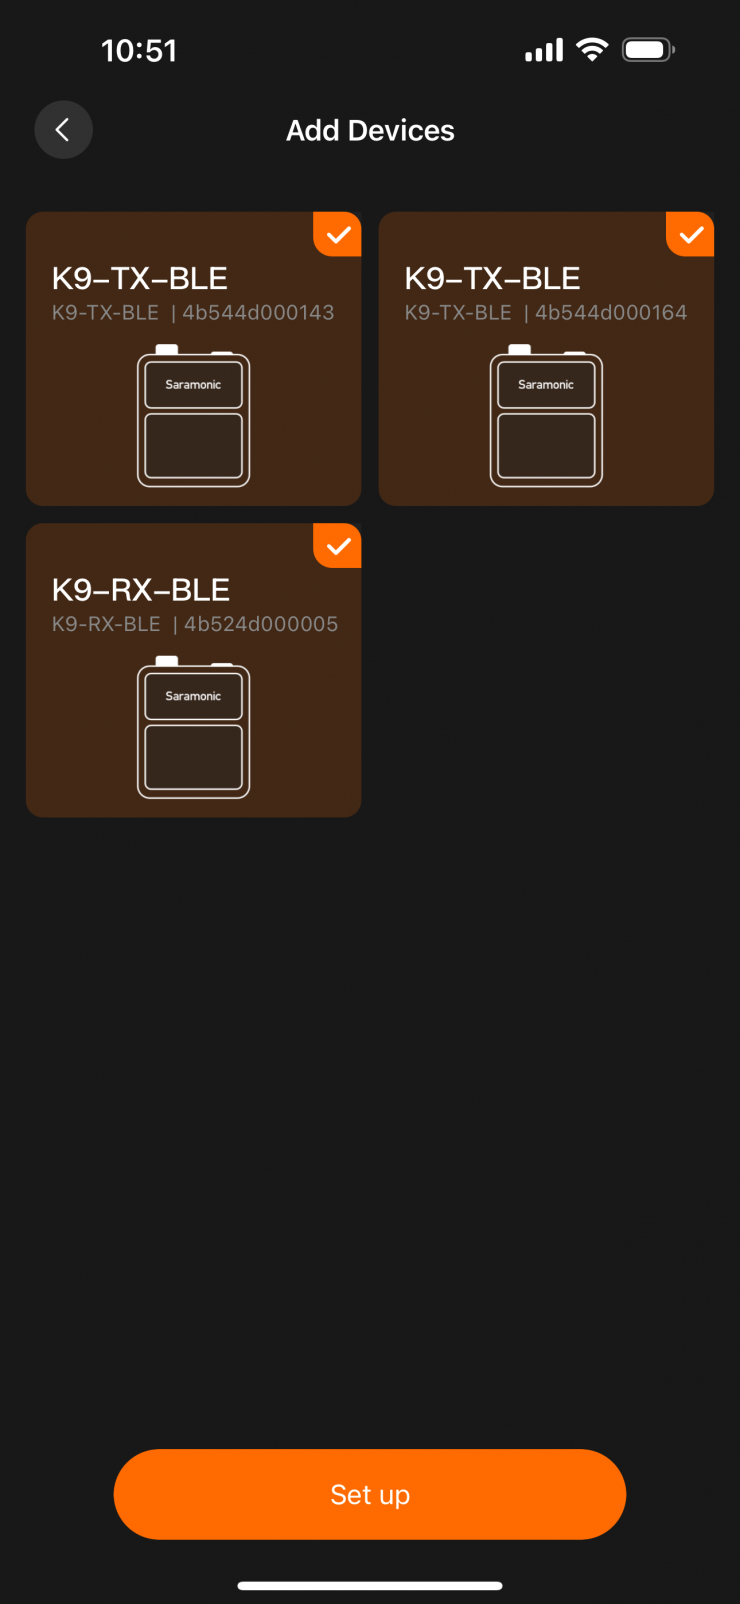
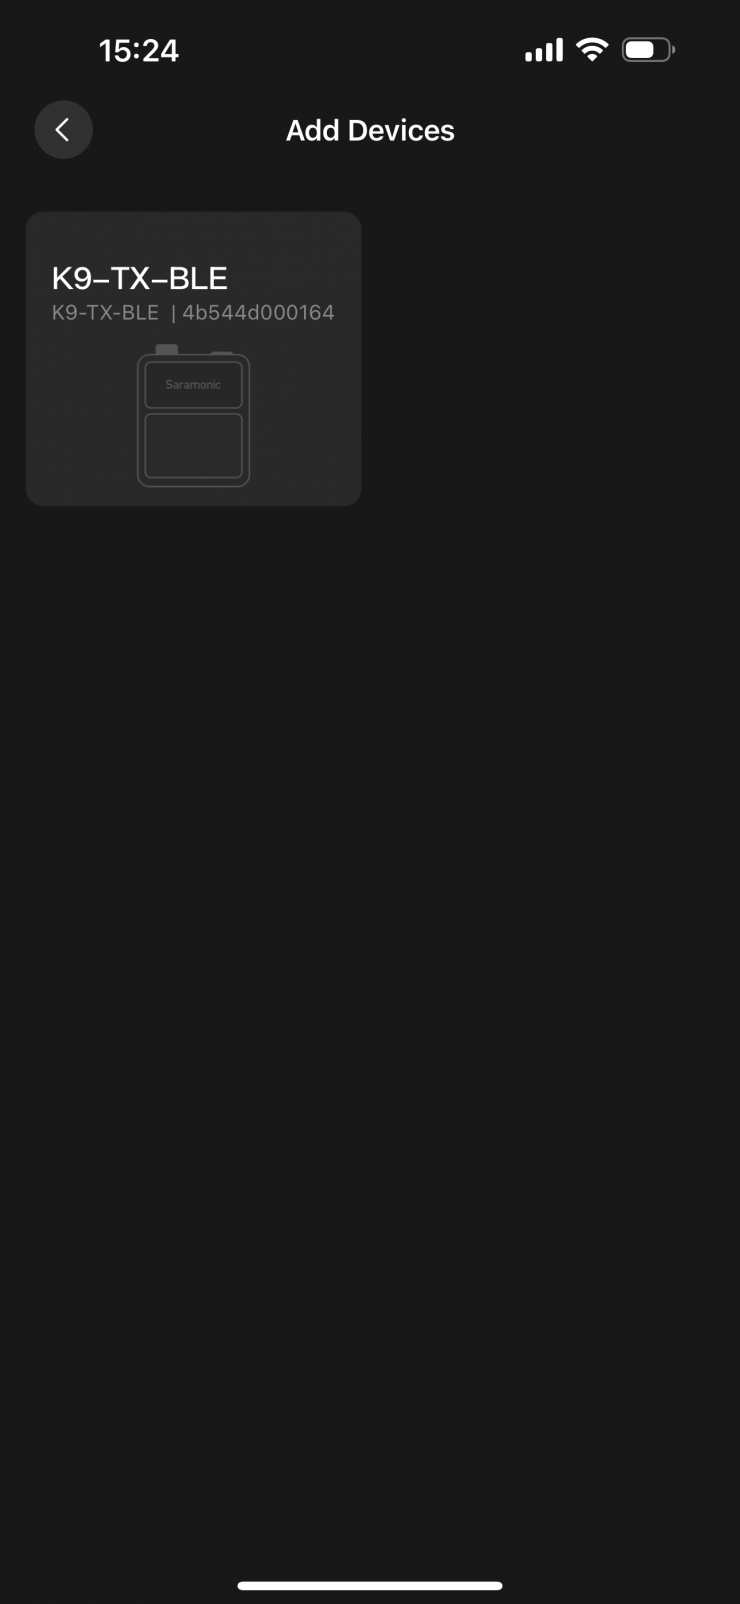
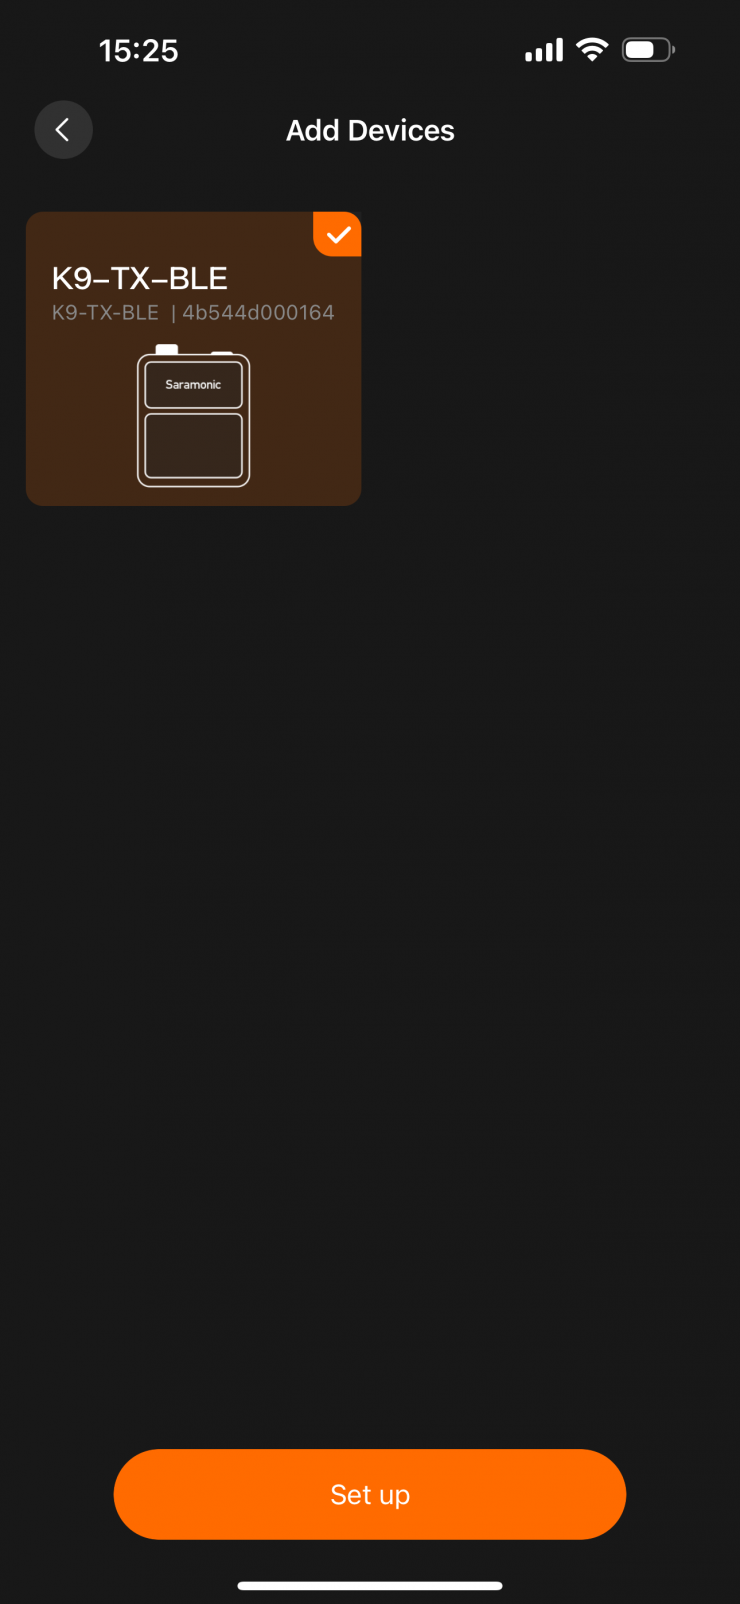
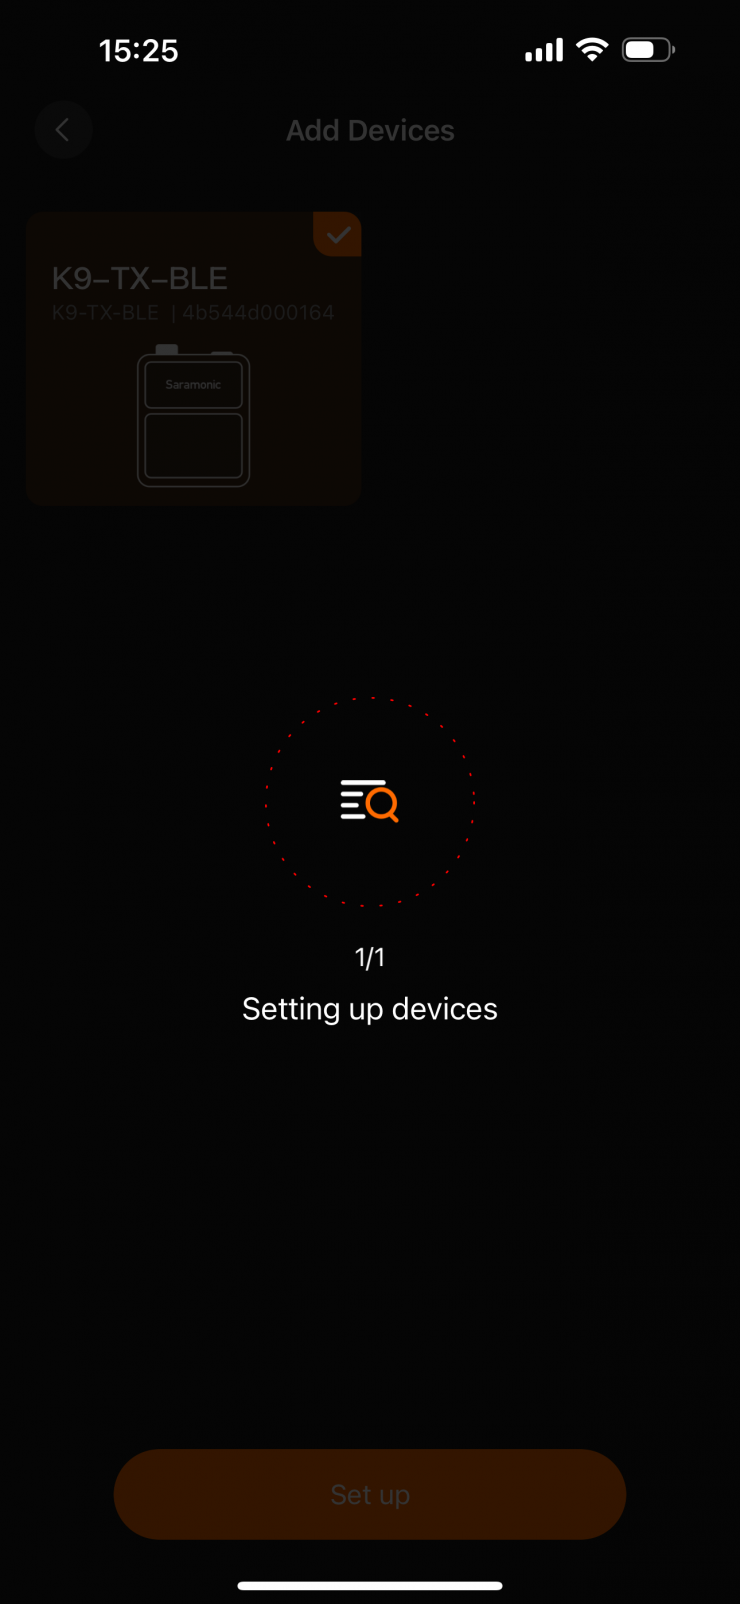
You then need to add devices individually, or you can add them all at once.
Once you have done that, they will all be visible on the main screen.
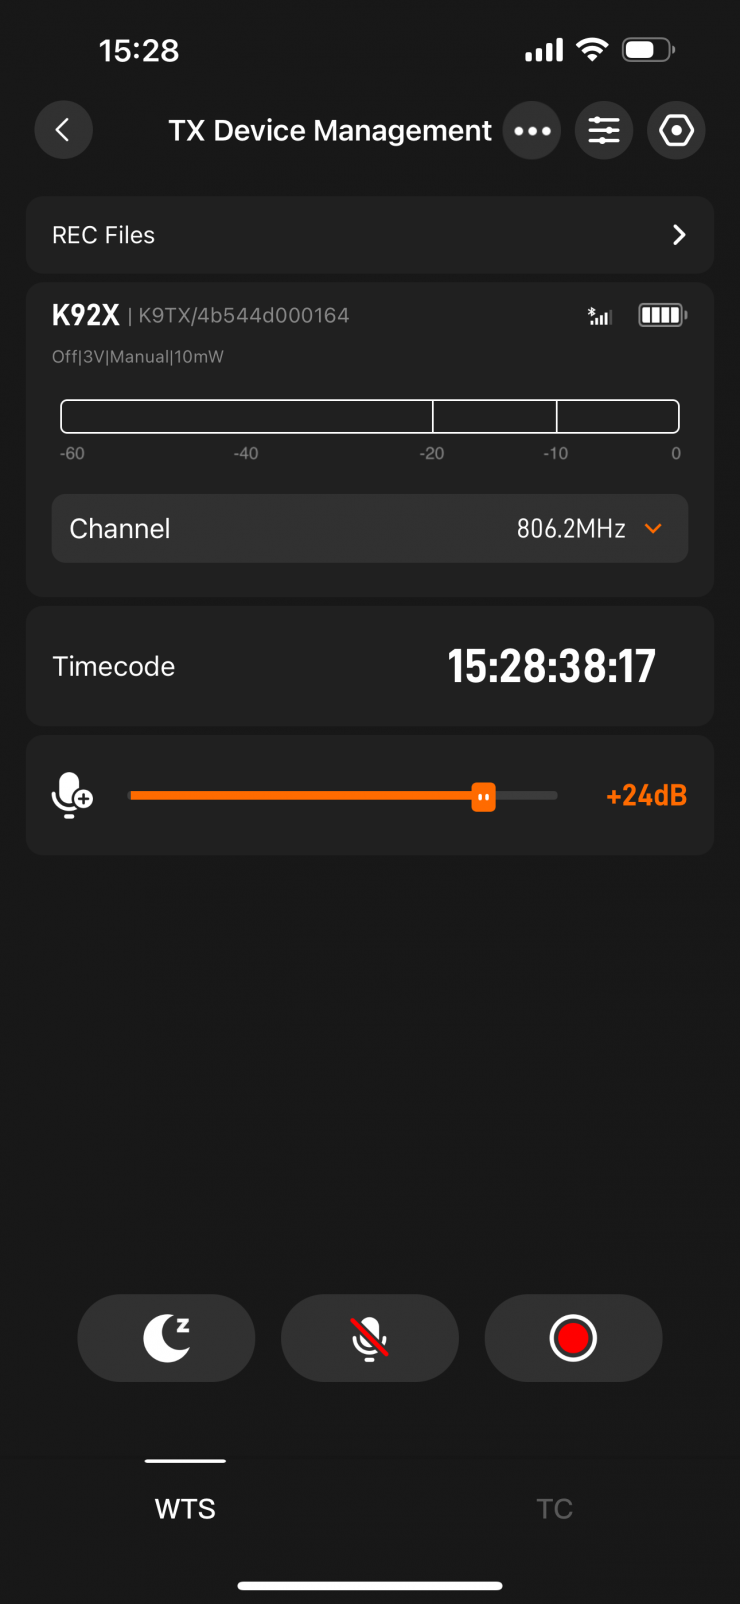

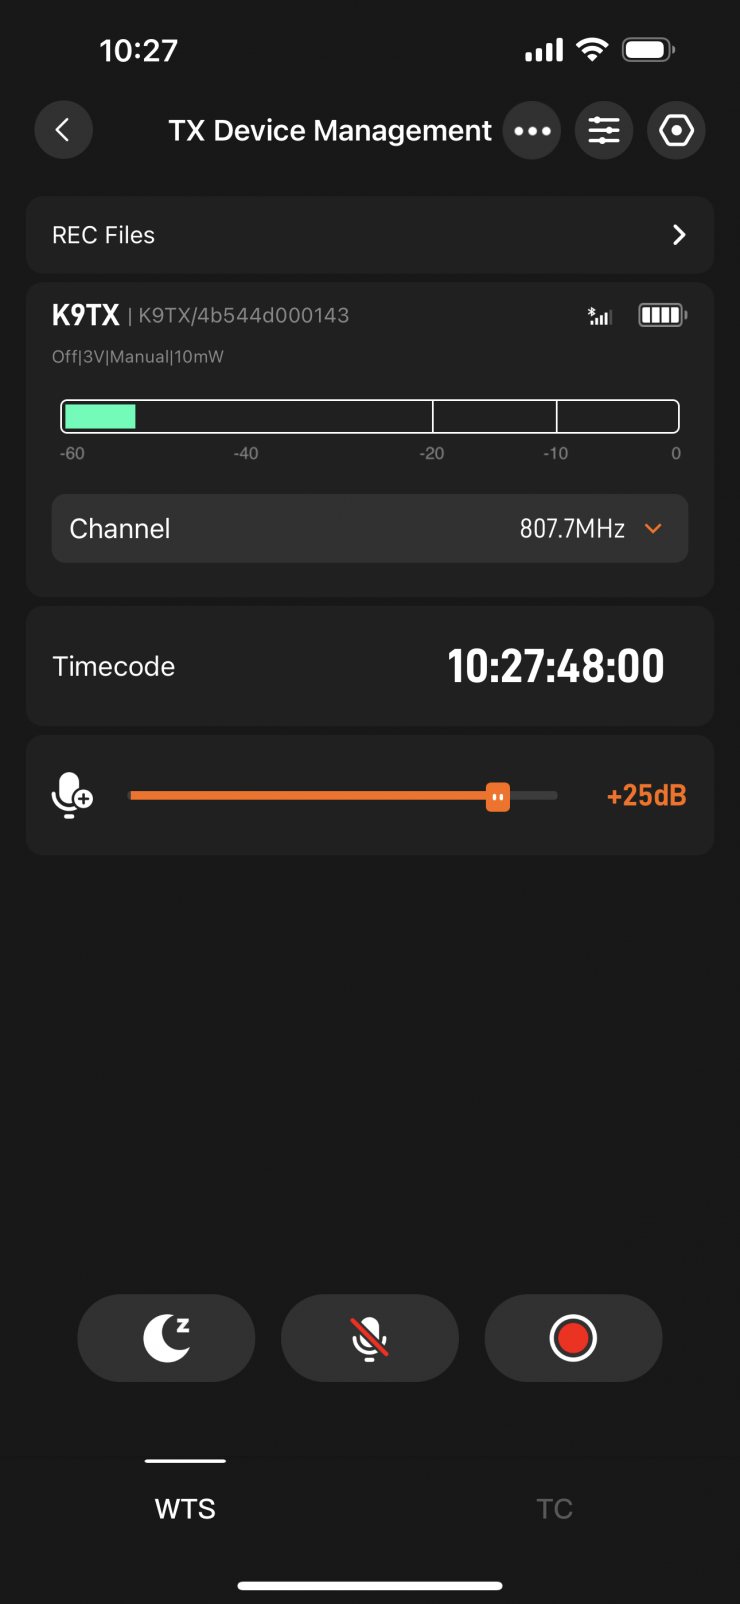
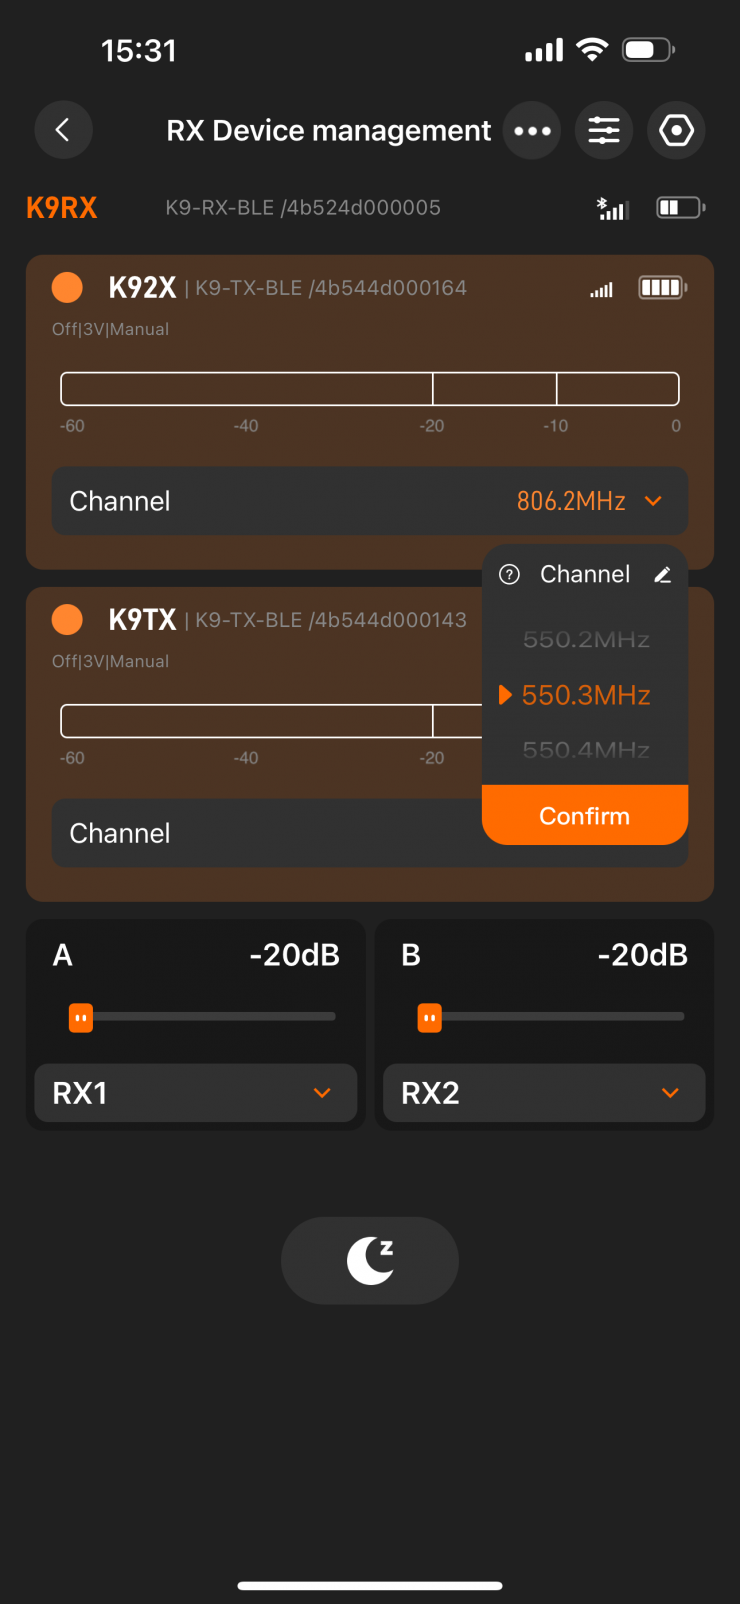
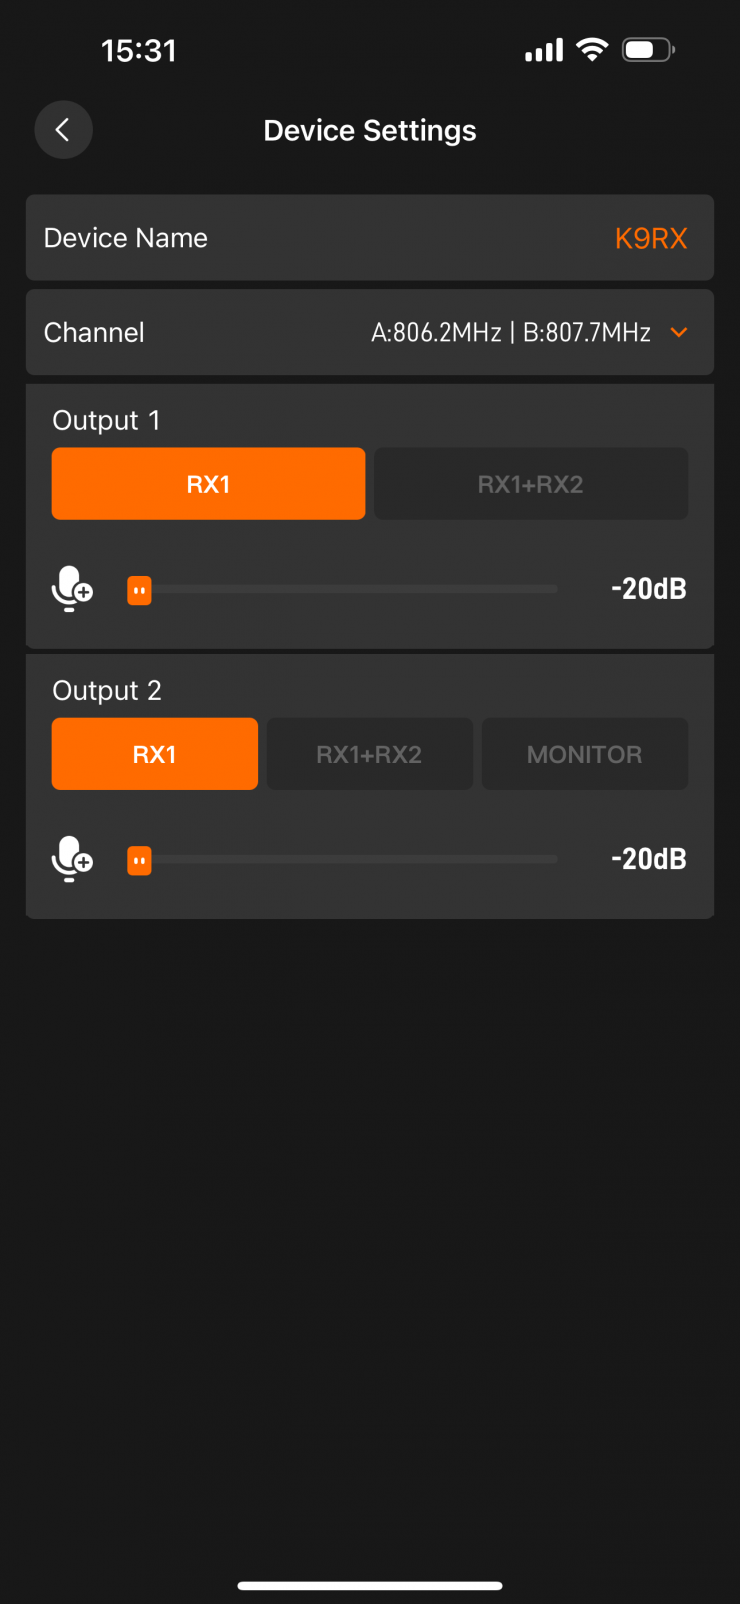
You can touch on the device you want to make changes to. Here you can Start/Stop the internal recording, mute the microphone, adjust the levels, change the operating channel, adjust the timecode, and save presets.
You can also make other adjustments to a wide array of options and view any recorded files you have on the device.

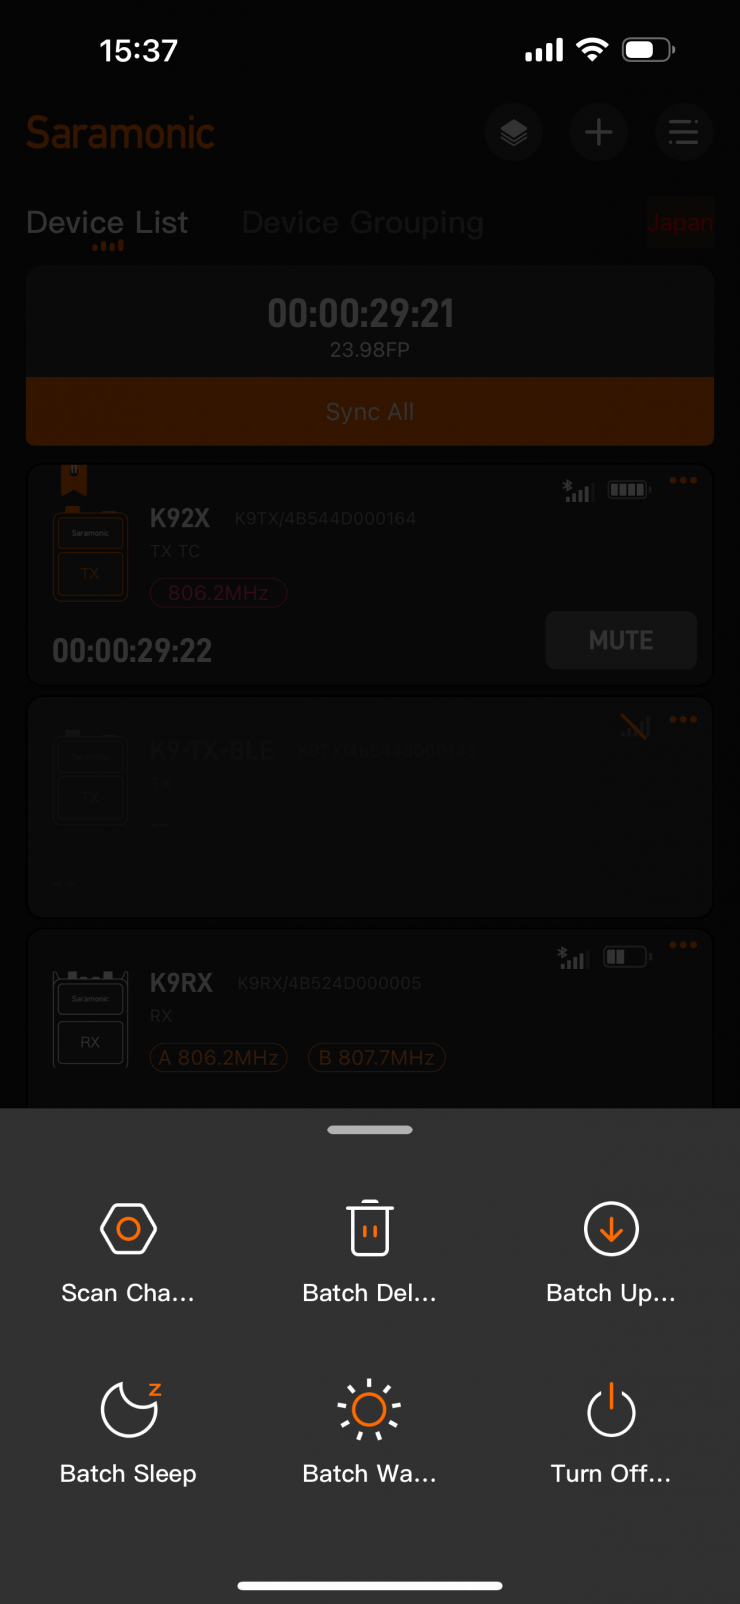
If you select the RX unit, you can also make changes to all the same functionality that is available on the physical device through the menu.
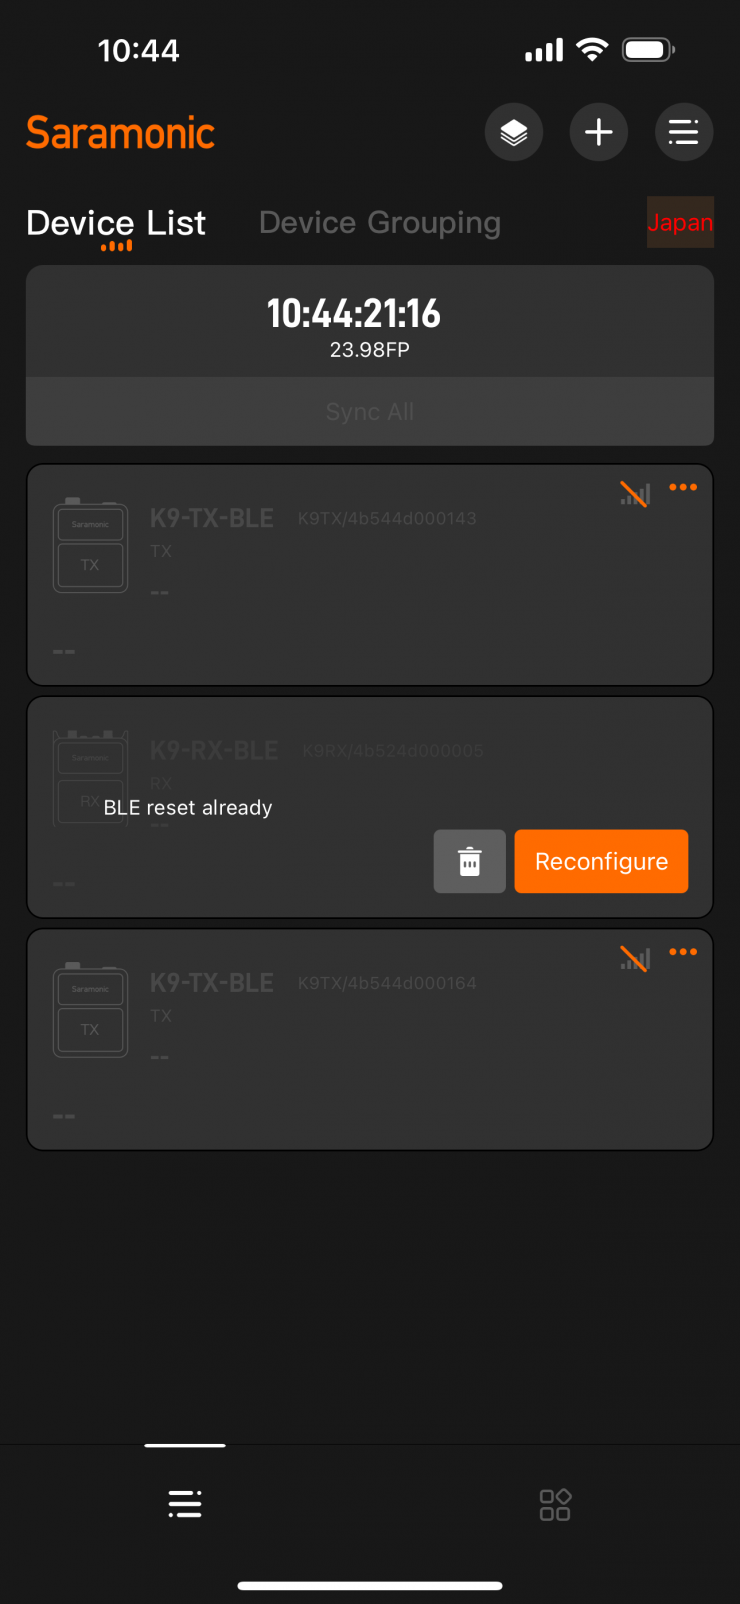
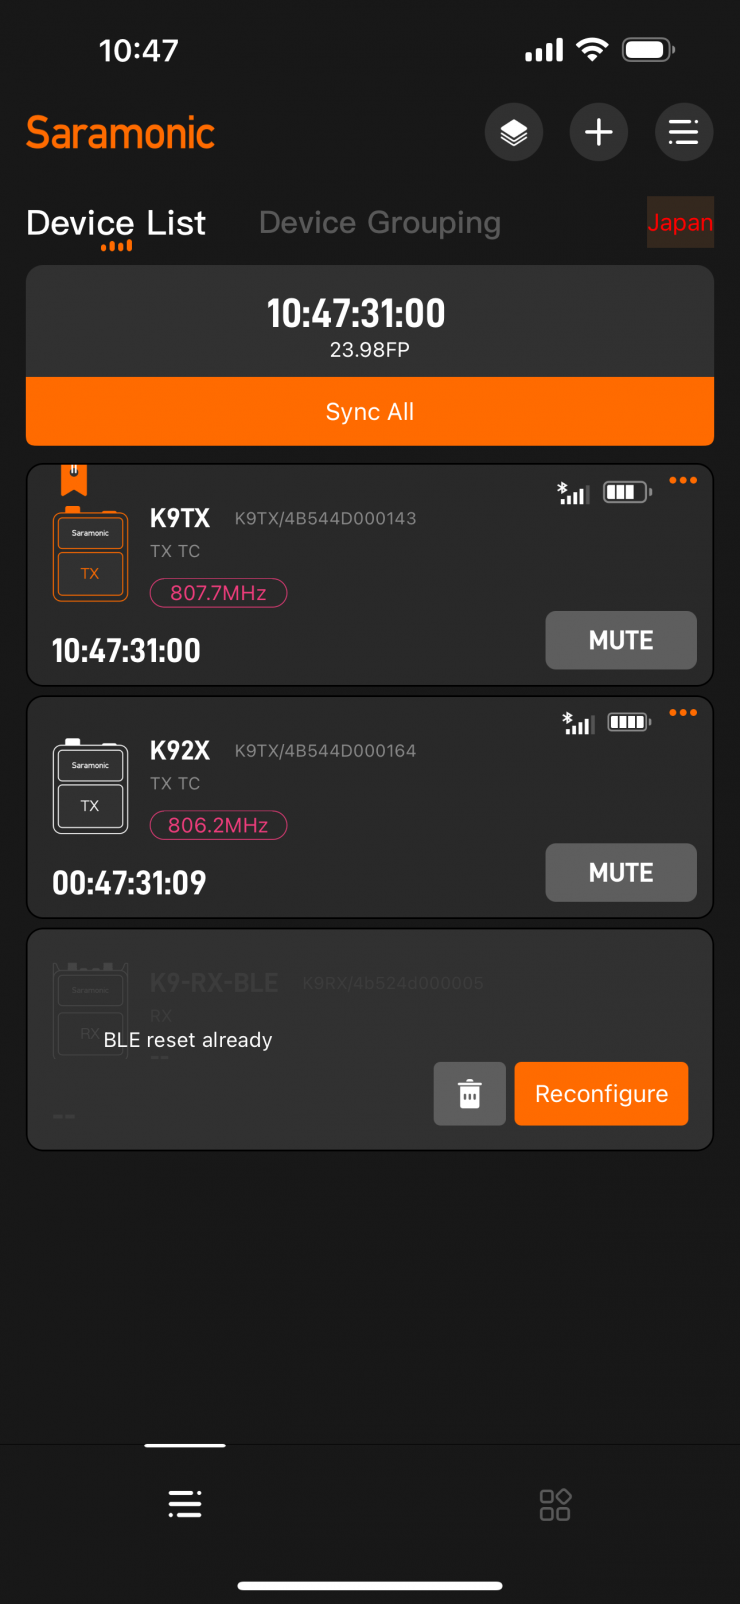
I did find the app to be a little buggy and often when I reopened it, a TX or RX unit wouldn’t connect up. Often it would say that the unit wasn’t available even if it was. It would also sometimes ask you to reconfigure the Bluetooth, but even if you did, nothing would change. I found the best solution was to just delete all the devices and add them from scratch. This was hardly ideal, but this app is very new and I would expect that Saramonic will iron out some of these bugs moving forward.
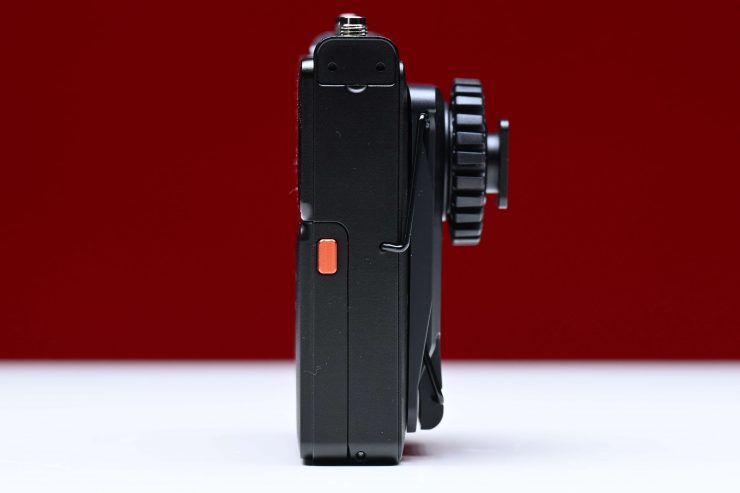
Build Quality
The TX and RX units are solidly made and well constructed.
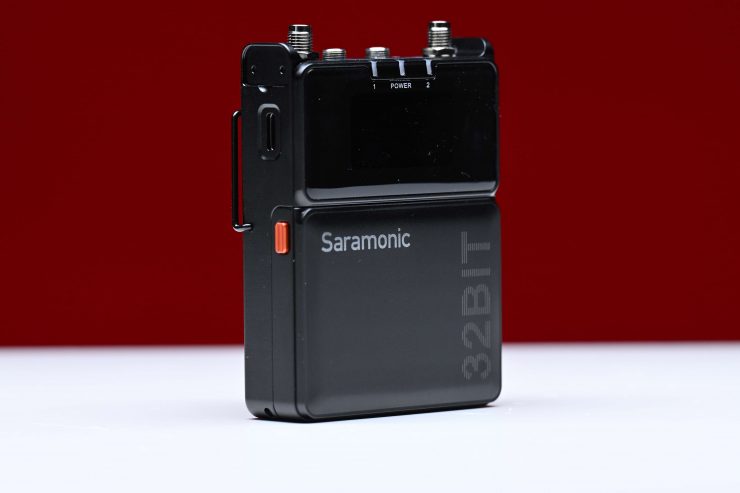
The battery doors feature metal release mechanisms.
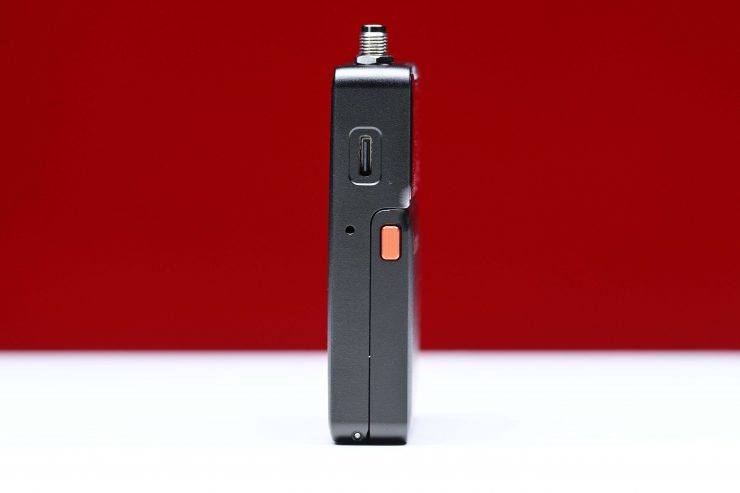
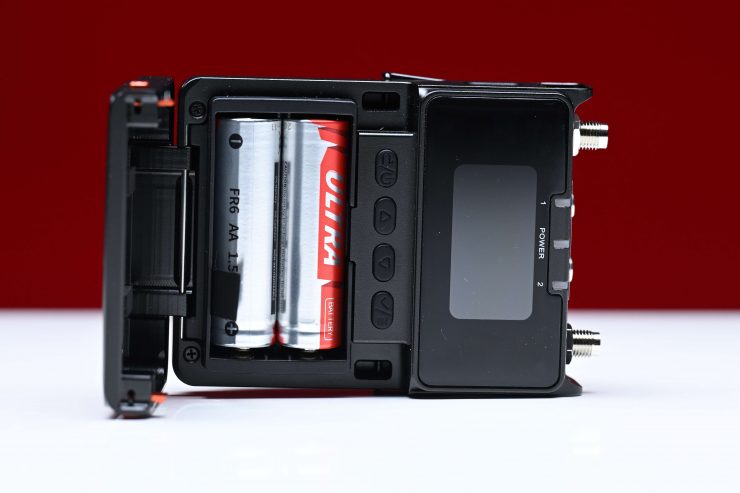
There are no physical buttons or switches on the outside of the RX or TX units. They are all located inside and you need to open the battery door to access them.
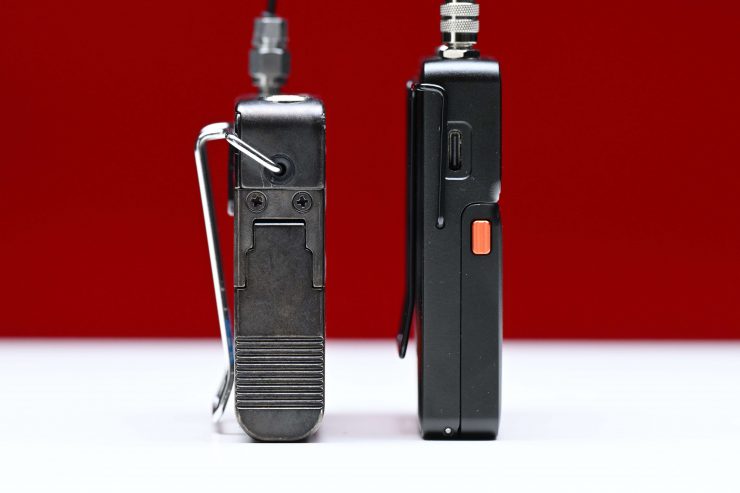
The belt clips are the usual ones you would find on most wireless UHF TX units. These work okay, and they shouldn’t break unless you are using excessive force or trying to bend them too far to attach them to something that you shouldn’t.
Taking the belt clips off can be a little fiddly, so it’s best to just leave them on, unless you have a reason to remove them.
The cold shoe adapter plate mounts to the belt clip and it fits snugly. It doesn’t wobble around or move, which is good to see.
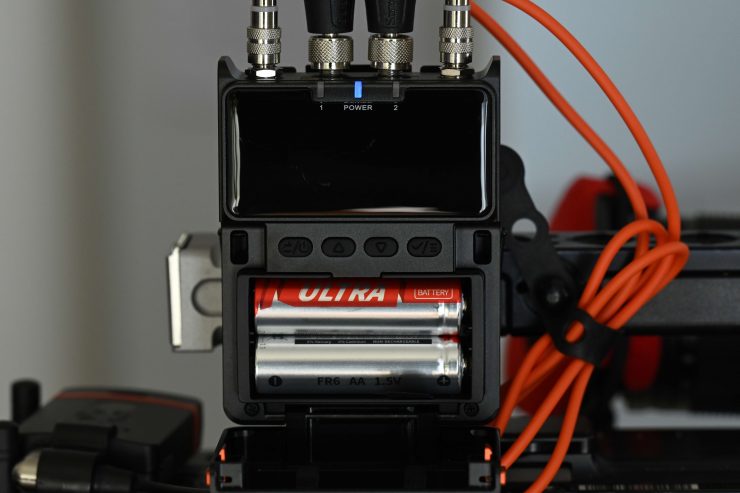
How are they powered?

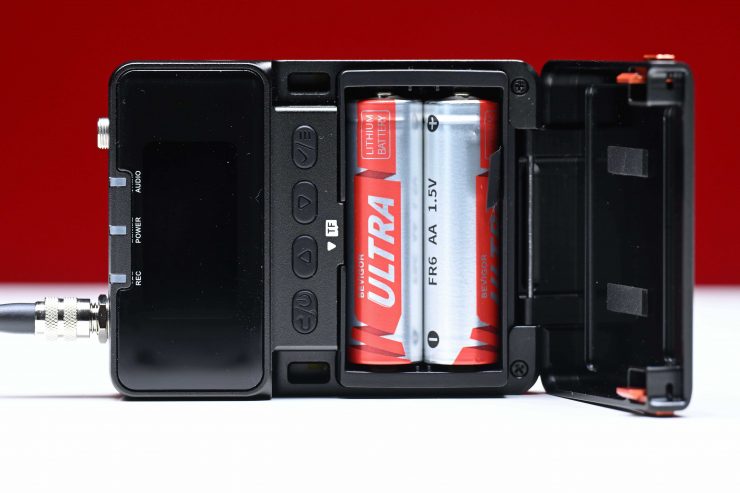
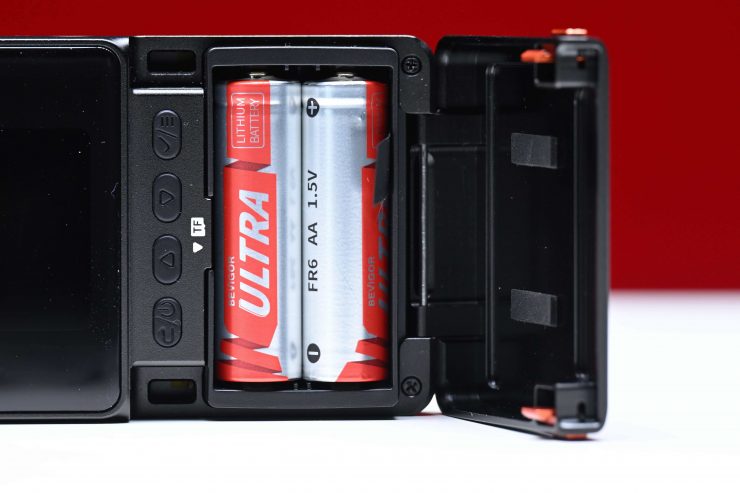
The kit comes with six high-capacity, 1.5v AA Lithium batteries.
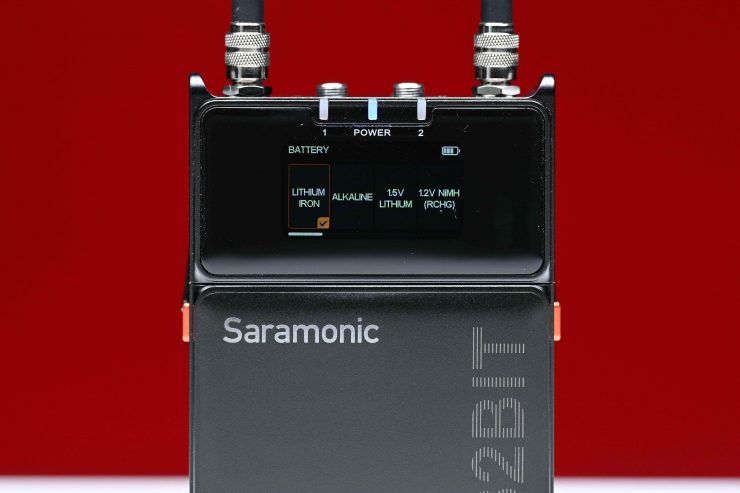

You can go into the menu and tell the devices what type of battery you are using. You can use standard rechargeable or non-rechargeable AA batteries, which most people will have. I prefer devices that use readily available battery options, as it is always easy to find something in an emergency. With proprietary or specialized batteries, you can be in trouble if you forgot to pack them or they haven’t been charged.

According to Saramonic, the supplied (non-rechargeable) 1.5V Lithium-ion batteries will power the K9 RX for 8 hours, and a TX unit for 9 hours. Now, Saramonic doesn’t state under what conditions they are, or whether this is with internal recording taking place.
8 hours is a reasonable amount of time, and the RX run time is on par with the competing Deity Theos. I usually make sure I change over batteries in wireless audio devices halfway through the day if possible to avoid any issues.
What you clearly need to remember is that if you are using rechargeable AA batteries, those times will drop.
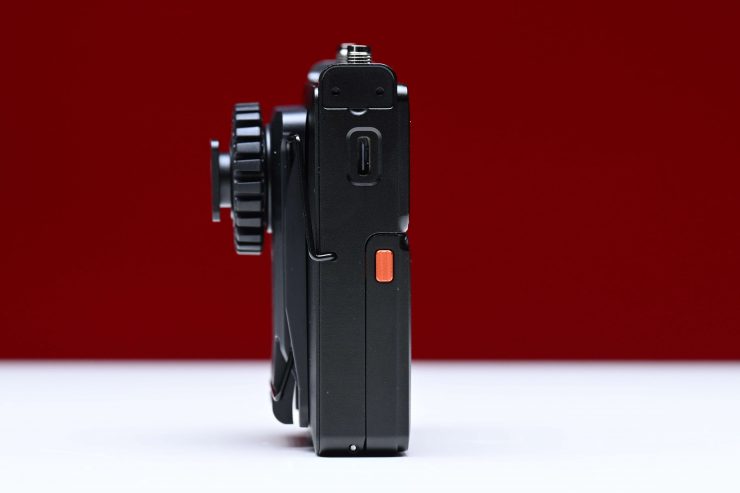
If you want to, you can also power them via a USB-C power source.
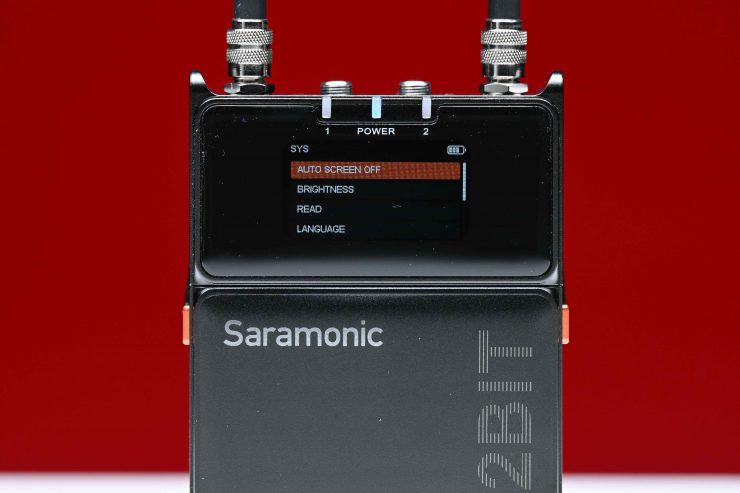
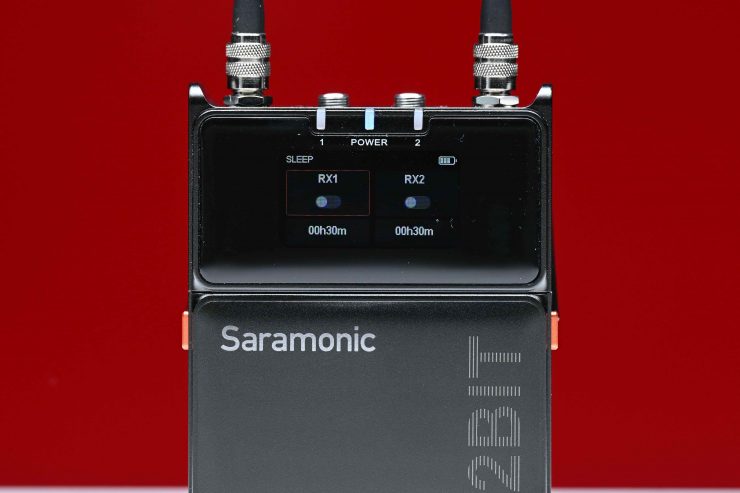
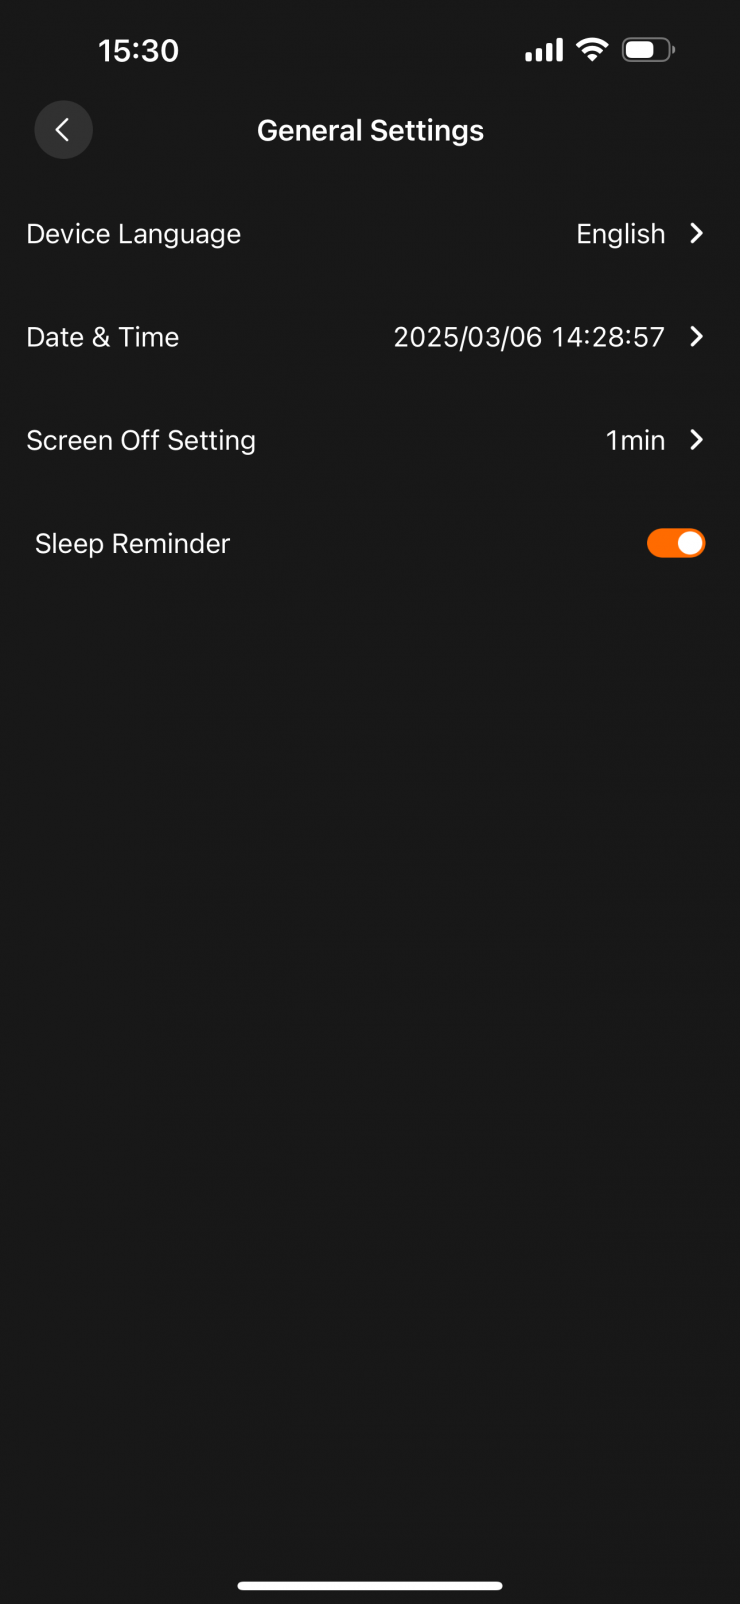
You can also change the Auto Screen OFF time, as well as the Sleep time.
UI
The UI on both the RX and TX units is pretty straight forward to use, although it can be a little fiddly to navigate and make changes as you need to have the battery door open to access the user buttons. I think a lot of people may prefer to just use the Saramonic Connect app.
You have to use a series of four buttons to navigate and make changes in the Menu.
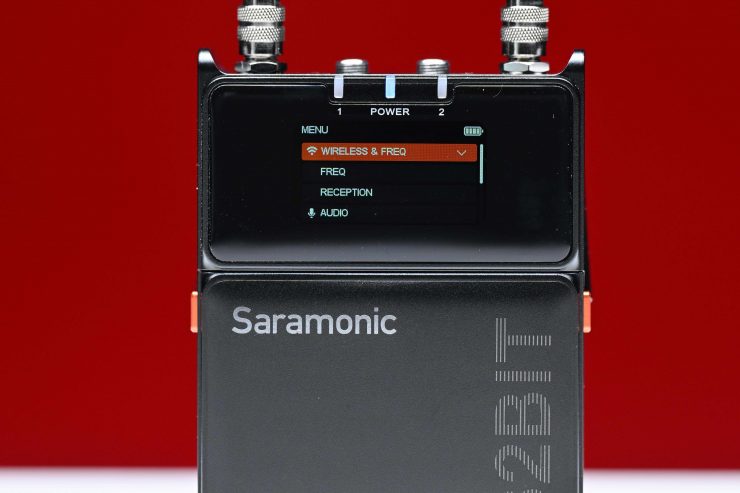


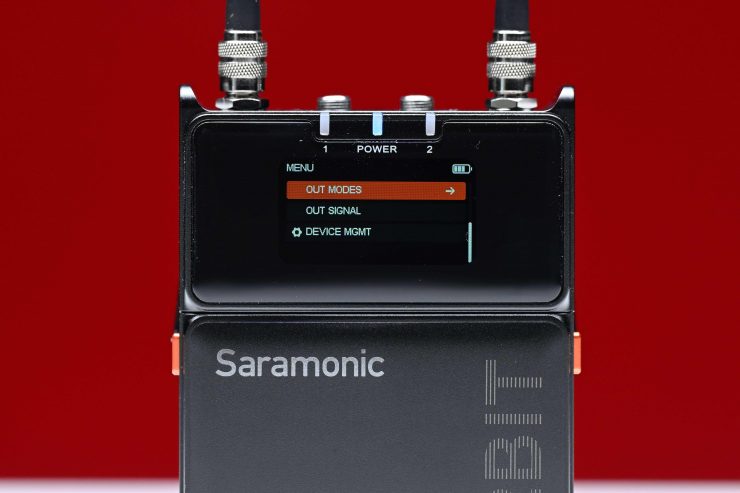

Above you can see some of the menu options that are available.
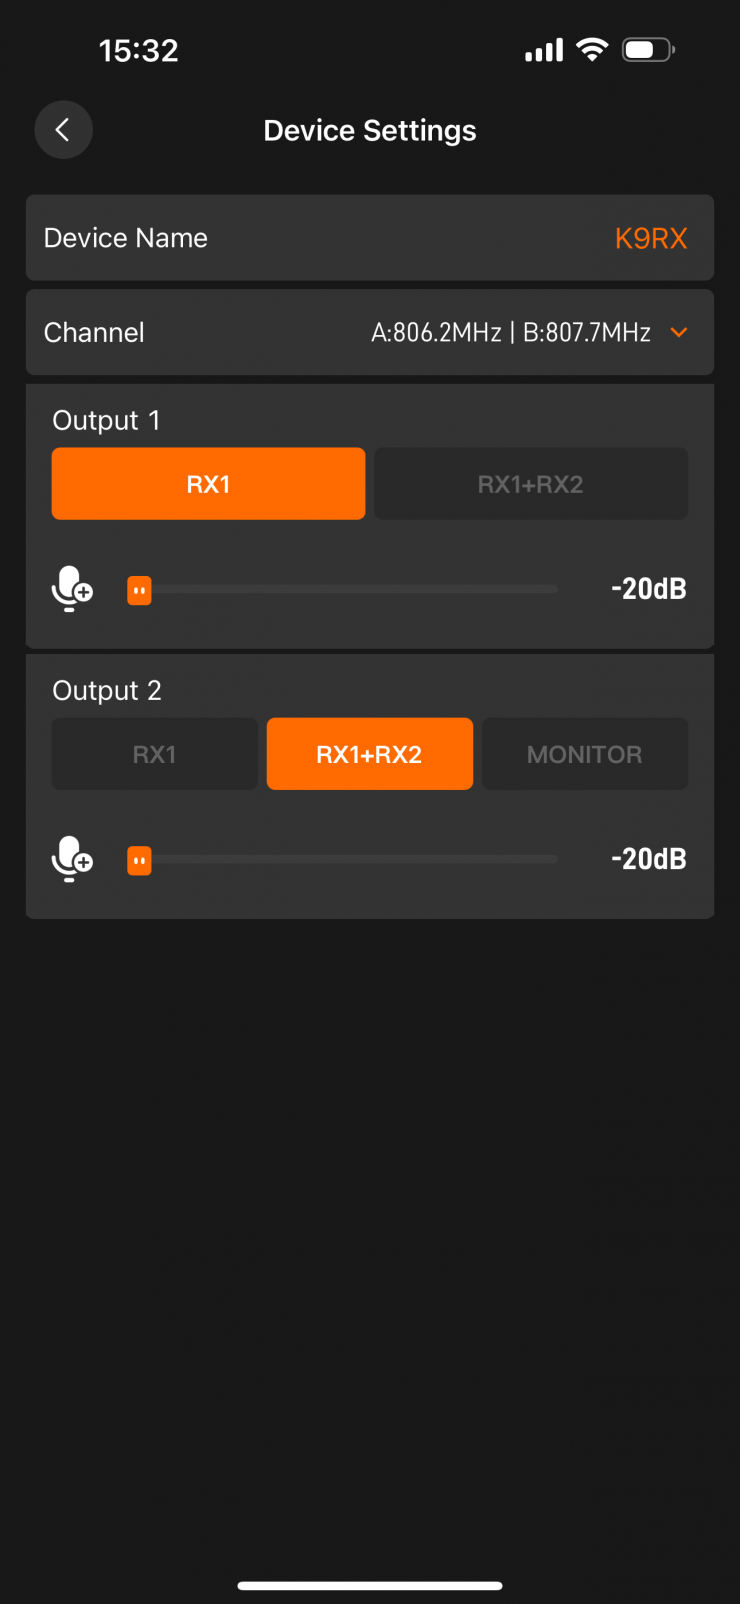
Output Settings


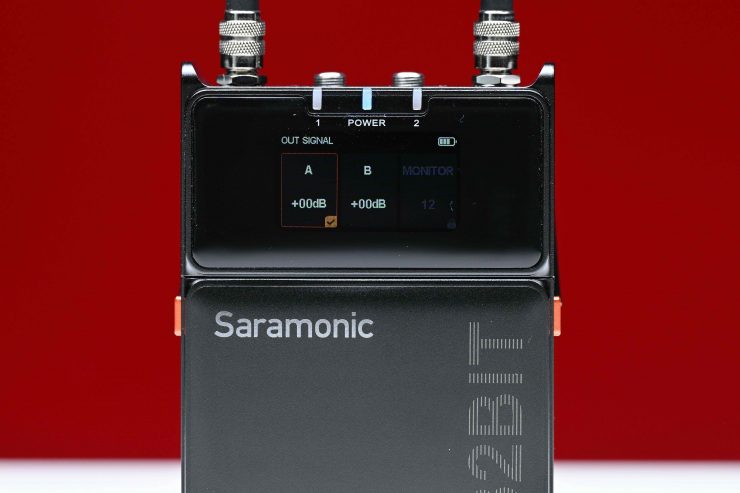
On the RX unit you can adjust the output settings.
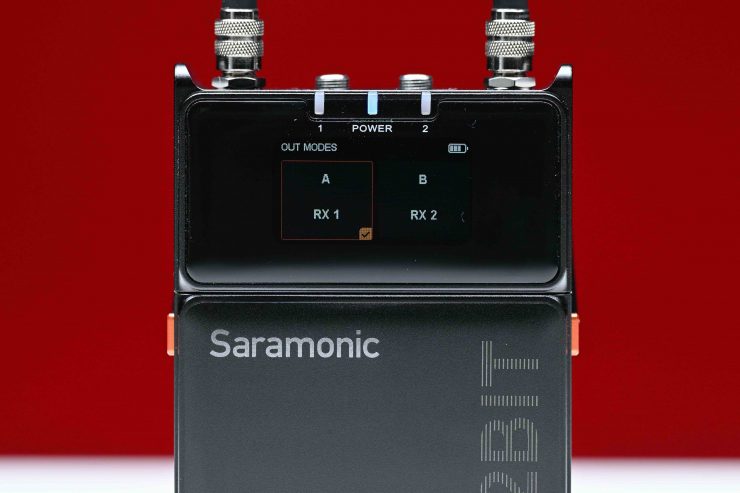
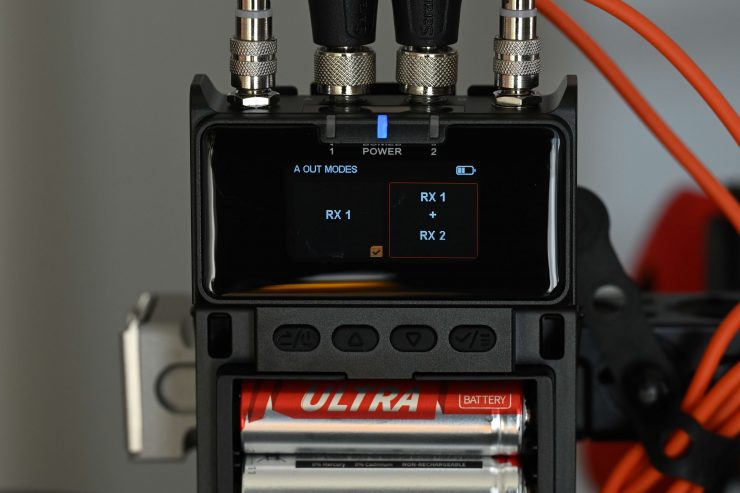
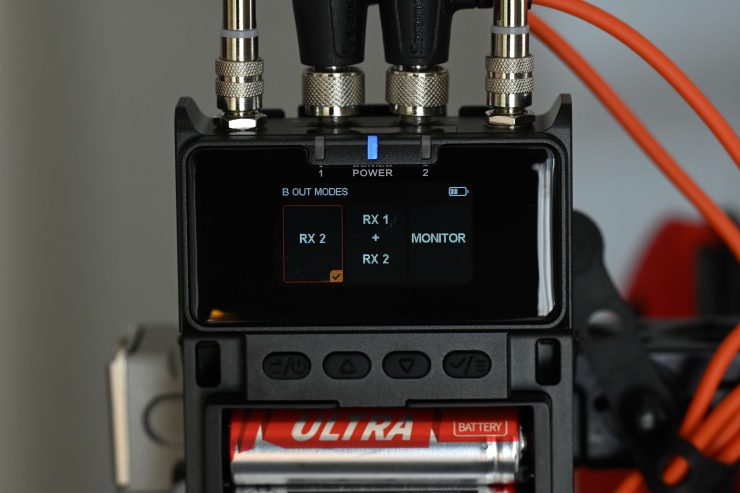
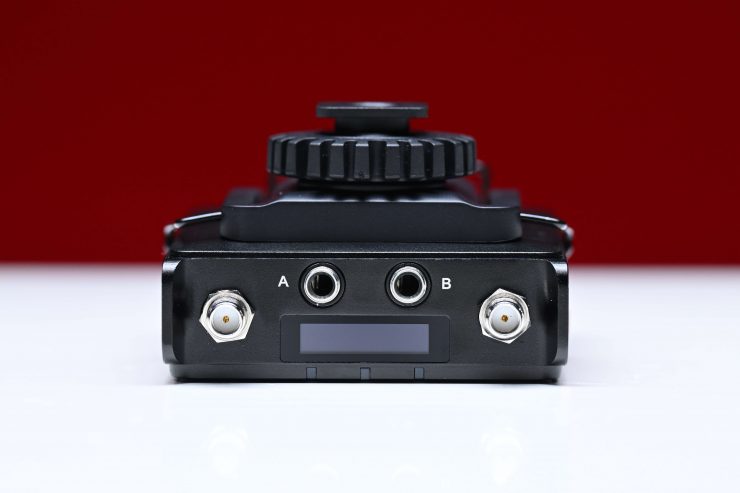
You can choose what is getting routed from the A and B outputs. Your choices are:
A
- RX1 & RX2
- RX1
- RX2
B
- RX1 & RX2
- RX1
- RX2
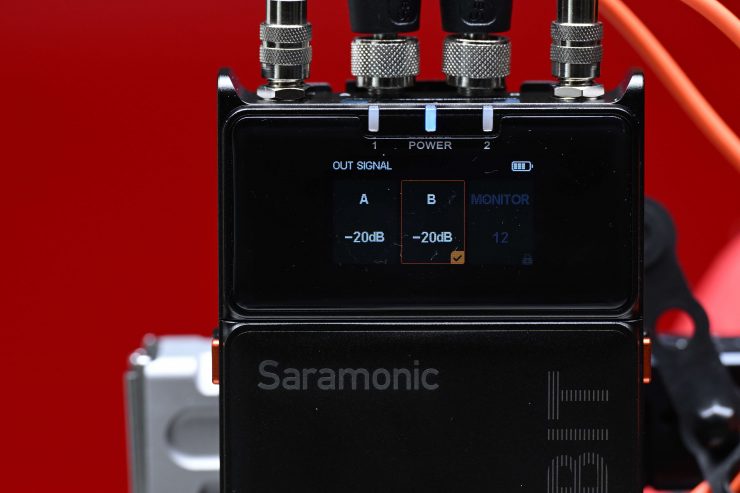
I found that by setting the output level to -20dB when inputting a Mic Level source into a camera gave me the best results.
Wireless Range
The Saramonic K9 has a claimed operating range of 200m / 656′, but this is only when the operating power is set to 100mW. If the operating power is 50mW, then that range drops to 180m / 590.5′. Saramonic doesn’t list what it is at 10mW.
In the United States you will get the option to set the operating power at 10mW, 25mW, 50mW, or 100mW.
As I am in Japan and need to abide by the local regulations, the power output is limited to 10mW. This means that the operating distance is going to be considerably less than 200m / 656′.
A plus of the UHF system is that “line of sight” isn’t as important as 2.4GHz systems, so you have a little more flexibility if the subject is moving around and the body obstructs the transmitter.
I scanned the 806.2-809.7 MHz Band range block to find the best possible frequency to do a range test. I do wireless audio and wireless video tests in the exact same place so I can get a reference to how they perform. For this test I also wanted to compare it directly to the competing Deity THEOS in the exact same environment. The Deity THEOS was also set to work in the 806.2-809.7 MHz Band range and it was running at 10mW.
I found I could only get around 120m / 393.7′ before the signals dropped out completely. This was about the limit I expected given the TX units were running at 10mW. From my testing them, both the Saramonic K9 and Deity THEOS had basically the exact same range.
I walked around my home inside rooms without issue. If you take the receiver a longer distance from the inside of a room, you get connection issues, but that is the case with all UHF systems. They can only be so good. It also depends on the environment but not as much as the GHz systems with a crowded spectrum. If you run into issues, you can rescan to find a stronger cleaner channel.
Included 3mm Lavalier Microphones
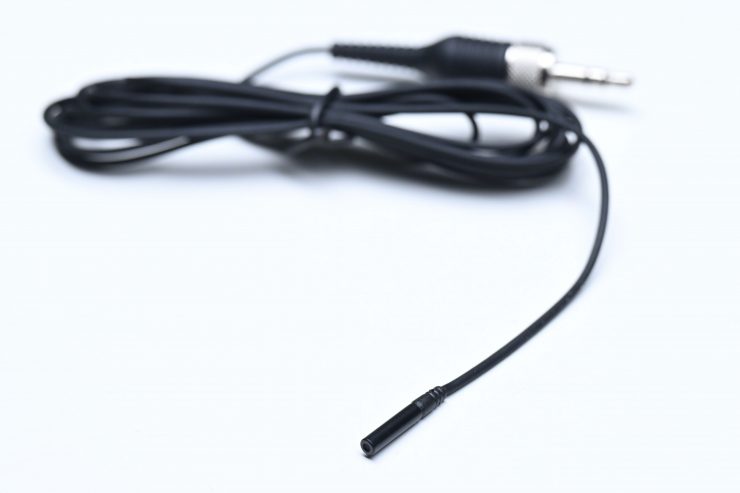
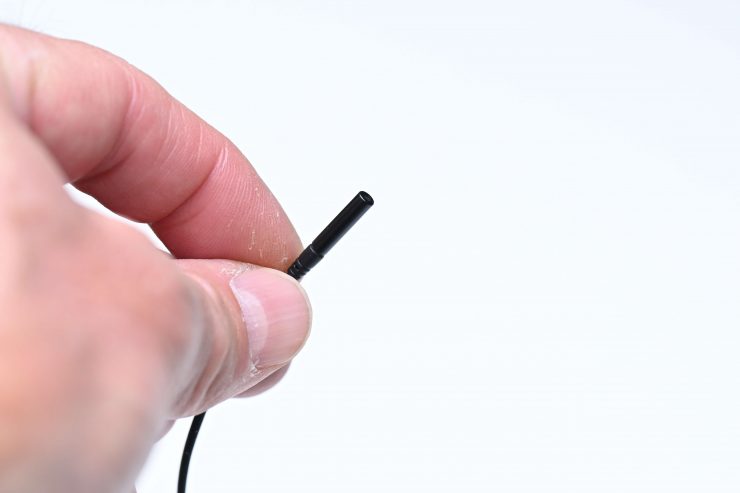
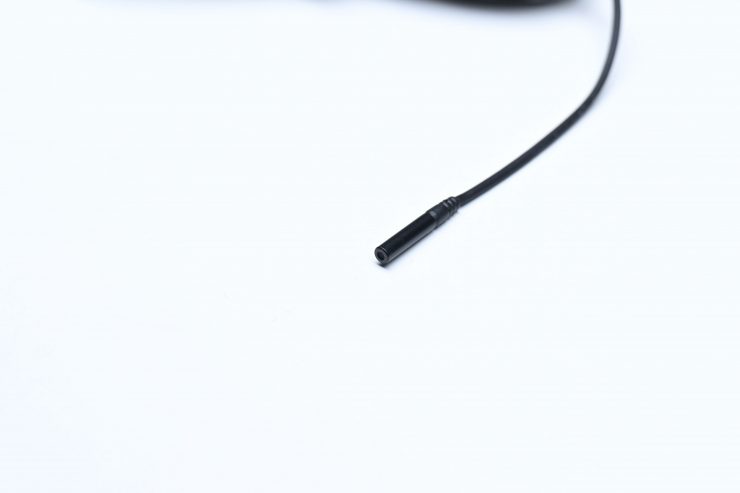
You get two 3mm Lavalier microphones with the kit.
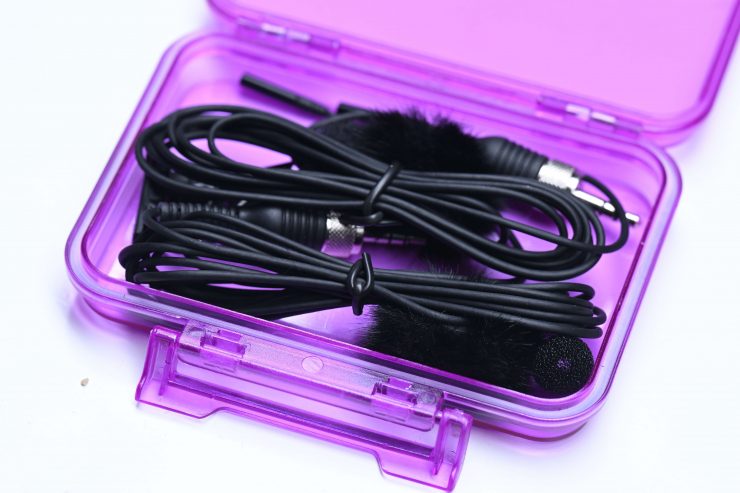
These come in a little hard case with accessories.
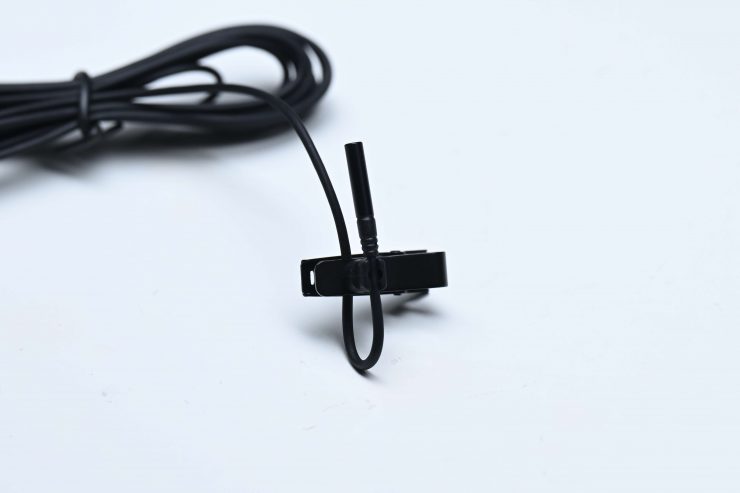
You also get two lavalier clips. These work reasonably well, but because of the rotatable clip that the lavalier sits in, the mic can move around a bit, so you need to be mindful of this.
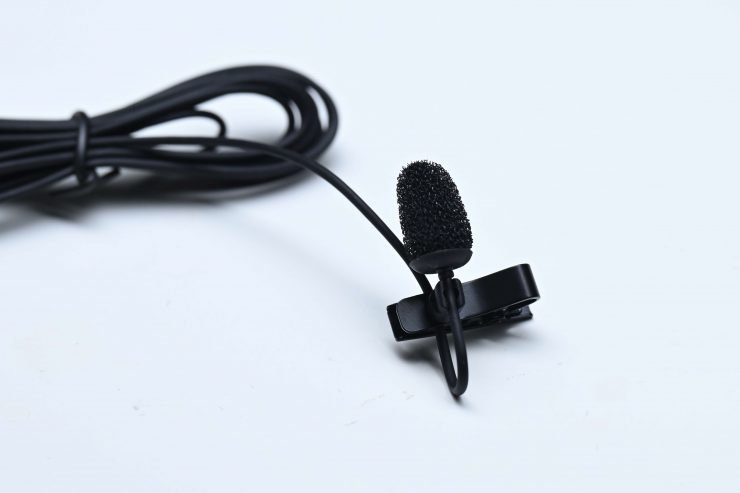
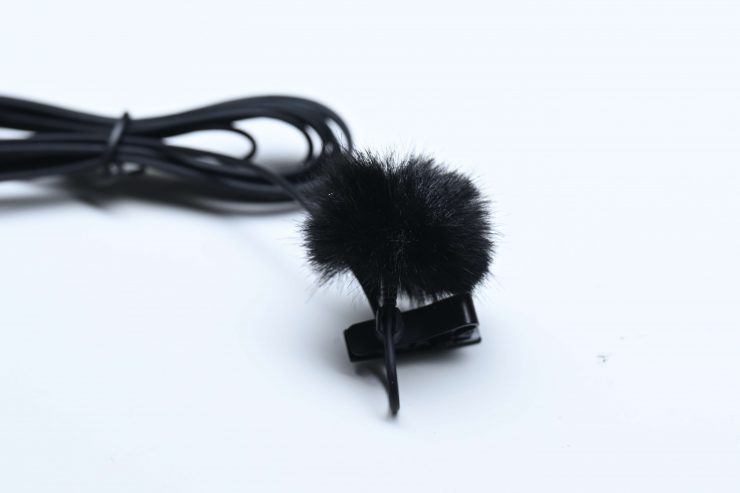
Saramanon provides two small-sized wind socks, and two more heavy-duty ones for use in more extreme weather.
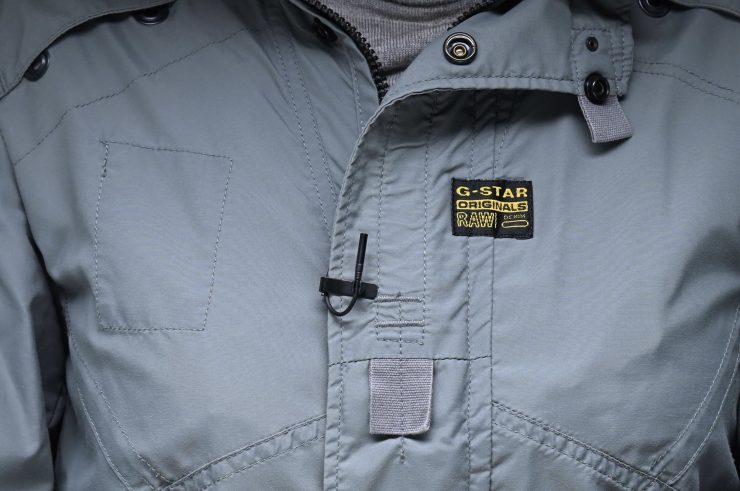
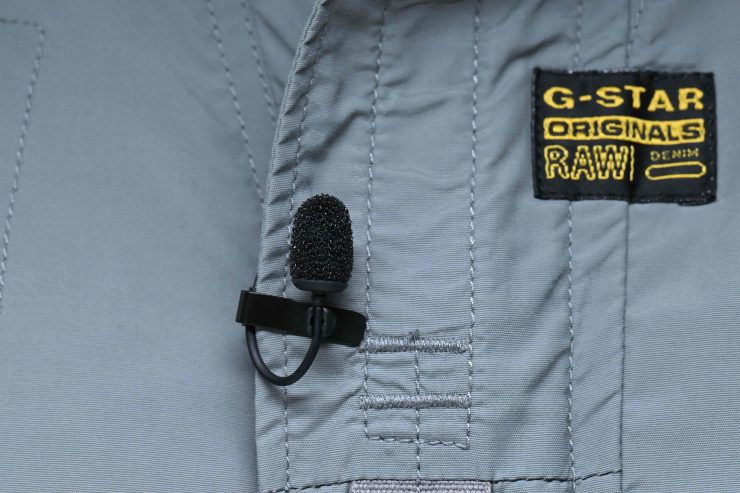
Above you can see what the lavalier microphone looks like when it is being used. It’s not tiny, but personally I try to hide lavalier microphones wherever possible.


Above you can see what it looks like with the two different windsocks.
Above you can see how it compares in size to a Sanken COS-11D lavalier.
The lavalier microphone has the following specifications:
| Directions | Omnidirectional |
| Max SPL | 118dBSPL |
| Dynamic Range | 110dB |
| Sensitivity | -35dB (1.5V,2.2K,at 1KHz) |
| Equivalent Noise Level of Self-Noise | Typ 25dB (A-weighted, Equivalent Sound Pressure Level) |
| Signal-to-noise Ratio | >68dB |
| Operating Voltage | 1.3V to 5.OV |
| Frequency Response | 20Hz~20KHz |
| Distortion | <3% |
| Weatherproof Standard | 1P67 |
| Operating Temperature | -20°C~+70°C |
| Weight | 11g |
| Cable Length | 1.8 m |
| Mic Head Size | 03mm*17.5mm |
| Connect Type | Locking 3.5 mm |
Audio Quality
Ok, finally we are at the most important part of the review, audio quality. A wireless audio system can tick all of the boxes when it comes to build quality, usability, operating range, and signal stability, but if it doesn’t sound good, no one is going to want to use it.
According to Saramonic, the TX units have the following specifications:
| Distortion | 500 kHz |
| Delay | <0.5% |
| Frequency Response | ≤6.3 ms |
| Low Cut | 20 Hz to 20 kHz |
| Sensitivity | OFF / 75 Hz / 100 Hz / 150 Hz |
| Bit Rate | 48 kHz |
| Signal-to-noise Ratio | 24-bit |
Below you can see the specifications for the RX unit
| Distortion | 500 kHz |
| Delay | ≤0.1% |
| Frequency Response | ≤6.3 ms |
| Sensitivity | 20 Hz to 20 kHz |
| Signal-to-noise Ratio | -95 dBm |
I set up a test where I recorded internally in 32-bit float, and simultaneously into a camera from the output of the K9 RX, as well as from the output of the competing Deity THEOS TX. I was using an ARRI Amira which has very good pre-amps, so I was interested to hear what they would sound like. I had the two lapel mics clipped on my shirt and I was speaking in a normal room. I don’t see much point in testing a microphone in a completely controlled environment, because that is not where systems like these are primarily going to be used.
What I found is that both the Saramonic and the Deity sounded fairly similar, and there wasn’t any big noticeable difference.
Above you can also hear a test where I used the included lavalier microphone that comes with the Saramonic K9, and then the lavalier that is included in the Deity THEOS kit to see if there were any big differences. Again, I didn’t find that there was any big difference between the two and both lavaliers sounded very similar.
Usability
The system is generally pretty easy to use if you are just sending and transmitting audio.
I like having the additional display screen on the top of the K9 RX, because depending on how you have it mounted, the front screen may not always be easy to see.
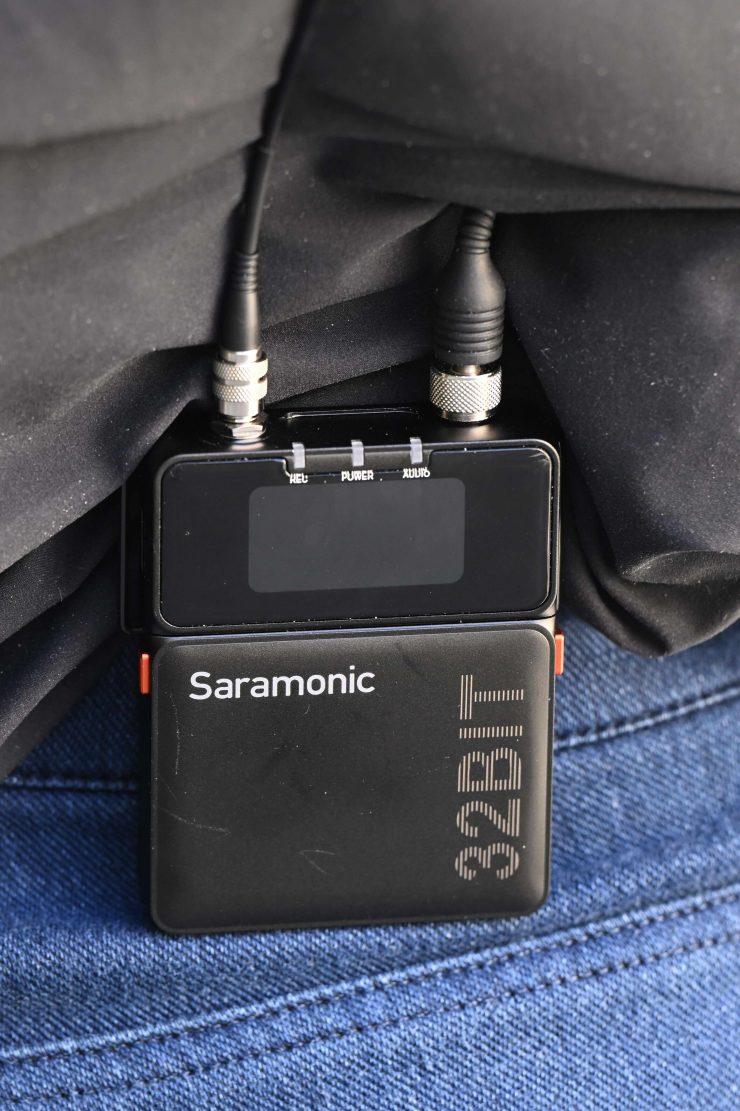
The K9 TX units are reasonably compact, and you can hide them on your talent reasonably well.
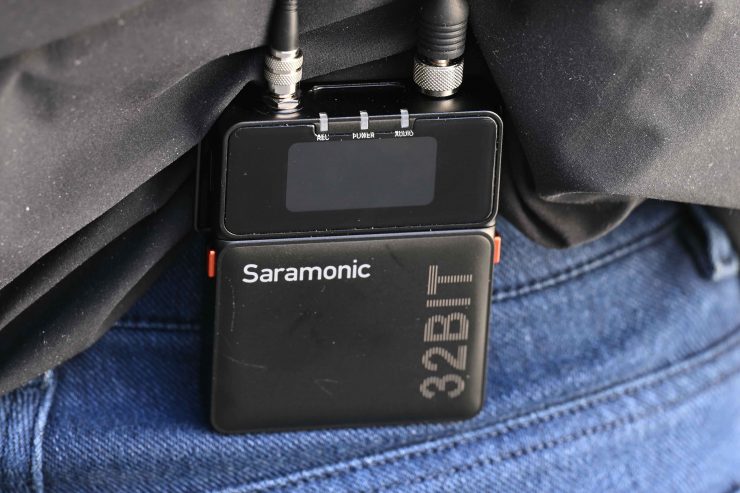
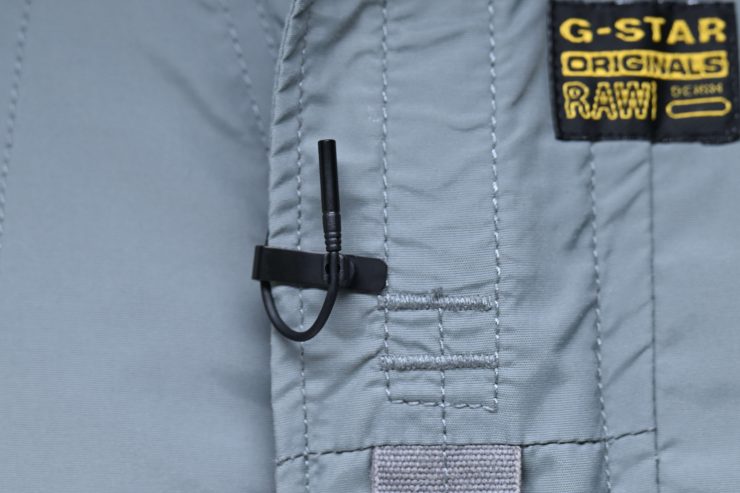
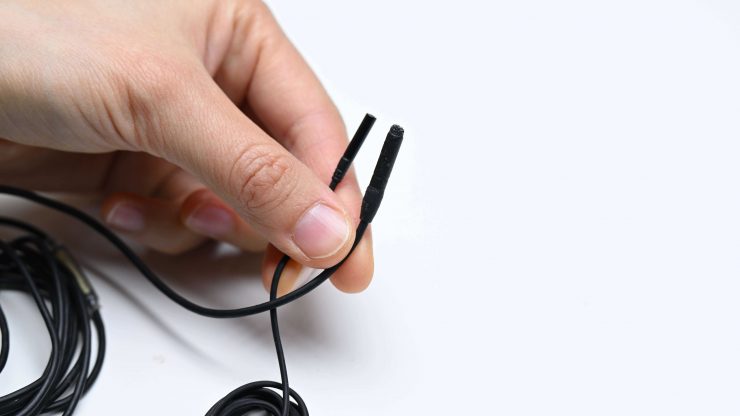
I am not the biggest fan of the locking barrel connectors on the lavalier, because they stick straight up, and if you are placing the TX behind someone, the cable always gets strain on it, and this is a potential point of failure.
If you don’t want to use the app, then opening the battery door to make any changes is hardly ideal, especially when the TX is mounted on someone. I would recommend using the app if you need to make any changes for this very reason.
The included accessories are all good and it is nice to get a kit with everything in it. I like the low profile full sized XLR cables as well.
Having the ability to internally record and transmit simultaneously is great, especially with embedded timecode.
Wireless IFB
The K9 can also be used as an IFB system. This is handy for producers, directors, or anyone else who needs to listen to an audio source wirelessly. A sound recordist can output audio from a mixer into a TX unit that can then send a signal to the RX unit where you can attach a set of headphones and listen to that audio.
For camera operators, you could also be listening to a director, etc.
Competition
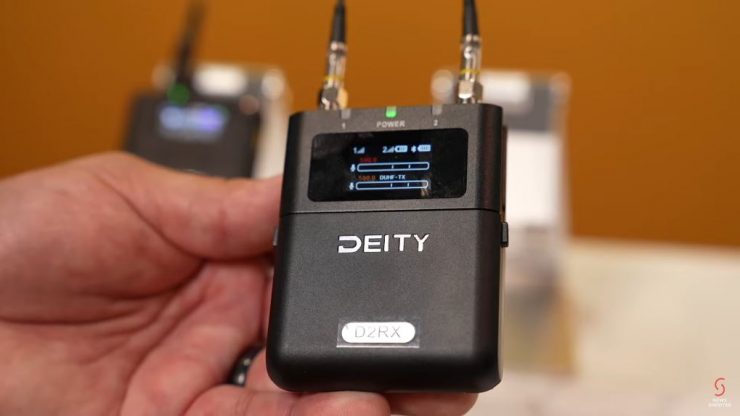
While there are a lot of options when it comes to wireless audio systems, there are not many in the digital UHF space, especially ones with a dual RX unit. The closest competition, at least in my opinion, is the Deity THEOS. It also has 32-bit float internal recording while transmitting (the non-US version), a wide frequency range, timecode support, a good operating range, etc. The THEOS is certainly the system that the Saramonic needs to compete with.
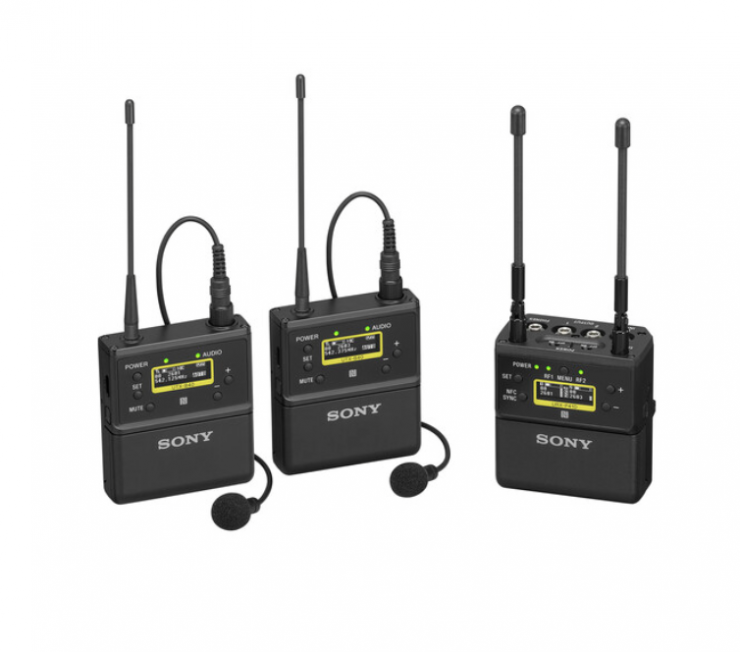
There are also other options such as the Sennheiser EW-DP and Sony UWP-D27, and Shure SLXD135.
There are also high-end models from Wisycom, Lectrosonics, and Zaxcom, which are in the higher-end space that will cost easily double to triple that of the Saramonic.
Pricing & Availability
The international version of the Saramonic K9 Digital Duo UHF Wireless Microphone System retails for $999 USD.
So how does that compare to the completion?
| PRICE | |
| Saramonic K9 | $999 USD |
| Deity THEOS | $1,090 USD |
| Shure SLXD135 | $948 USD |
| Sennheiser EW-DP | $899 USD |
| Sony UWP-D27 | $1,179.99 USD |
The Saramonic is only marginally cheaper than the Deity THEOS and this will make it a tough sell as THEOS has the advantage of being able to integrate directly into Deity’s timecode ecosystem. Saramonic, for the most part, has made audio products in the more ‘affordable’ sector of the market, and stepping up means they have to compete against the more well known brands such as Sony, Shure, Sennheiser, and Deity.
In saying that, you should never judge a book by its cover, and the Saramonic K9 is a very good system that can certainly go head-to-head with its competition, and in a lot of ways it is every bit as good as the Deity THEOS.
Conclusion
The Saramonic K9 Digital Duo UHF Wireless Microphone System is packed with features and you get a ton of accessories in the kit. Having 32-bit internal recording and simultaneous transmission is a great feature, but you will need a TC device to get everything in sync with the video. It is solidly made and easy to use.
The included lavalier microphones are nice and can be hidden easily inside clothing since the capsule is on top.
Saramonic has done a really good job with the K9 Digital Duo UHF Wireless Microphone System, and at least in my opinion, I think it is a product that will get them more noticed in the professional space.