Cullen Kelly has developed Sweet Spot, a digital exposure tool that monitors the “sweet spot” for your scene’s subject, revealing the part of your image that sits between ½ stop below mid gray and 1 stop above, and letting everything else fall off to gray.
The whole concept behind Sweet Spot is to let users nail base exposure so they can spend the rest of your time focusing on the creative part of exposing your image instead of on the technical part of it.
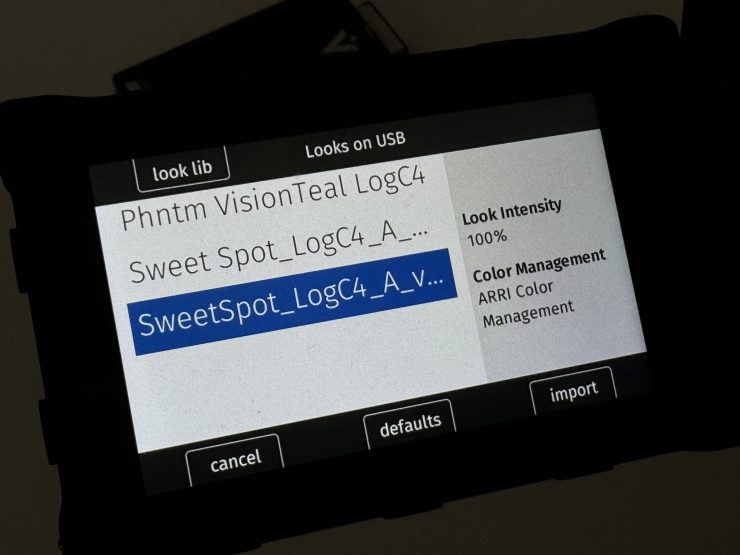
Sweet Spot comes in the form of a LUT and this allows you to integrate it into your existing workflows. You simply download the LUT for the Log space you’re using and install it into your camera or monitor.
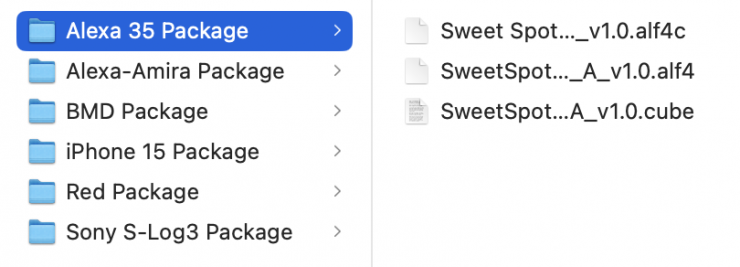
Currently Sweet Spot supports the following Log curves:
- ARRI LogC3
- ARRI LogC4
- Sony SLog3
- RED Log3G10
- Apple Log
The nice aspect about Sweet Spot is that it works in the exact same way regardless of what camera or monitor you’re using (as long as you have the correct Log curve LUT version).
According to Cullen, the benefit Sweet Spot has over say false color, is that you don’t have to see colors all over your screen, or deal with IRE instead of stops. You no longer have to meter the display image as Sweep Spot was designed to measure the light hitting your sensor.
“You’ve built something every cinematographer worth their salt will respond to.”
2x Oscar-nominated cinematographer Seamus McGarvey, ASC, BSC
(The Avengers, Anna Karenina, Atonement, Nocturnal Animals)
What does it actually look like?

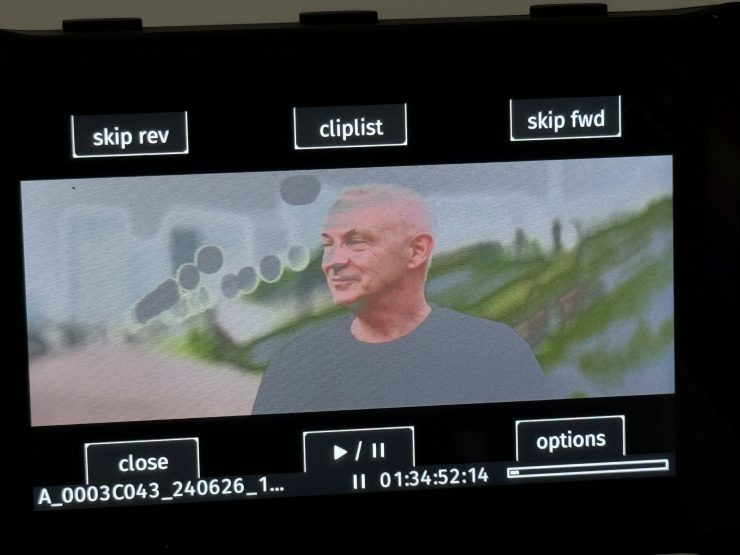
As an example, you’ve got your scene set up, and you take a look at your monitor to see your image but it feels a little under exposed. To see what is happening you can turn on Sweet Spot.

With Sweet Spot turned on, you can clearly see that the subject is way under exposed.

The next step is to adjust your exposure, whether that means opening up the iris or adding increased light levels it doesn’t really matter, the point is to bring your subject into the “sweet spot”. In the image, there’s still a good amount of the subject’s face that is sitting outside the Sweet Spot range, but these areas were lit to fall below key in this particular example.
If you increase your exposure too much, your subject starts disappearing from the zone again as they are becoming overexposed.

Once you have made the adjustments you can switch off Sweet Spot and feel confident in where you’ve set your exposure. If you decide you want to add fill, you can now just use your monitor to make further adjustments since your exposure is accurately set.
Now that you know your subject is properly exposed by using Sweet Spot, you’re now free to use your monitor instead of digital metering.

Let’s have a look at another example. In this case it is pretty clear that this shot is underexposed.

If we turn on Sweet Spot, you can clearly see this.

By adding more light or changing your iris, you increase the exposure until the key-lit areas of your subject come into view.

When you turn Sweet Spot back off, you can see our image looks correctly exposed.
Its completely free!
Cullen Kelly is giving away Sweet Spot completely free. All he asks in return is that you share it by sending people to the download page.
All you need to do is to put in your name, email address, and select which version(s) of Sweet Spot you need delivered to your inbox.
It is good to see someone giving away intuitive technology for free and not trying to sell more LUT packs!
Thoughts
Sweet Spot is another tool that you can use in conjunction with existing exposure tools. While it certainly does work well, the usability is far from ideal. As it’s LUT based, you need to keep switching back and forth between the Sweet Spot LUT and whatever monitoring LUT you are using. This is time consuming, because as far a I am aware, there aren’t any cameras on the market that let you map individual LUTs to function buttons. This means that you have to continually keep going back into the menu to change the LUT over. While this may be fine if you are shooting an interview, if you are shooting on a fast schedule, you don’t have time to keep going back and forward to the menu to change the LUT over every time you you are getting a new shot.
Sweet Spot 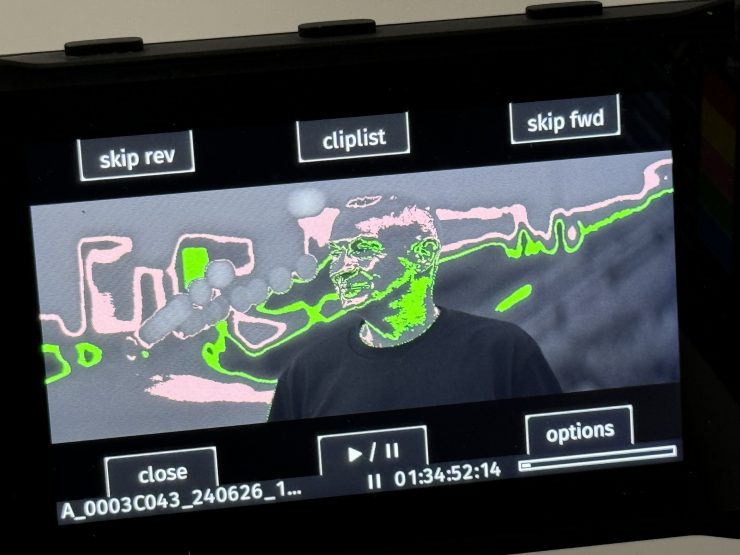
False Color
On an ARRI I didn’t actually find it to be that much more useful than using false color, as false color can be activated with just one button, and it is directly referencing the Log signal from the camera. On the positive side, Sweet Spot was giving me a vey similar result to false color when it came to judging accurate exposure.
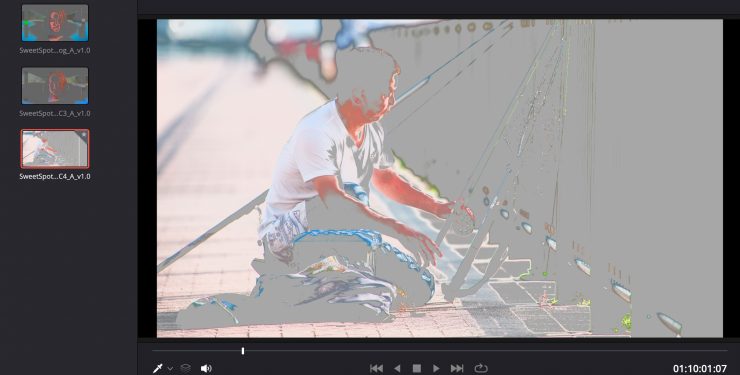


You can also use Sweet Spot within DaVinci Resolve to check exposure of clips which is also handy.
If you are also interested above you can see a recording of a live exposure masterclass that was posted to YouTube.