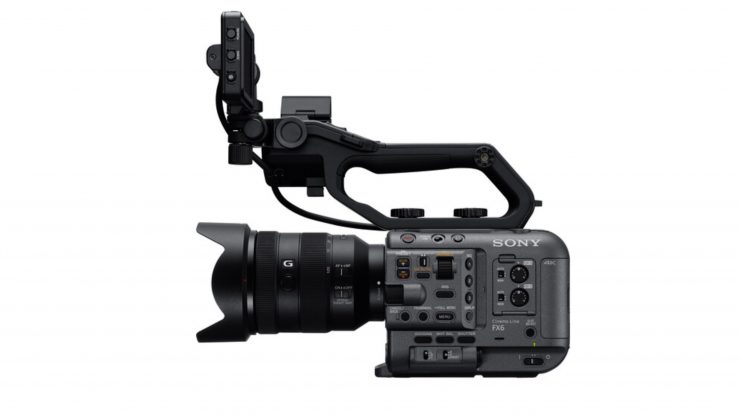
The Sony FX6 Firmware Version 5.00 which was announced back in January is now available to download.
Benefits & Improvements
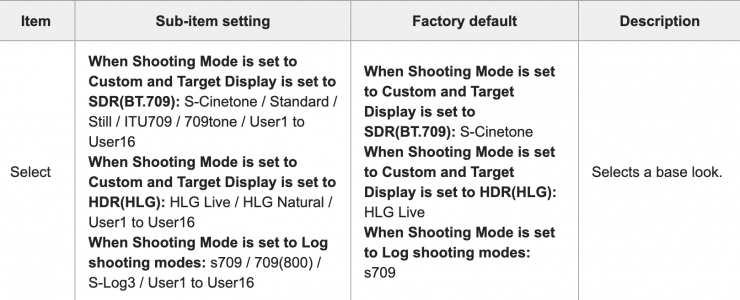
- Adds support for the New Preset 709tone Base Look
- Adds a 1.5x De-Squeeze setting for both the viewfinder and HDMI output
- Adds support for the Monitor & Control app, including:
- Waveform and histogram displays
- False-color and Focus Map displays
- Monitoring at 1024×576 resolution Note: Please update the Monitor & Control app to the latest version (Ver. 2.0 or later).
- Adds support for the Area Indication setting when using the Multi Matrix correction feature
- Improves the image quality when using 3D LUT software
- Adds 23.98PsF (progressive segmented frame) support for SDI output
- Adds support lenses (SEL100400GM, SEL200600G) for the Breathing Compensation function
- Adds the ability to use the multi-selector to choose the focus target for the real-time tracking auto focus feature
- Adds the following settings to the status screen:
- Format Media A or B on the Media status screen
- Wireless LAN, Wired LAN, or Modem setting on the Network status screen
- Improves the adjustment range of Matrix/Multi Matrix when using the User Base Look and when setting the target display to HDR (HLG)
Note: The effect on the setting values is different from Ver. 4.0 or earlier. If you are using the Matrix or Multi Matrix settings, please readjust the range.
Now, I am not quite sure what the 709tone Base look exactly is and Sony doesn’t provide any direct documentation describing exactly what it is or what it is designed to do.

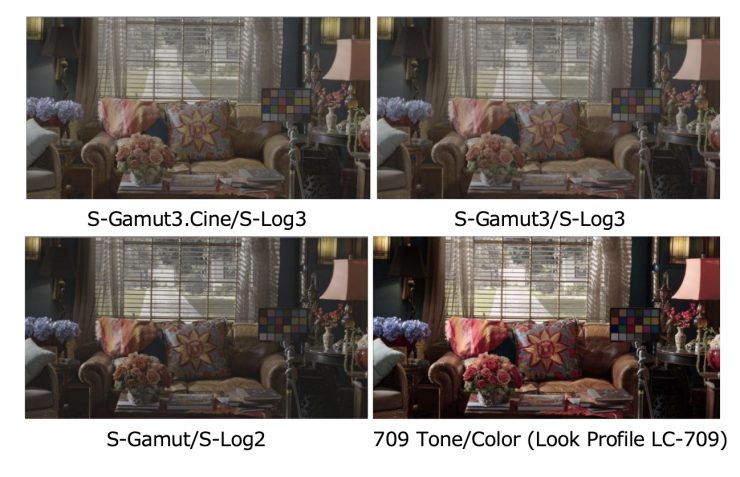
What I did find is a reference to 709 Tone/Color in a Japanese technical document that was discussing S-Gamut and S-Log2/S-Log3. To me it looks like the new 709tone Base is probably very similar to the old LC-709 look profile that you could use in the F5/F55.

Just to be crystal clear, the 709tone Base is a picture profile just like S-Cinetone. It is a standard Rec.709 picture profile that you record when you want a baked in look. It isn’t a LUT and you can’t use it when shooting S-Log3.

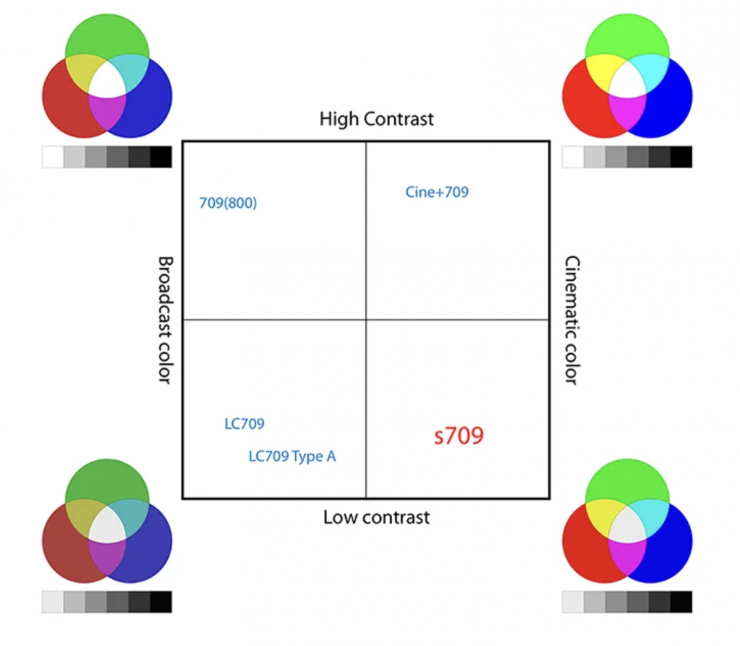
The LC-709, LC-709TypeA look profiles were designed to provide low contrast with broadcast color. That is what I believe the 709tone Base is similar to as they are more suited to broadcast environments. S-Cinetone is a higher contrast picture profile just like previous Cine+709.
Note: Refer to the Manual for additional details on all updated functions.
Note: For customers using the Content Browser Mobile app:
- After the update, you will not be able to use the monitoring function in the Content Browser Mobile app.
- Please install the Monitor & Control app (Ver. 2.0 or later) to continue using this feature after the update.
Preparation
- The version update data is first saved to an SD card or CFexpress Type A memory card (also referred to as a CFexpress card).
- The camera is then updated using the screen menu.
Note: Refer to the Operating Instructions of the camera for details on how to use the menu.
Checking the Current Software Version
Follow the steps below to display the software version of the ILME-FX6:
- Select Version.
- Select Version Number in the Maintenance menu.
Notes About Updating
- When updating the software, always connect the supplied AC adaptor to the camera. If a battery pack is attached at the same time, the update will continue even if the AC adaptor is subsequently disconnected.
- Remove any connected devices (such as USB devices, SDI/HDMI cables, microphones, and shoe accessories), and eject any media cards that are not necessary for the update.
- Use an SDXC memory card, when using an SD card.
- Use an SDXC or CFexpress card that has been formatted in the memory card slot using the camera’s formatting function.
Note: Refer to the Operating Instructions of the camera for more details on the formatting function and supported SDXC/CFexpress cards.
Saving the Version Update Data to an SDXC Card or CFexpress Card
- Connect the formatted SDXC or CFexpress card to a computer.
- Download the version update data from the download site, then save the data on your computer.
- Save the data in the root directory of the SDXC or CFexpress card.
Note: Do not change the file name.
Updating the System Software Version
Before you start:
- Do not perform any of the following actions while updating the system software as they could cause the update to fail and the camera to stop working:
- Removing/inserting the SDXC or CFexpress card
- Turning the camera off
- Refer to the Operating Instructions of the camera for more details.
Follow the steps below to update the system software version:
- Insert the SDXC or CFexpress card on which the version update data was saved into slot B of the camera.
Note: Only slot B will recognize the version update data. - Select Version.
- Select Version Up in the Maintenance menu.
Note: If the version update data cannot be determined, Version Up cannot be selected. - Select Execute.
Note: After performing this step, a Please use the AC Adapter message will appear. - Select Execute on the version update confirmation screen.
Note: After performing this step, a Version Update VX.XX > VY.YY message will appear.
(X.XX: current version number, Y.YY: newest version number) - Select Execute on the version update confirmation screen again.
- The version update will start.
- When the version update starts, the access indicator will flash.
Note: The process takes approximately 8 minutes to complete. However, the time varies depending on the old and new update versions. - When the version update is successfully completed, the access indicator will stop flashing and the unit will restart automatically.
- Check that the software version has been updated (see the Checking the Current Software Version section of this document).
Note: If the system software has not been updated to the latest version, check the version update procedure, and then perform the update procedure again from step 1.
IMPORTANT: If you experience an update issue, such as a black screen that is displayed for 15 minutes or longer, the following steps may help resolve the issue:
- Set the unit power switch to OFF, disconnect and reconnect the power cord, and then set the power switch to ON.
- Check the version update procedure, and then perform the update procedure again from step 1.
- If the version update issue persists and the update is not successful, there may be a problem with the camera. In this case, please contact a Sony service representative for further assistance.


