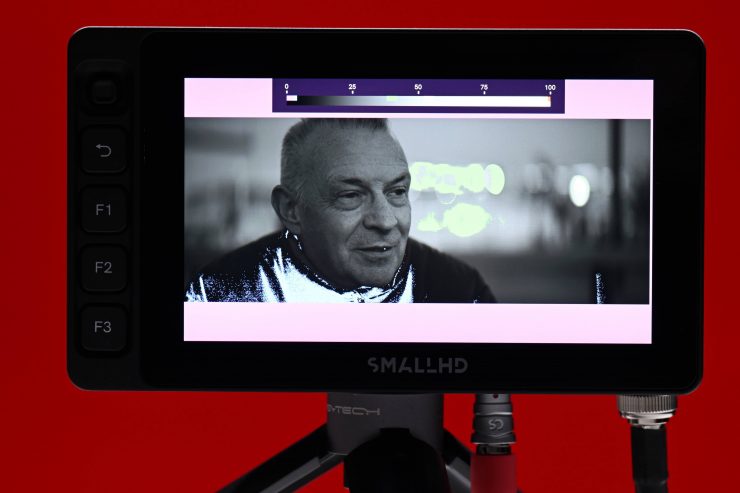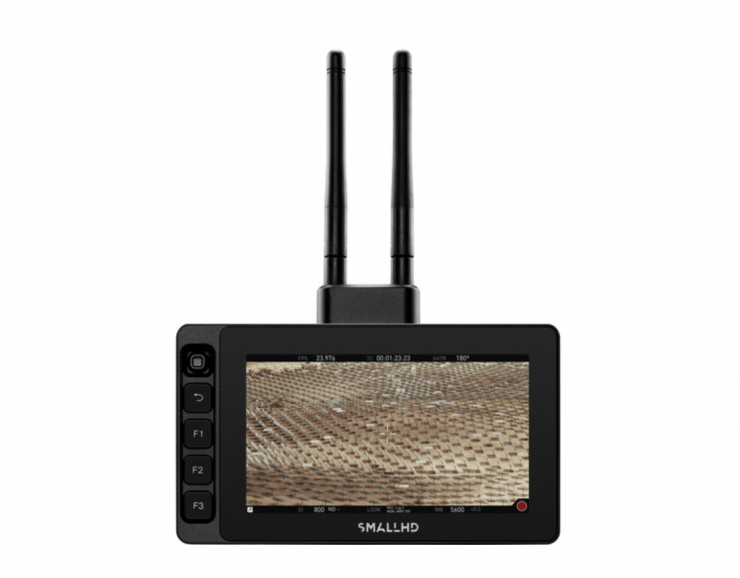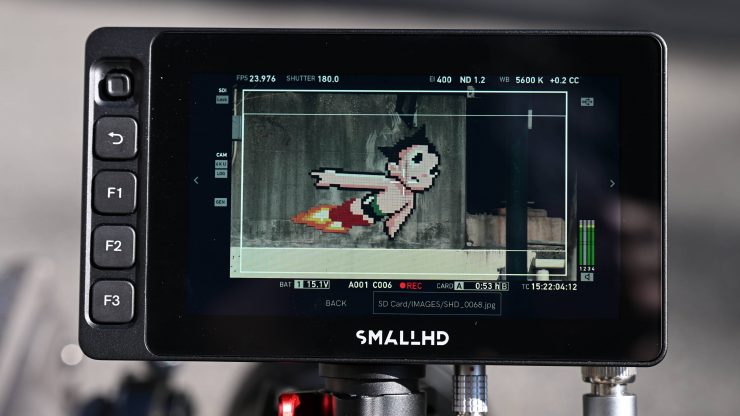
The Ultra 5 was launched at IBC 2022 and it is one of three monitors in SmallHD’s new Smart 5 Series 5-inch Touchscreen series, which feature the recently released PageOS 5 operating system.
The Smart 5 Monitor Series comprises the Ultra 5, Cine 5, and Indie 5 touchscreen displays. There are also two additional wireless versions of the Ultra 5 (TX/RX). The Ultra 5 is the flagship in the series.
The Smart 5 series isn’t being targeted at the same user who would buy a SmallHD Action 5 Touchscreen 5″ On-Camera Monitor. That monitor was an entry-level product for a completely different audience. The Smart 5 Monitor Series is squarely targeted at working professionals in the film and TV industry, this is especially true of the Ultra 5.
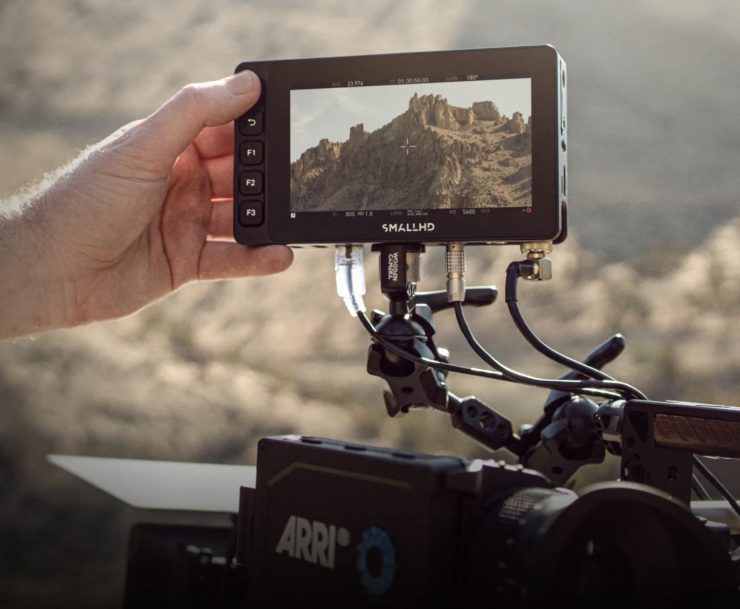
As I mentioned in the Cine 5 review, the Smart 5 series was designed in response to the significant demand for smaller touchscreen monitors with the same quality and functionality as SmallHD’s Smart 7 and Ultrabright Series. What is nice with the Ultra 5 is that users will have access to SmallHD’s camera-control licenses for ARRI, RED, and Sony VENICE. SmallHD recently added compatibility for the new ARRI ALEXA 35 to the Camera Control for ARRI license.
So why make three different monitors that are all 5″? The Ultra, Cine, and Indie in the Smart 5 Series represent three tiers of brightness, I/O capability, and physical interface options to match a wide range of on-set workflows. For example, if someone wants the top-of-the-line 3000nit powerhouse with physical buttons and an ethernet port, you can choose the Ultra 5. However, if you don’t have the budget or need for an Ultra 5 but you still want to be able to control your RED KOMODO with a daylight-viewable touchscreen, then the Indie 5 or Cine 5 would be a better option.
The whole concept behind the Ultra 5 is to provide users with a professional, solidly made, portable, lightweight, daylight-viewable solution that can stand up to anything you may throw at it.
Key features
- 5″ 1920 x 1080 Touchscreen Display
- 3G-SDI and HDMI Inputs & Outputs
- Bright 3000 cd/m² LCD Panel
- 10-Bit 4:2:2 DCI-P3 Color Gamut
- 5-Pin USB & Ethernet Control Ports
- Power via 2-Pin LEMO Input
- PageOS 5 with Imaging Tools
- Milled Aluminum Unibody Housing
What does it come with?
The Ultra 5 doesn’t come with any accessories, all you get is the monitor. It would have been nice to have seen SmallHD include some accessories with the monitor, especially considering its high price tag. Most other 5-7″ monitors on the market tend to come with accessories as standard.
Screen
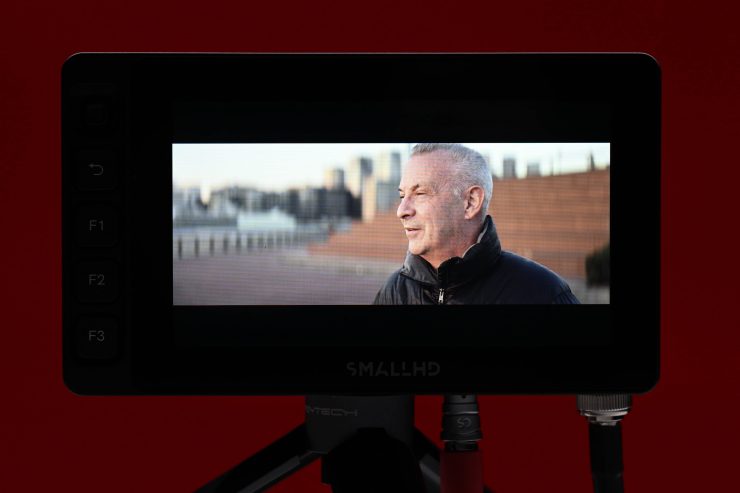
The monitor features a 1920 x 1080 LCD touchscreen with a claimed brightness of 3000 cd/m². It covers 100% DCI-P3 and it has a contrast ratio of 1000:1.
The screen is listed as 10-Bit, but it isn’t a true 10-bit display, instead, it features the commonly used 10-bit (8+2). Some potential buyers may find this a little disappointing given the high cost of the monitor. However, what you should clearly know is that no panels with true 10-bit color exist in this size, everyone just uses dithering to achieve the 10-bit target. 10-bit (8+2) is pretty much imperceptible to 99% of people
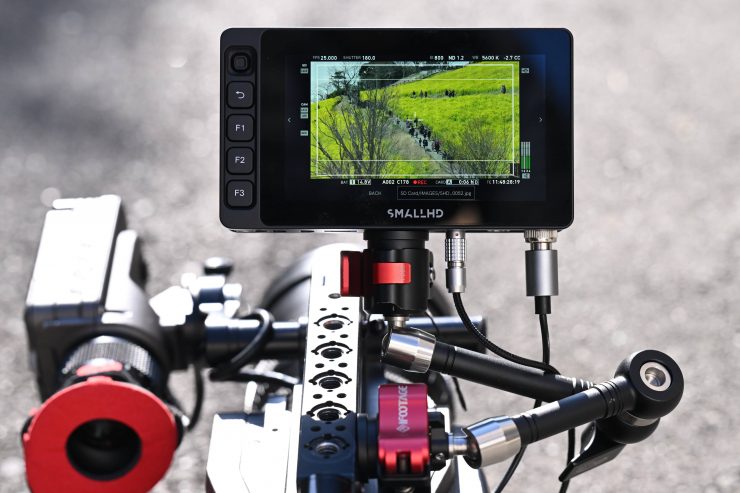
A lot of companies list their monitors as 10-bit even though they are really using a 10-bit (8+2 FRC) panel. FRC stands for Frame Rate Control Technology and an 8+2 FRC panel is basically a way of trying to approximate the color reproduction of a true 10-bit panel. A true 10-bit monitor can display 1024 shades of color, whereas a 10-bit (8+2 FRC) panel can only truly display 256 shades. So what a 10-bit (8+2 FRC) panel does is artificially create in-between shades of color by quickly shifting the pixels to go between certain shades of colors.
For example, you would show the main shade of one color for 75% of the time and then another one for 25% of the time. This creates an illusion for the viewer that they are actually seeing more colors than what can actually be displayed.
8+2 FRC can be very hard to distinguish from an actual 10-bit panel. As I already mentioned, most people couldn’t tell the difference between an 8+2 or a true 10-bit display.
The monitor has 443 ppi (pixels per square inch) which is a decent amount for a 5″ sized display. As a comparison, if you want to put that ppi figure into perspective, the ATOMOS Shinobi has 427 ppi, the ATOMOS Ninja V/V+ has 423 ppi, and SmallHD’s own 503 UltraBright has 443 ppi.
Build Quality
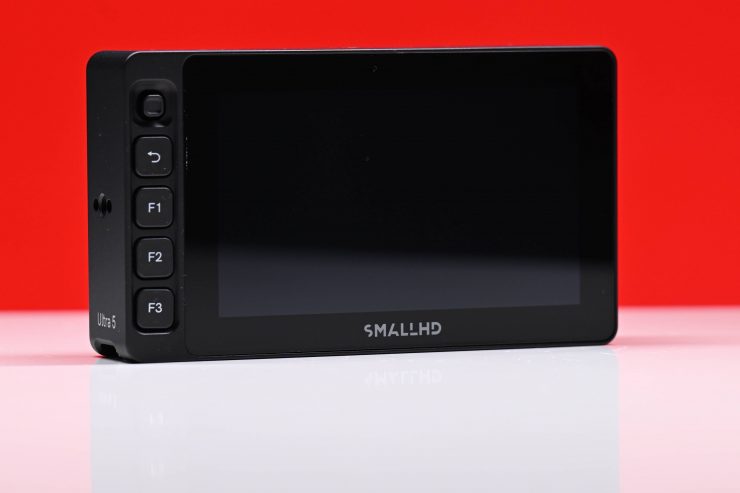
Appearance-wise, just like the Cine 5, the Ultra 5 is a lot thicker than other competing monitors in this space. The black finish and understated design point to the philosophy of keeping things clean and simple. Professional monitoring solutions need to be well-made and stand up to the rigors of field use.
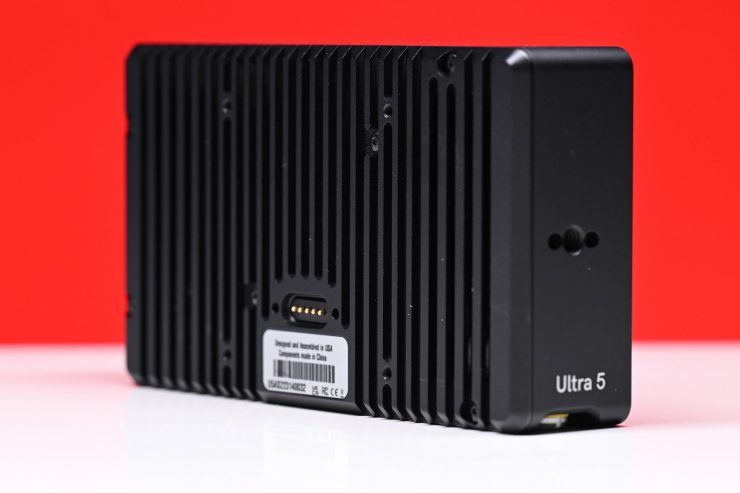
The external housing of the Ultra 5 is made out of milled aluminum. The overall build quality is excellent, especially if you compare it to most other competing monitors in this space. Everything has been well thought out and it certainly looks like it was designed to stand up to the rigors of field use.
The build quality of a lot of monitors these days leaves a lot to be desired, however, in saying that, if you are only forking out $200 USD for a monitor then you shouldn’t expect the build quality to be good in the first place. You could certainly make the argument that if you buy a cheap monitor and it breaks then you just buy another one. However, do you really want your monitor breaking in the middle of a crucial shoot?
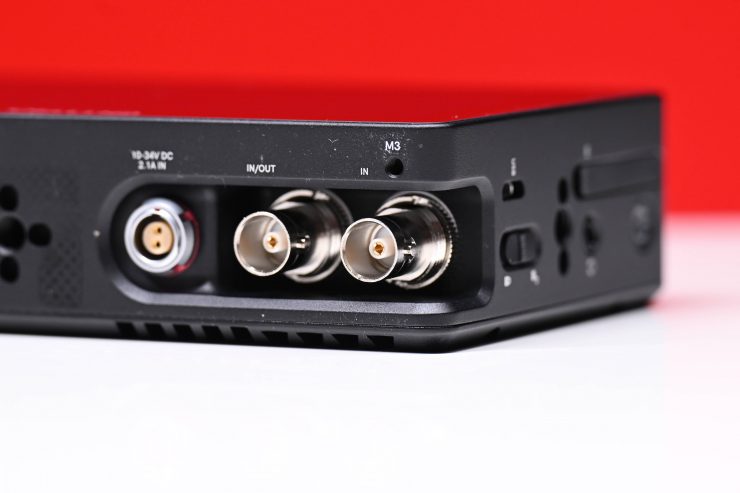
SmallHD has paid close attention to the small details and they have thought about how professional users’ needs. It is so rare to see properly recessed SDI ports. So many monitors have totally exposed SDI ports that stick out from the body. The first thing you are likely to break apart from the screen if you drop a monitor is the SDI ports, especially if they are sticking out of the side or back of the casing.
Protecting the SDI ports is a smart move by SmallHD because if you break the SDI port, your monitor can become an expensive doorstop. Now, some users may prefer having the ports on the back, but I personally prefer having them on the bottom.
Mounting Points

Ultra 5 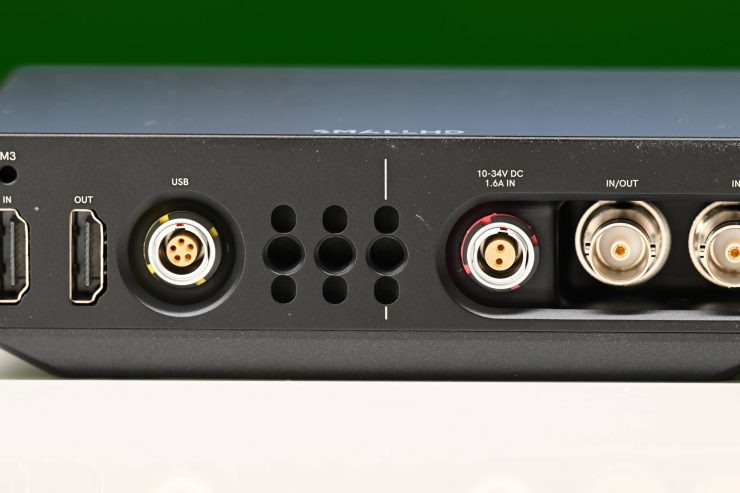
Cine 5
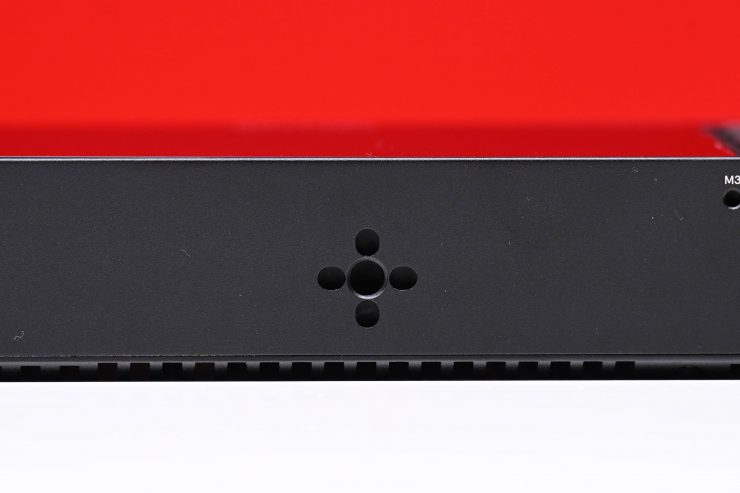
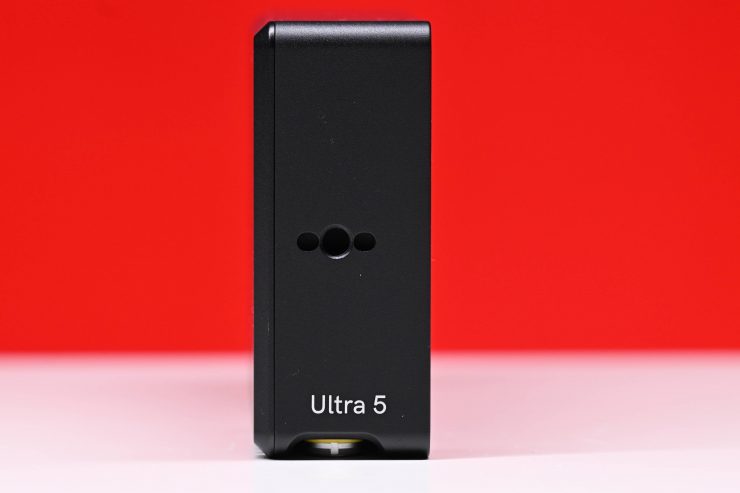
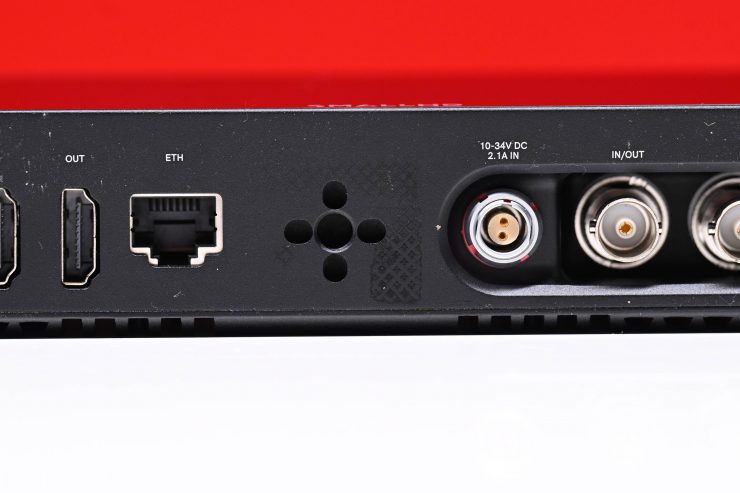
The Ultra 5 has a single 1/4-20″ mounting point on the bottom of it and this mounting point features locating pin holes. This is different from the Cine 5 which has three 1/4-20″ mounting points. Now, the reason the Ultra 5 doesn’t have three is that there wasn’t any room because of the inclusion of the Ethernet port.
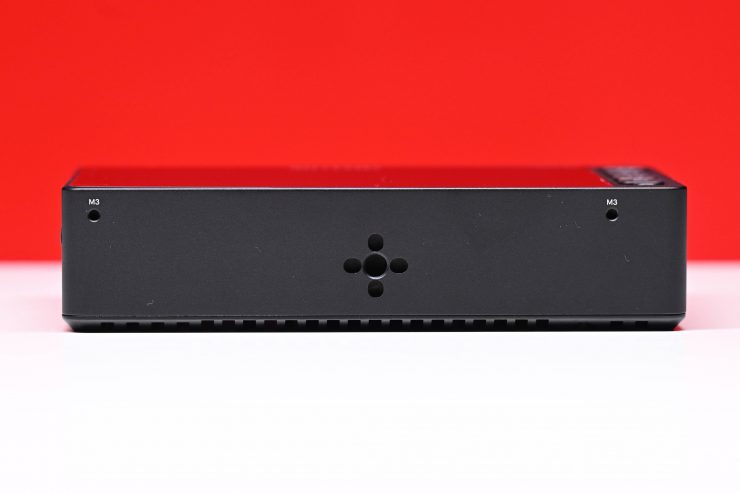
I also like how SmallHD has placed multiple mounting points on the top, and both sides of the Cine 5. Again, all of these have locating pin holes as well.
Most competing 5″ monitors only tend to have one or two mounting points. Again the attention to detail is what sets this monitor apart from other competing products. Cinematographers want mounting flexibility with on-camera monitors, and giving them as many options as possible is a smart move. You can’t just assume that everyone will want to mount their monitor the same way, so you need to give people options.
Size & weight
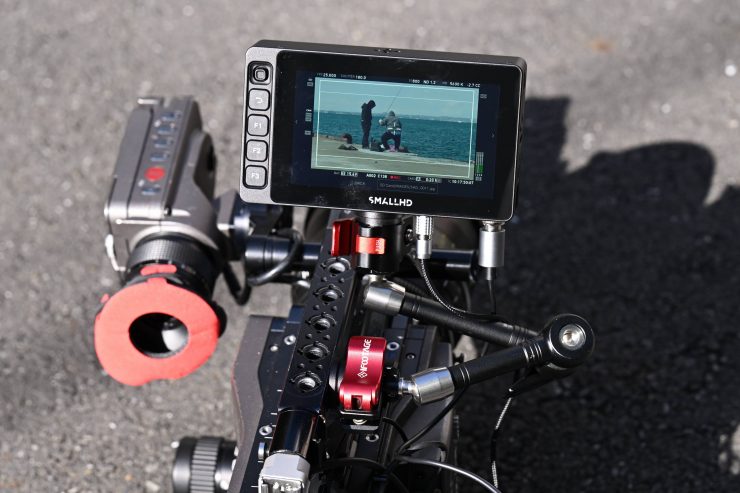
I independently weighed the Ultra 5 at 18.06 oz / 512g. This does make it heavier than most other 5″ monitors on the market. As a comparison, the ATOMOS Shinobi weighs 6.91 oz / 196 g, and SmallHD’s own 503 UltraBright weighs 15.2 oz / 430.9 g
I found that the weight wasn’t a big issue for me, but then again, I was using the Ultra with a fairly large digital cinema camera. On smaller-sized digital cinema cameras, the weight will certainly be more noticeable.
I don’t personally feel like it is overly suitable for a lot of mirrorless hybrids, because of its weight and overall size, as well as the fact that it doesn’t come with a battery plate.
Touchscreen Control
Like most monitors these days, the Ultra 5 features a touchscreen so you quickly navigate and make changes without having to press any buttons.
The biggest caveat with touchscreen devices is that you end up getting fingerprints and smudges all over the screen. It is always a good idea to keep a cleaning cloth in your pocket. Now, some users may not like touchscreen functionality, and that’s fine because you can also control the Ultra 5 through a series of buttons.
Physical Buttons
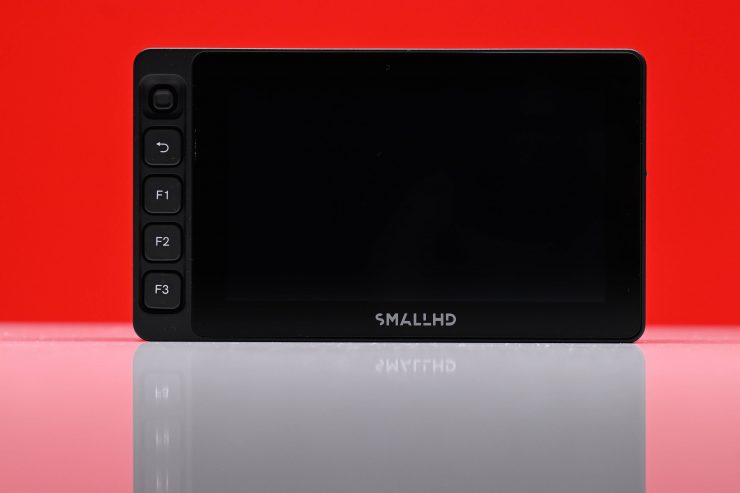
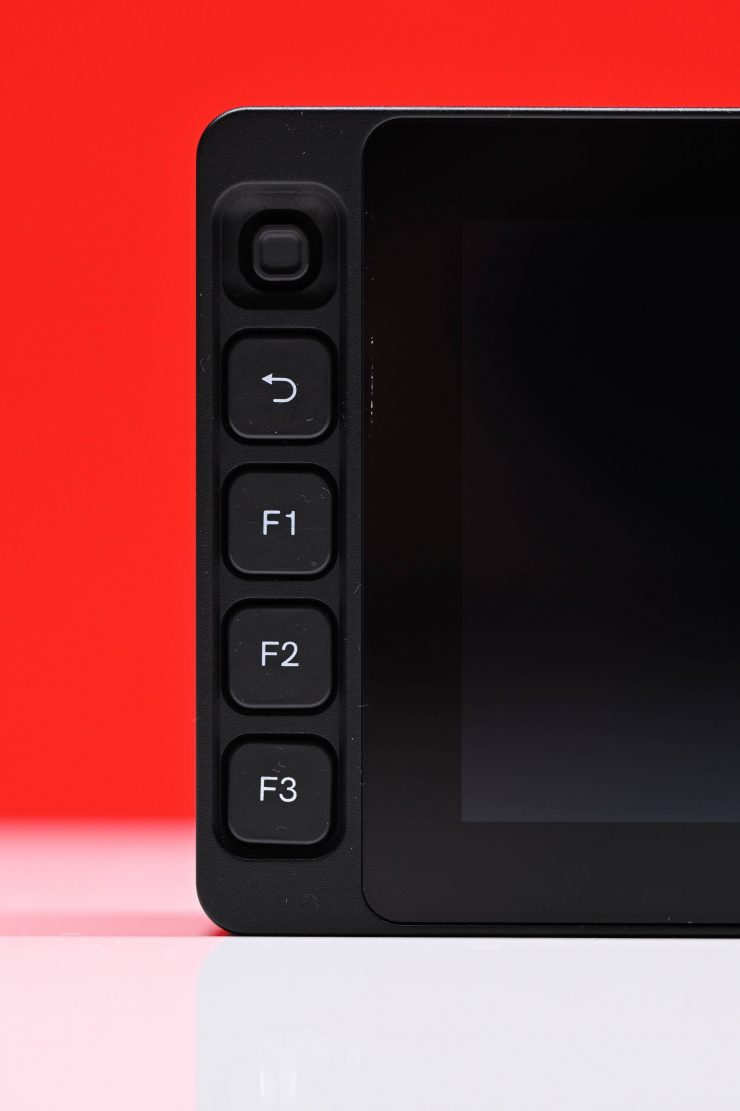
As I just mentioned, the Ultra 5 is a touchscreen monitor, however, it can also be controlled via a button and a joystick, as well as a series of buttons.
If you are familiar with SmallHD monitors that don’t have touchscreen capabilities you will know that the main operation is done via a small joystick-style button. This is nice and tactile and fairly easy to use. There is also a back button, an input selection button that lets you quickly toggle through which input you want to use.

Ultra 5 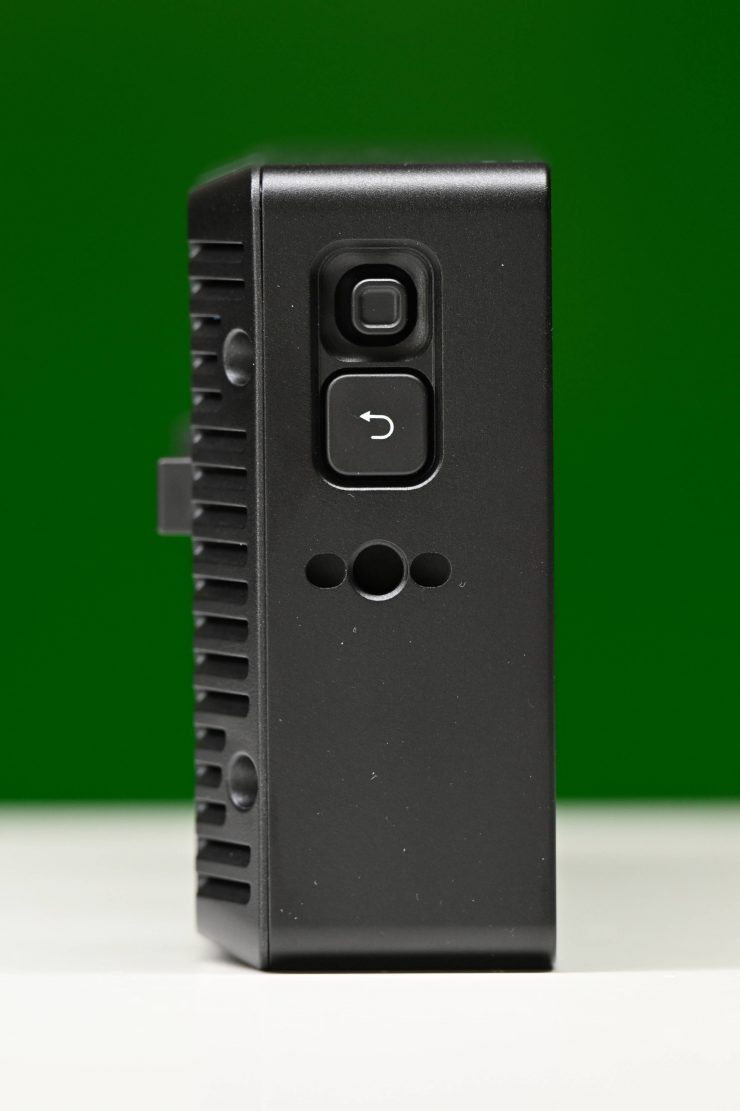
Cine 5
Unlike the Cine 5, the joystick-style button on the Ultra 5 is located on the front, along with three Function buttons that you can customize.
While using the physical controls is still reasonably quick to do, most people will prefer to use the touchscreen functionality because of the increased speed that it offers. I like that SmallHD gives you two control solutions with the Ultra 5, because having touchscreen control is not always ideal, especially if you are working in cold climates or when you don’t want to put big fingerprint marks on the screen.
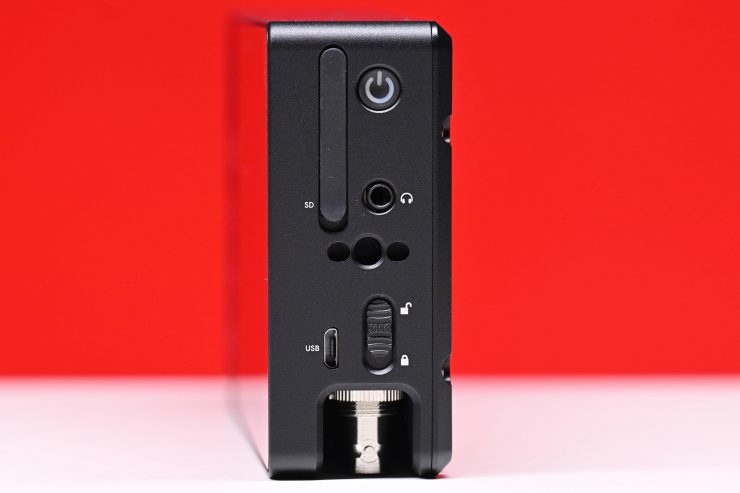
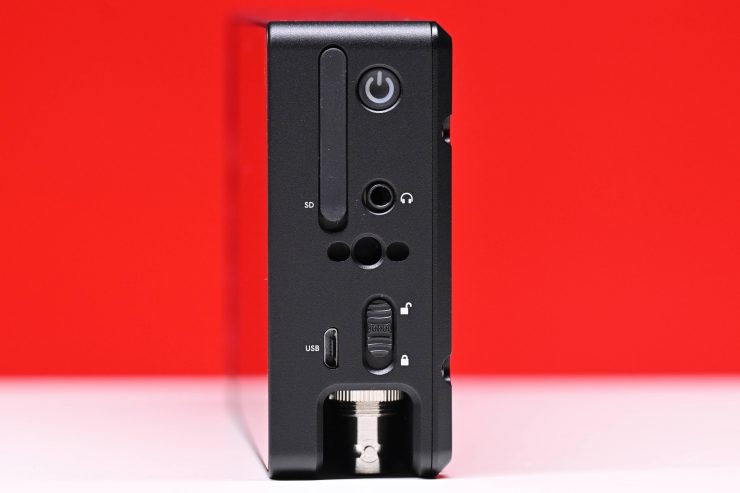
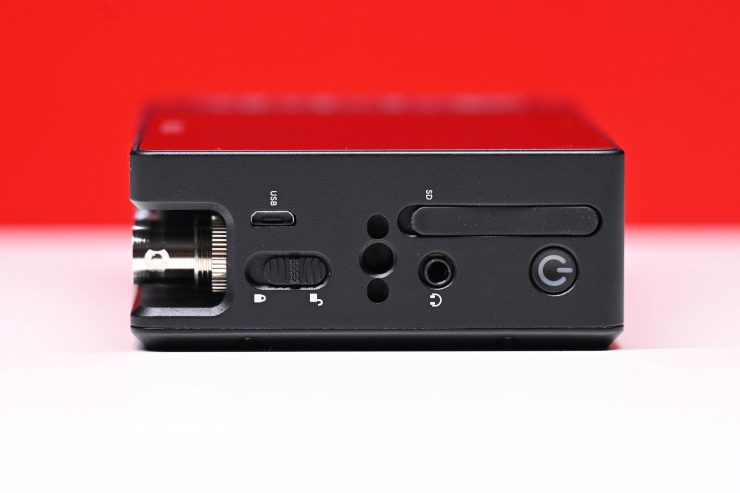
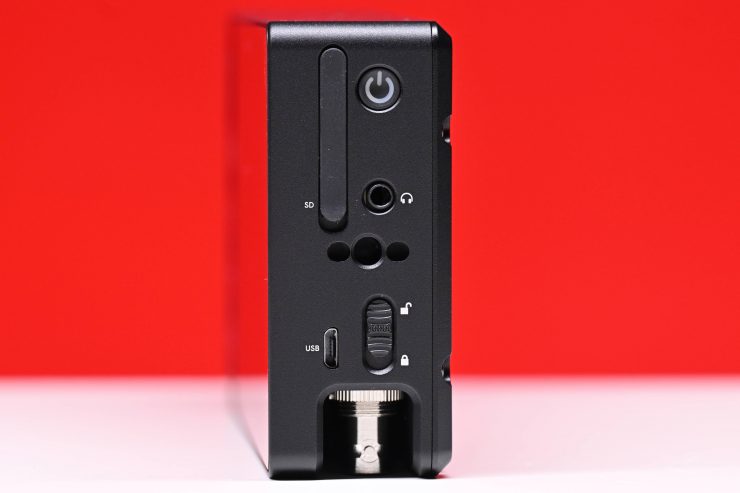
The monitor also has a power on/off button and a lock button. the lock button is handy so you can’t accidentally bring up menus or make changes when it is in the On position.
Main Menu
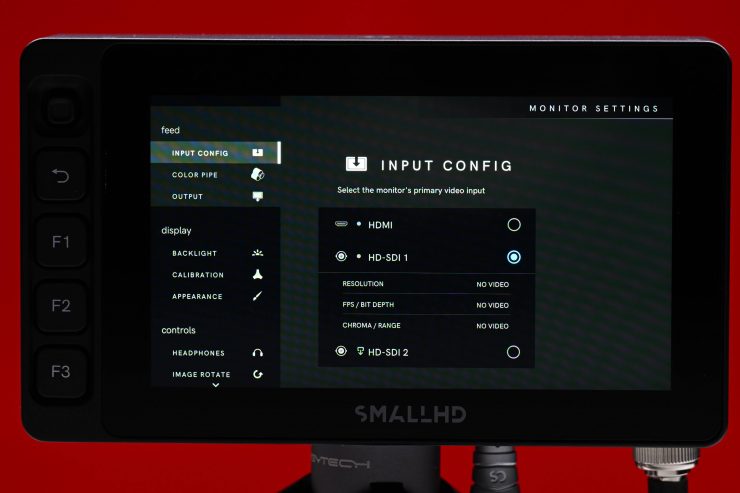
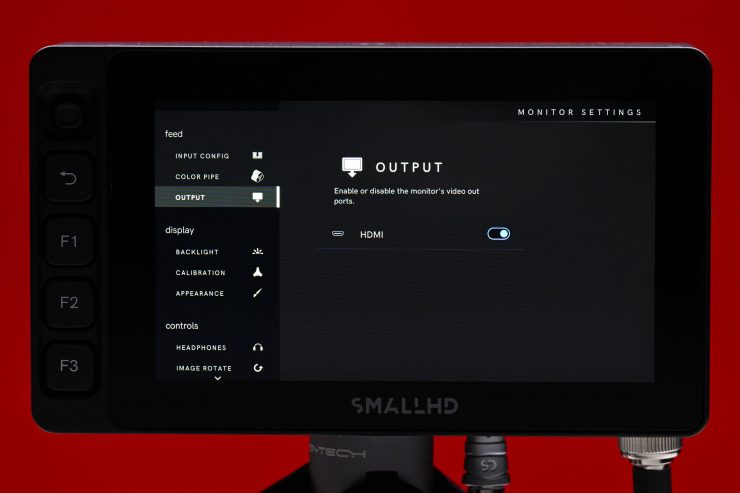
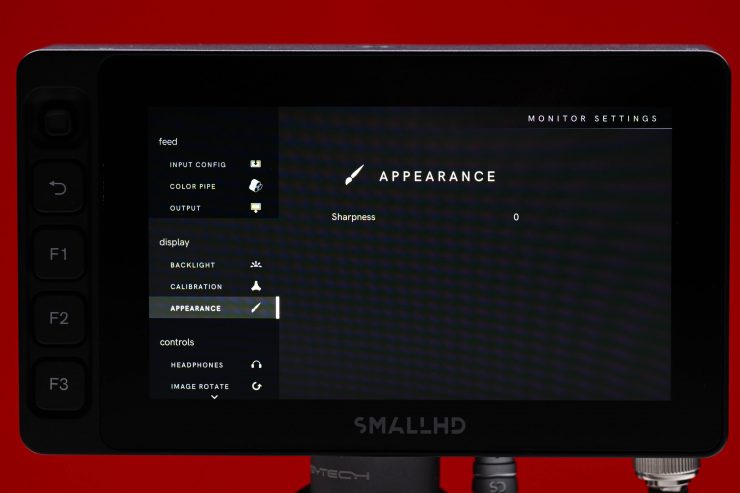
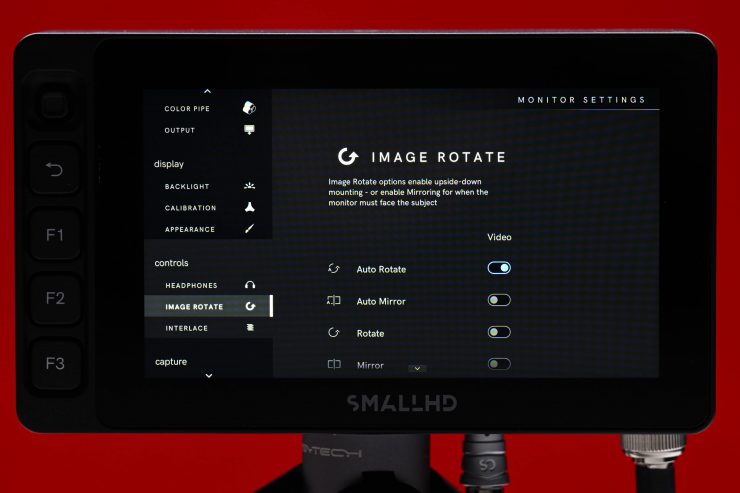
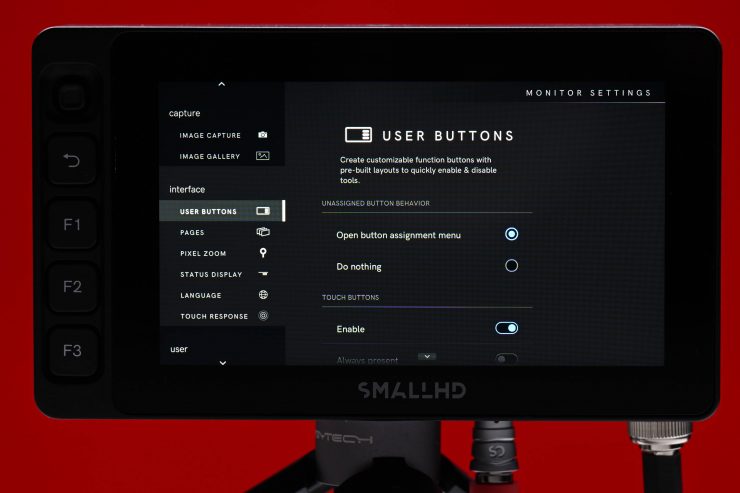
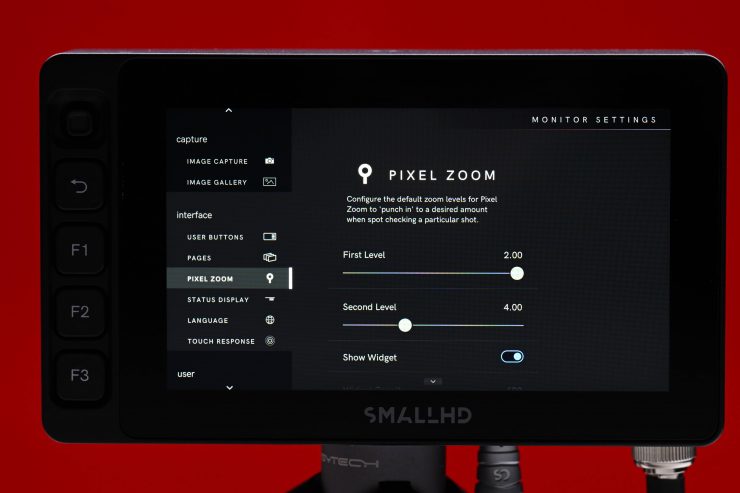
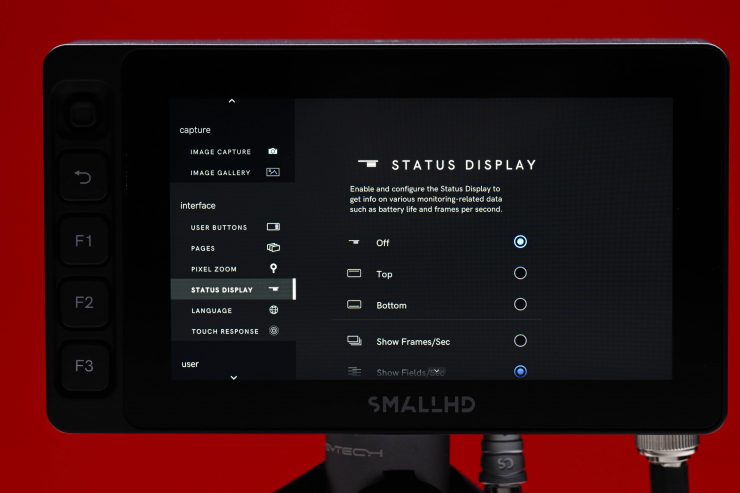
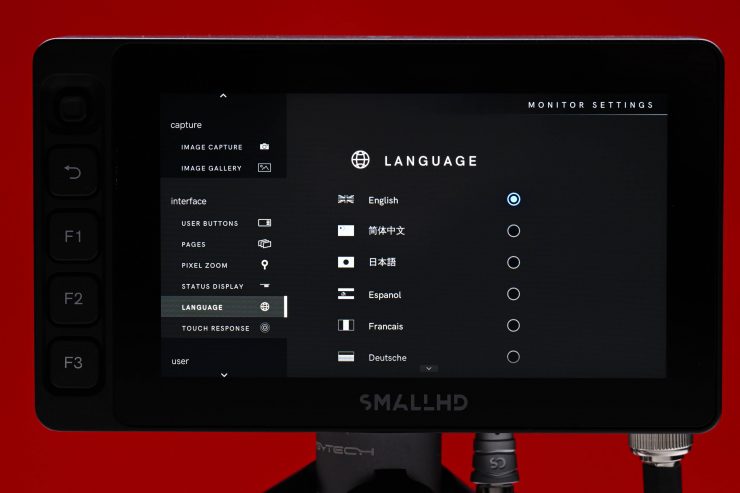
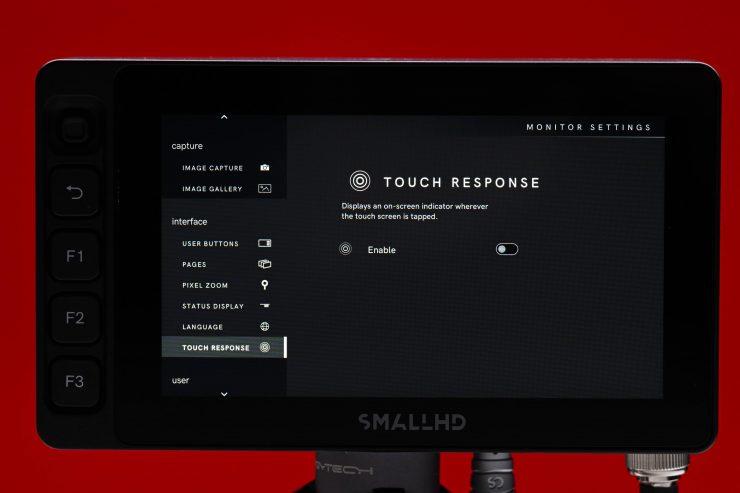
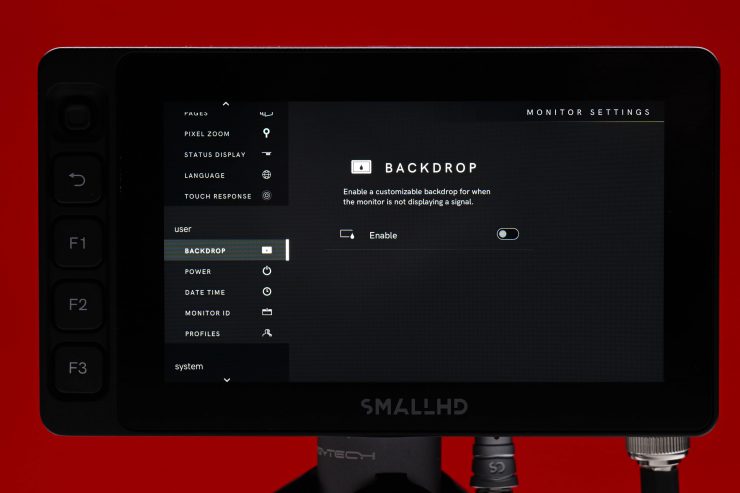
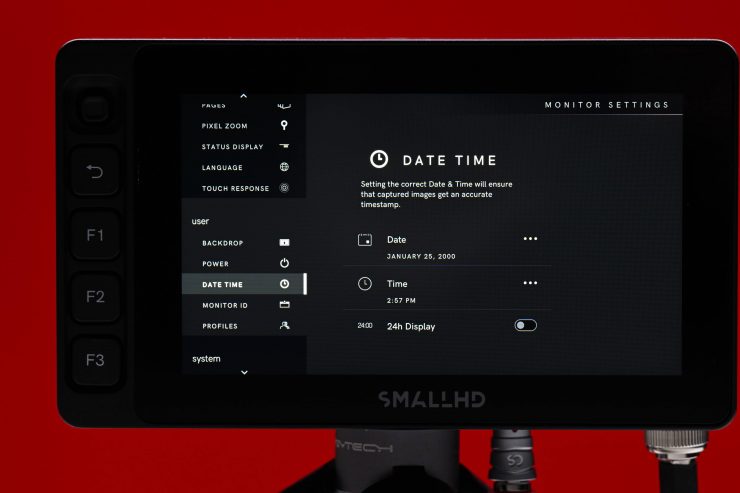
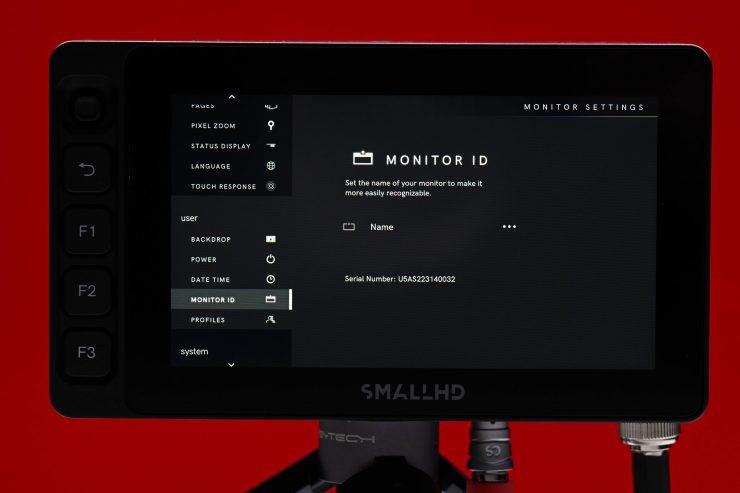
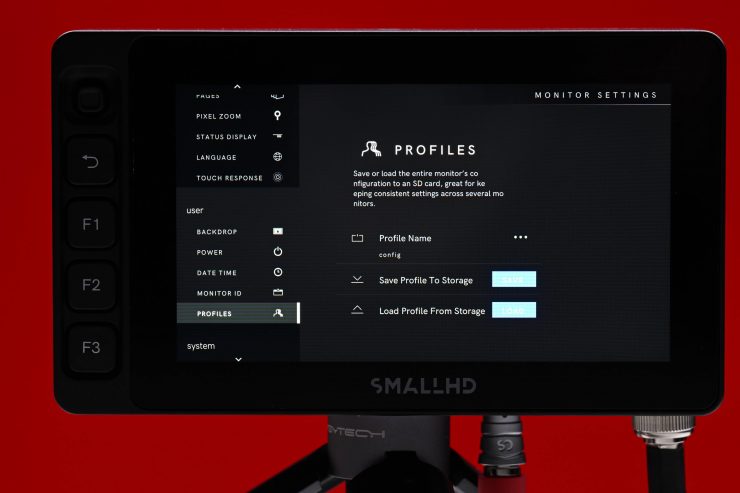
The main menu Monitor Settings page allows for a lot of customization. You make changes to the inputs and outputs, the level of pixel zoom, the backlight, save and recall profiles, change the date & time, calibrate the display, and much more.
What sets SmallHD displays apart from most other options on the market is the ability to totally customize just about every element of your display.
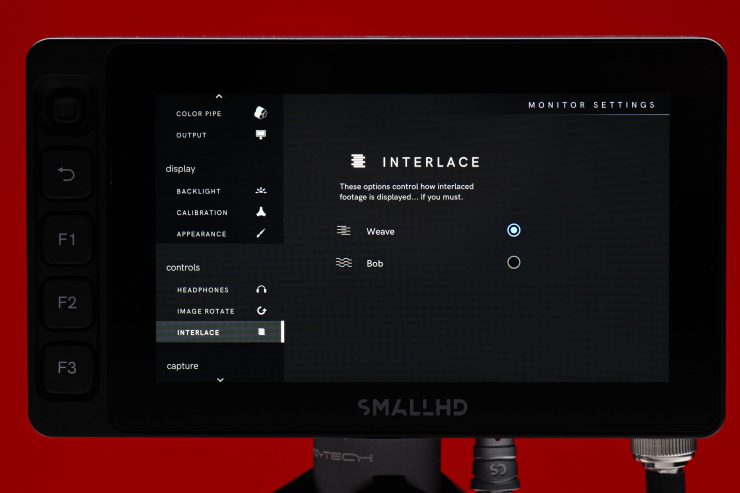
As I have mentioned in other SmallHD monitor reviews, I personally like the tongue-in-cheek humor shown on the Interlace menu.
Dashboard
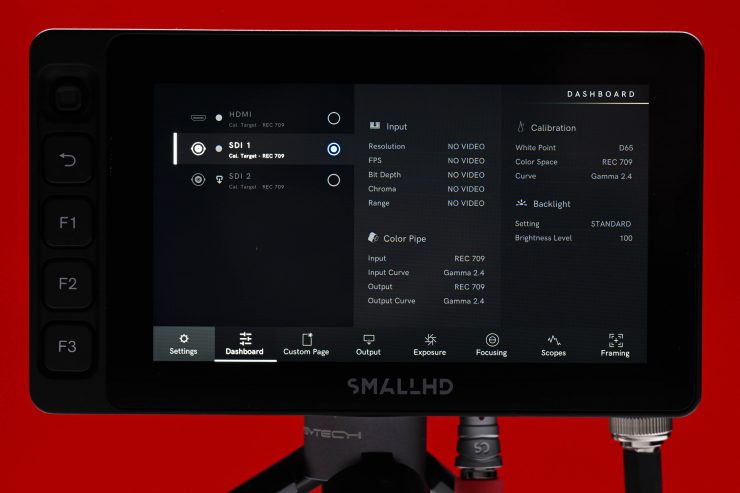
On the Dashboard page, you can change your input source and get key information about the resolution, frame rate, bit depth, etc.
Operating System
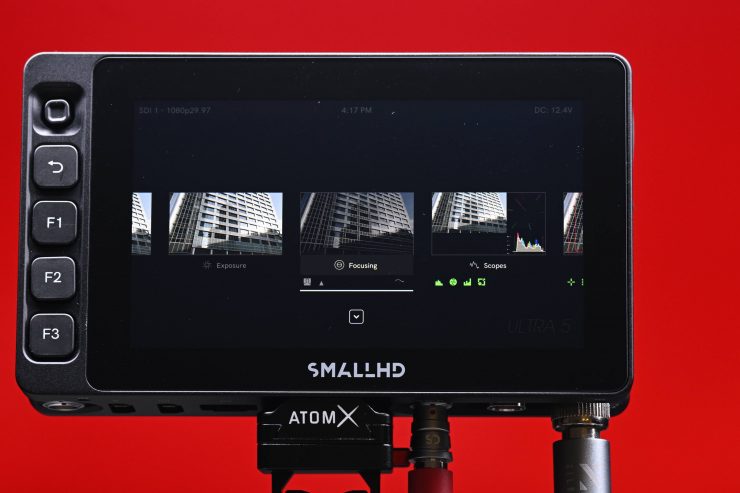
In my opinion, SmallHD monitors have the easiest OS system to use and operate. There is so much more to a monitor than just image quality, and a good operating system is what often sets monitors apart. Usability and operability sometimes get overlooked by people looking at monitors, but to me, they are right up there with image quality. I own a few different SmallHD monitors and I like being able to go between all of them and using the exact same menu and operating system. This makes going from one to the other seamless.
Lots of monitors have pretty good-looking images, but a lot of them are let down by poorly designed operating systems and monitoring assist tools that are not in any way accurate.
Like all modern SmallHD monitors, the Ultra 5 uses the same PageBuilder OS graphical user interface (GUI). SmallHD built the PageBuilder OS to make menus less confusing. PageBuilder is a very customizable system as it allows you to selectively apply monitoring tools such as waveform, vectorscope, multiview, LUTs, and focusing aids on different “pages”.
At least, in my opinion, the PageOS 5 operating system is far superior to any other operating system on the market, especially the ones that you will find in competing 5″ monitors. The customization and features that are available, put a lot of other operating systems to shame.
SmallHD’s PageOS 5 which was released in September added quite a few new features and enhanced functionality. Below you can see what some of the key new additions are:
Since the initial release, there have already been two new firmware updates for PageOS 5. SmallHD’s Page OS v5.2.0 firmware update adds a couple of nice new features.
One of the main reasons I personally like SmallHD monitors is that they continually update and add features and improvements to their monitors. With almost all of the cheaper monitors on the market, what you buy is what you get and it is very rare to see firmware updates or new features added.
What’s new in the Page OS v5.2.0 firmware update?
- Support for the Shotover addon on 4K Production Monitors
- Does not support sending overlays downstream
- Added Shotover addon back to 1300/1700/2400 Series Production Monitors
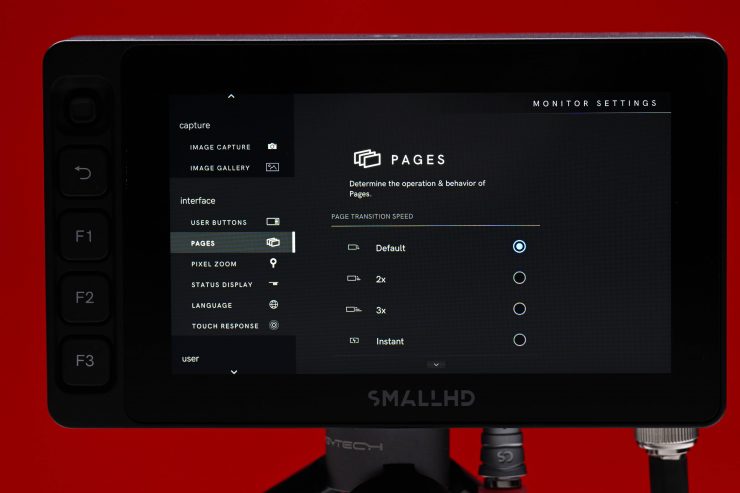
- Added the ability to change Page animation speed
- Settings-> Interface-> Pages (options are 1x, 2x, 3x, instant)
- Added Max Bright mode to Smart 5 monitors
Bug Fixes
- Fixed a bug breaking user registration, which caused monitor token to display as “UNKNOWN”
- Resolved pairing issues with the FOCUS 7 wireless monitors
- Switching inputs between HDMI and SDI no longer requires restarting the Vision 24
- Resolved update failures on the Smart 7 4K Wireless Modules
- ARRI IP menu now works with a joystick on Smart 5 monitors
- Resolved video artifacts (sparkles, incorrect colors) when using Full Range SDI
- Resolved issue with ARRI standby light indicator using camera control for ARRI
- Resolved issue with ARRI tree menu not updating when media inserted
- Resolved flashing of Sony FX9 Record Flag when camera was not recording
- Peaking Tool’s Brightness & Contrast settings are now preserved through power cycle
- Fixed a bug that would cause monitor page state to not save through power cycle
- Soft Function Buttons: Cycle zoom level now works properly
- Smart 7 output now works with 1080i50 and 1080i60
- Smart 7 output no longer breaks after switching input from 4K to 2K/1080p
- HDMI output now works on 10-bit formats for 4K Production Monitors
Known Issues in Release 5.2.0
- Image Capture may not work as expected on PQ color pipes
- The raw input data is captured using image capture. The overlaid image is NOT subject to the color pipe, it’s assumed that all images being overlaid are already in the same color space as the calibration target.
- CalMAN integration has not been finalized and fully validated
- Color Picker values are off by a small percentage
- Expected to be resolved in firmware version 5.3.0
This firmware is NOT compatible with SmallHD legacy monitors (DP1, DP6, DP4, AC7, and DP7-PRO. It is also NOT compatible with the DSMC3 RED Touch or Action 5 RED Touch.
SmallHD has also released Page OS v5.2.1, but this is a minor manufacturing update.
If you haven’t used a S
Having the ability to assign just one, or many tools to a single page makes it very quick to access a monitoring assist tool or make a change. It also allows you to customize what you actually need instead of being forced to use what a manufacturer gives you.
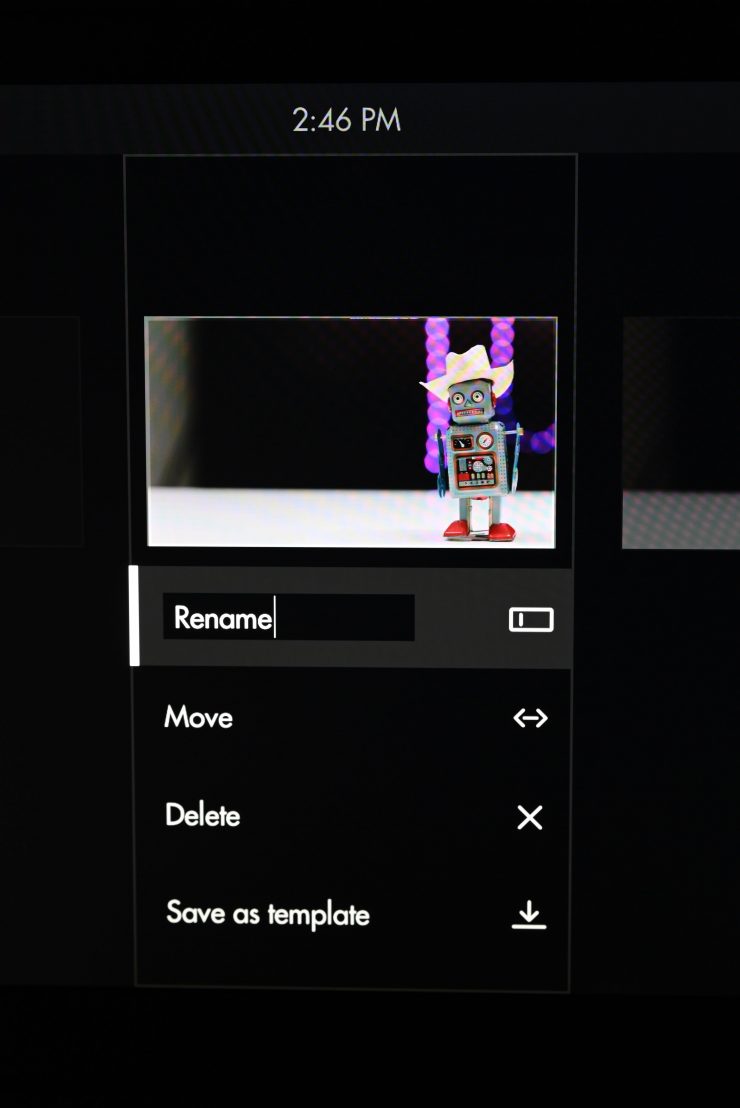
You can also rename and customize the individual pages you create.
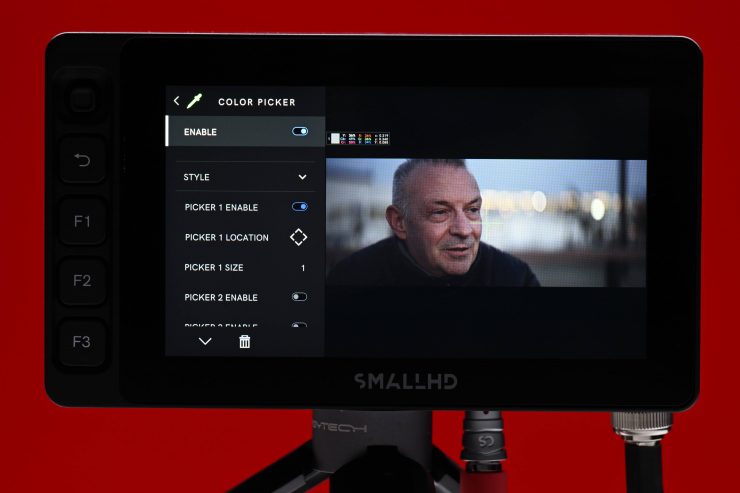
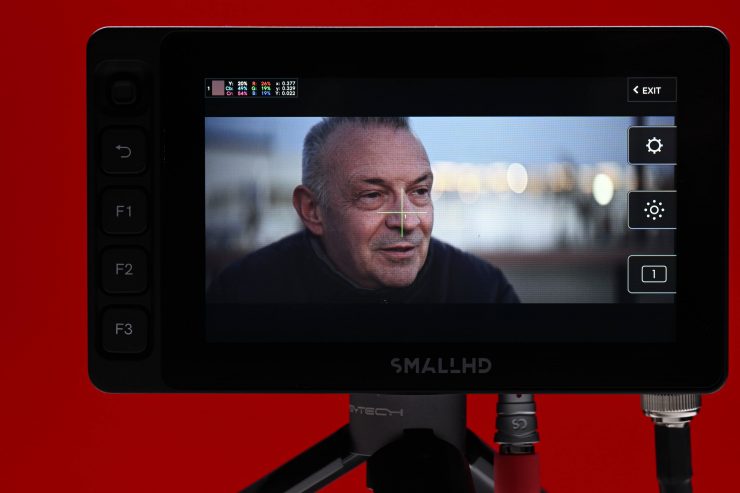
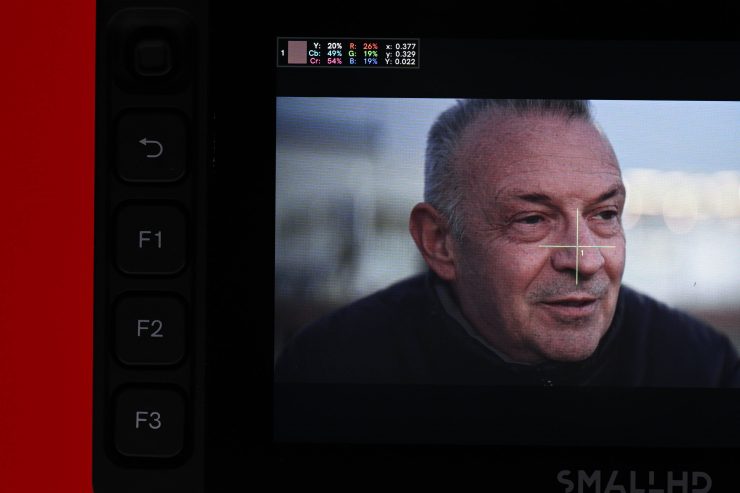
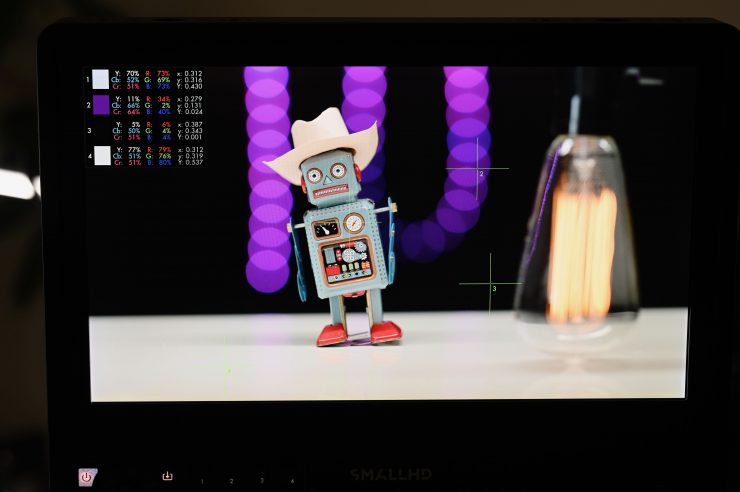
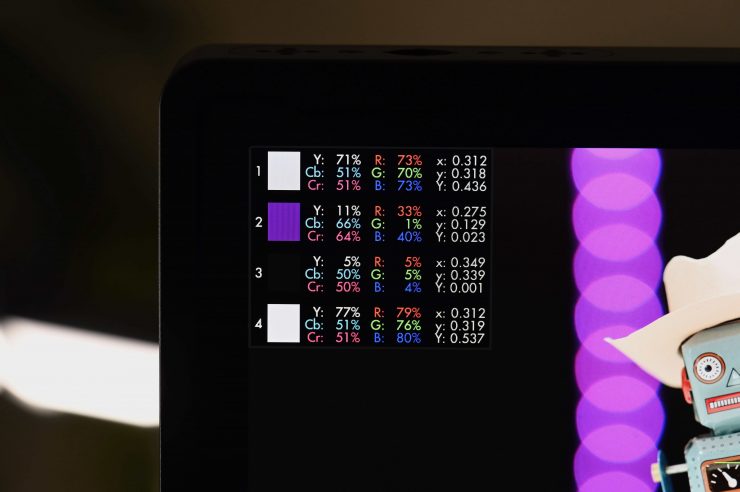
I especially like the Color Picker function where you can move a target icon around and it will display color values for you. On the Ultra 5, you can set up to four different reference points which are extremely handy for making sure you get accurate exposure and colors.
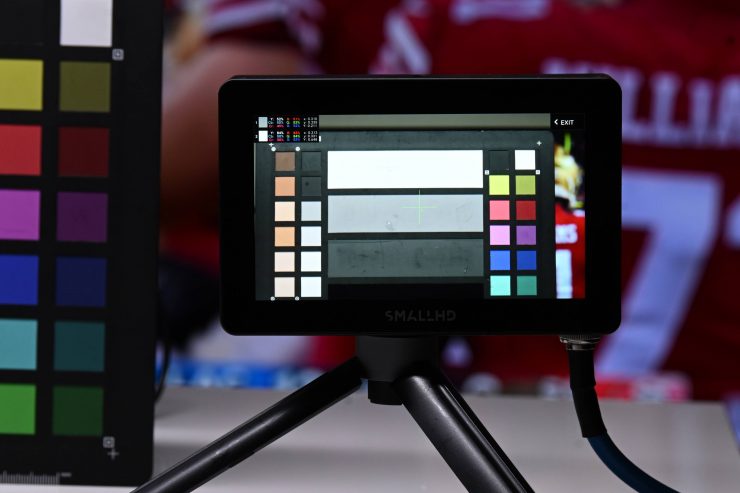
By setting multiple color picker points on a color checker chart you can make sure that your colors and exposure are as accurate as possible. Above you can see this on the Cine 5, but it is exactly the same on the Ultra 5.
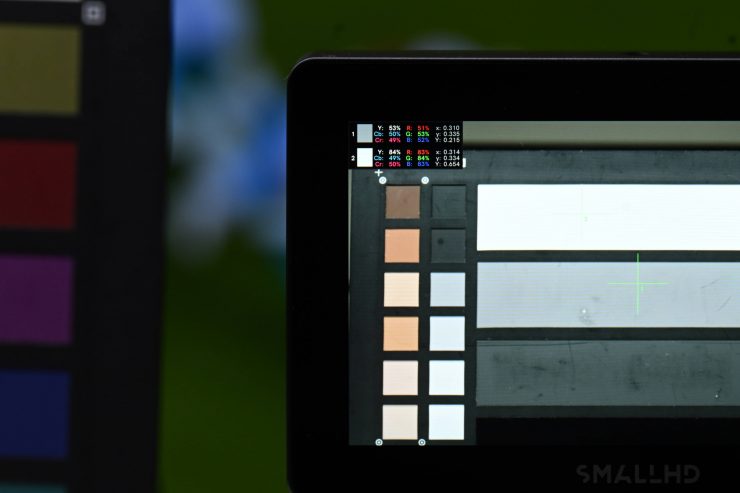
As the color picker gives you representations for Y, Cb, Cr, and R, G, B you can clearly see exposure levels and RGB values. This way you can be sure that white is actually white and you can make adjustments so that midle grey exposure is accurate. As you can see above, my white is white, but my IRE for middle grey is too high, so I can use this to adjust my exposure down to the correct range.
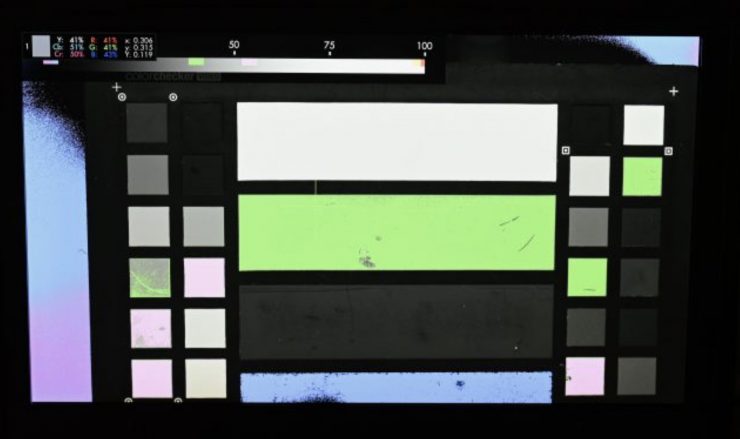
You can also use the color picker in conjunction with false color for making sure middle grey exposure is accurate.
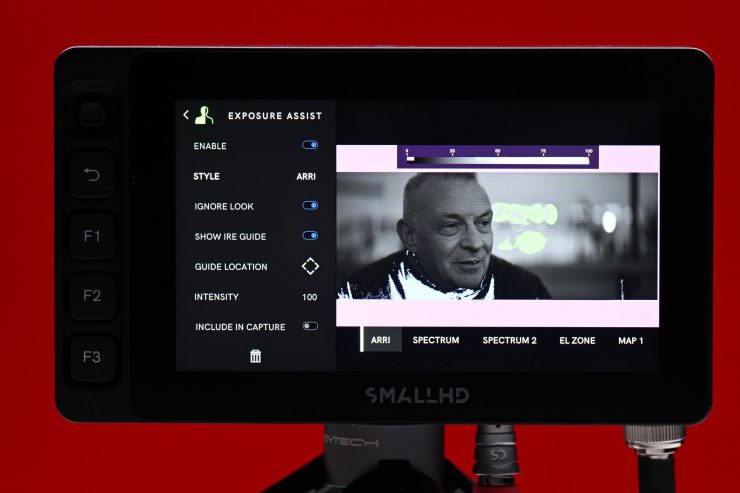
One of the other nice aspects of PageBuilder OS is that SmallHD has actually bothered to standardize the false-color functionality. As a default, the false colors are mapped directly to ARRI cameras, but you can also customize them to whatever camera you are using. This is a big deal. A lot of other monitors just have false color with no scale or markings and you have no idea what you are actually seeing. As the false color indicators on the SmallHD accurately reflect what I am seeing in my EVF I know I can rely on them.
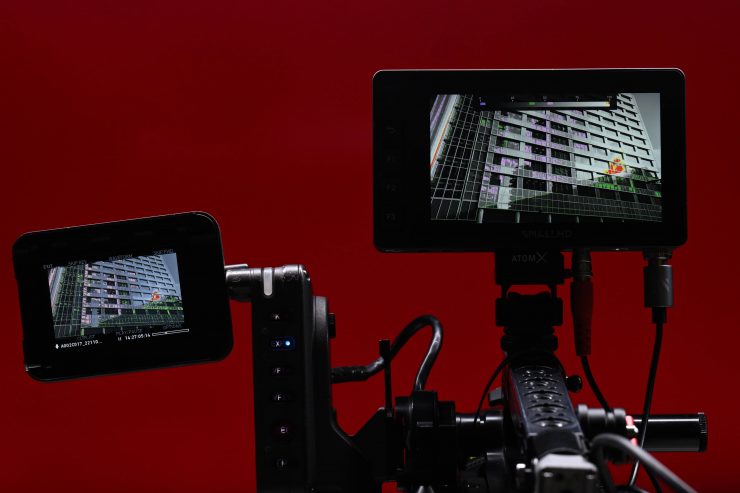
Above you can see that the main false color values look exactly the same on my EVF, and on the Ultra 5. This is exactly the consistency you want.
As I use a SmallHD Cine 7 as my on-camera monitor it is nice to be able to go to the smaller Cine5 or the larger Cine 13 and have the OS system be exactly the same.
SmallHD doesn’t just release an operating system and then never change it. The PageOS system is constantly being updated and improved.
Inputs & outputs
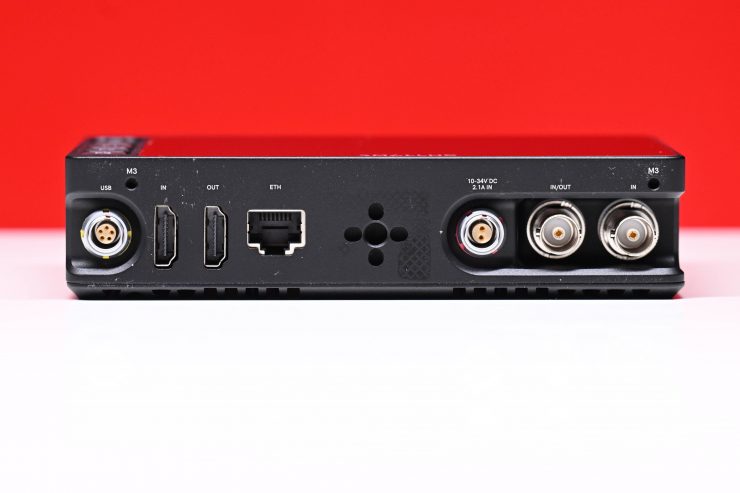
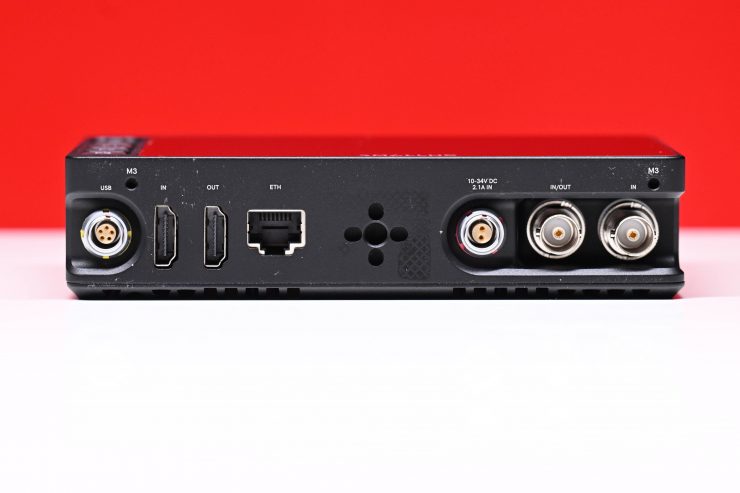
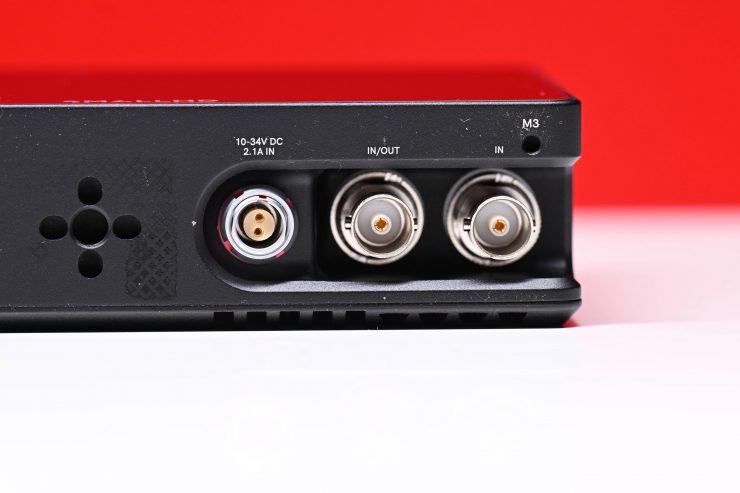
The monitor includes the following inputs and outputs:
- 1 x BNC (3G-SDI) Output
- 1 x HDMI Output
- 1 x BNC (3G-SDI) Input
- 1 x HDMI Input
- 1 x LEMO 5-Pin Output
- 1 x RJ45 Output
- 1 x 1/8″ / 3.5 mm Headphone Output
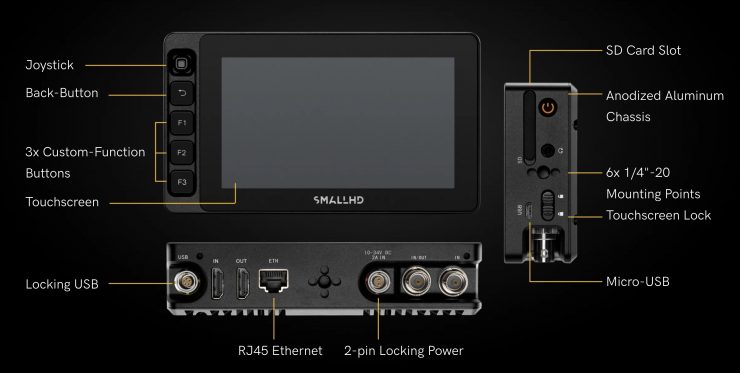
The Ultra 5 offers you a good array of inputs and outputs for a monitor of this size.
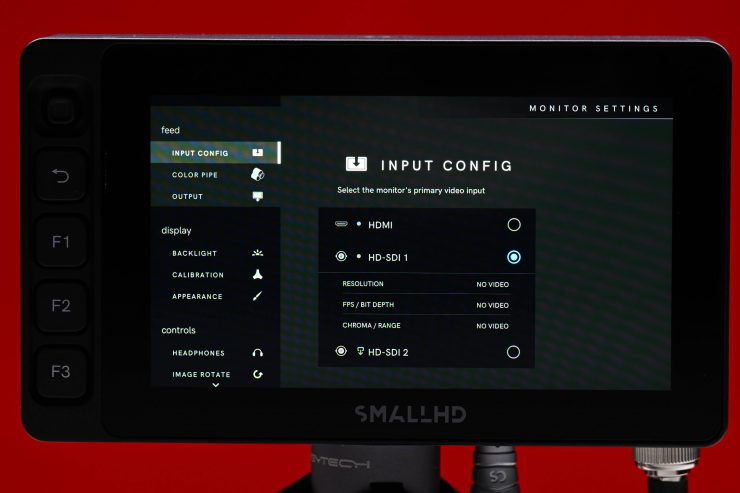
In the menu, you can choose the input configuration
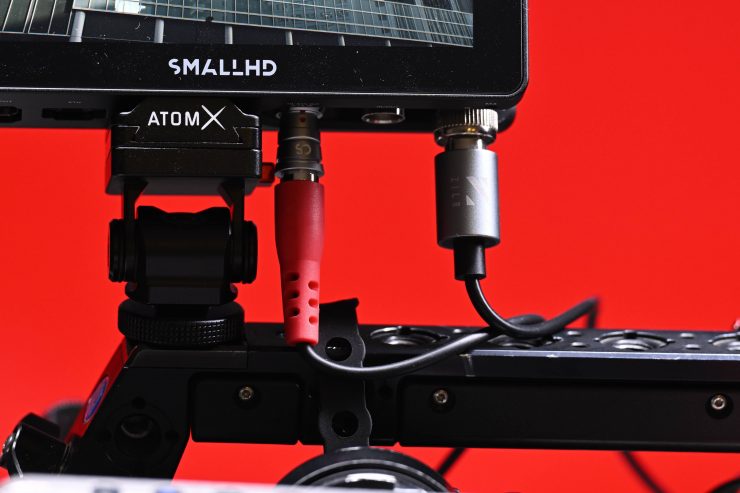
Now, one of the things you need to be aware of with the inputs and outputs is when it comes to mounting. If you don’t have the monitor on an arm, you can run into an issue where the cables may hit your camera body or top handle, etc. depending on how you are positioning and mounting the monitor.
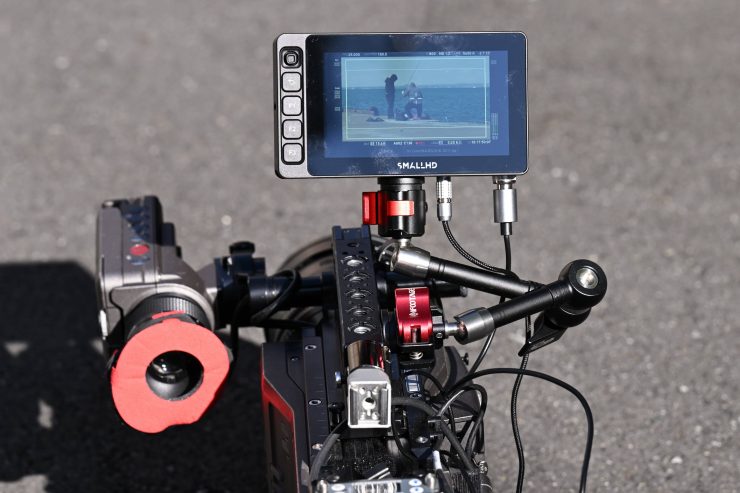
I personally find it easier to mount the monitor on an arm.
Cross conversion?
When I fed an HDMI signal into the Ultra 5 and then tried to output a signal over SDI it worked perfectly. Conversely, If I input an SDI signal and then output an HDMI signal that also worked.
Having cross-conversion on a monitor is a big deal, especially if you are using it on camera with limited outputs.
Power
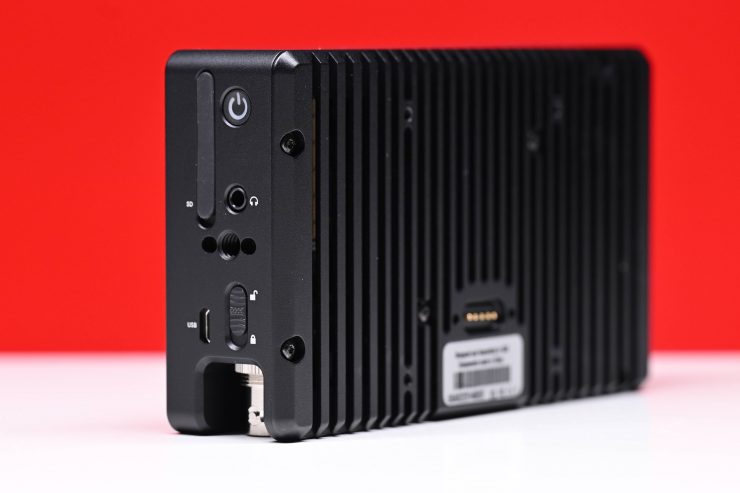

Ultra 5 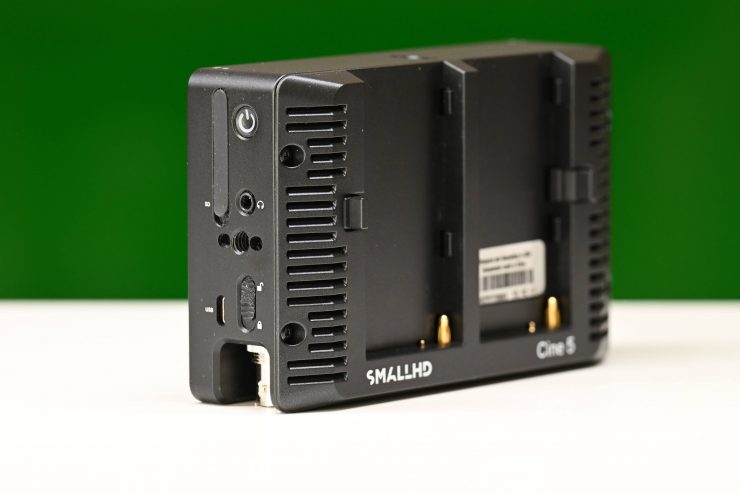
Cine 5 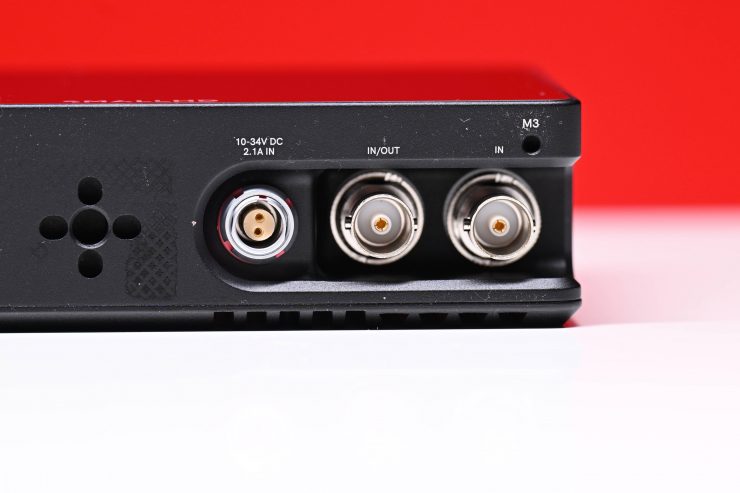
Ultra 5
Out of the box, you can only power the Ultra 5 through the LEMO 2-Pin (10-34V DC), 1.6A Input. The monitor doesn’t come with a battery plate like the Cine 5. This is a clear indication of the intended user market for the Ultra 5. It is squarely designed to be used on professional digital cinema cameras that have their own power outputs.
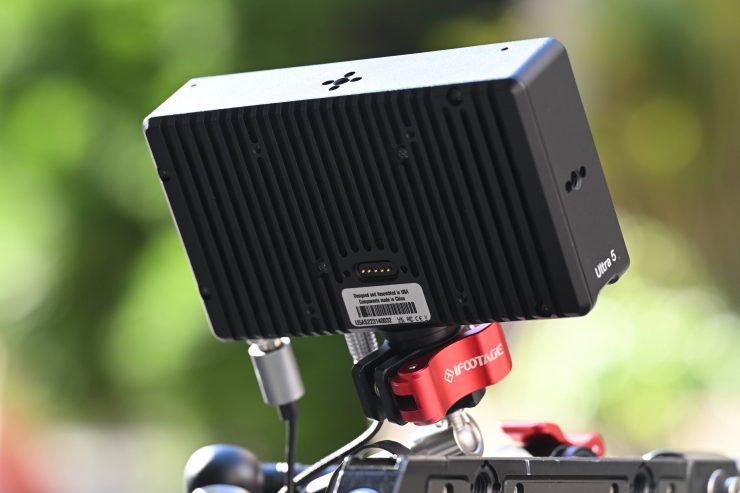
I personally prefer monitors that I can directly power from my camera instead of having to run additional batteries.
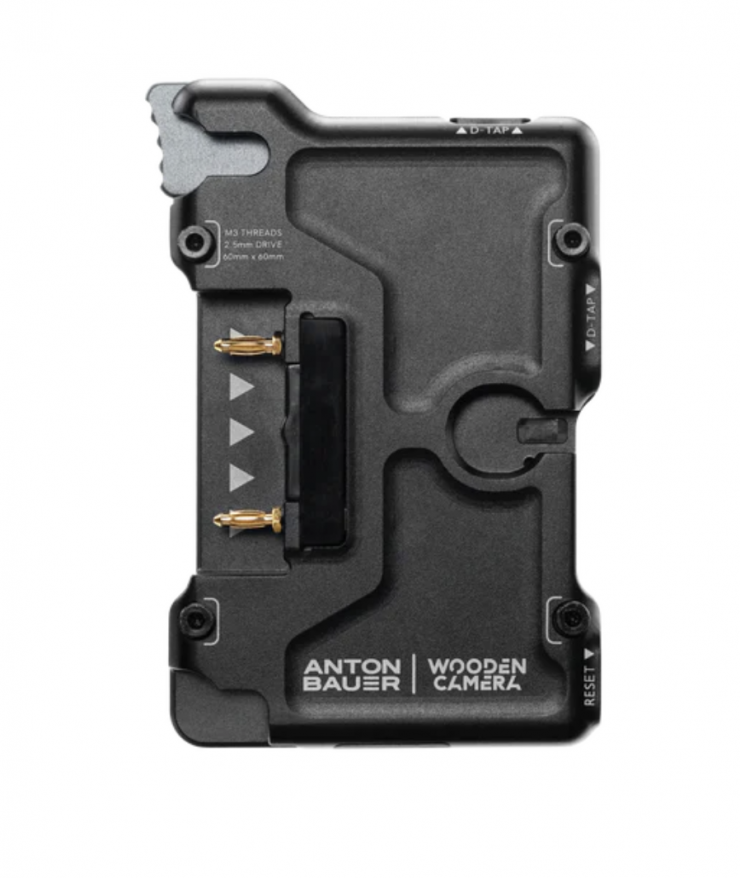
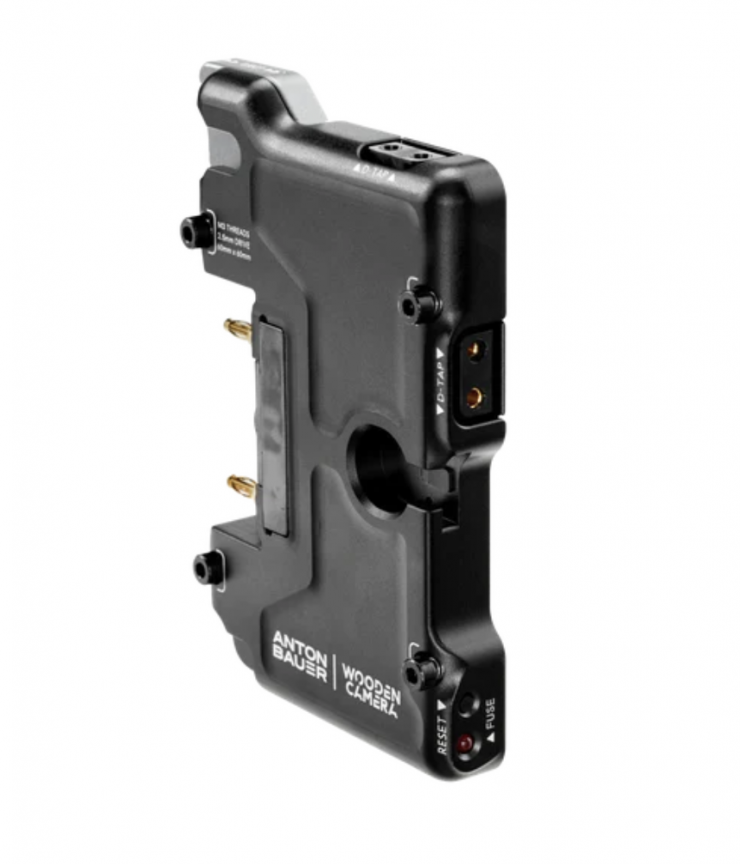
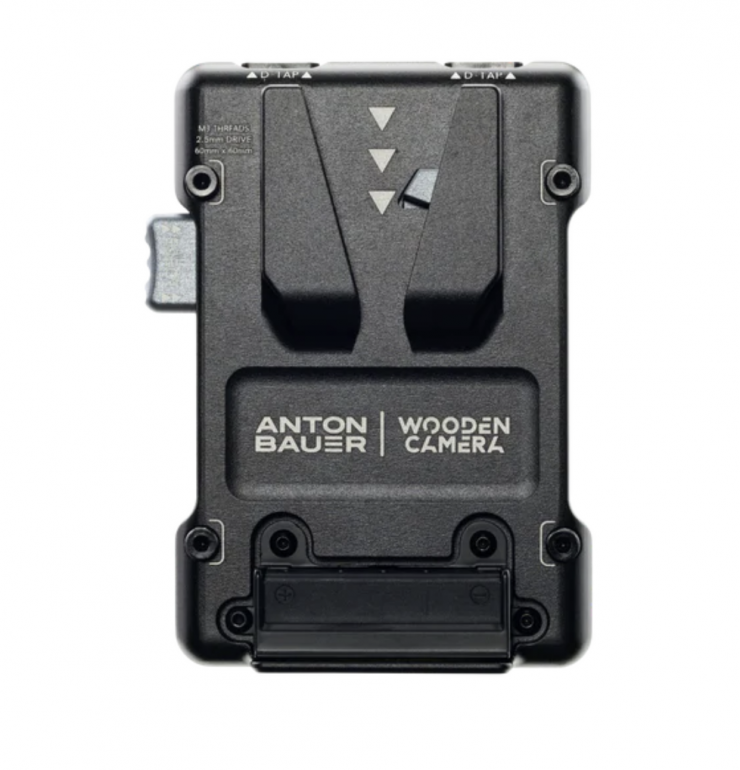
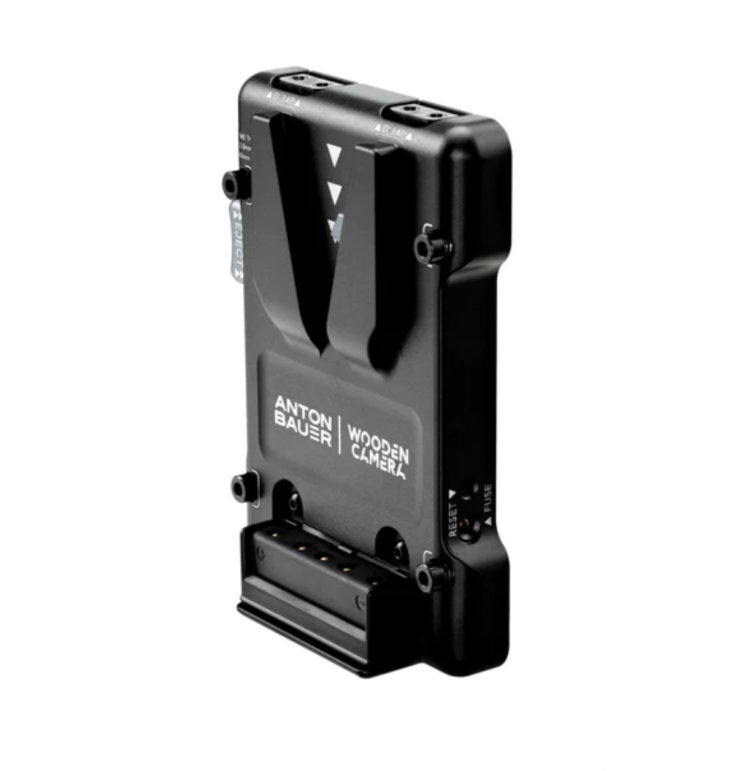
If, however, you want to power it via a battery you will need to buy the optional Micro Battery Plate for SmallHD Ultra 5 Series (there are Gold Mount & V-Mount versions available) which costs $249 USD. These do look well made and they offer you additional power outputs which are nice, but $249 USD is a lot for a small battery plate.
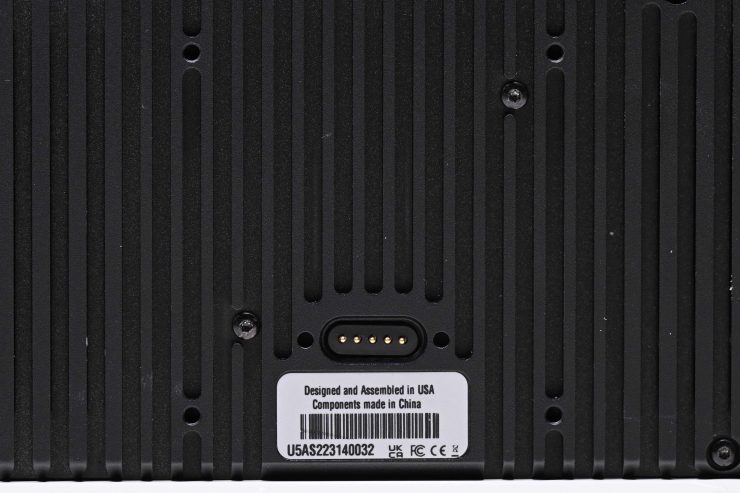
If you look closely at the back of the Ultra 5 you will see four M42 screw holes and a type of pogo pin connection. This is where you attach the optional battery plates.
To play the Devil’s advocate here, it would have been nice if SmallHD included one of these plates with the monitor, especially considering its high price tag.
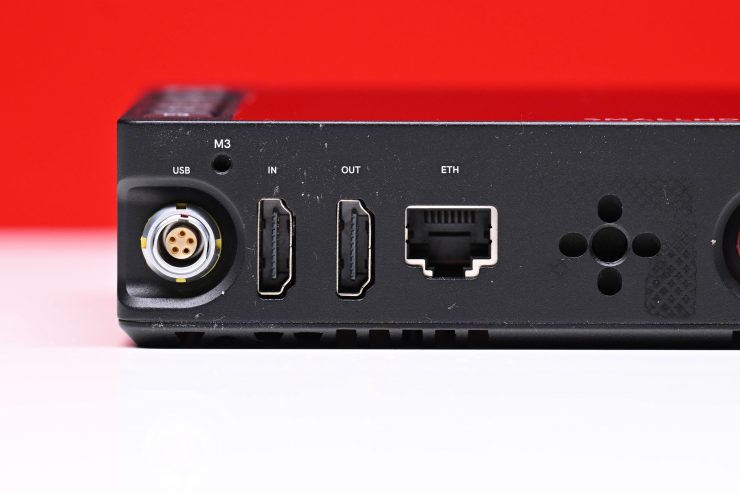
I like how SmallHD also included a 1 x LEMO 5-Pin 2.0 Output for powering accessories.
Again, usability has been well thought through. Having the ability to power accessories such as wireless RX units directly from the monitor is very handy.
SmallHD doesn’t list how much power the Ultra 5 draws.
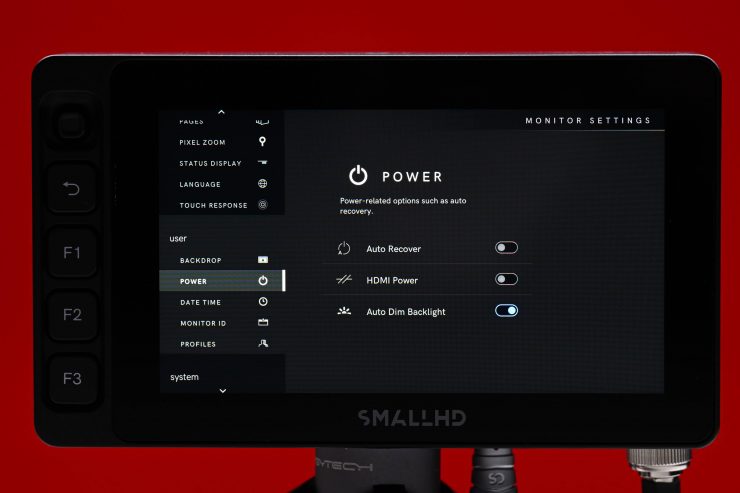
SmallHD also gives you several power options in the main menu.
Heat


Ultra 5 
Cine 5
The Ultra 5 doesn’t have an inbuilt fan, and it runs completely silent. The monitor does have a couple of small cooling vents on the back, but not nearly as many as the Cine 5.
Does the Ultra 5 hot? Yes, it does. The casing of the Ultra will get pretty hot if you leave it on for a significant period of time, and at least in my opinion, it gets almost as hot as the Cine 7. The Cine 5 doesn’t get as hot as either the Ultra 5 or the Cine 7.
Power up time
I don’t like monitors or products that take too long to boot up before you can use them. The Ultra 5 boots up reasonably quickly. I timed it at about 4-5 seconds from the time I turned it on till I got a picture up on the screen.
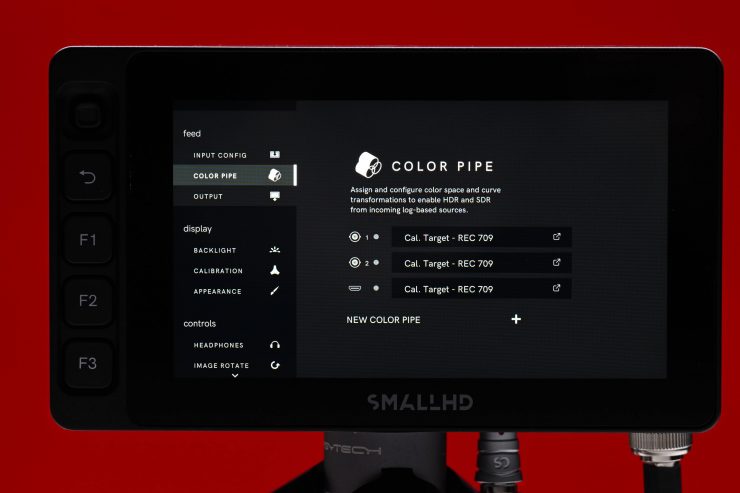
Color Pipe
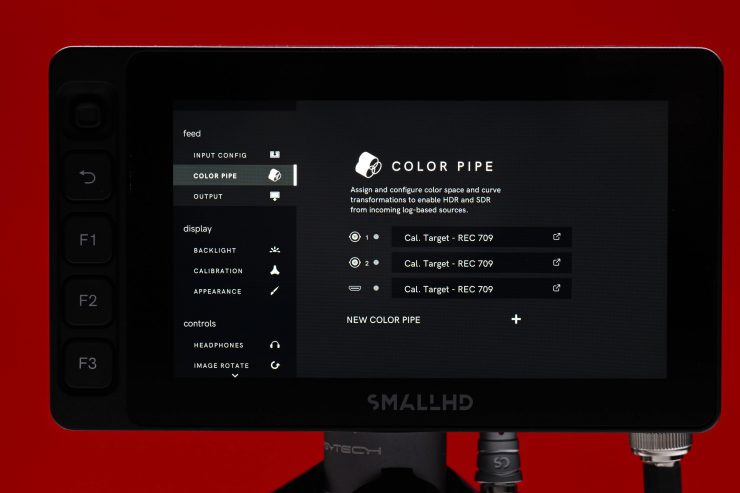
SmallHD’s Color Pipe allows you to assign and configure color space and curve transformations for the different inputs.
Calibration
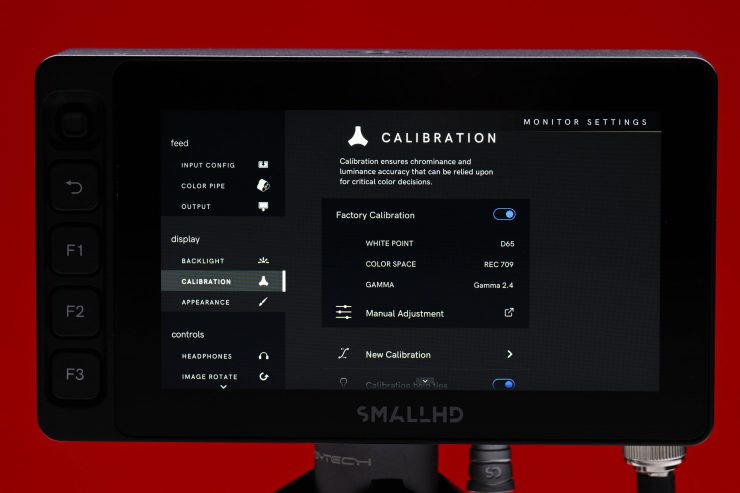
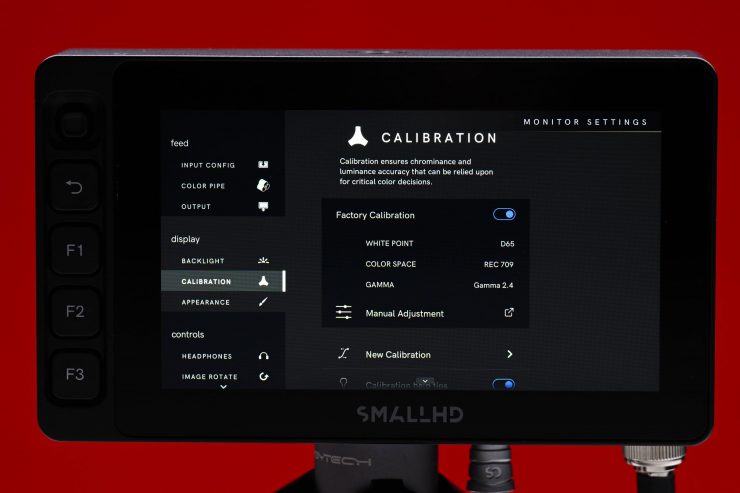
On the calibration page, you can choose to use the factory calibration or you can make manual adjustments. You can also do a new calibration by choosing CalMAN but you need to hook up the monitor to a computer that has the licensed CalMAN software on it. The other option is to choose Generic Calibration where you can choose from some presets or create your own custom one.
Image Zoom
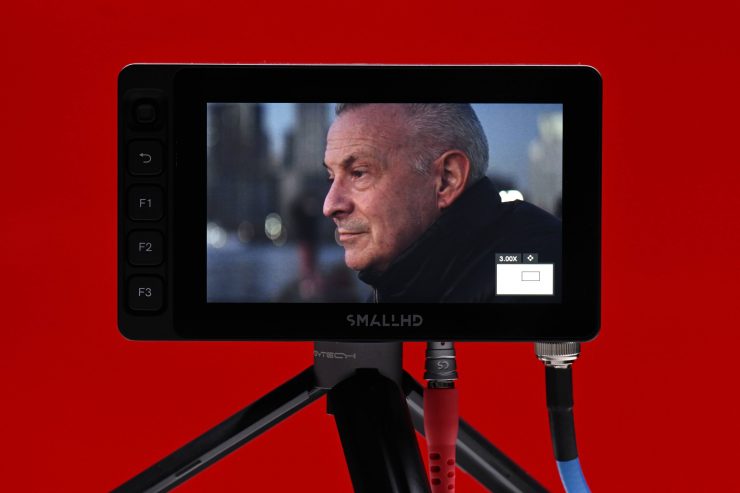
Getting critical focus is essential when using a monitor, especially if you are using fast lenses and shooting fairly wide open. One of the big benefits of having a display with such a high number of PPI is that it makes it a lot easier to check critical focus.
Even if you zoom in 4.00x on the image you can see very clearly if something is sharp or not. I recommend turning peaking on when doing this.
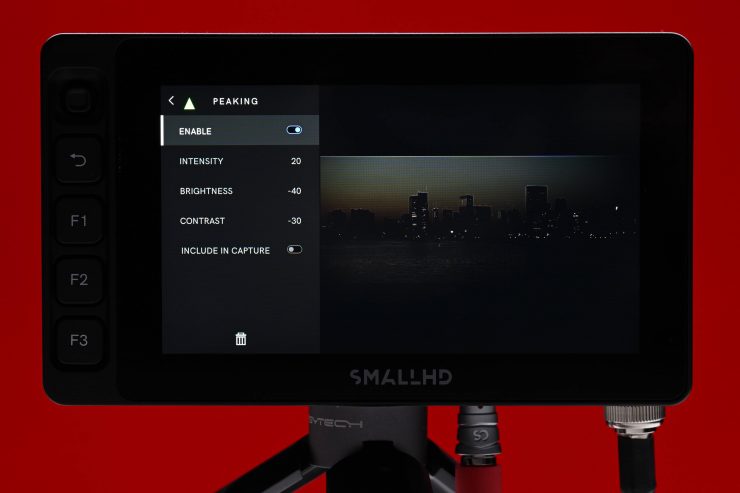
Peaking
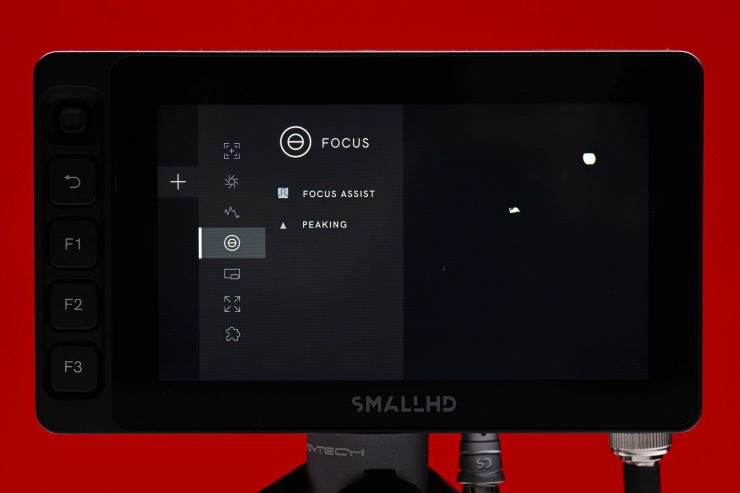
You can change the intensity, brightness, and contrast when peaking is enabled.
By utilizing peaking and image zoom you can make sure that you absolutely have focus nailed.
Focus Assist
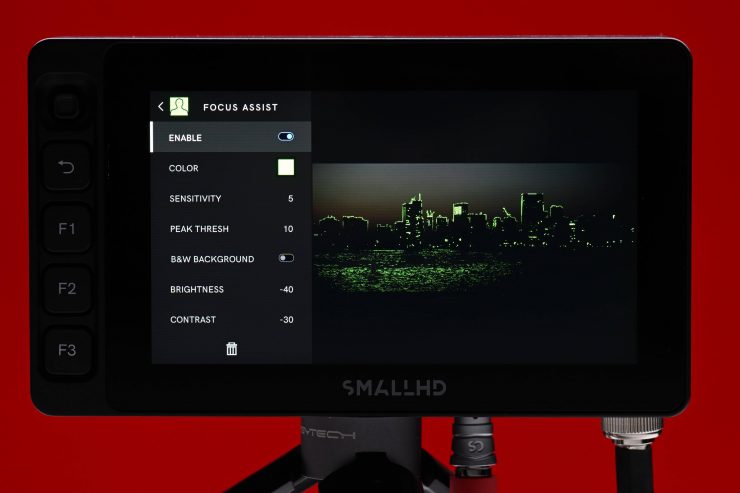
On the Ultra 5 you can change the color, intensity, brightness, and contrast of the Focus Assist.
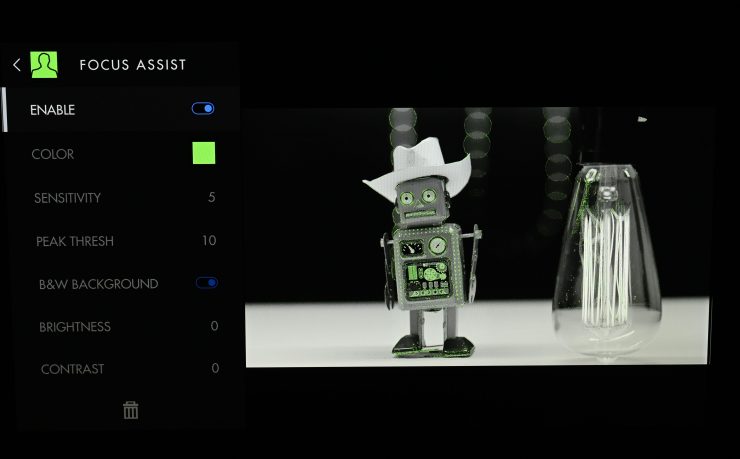
You can also select a B&W option that lets you clearly see what you are focusing on.
LUTS
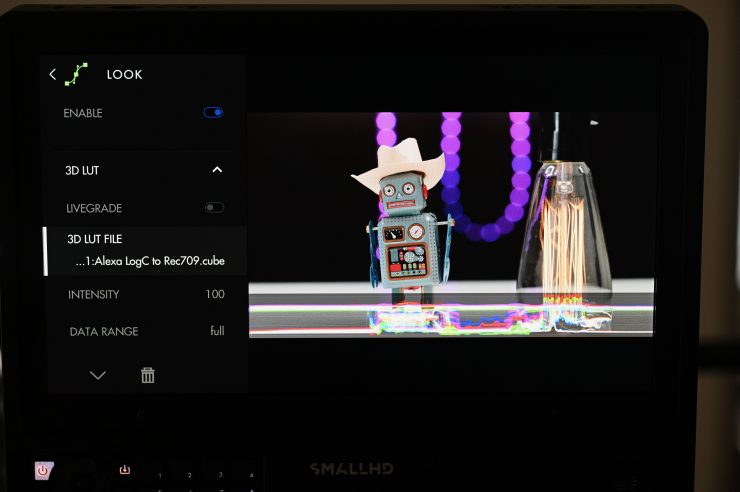
The Ultra 5 doesn’t come with a range of pre-configured LUTS already installed, but you can load up your own LUTs to use. This is a fairly easy process and you just need to load them up onto an SD card. Again, for a monitor of this price, it would have been nice to have seen some pre-installed LUTs for the major cameras.

The SD card slot is located on the right-hand side of the monitor.
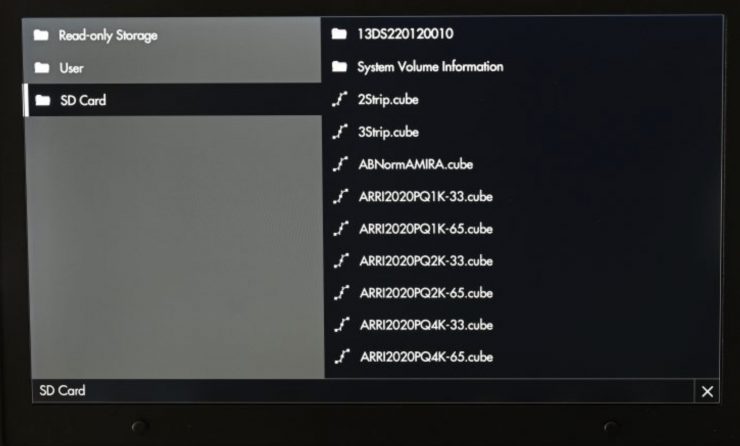
What I like is that you aren’t just limited to being able to load up a handful of LUTs. You can load up and store as many as you like. I tested his out and loaded up 142 different LUTs with no problem at all.
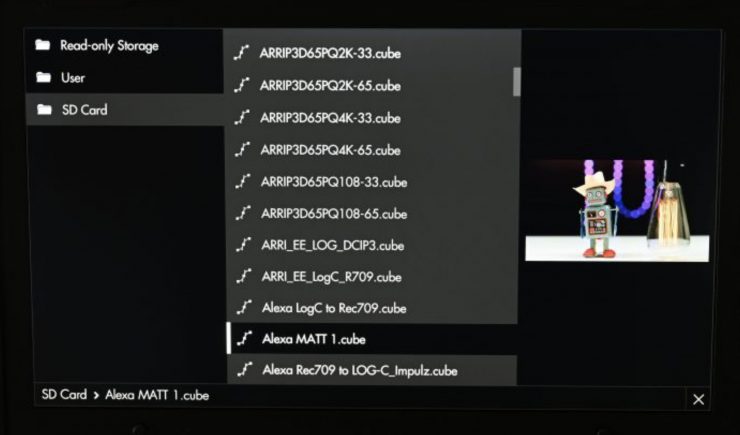
What I like is when you select a LUT you get a small preview version of what it will look like on the right-hand side.
Scopes
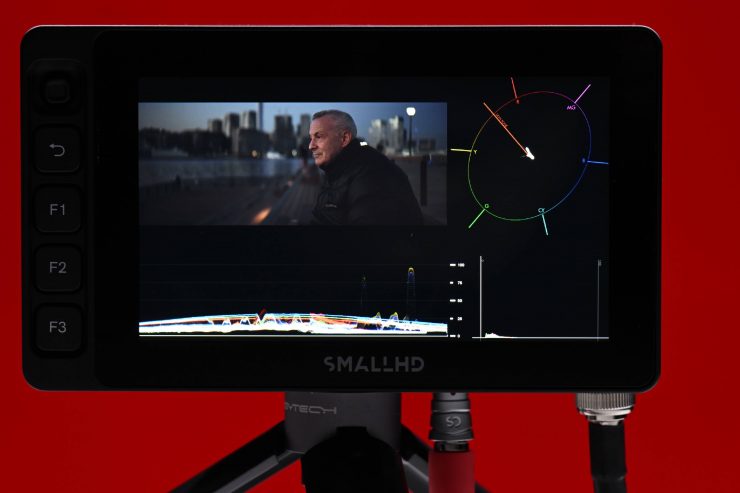
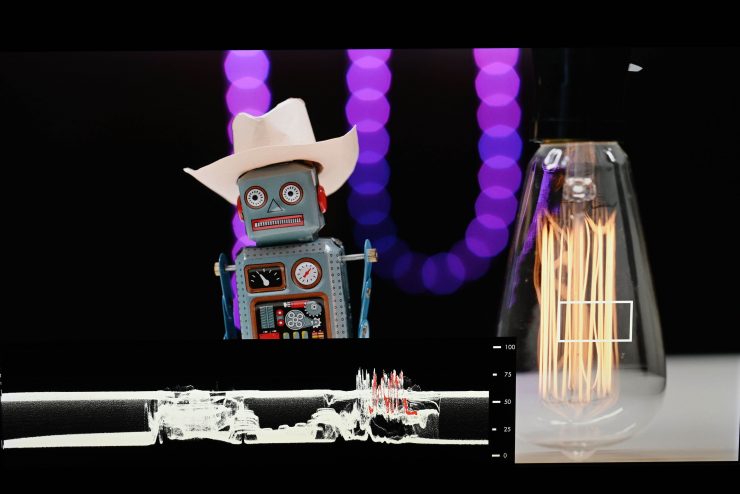
SmallHD gives you a lot of customization options when using scopes.
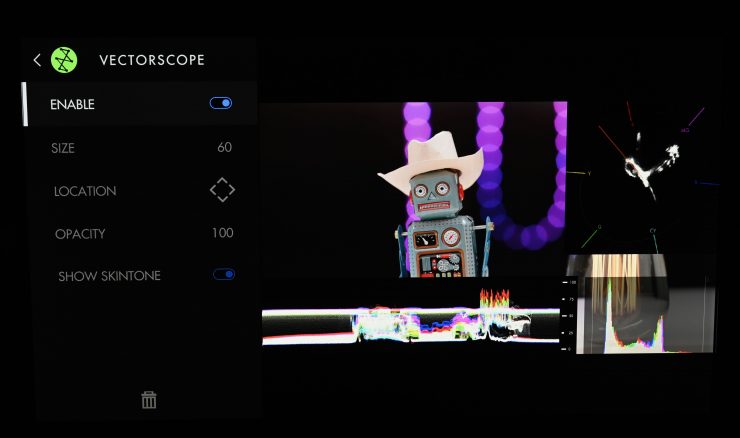
You can change their size, position, and opacity.
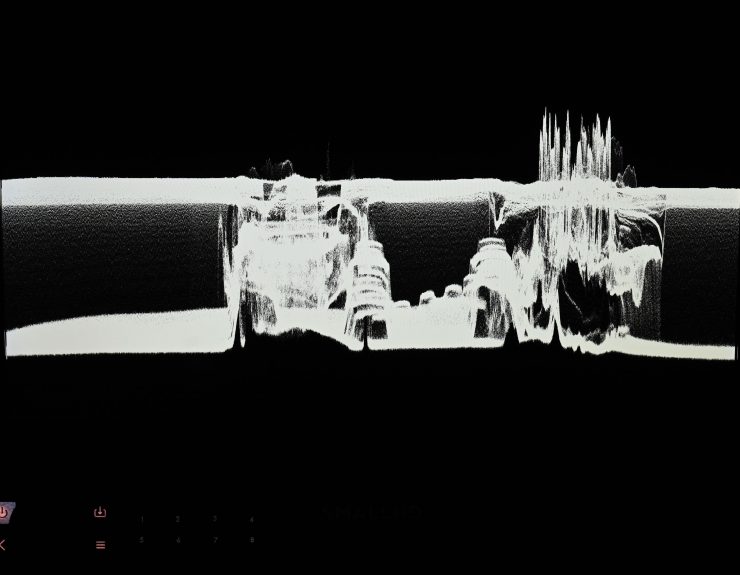
You can even make any one of the scopes full screen if you want to.
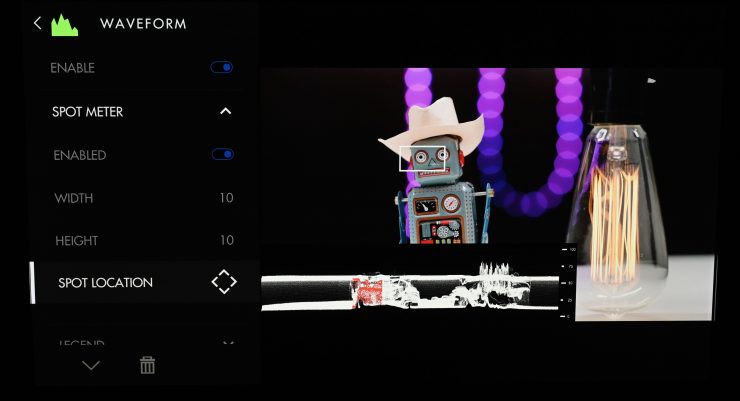
With the waveform, you can choose to display a spot location on your image, and that area is then highlighted on the waveform itself. This is an incredibly useful feature because looking at a waveform can sometimes be confusing. You can also change the size of the spot meter depending on what you want to look at.
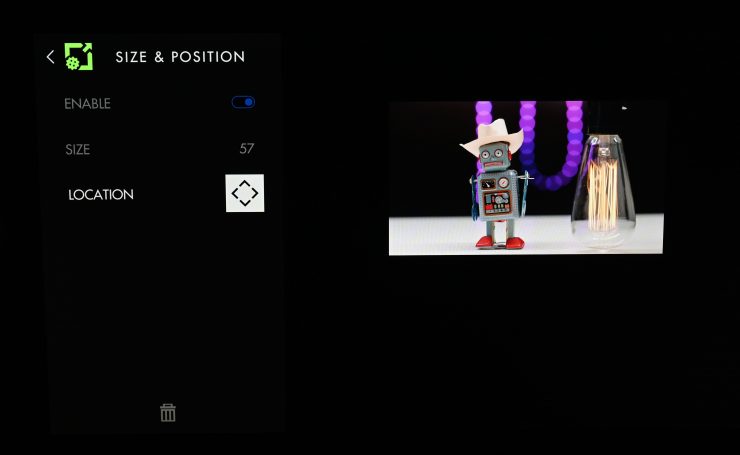
SmallHD also lets you customize the size of your main image so you can then add scopes that aren’t being overlayed over the top.
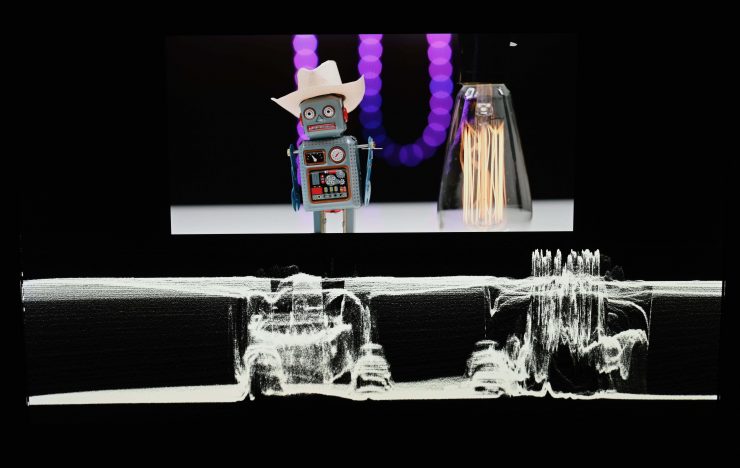
You can then customize the position and size of your scopes to suit your requirements.
Zebras
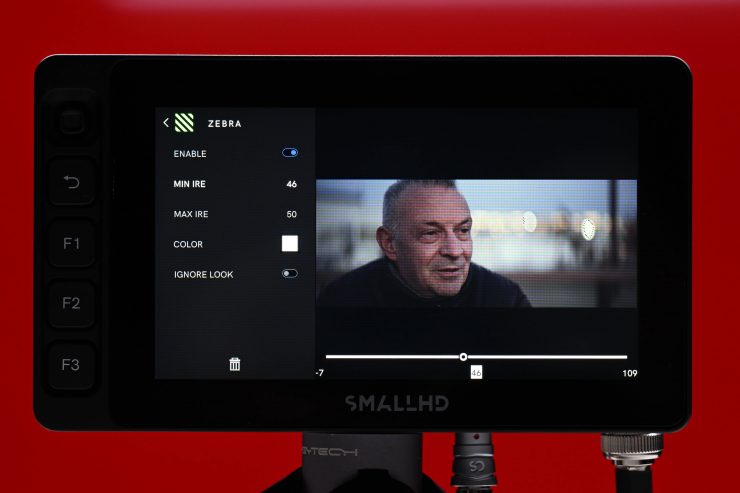
You also have a lot of customization when it comes to using zebras. You can change the color as well as set minimum and maximum IRE levels. Setting IRE levels lets you use zebras for a range of different exposure levels. For example, if I am using an ARRI Alexa Mini I can set the IRE levels to 38-41 which are the middle grey values on an ARRI for CLog3. You also have the ability to add multiple zebras and use them at the same time.
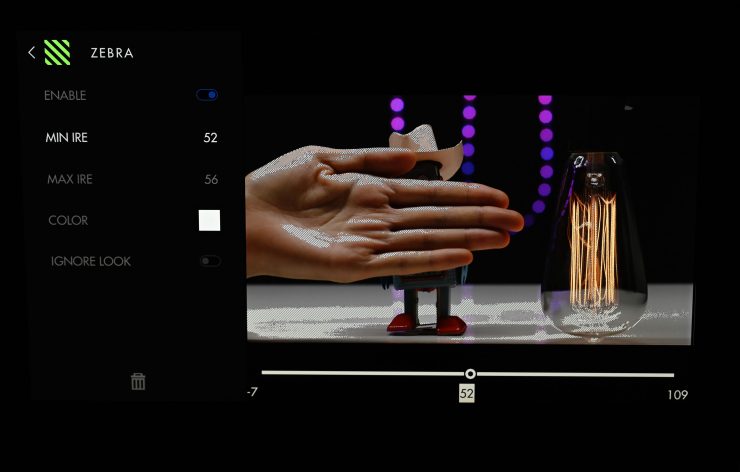
I could also set them to 52-56 IRE which is basically one-stop above middle gray and what you would use for caucasian skin tones.
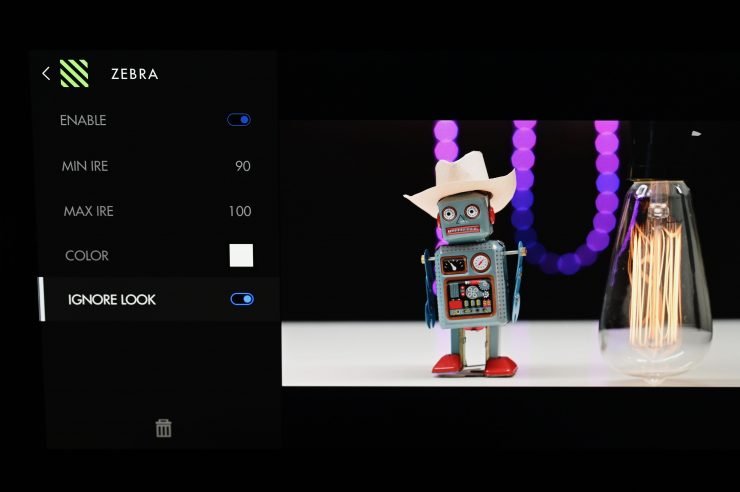
What I love is that you can also choose to ignore the Look (LUT) that you are using so it will show you the zebra levels based on your Log image. This is incredibly useful.
Aspect Ratio & Markers
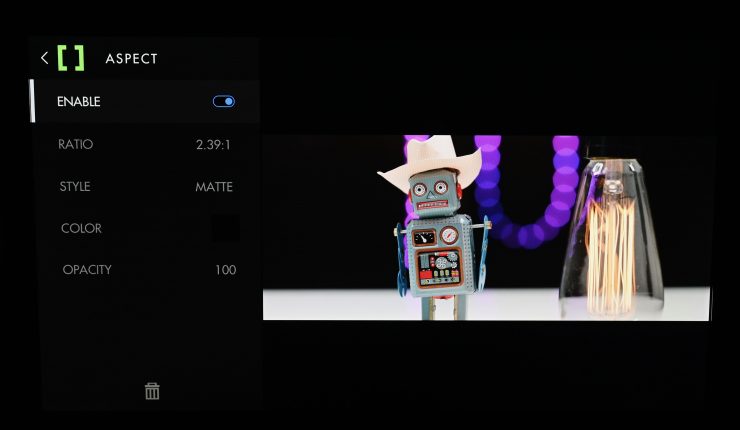
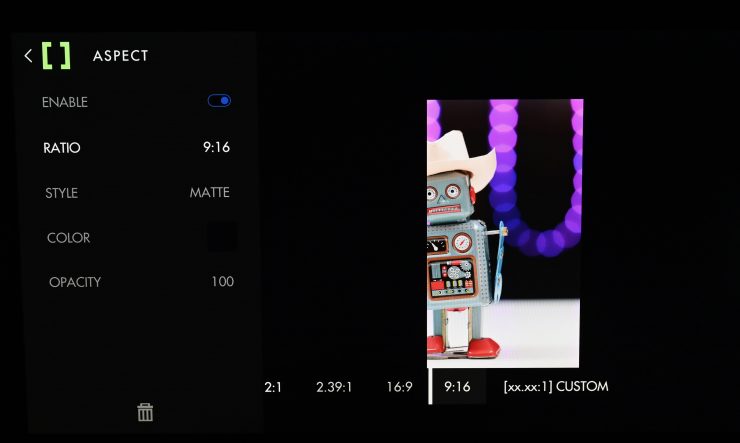
On the Ultra 5, you can choose from a range of aspect ratios depending on your needs.
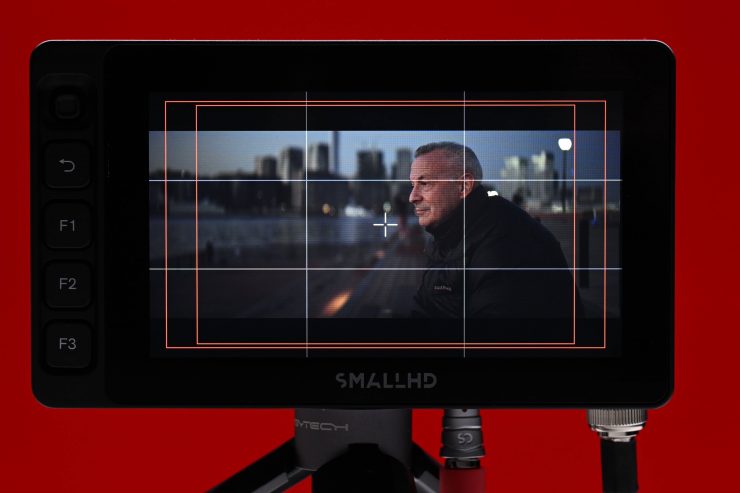
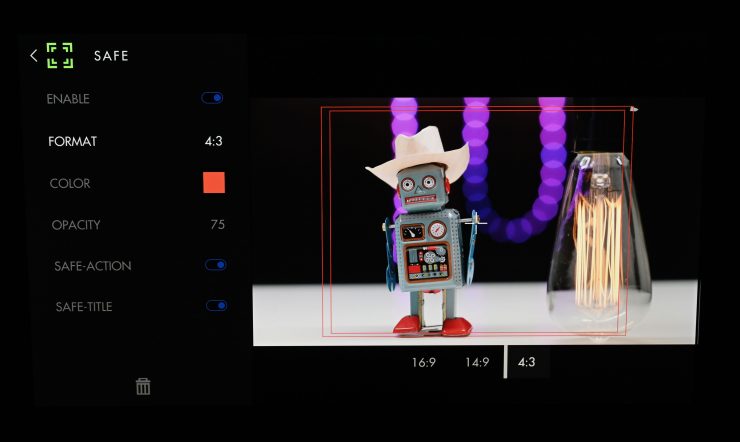
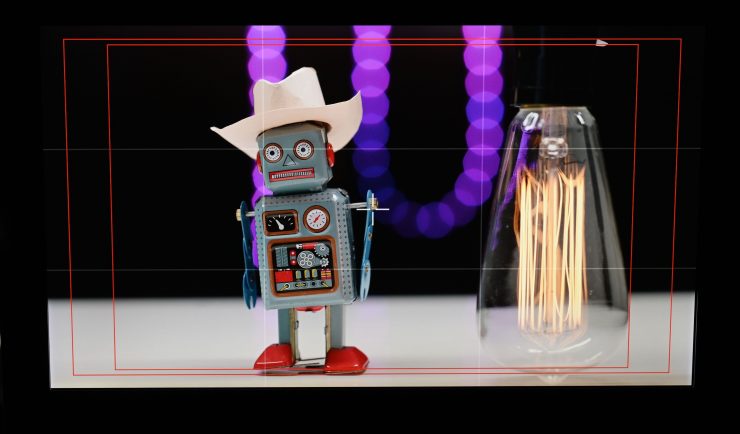
You can also set up markers for various formats and safe areas.
Image Capture & Image Overlay
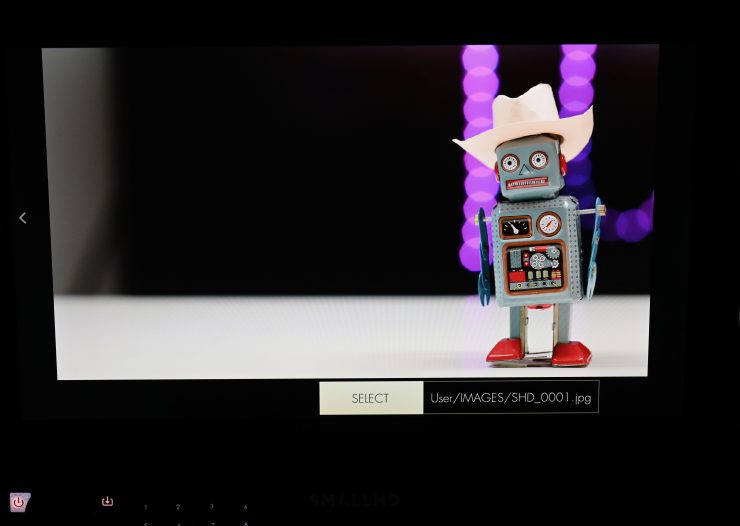
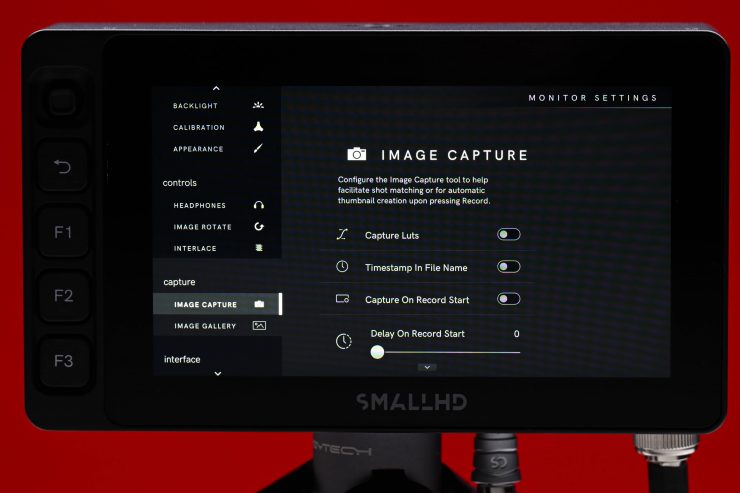
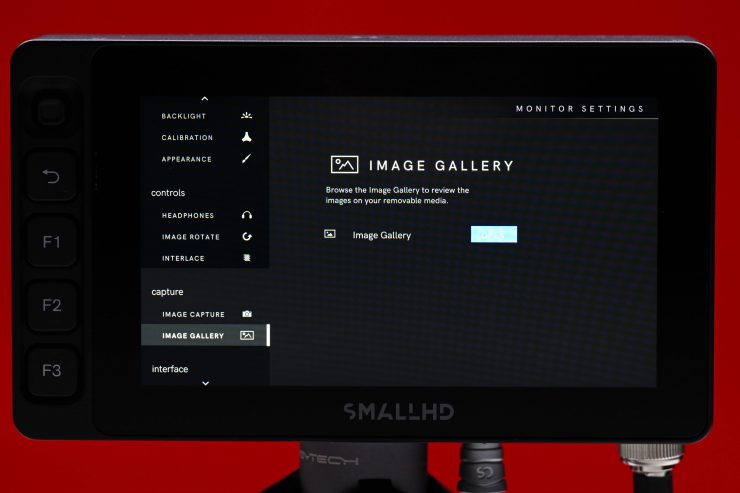
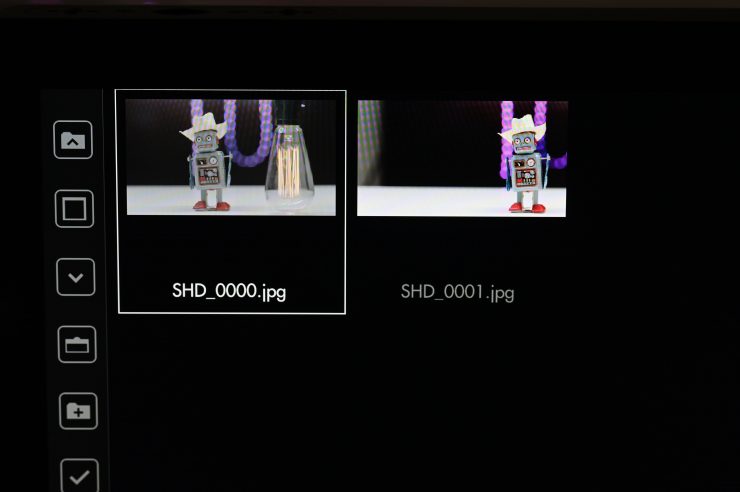
SmallHD gives you the ability to capture screen images which you can then save.

These are useful, especially when combined with the Image Overlay function so you can set up the exact framing from a previous shot.
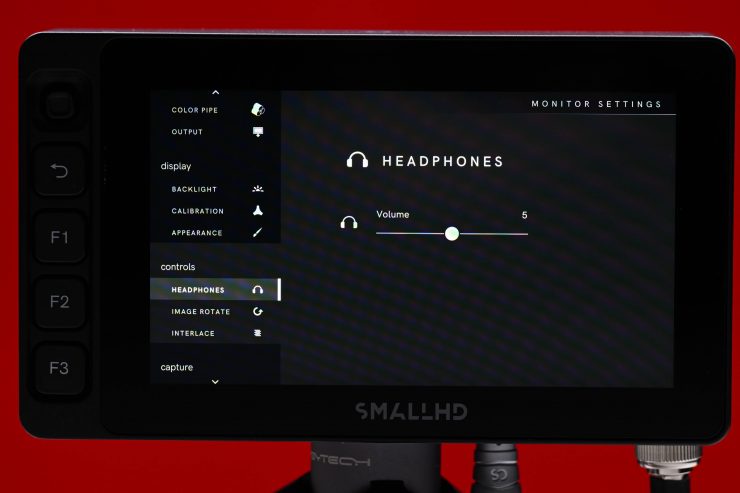
Headphone Jack

The Ultra 5 does have a stereo headphone jack that is located on the right-hand side of the monitor near the power on/off button and the SD card slot.
Is the screen bright enough?
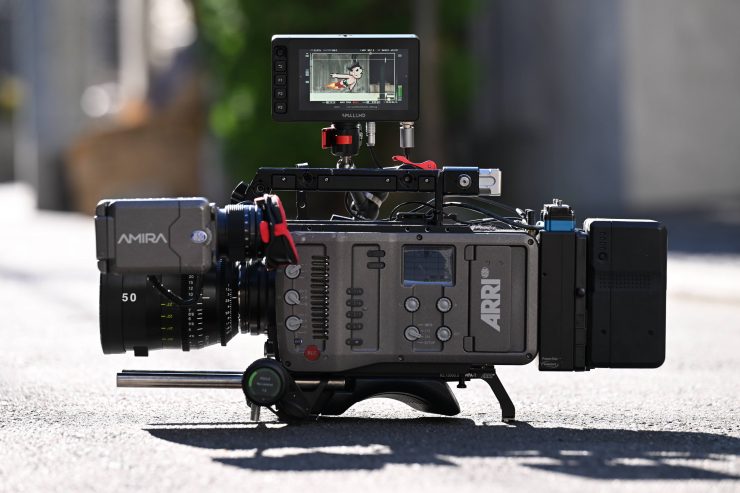
Most people are looking for daylight-viewable options when choosing an on-camera monitor. The Ultra 5 utilizes a 3,000 nit, 1920 x 1080 LCD screen. The monitor also has an optically bonded anti-reflective screen. This optically-bonded Gorilla Glass has been used because of its transparency and toughness. The optical bonding process is supposed to reduce the harshness of reflections and make sure that blacks are not washed out.
3,000 nits are certainly what I personally would consider as being daylight viewable on a smaller-sized monitor.
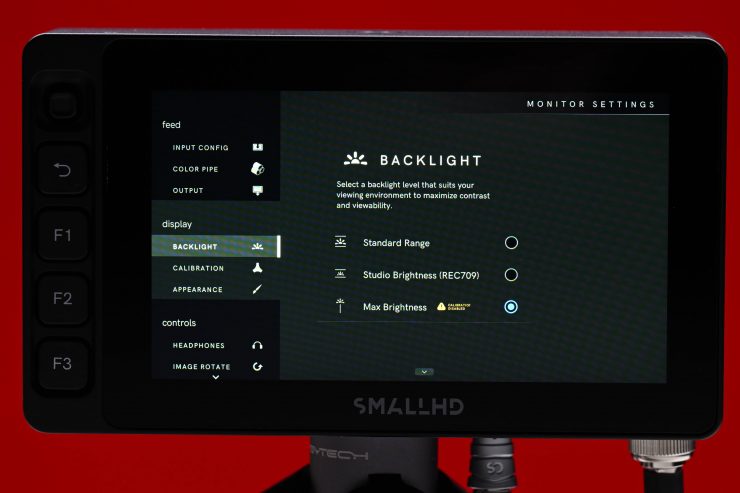
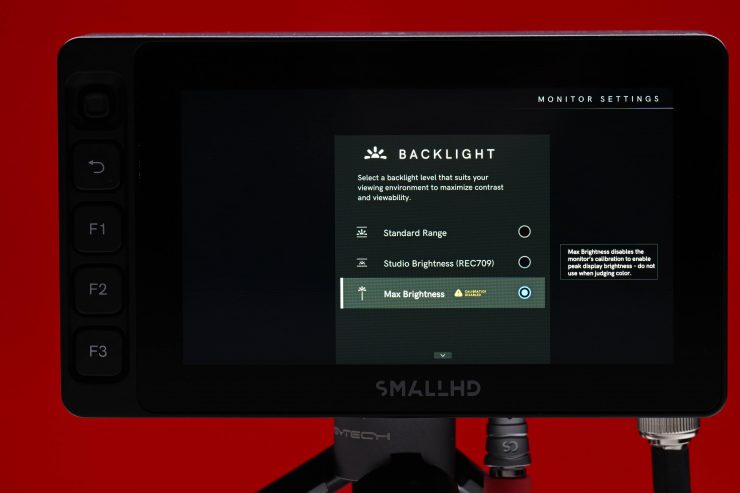
SmallHD gives you three Backlight options to choose from:
- Standard Range
- Studio Brightness (Rec 709)
- Max Brightness
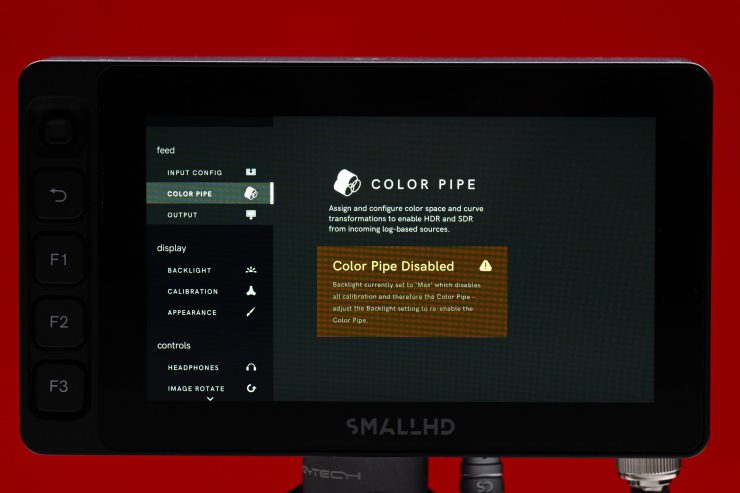
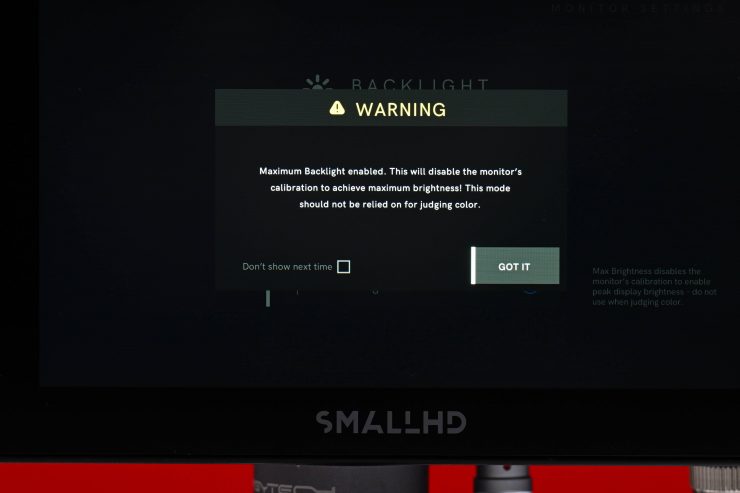
Now, there is a caveat if you choose Maximum Brightness, and that caveat is that the Color Pipe is disabled. SmallHD clearly states that you shouldn’t use this mode to judge critical color.
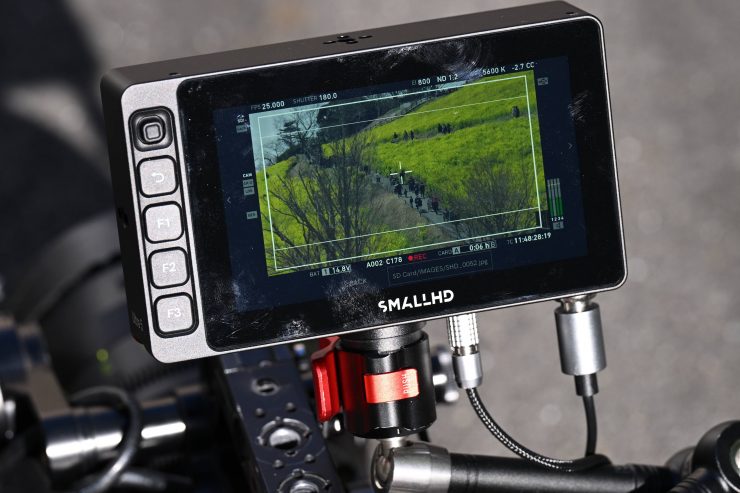
I found that in real-world use the screen was bright enough to be used outdoors, even in direct sunlight. It certainly helps that the screen isn’t super reflective. What is impressive, is that even at maximum brightness the monitor still has nice saturation and contrast.
Just like higher resolution doesn’t always equate to a better camera, higher nits don’t always equate to a better monitor. I have seen countless 3,000 nit screens that look washed out and terrible.
Is 5″ too small?
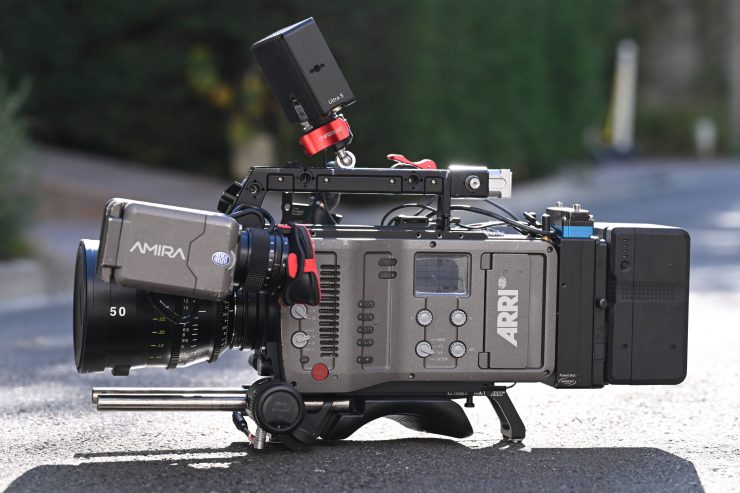
Whether or not a 5″ display is big enough for use as an on-camera monitor really depends on what your intended use is. On smaller-sized digital cinema cameras, 5″ is a nice size, on larger cameras some people would prefer a larger 7″ size.
A lot of people are so used to viewing material on smartphones, so in a strange way 5″ doesn’t actually feel as small as its size would suggest.
Image quality
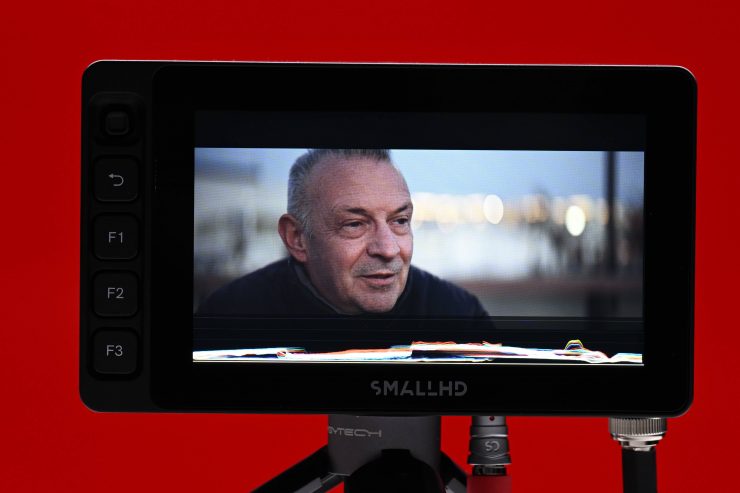
At the end of the day if a monitor can’t display accurate images then it doesn’t matter how many bells and whistles it has. If you are going to pay good money for a monitor then you want that monitor to display an excellent image.
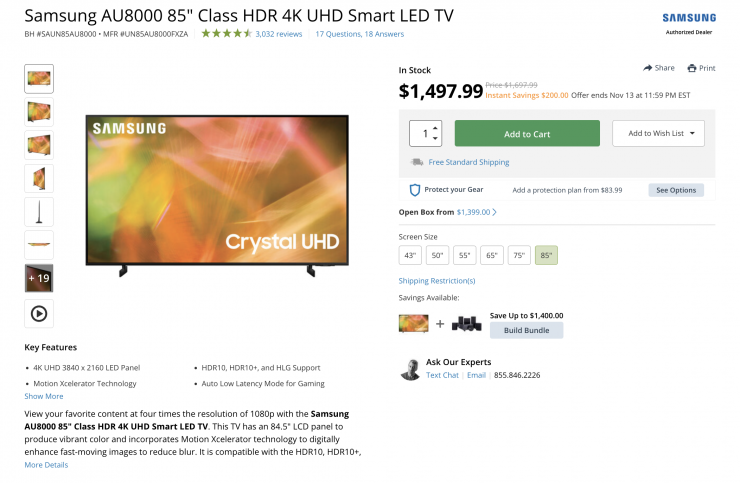
Specialized TV & Film monitors are exceptionally expensive compared to consumer TV sets. You can buy an 85″ 4K HDR TV for a lot less than the price of the Ultra. You could also buy a fast 85mm stills lens for significantly less than a high-end cine prime. Everything is relative.
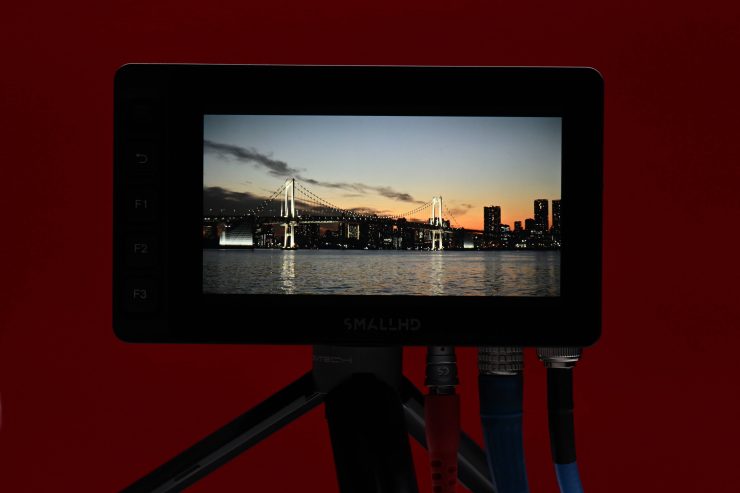
The image quality is excellent on the Ultra 5. I haven’t used every 5-7″ monitor on the market, but I have tested quite a few. Personally, I found the image quality on the Ultra 5 to be amongst the best I have seen. In saying that, a lot of the screens these days can look fairly similar, and even some of the cheaper monitors are capable of displaying a nice-looking image. Unfortunately, with a lot of the cheaper options that are available the quality control leaves a lot to be desired and you can have two of the exact same monitors that have different-looking images.
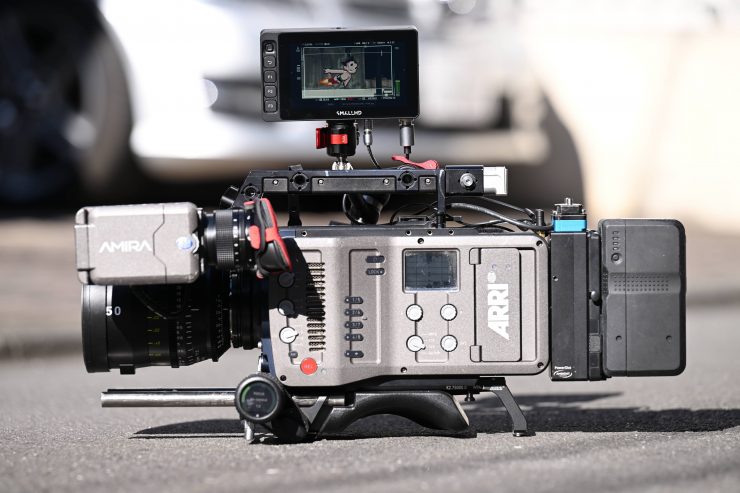
Quite often I have found that most high-bright monitors are a compromise between brightness and image quality. I found this to be the case with the 3,000 nit 703 Bolt. The Ultra 5 certainly has you covered when it comes to image quality and brightness.
The colors are nice and vivid and most importantly the blacks look nice and black. Even at 3,000 nits the Ultra 5 retains good contrast and color rendition. Most importantly the colors I was seeing on the Ultra 5 looked almost identical to those of my EVF. A lot of monitors tend to be overly saturated and at first glance, they look great, but a good-looking image doesn’t mean that it is accurate.
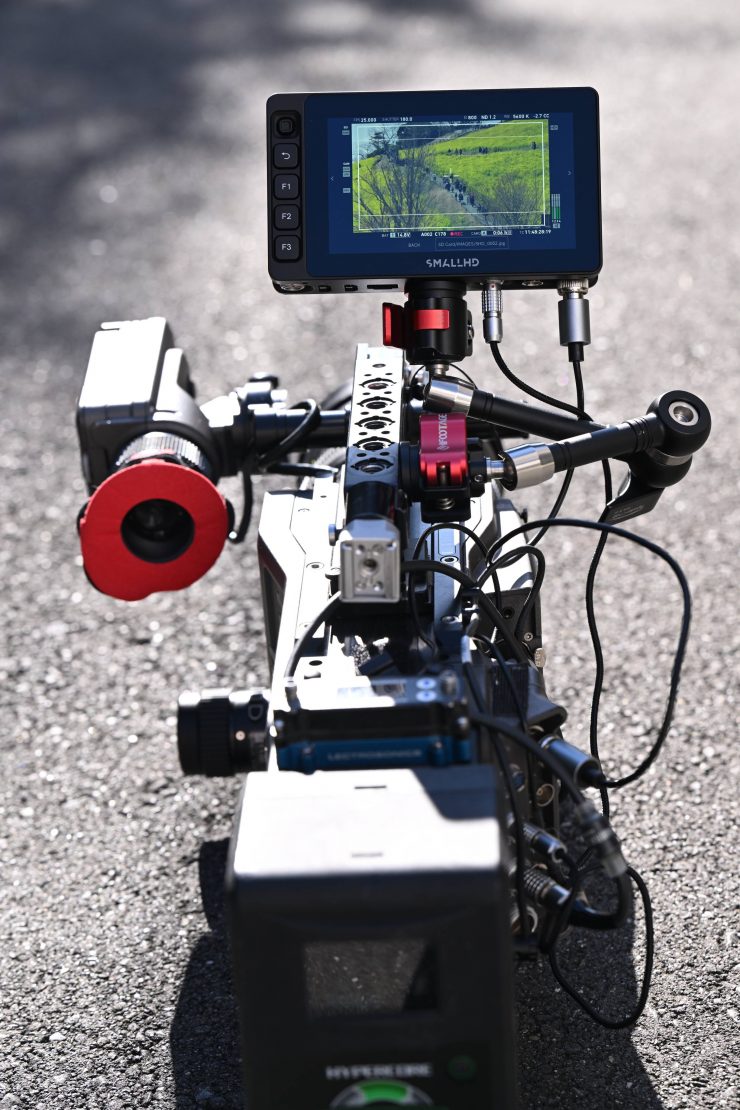
The trouble with trying to evaluate any monitor’s image quality is that it is very subjective. What one person may think looks good, another may think looks terrible. Personally, I want the monitor to match as closely to what I am seeing in my camera’s EVF.
Does accuracy really matter?
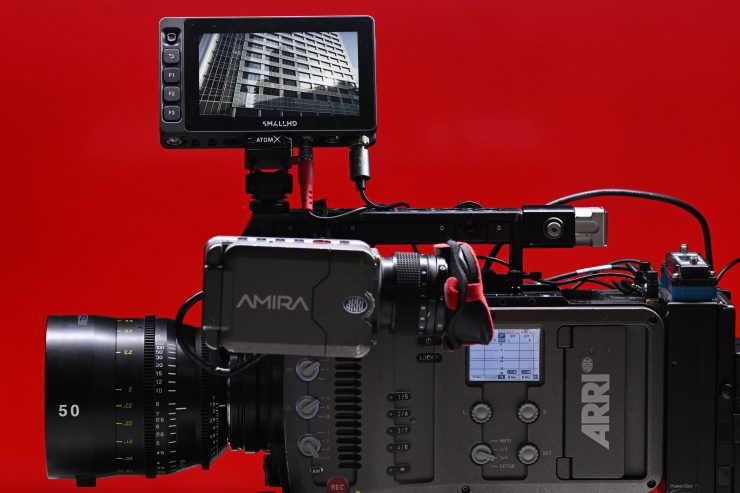
I have mentioned this in previous monitor reviews, and although it might sound like a ridiculous question to ask, does accuracy really matter? With a lot of people now watching content on different screens and types of screens, it’s a legitimate question.
Just because you are basing color accuracy, brightness, and contrast off whatever monitoring or grading monitor you are using there is very little chance that it is going to be seen by someone as intended unless it happens to be shown in a movie theatre (and even then there is still variables).
In the case of giving a monitor to a director, producer, or client, does it really need to be super accurate? That answer is really going to depend on the level of production. Personally, I would rather try and provide the best image possible so that a director, producer, or client knows exactly what they are getting. I found that the image from the Ultra 5 enabled me to view a very accurate indication of what I was seeing in my EVF.
Real world use outdoors
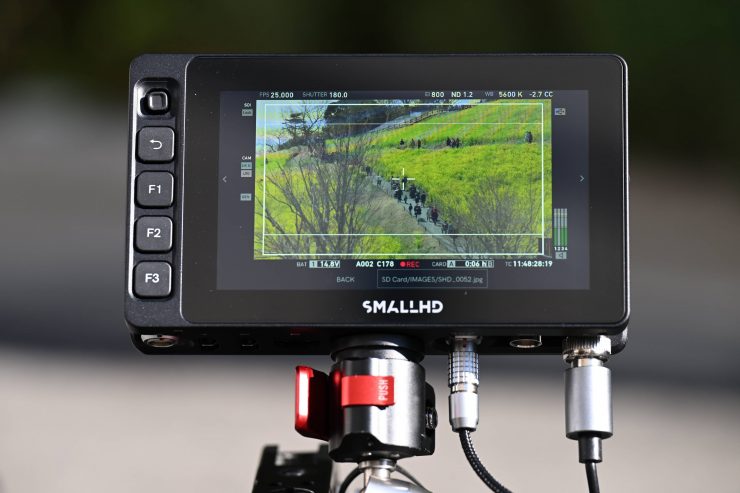
Most monitors will look good indoors, but outdoor usability is what separates a great monitor from a good monitor. Too often I have tested so-called “Daylight viewable” monitors only to find out they can’t be used outdoors.
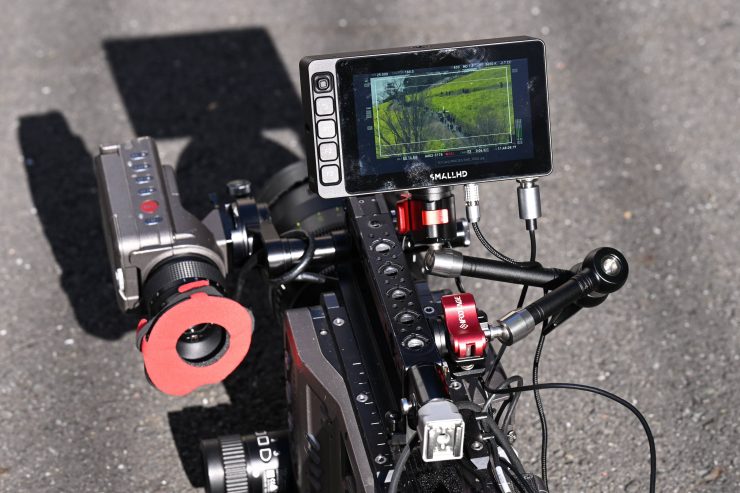
So how does the Ultra 5 perform outdoors in sunny conditions? As I previously mentioned, I had no problem using the Ultra 5 outdoors, even in direct sunlight.
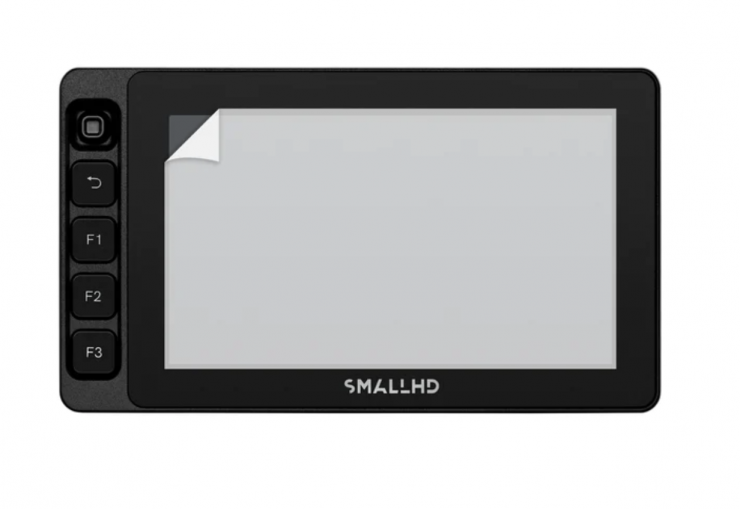
SmallHD does sell an optional Ultra Matte Screen Protector for Smart 5 Monitors, but there is no sunhood available.
Is it actually 3,000 nits?
To check the claimed brightness of the Ultra 5, I shot a white card with a light set at 6000K, and then exposed the image so it was just below 100% so there was no clipping. I then took a reading from the Ultra 5 using a Sekonic C-800. The Ultra 5 was set in its D65 mode. The Ultra 5 has a claimed maximum brightness of 3,000 nits so does it produce 3,000 nits?
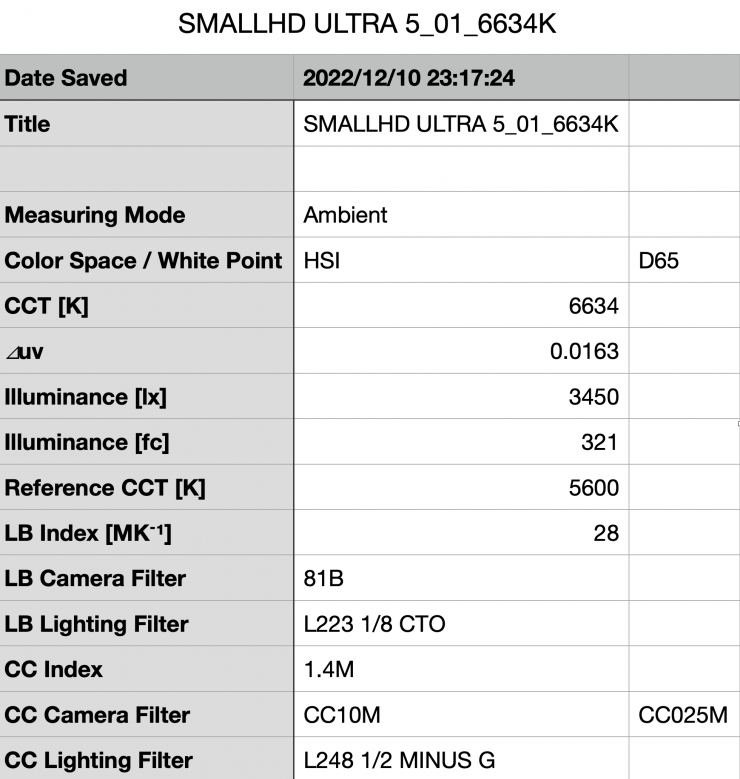
Above you can see the results when I set the Ultra 5 in its Max Brightness mode and the backlight at 100. It recorded an output of 3450 lx (321fc) and a CCT reading of 6634K. 3450 lx is the most I have recorded from any monitor I have tested. Just for reference, it had a CC score of 1.4M.
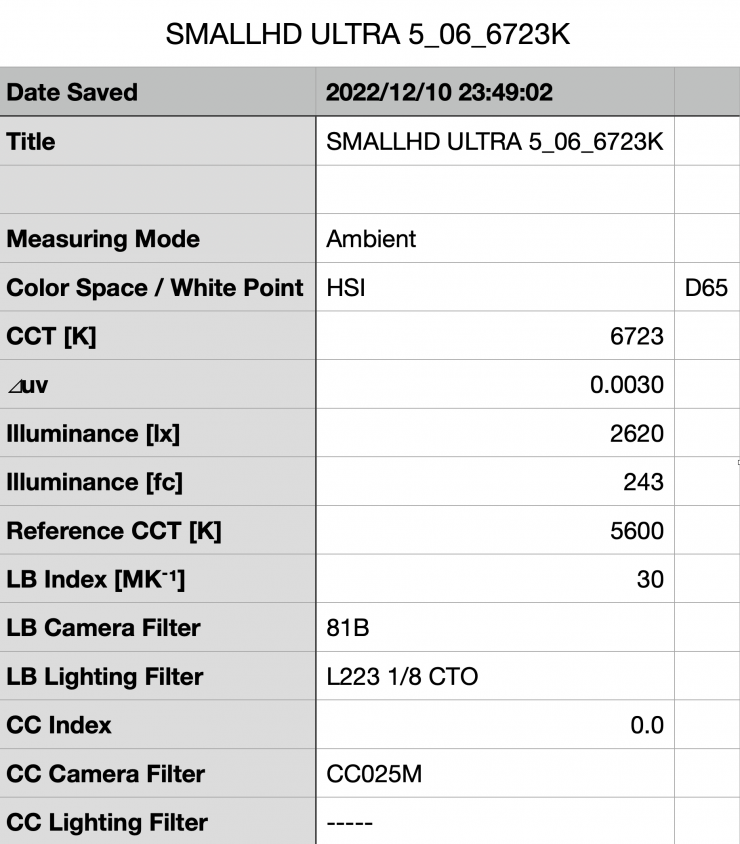
bove you can see the results when I set the Ultra 5 in its Regular Brightness mode and the backlight at 100. It recorded an output of 2620 lx (243fc) and a CCT reading of 6723K. Just for reference, it had a CC score of 0.0. Even in the Regular Brightness mode, the monitor was very, very bright, and color accurate.
How does the picture quality compare to a SmallHD Cine 7?
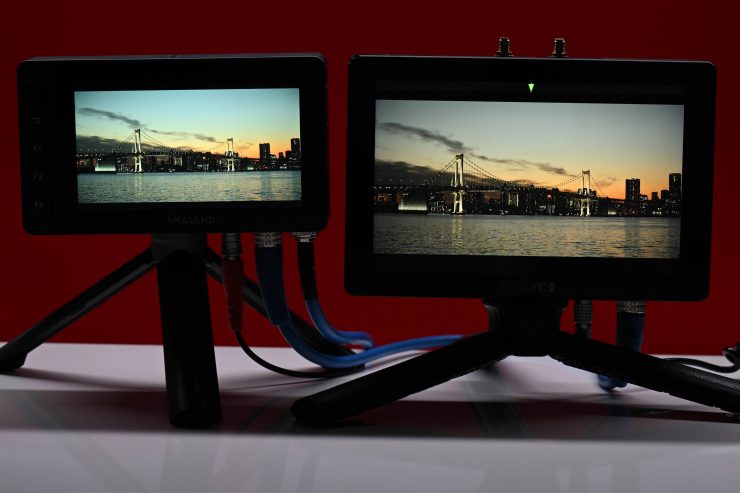
I personally use a SmallHD Cine 7 as my on-camera monitor when one is required, so I wanted to see how well that matched with the Ultra 5.
To my eye, the colors were a little different between the two monitors. The Ultra 5 seemed to lean more green. After doing some investigating and taking some more measurements I found that the Ultra 5 leans green when you use it in the Max Brightness mode. If you are in the Standard or Studio Brightness modes this doesn’t happen.
Now, as you can’t make adjustments in the Calibration page because it is disabled when the monitor is in the Maximum Brightness mode you are stuck. Again, just like SmallHD recommends, I wouldn’t use the Max Brightness mode if I needed to carefully check the colors. In some ways, this sort of defeats the purpose of having a maximum brightness mode. If you can’t use it to see accurate color reproduction, then its use becomes limited. For a monitor at this price point, this was disappointing.
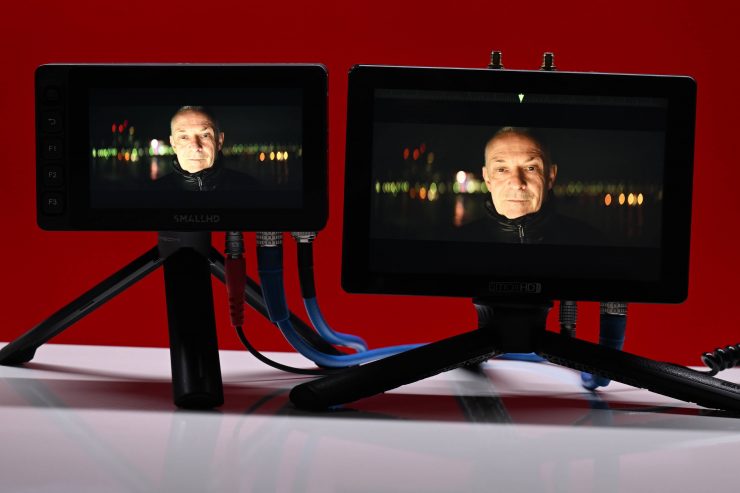
The Ultra 5 definitely looks brighter than the Cine 7. Above you can see both monitors set at their maximum brightness.
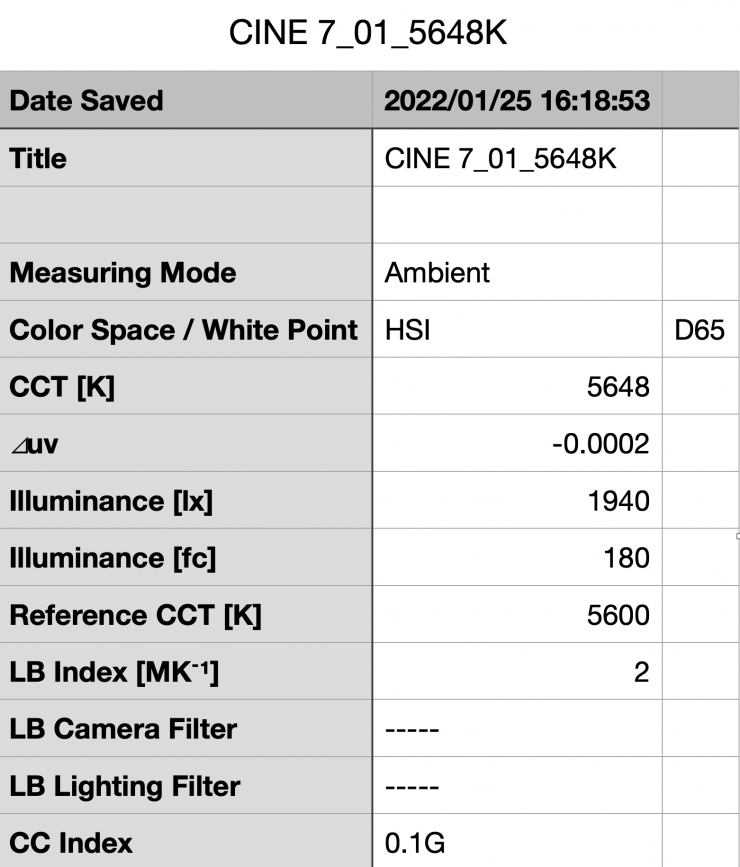
To check the claimed brightness of the Cine 7 I measured it under the exact same conditions as I did with the Ultra 5. I shot a white card with a light set at 6000K, and then exposed the image so it was just below 100% so there was no clipping. I then took a reading from the Cine 7 with a Sekonic C-800. The Cine 7 gave me a reading of 1,940 nits and a Kelvin color temperature reading of 5648K. It had a CC score of 0.1G.
In summary here is how the Ultra 5, Cine 5, and Cine 7 compare when you look at brightness, CCT, and CC score under the exact same conditions.
| SmallHD Ultra 5 | 3,450 lx | 6634K | CC 1.4M |
| SmallHD Cine 5 | 1,980 lux | 5833K | CC 0.1M |
| SmallHD Cine 7 | 1,940 lux | 5648K | CC 0.1G |
On the SmallHD monitors, you can set the white point to various Kelvin color temperatures. For the above readings, the SmallHD monitors were set at D65 (6500K). You can clearly see how much the Ultra 5 in its maximum brightness mode leans green when you see the CC reading it recorded.
| SmallHD Ultra 5 | 2,620 lx | 6723K | CC 0.0 |
| SmallHD Cine 5 | 1,980 lux | 5833K | CC 0.1M |
| SmallHD Cine 7 | 1,940 lux | 5648K | CC 0.1G |
Just to show you the difference, above is the same readings, but this time the Ultra 5 was set in its Standard Brightness mode. I would recommend using the Standard Brightness mode over the Max Brightness mode because it is a lot more color accurate.
The great aspect about using SmallHD monitors is that all of the OS is exactly the same and all of the monitoring assist tools work in exactly the same way. This makes going from one monitor to another very intuitive and easy.
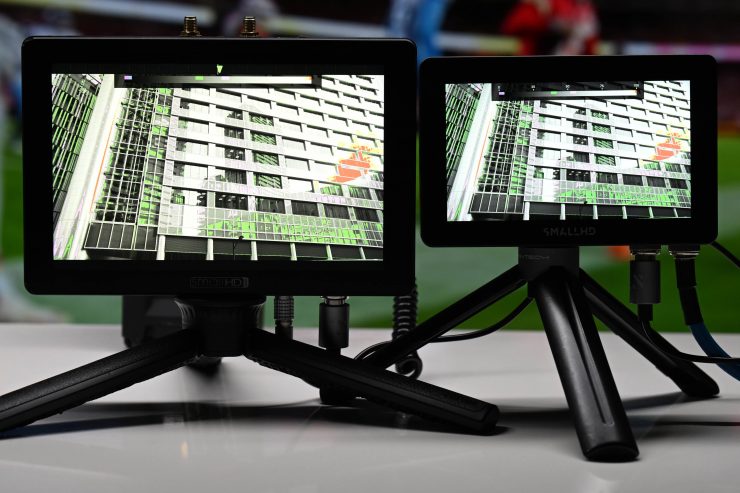
Above you can see an example where false color is being applied to the same image coming out of the camera to both the Cine 5 and the Cine 7. Both monitors are showing me the exact same thing, which is exactly what you want them to do.
No HDR
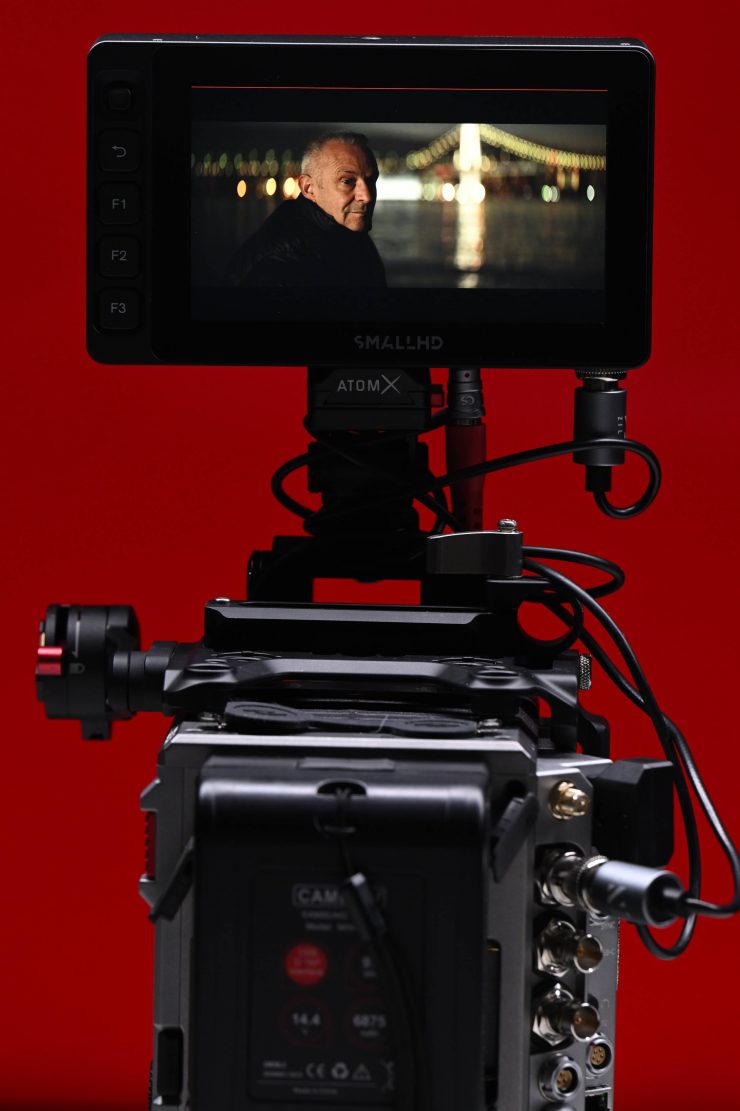
The Ultra 5 isn’t an HDR-capable monitor. While the Ultra 5 reaches 3,000 nits, it doesn’t do so dynamically as to technically meet the HDR spec (for contrast ratio). However, it can still be used to monitor HDR.
According to SmallHD, their view is that on the monitoring side, relying on the picture alone, even a true HDR picture in anything other than a studio environment is not ideal and would result in improper exposure adjustments since the perceptions of what is on screen changes so drastically along with the viewing environment. For example, if monitoring on a bright sunny day, any subtleties in the darkest areas of an HDR picture will be completely lost to the eye and may not be accounted for – in this case, you actually would want a boosted black point so that issues can be spotted due to the environmental constraints.
In this methodology, reliance on exposure tools and scopes is even more important than before when speaking of HDR because, in a proper viewing environment, any issues at the extremes of a camera’s dynamic range get magnified much further than with SDR.
When people ask how to best shoot for HDR, SmallHD normally recommends using a waveform set to RGB or parade (so if one individual color channel gets clipped you can pick it up before the luma waveform would see the same issue) or to set a custom exposure assist (false color) to the points in the image where clipping occurs. If shooting in log and at least 10-bit (12 bit+ preferred) and the extremes of the exposure range are managed, you’ll be capturing future-proof HDR-ready material. Now what to do with that footage next is a whole new issue with all the competing standards, and a surge of HDR10+ across manufacturers, etc. help demystify for the shooter while treading carefully not to further complicate this already complicated world.
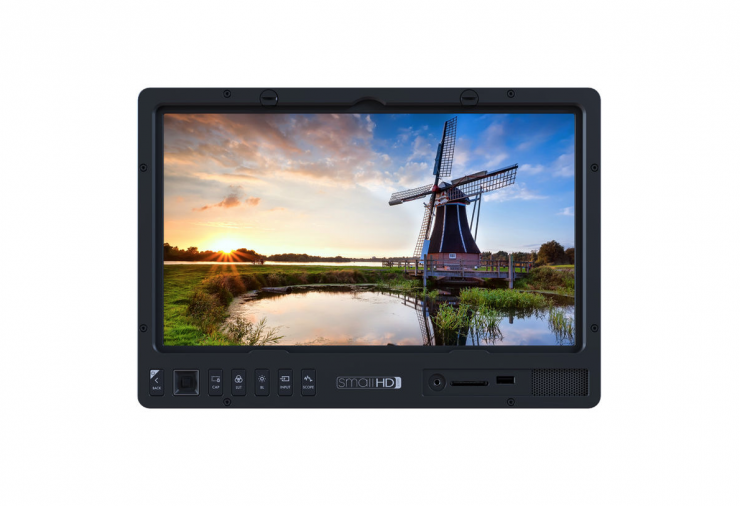
SmallHD has employed some HDR previewing tools in their production monitors which apply the PQ curve to Log signals but they intend to make it even more user-friendly going forward.
HDR is far from any sort of fad, the benefits are tremendous when it comes to giving creative control back to the filmmakers
Price
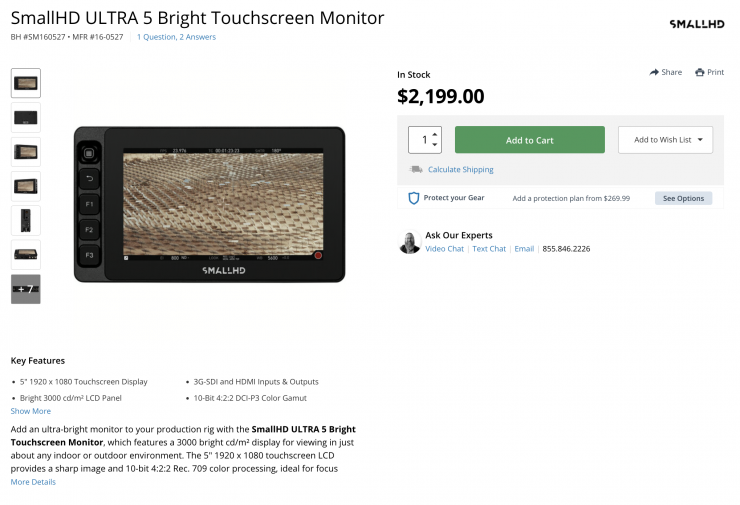
The SmallHD Ultra 5 is certainly not cheap and it will set you back $2,199 USD. No matter which way you look at it, that is an awful lot of money for a 5″ display, especially since you can buy 5″ monitors for just a few hundred dollars.
Even though it is not what I would classify as affordable, you are getting a lot of functionality and features for your money, as well as very good build quality. However, it really comes down to what type of work you do and what your requirements are. It isn’t a monitor that will be suitable for everyone, but I think professional users will see the benefits it offers over more affordable options.
Personally, I like to use the best possible monitoring tools I can afford. It is how I judge everything from exposure to color, to focus. I am not going to use a $150 monitor with an expensive camera.
What you also need to take into account is that the Ultra 5 doesn’t come with any battery solution.
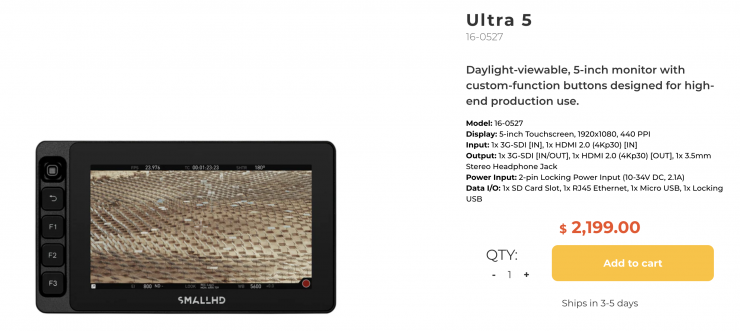
You can also purchase the Ultra 5 directly from SmallHD.
Wireless Models
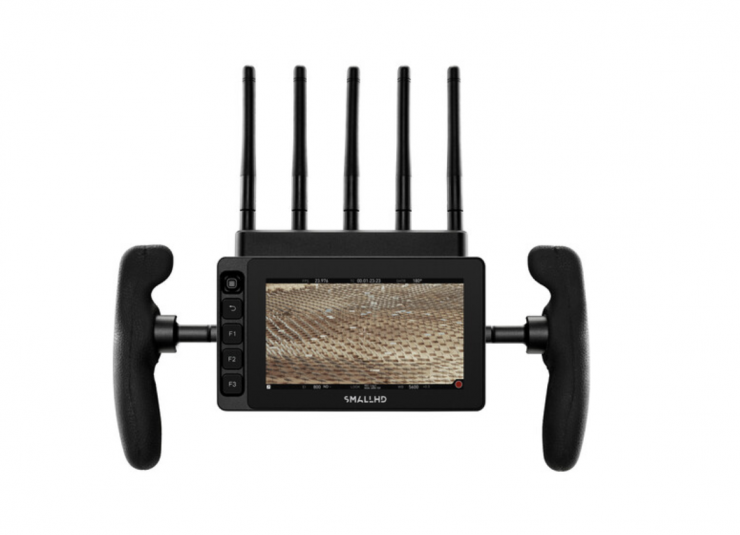
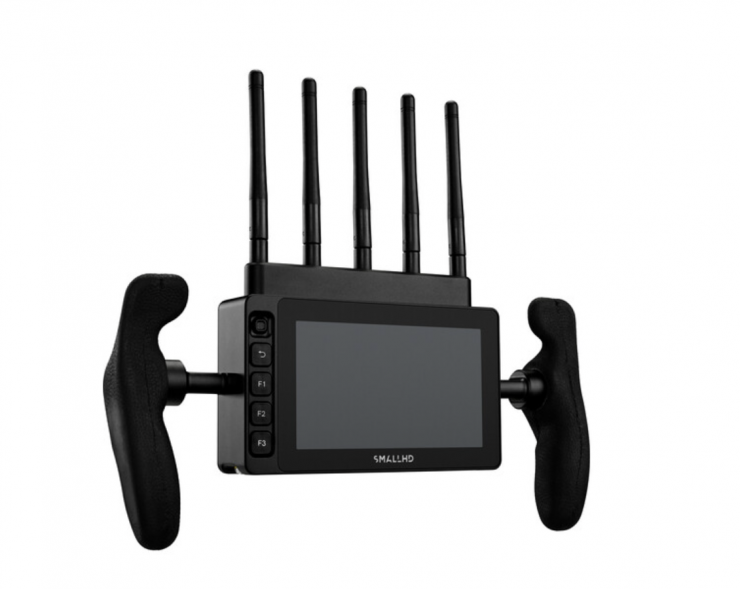
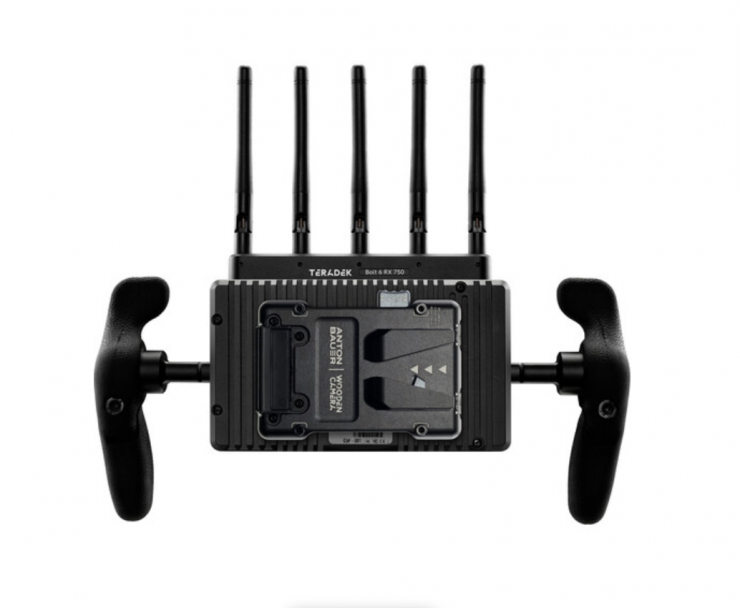
SmallHD also sells the Ultra 5 in several wireless versions:
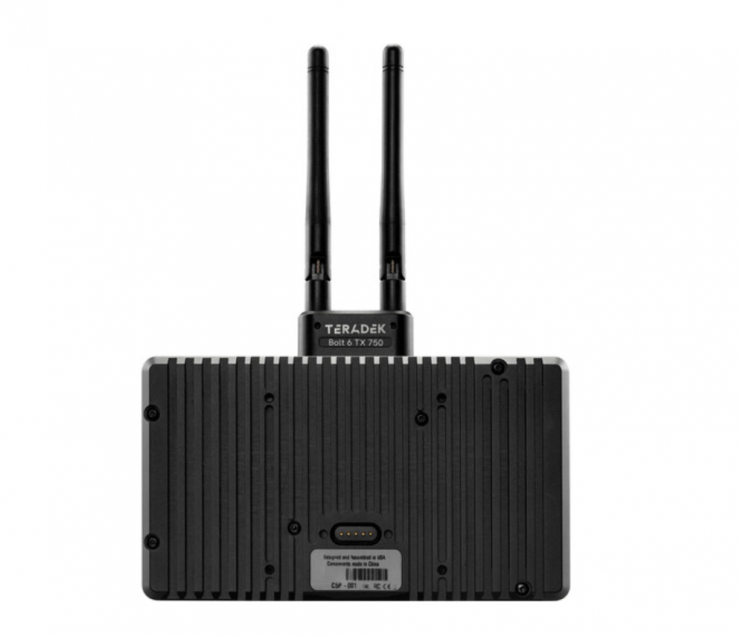
- SmallHD ULTRA 5 Bolt 6 TX 750 Monitor $3,299 USD
- SmallHD Ultra 5 Bolt 6 RX 750 Monitor Kit (V-Mount) $3,499 USD
- SmallHD Ultra 5 Bolt 6 RX 750 Monitor Kit (Gold Mount) $3,499 USD
Competition
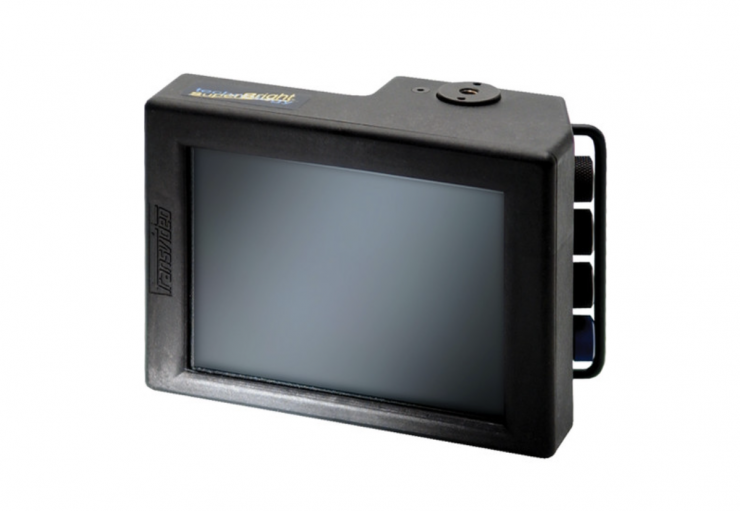
There is a large array of 5-5.5″ monitors on the market that feature 3G-SDI inputs, but there are not that many that feature 3G-SDI loop through.
Here are just a few:
- SmallHD Cine 5 $1,599 USD
- TVLogic F-5A 5.5″ IPS On-Camera Monitor with L-Series Type Plate $985.50 USD
- PORTKEYS BM5WR 5.5″ HDMI Touchscreen Monitor with Camera Control $749 USD
Conclusion
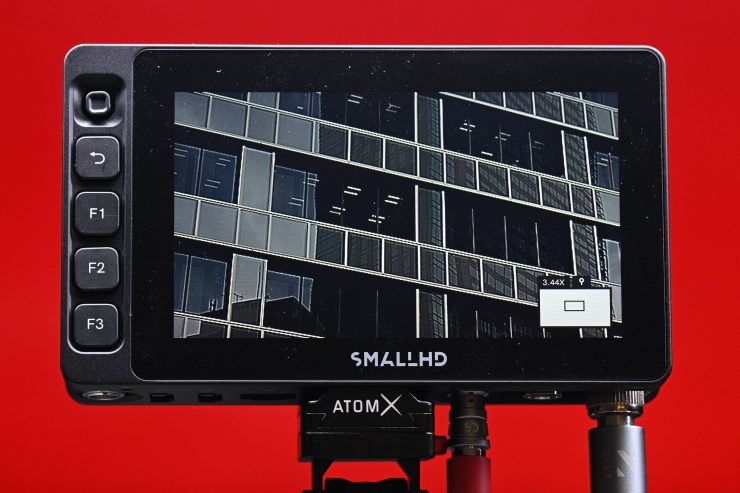
As I have said so many times before, it’s not that hard to come up with a reasonably good-looking smaller-sized screen these days and be able to sell it for not a lot of money. The problem is there is a lot more to a monitor than just the display. It’s the software, inputs, outputs, build quality, and the OS that separates the good and great monitors from the ok ones. The user experience with a monitor, at least in my opinion, is paramount.
The SmallHD Ultra 5 ticks so many boxes when it comes to build quality, customization, inputs and outputs, OS, power options, and most importantly image quality. The ability to control certain RED/Sony/ARRI cameras, albeit at an additional cost, is an added bonus.
The monitor certainly isn’t cheap and $2,199 USD is an awful lot of money to spend on a 5″ display no matter which way you look at it. This monitor isn’t a product that is being targeted at a wide audience, it is being targeted squarely at working professionals in the film & television industry.
I am a stickler for good monitoring and that is why I personally have no problem investing a lot of money in a good monitor or EVF. An accurate representation of what I am shooting is important to me. Buy once, cry once.
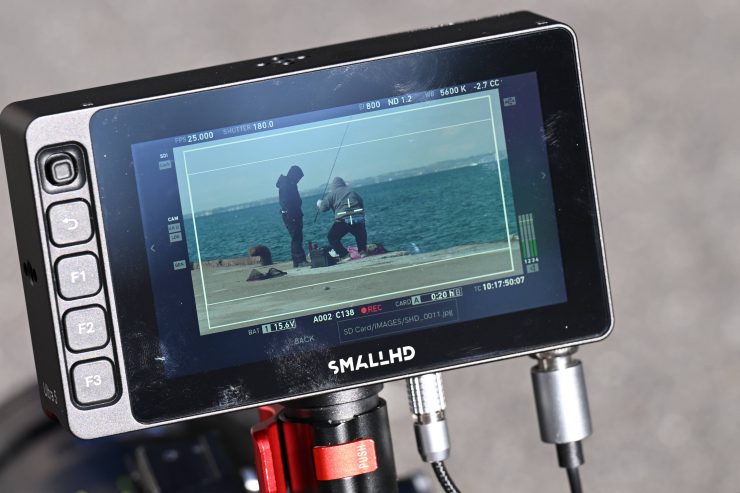
At the end of the day, a monitor or an EVF is how we judge everything we shoot. Why on earth would you not want to use the best possible option you can afford? You wouldn’t buy a high-end amplifier and then hook it up to $60 speakers, so why do the same thing with a monitor? A good monitor is a decent long-term investment and it will last you a long time and you can move it from camera to camera.
The Ultra 5 is very solidly made, it features the best OS on the market and the image quality is superb. Yes, it is expensive, but sometimes you do pay for what you get.

