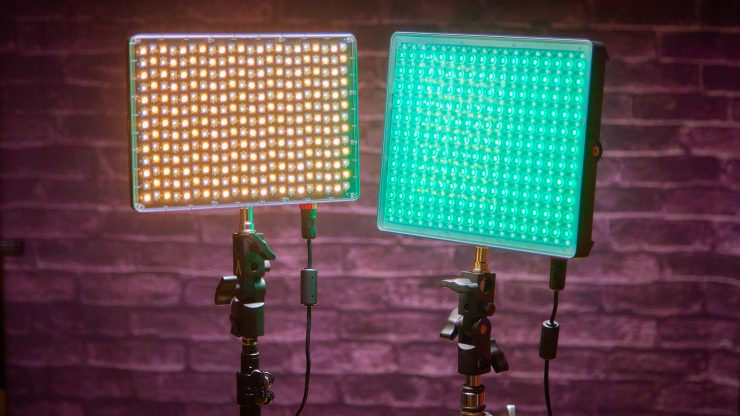
The amaran lineup is Aputure’s budget-friendly lights. I’ve bought several back in the day from the small amaran AL-198 to the medium amaran HR672S panels. They performed well, but the build quality was not up to the newer Aputure products. The P60x and P60c, while being a budget panel it is not like the older amaran lights.
I wrote an announcement article when the P60 fixtures were announced, so if you want to get the full specs and info on the kits, head over to that post. Let’s jump into the hands-on review!
Build Quality
I don’t generally start a review with the build quality, but the amaran P60x and P60c are significant upgrades for the line. If this is what we can expect with future releases, I think that’s great for amaran.
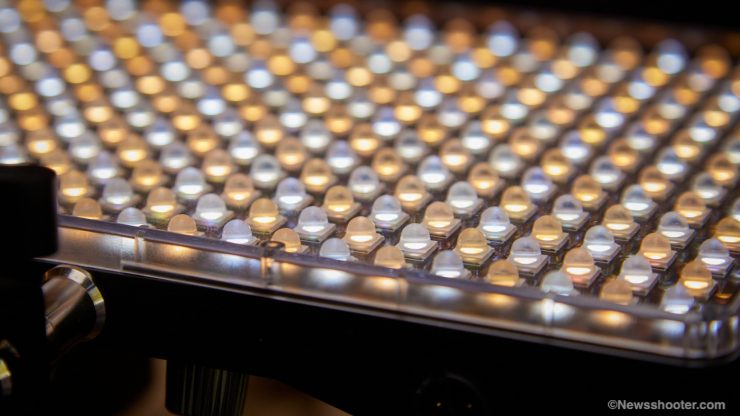
The plastic shell has a rigid feel to it, and the fixtures have some weight to them. The heavier of the two the P60c comes in at 4.3 lbs. with the pin attached. The P60x is 2.3 lbs. That’s a big difference.
The front acrylic is also dense and looks like it can take some bumps. Overall the fixtures feel solid, and it’s surprising for a LED light that starts at $249 with extras included.
amaran P60c RGBWW
My favorite of the two panels is the P60c, as its full-color options are great, and it’s a punchy light, including when using it in white light mode. Generally, HSL or RGB fixtures will lack punch due to the added color diodes but not with the P60c. The key is the extra “W” in the RGBWW LEDs. By adding an extra white, the fixture can be brighter and have a better Bi-Color performance. If you look at the P6c next to the P60x, you can see they use different LED’s and the P60x is heavier with the extra diodes.
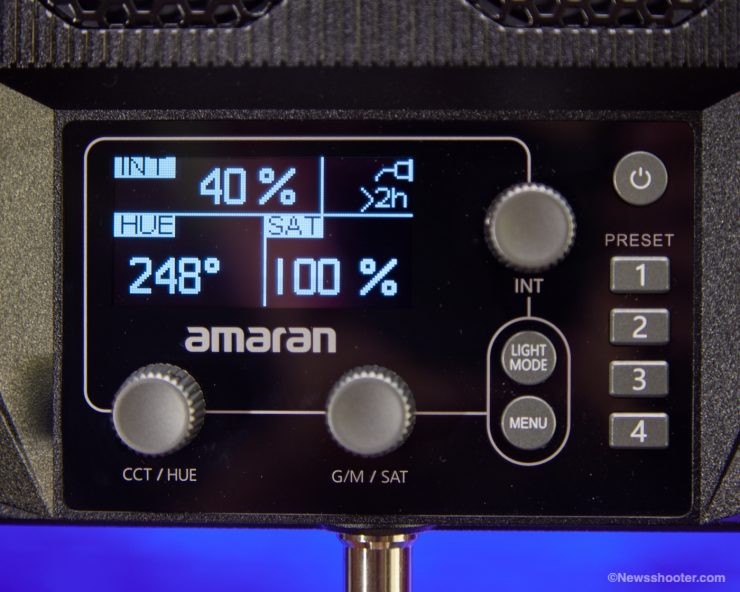
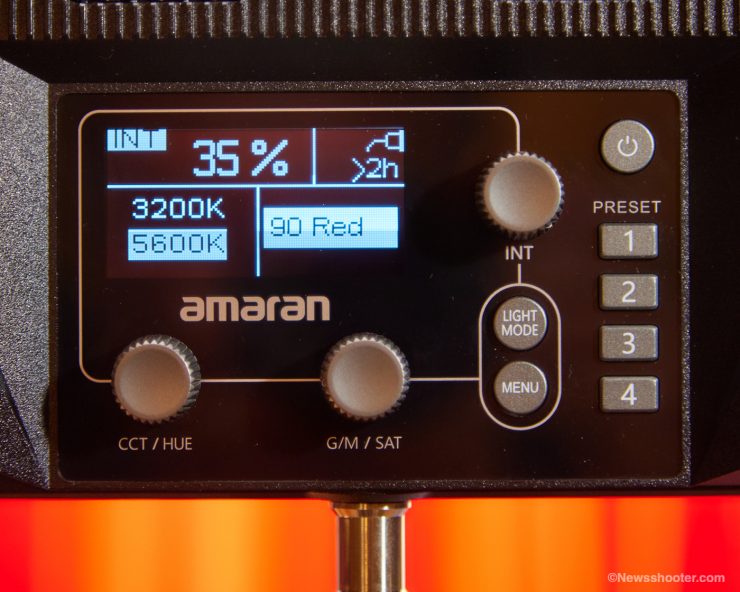
The menu is straightforward to navigate. When in HSL mode tuning the desired color is done with degrees on the color wheel. You can change the saturation as well.
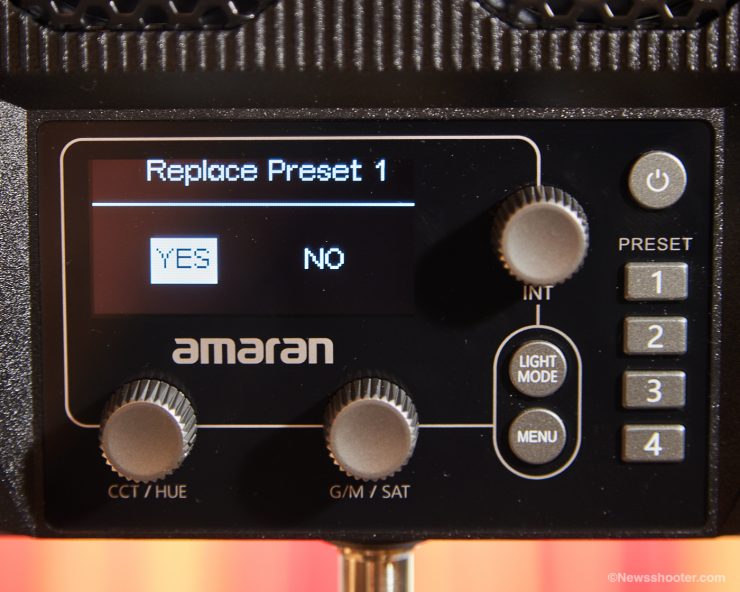
The P60c has four presets. To assign a custom setting, you set the light the way you want it and hold the preset button down until the screen pops up to verify to replace the current preset. Press yes, and it’s ready to go. This is handy and not available on the P60x.
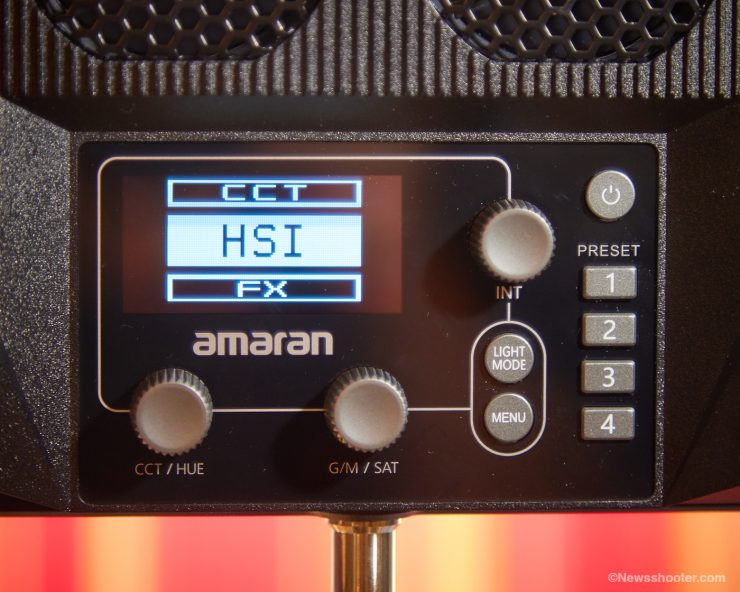
To change the P60c to Bi-color, push the Light Mode button and select it from the menu. You also access the Gels and FX from this section of the menu. The Gels are nice as you have an option to add them to either 3200k or 5600k, making it easier to match other lights on set and get the proper results from the gel in those color temperature settings.
Testing The Output and Color
To test the color and output, I used a Sekonic C-700-U Spectromaster color meter from 1-meter.
P60c CRI Test performed in CCT mode
3200K
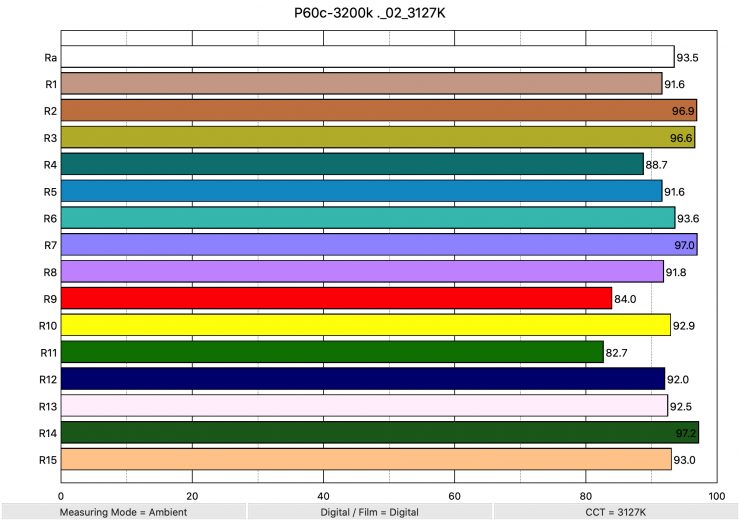
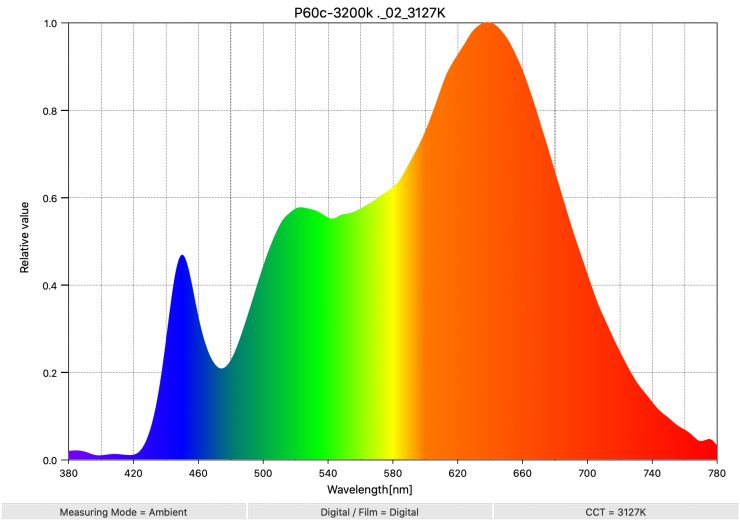
When set to 3200K, the P60c performs very well. The CRI scores are solid for the budget fixture. With an average CRI of 93.5 and an extended CRI of 92.14.
5600K
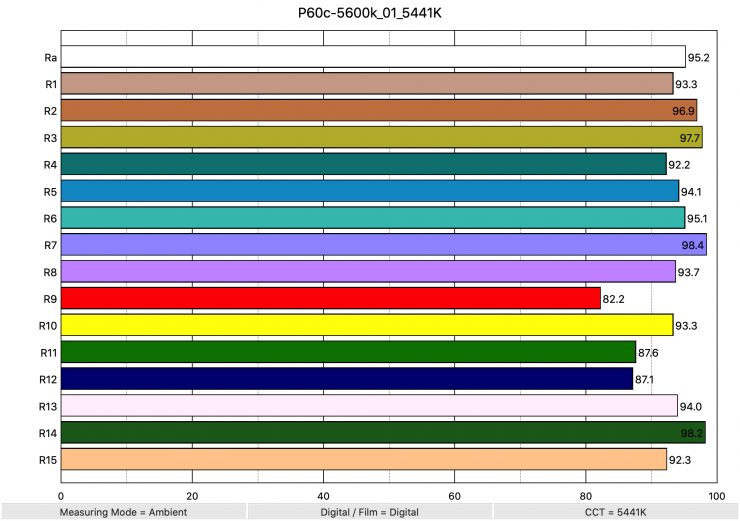
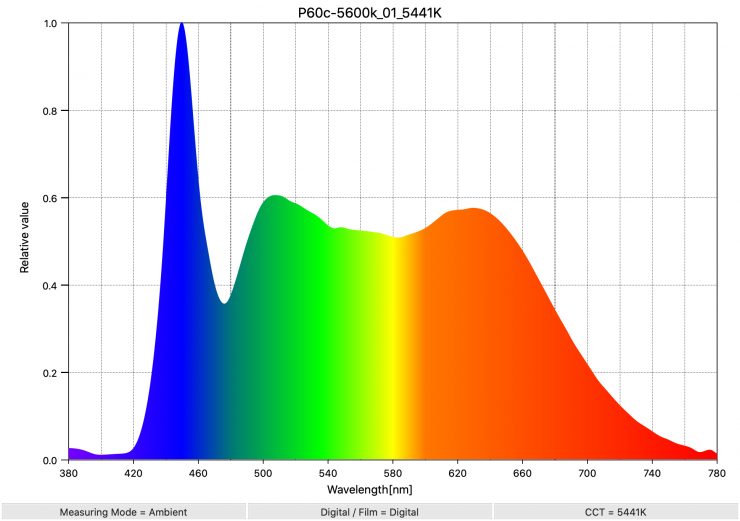
In 5600K setting the average CRI is 95.2 with an extended CRI of 93.07
P60c HSL Output from 1-meter
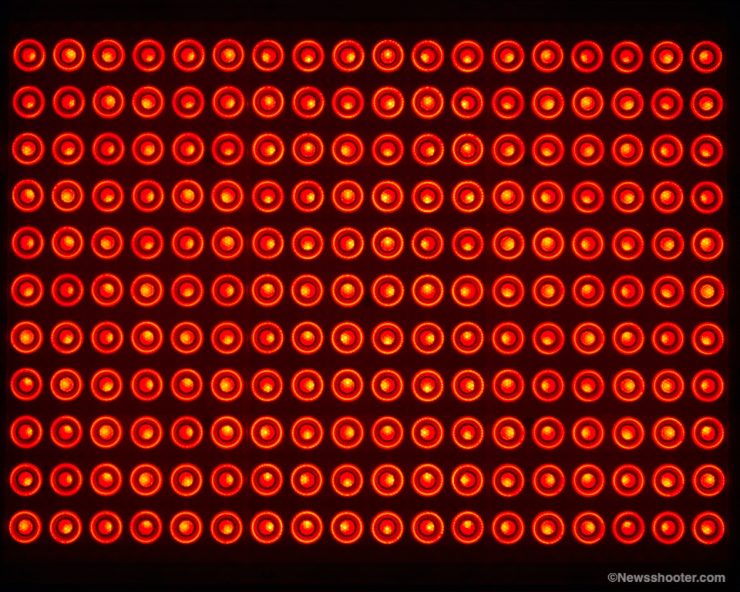

0 ° 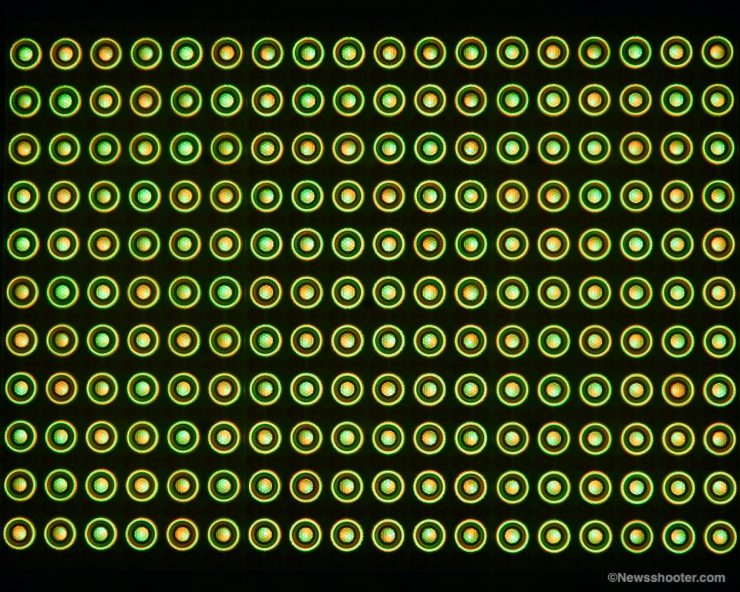
60 ° 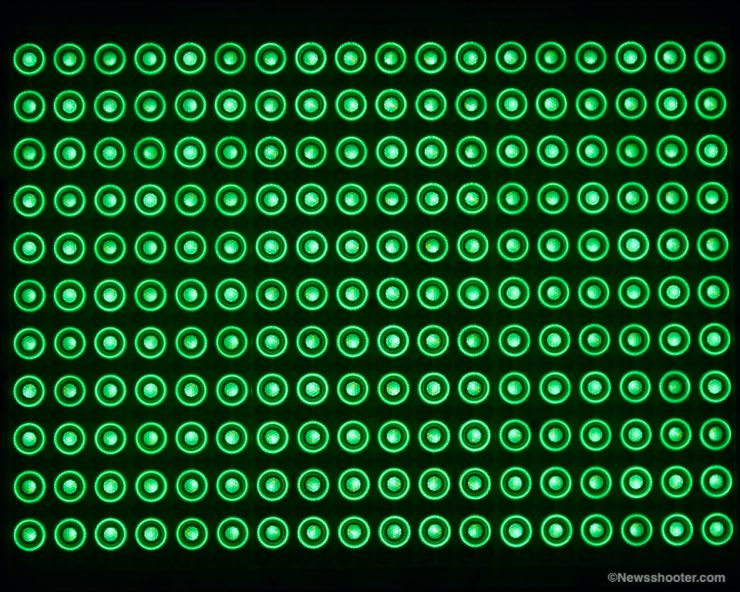
120 ° 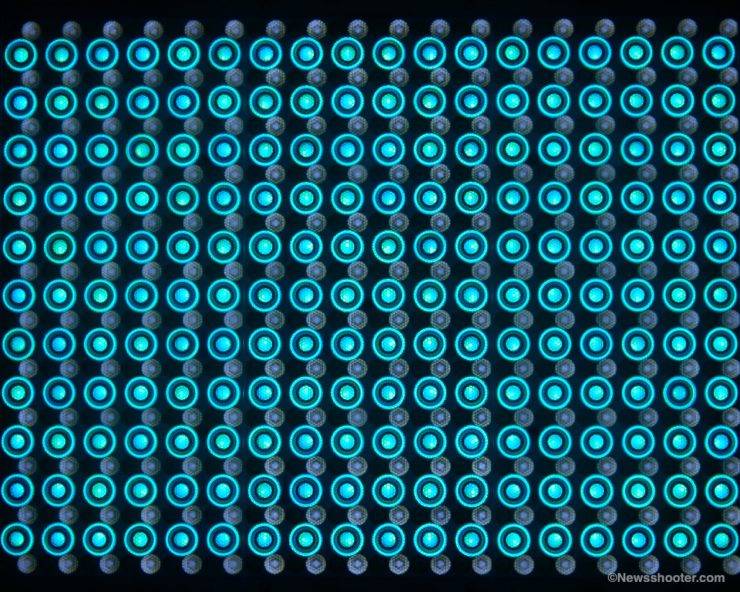
180 ° 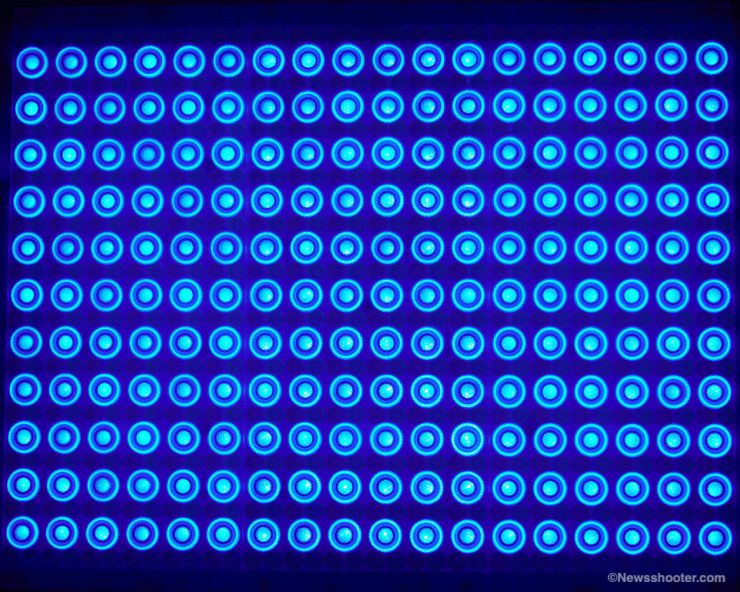
240 ° 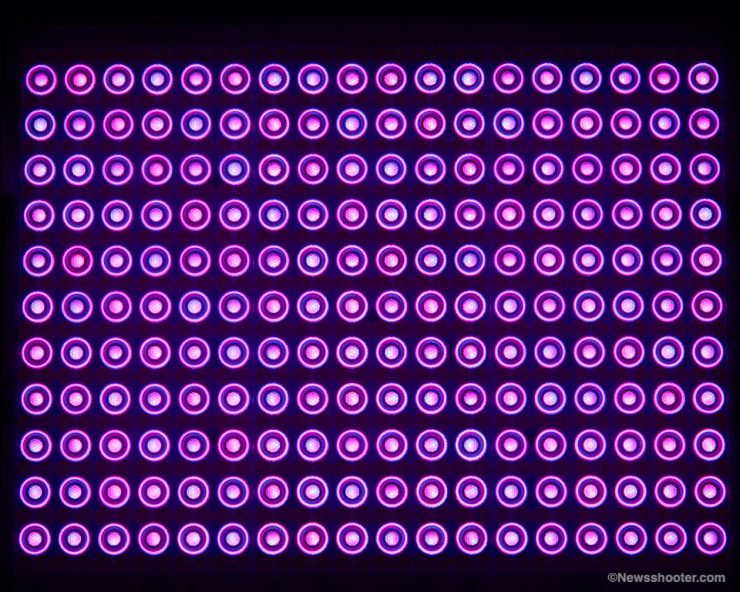
300 °
To get an idea of how bright the P60x is in HSL mode, I took a 360-degree spin around the color wheel.
- 0 ° Red – 3030 lux
- 60° Yellow – 3650 lux
- 120° Green – 4220 lux
- 180° Cyan – 3790 lux
- 240° Blue – 1120 lux
- 300° Magenta – 2280 lux
As you can see, the different colors perform differently. The light mixes the colored diodes to make the colors, therefore, losing some output.
P60c Bi-Color Mode Output from 1-meter
- 2500K – 5280 lux
- 3200K – 5230 lux
- 4600K – 5620 lux
- 5600K – 5910 lux
- 6500K – 6080 lux
- 7500K – 6210 lux
I like this RGBWW fixture. It packs a punch even in the deeper colors, and for lighting a background for tabletop work, I have it set so low.
amaran P60x Bi-Color
amaran P60x Output from 1-meter
- 3200K – 4770 lux
- 4600K – 4990 lux
- 5600K – 5160 lux
- 6500K – 5350 lux
Comparing the P60c and P60x
| Kelven Setting | amaran P60c | amaran P60x |
| 3200K | 5230 lux | 4770 lux |
| 4600K | 5620 lux | 4990 lux |
| 5600K | 5910 lux | 5160 lux |
| 6500K | 6080 lux | 5350 lux |
The output in the same kelvin settings shows the RGBWW P60c is brighter in all four typical color temperature settings. This is great if you have a kit of both as they will play well together, and you can use the full HSL colors.
P60x Exposure with Softbox
To test using the P60x as a key with the included softbox. I set the light at 4600k & 60% output. The camera is at 24p with a shutter of 1/50 at ISO 640. The aperture is set to F4.
This is a typical setting for interviews if you don’t want to go with a super shallow depth of field and keep the subject more in focus if they move a little. The spread is also pretty good. I got 30 inches or 0.76 meters of spread that maintained the f4 setting from 5-feet at 60% output, making it sufficient for a waste-up shot.
This is good news, as it can easily be increased if a smaller aperture setting is desired. Since the P60c is a touch brighter, it will give you a little more wiggle room but not that much.
Color Matching in CCT mode
If you want to use the two fixtures together, then hopefully, they match in CCT mode. Below are the test results with both fixtures.
| Kelven Setting | amaran P60c | amaran P60x |
| 3200K | 2469K | 3180K |
| 4600K | 4491K | 4576K |
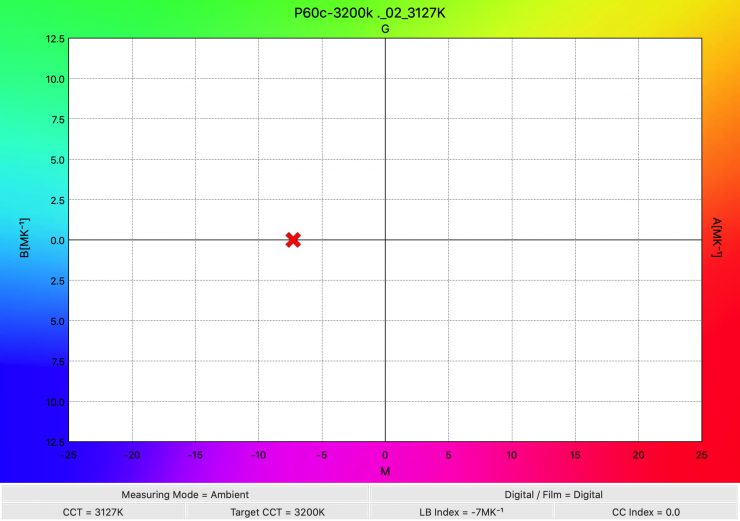
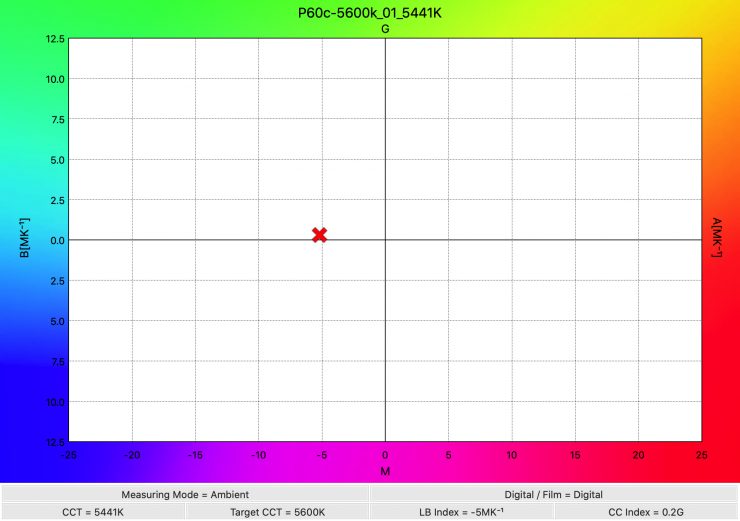
| 5600K | 5441K | 5594K |
| 6500K | 6308K | 6475K |
The amaran P60x hits the mark better than the P60c, but that is expected as its only game is to perform in CCT mode well. With that, I wouldn’t worry about the differences that much, and if you have a color meter, you can easily dial in these and other lights. The P60c has +/- green settings as well.
I understand these color meters are expensive for the low-budget crowd, but they are worth every penny if you want to get the best matches on set.
Softbox
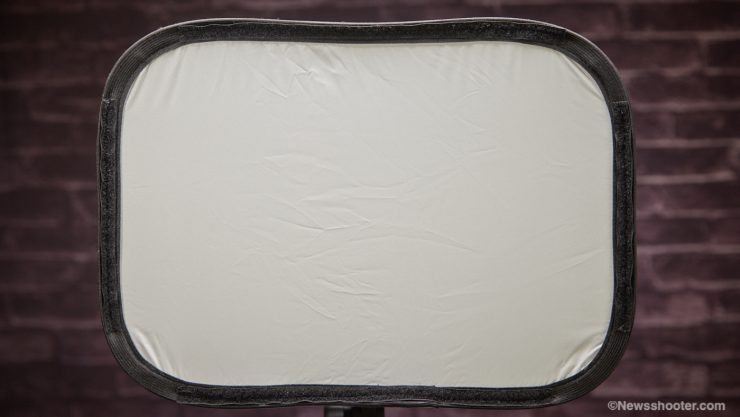
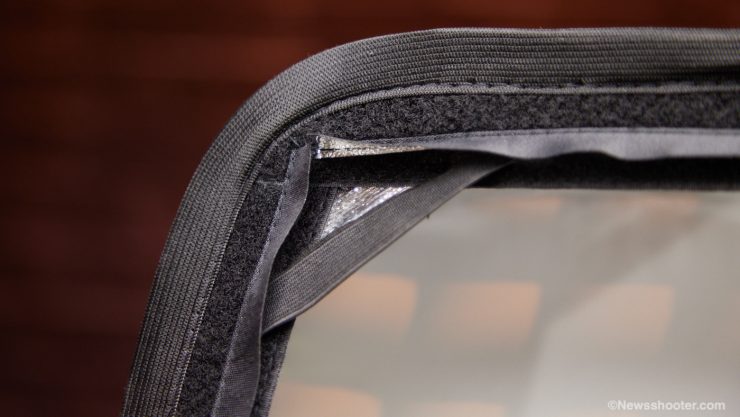
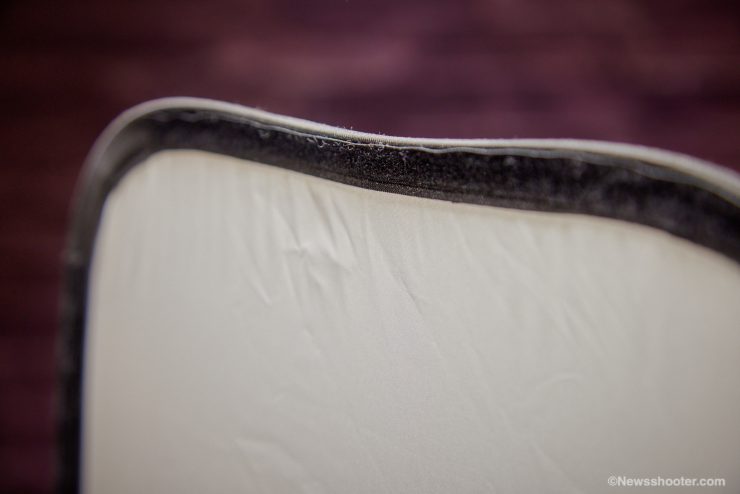
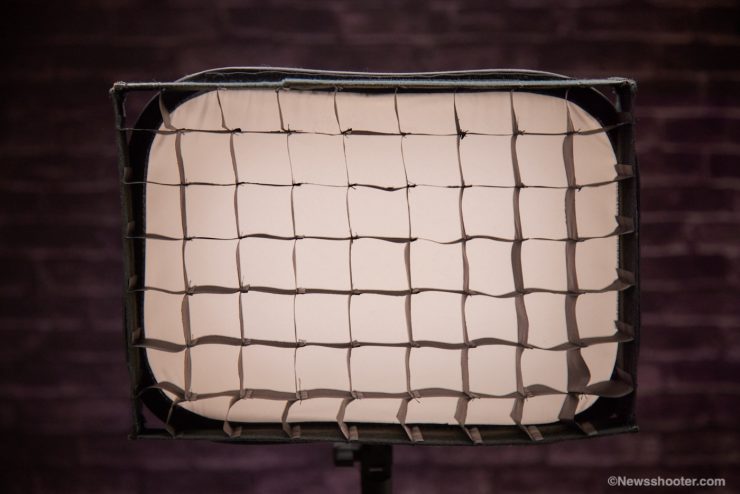
The P60 comes with a pop-up softbox and grid. It is the best-included softbox I’ve used. Why? Because it has a decent build and requires no mounting hardware. The softbox is approximately 4″ deep. The front diffuser is attached, so you cant change the fabric. It’s not the softest fabric. I do prefer a heavier diffusion but for a budget kit, it works well.
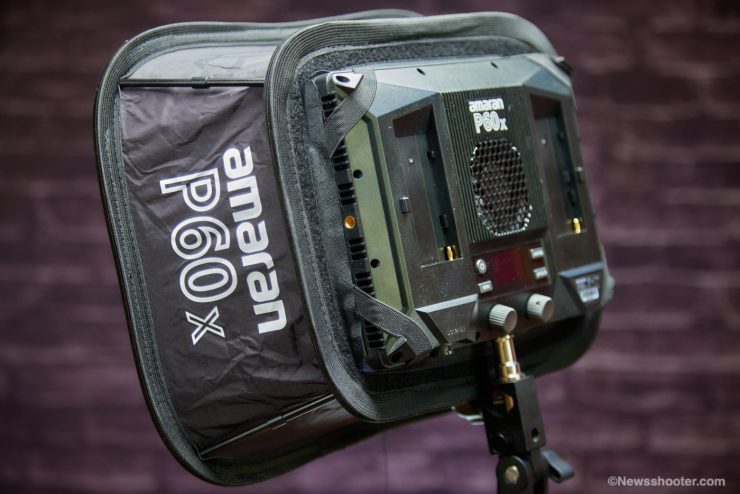
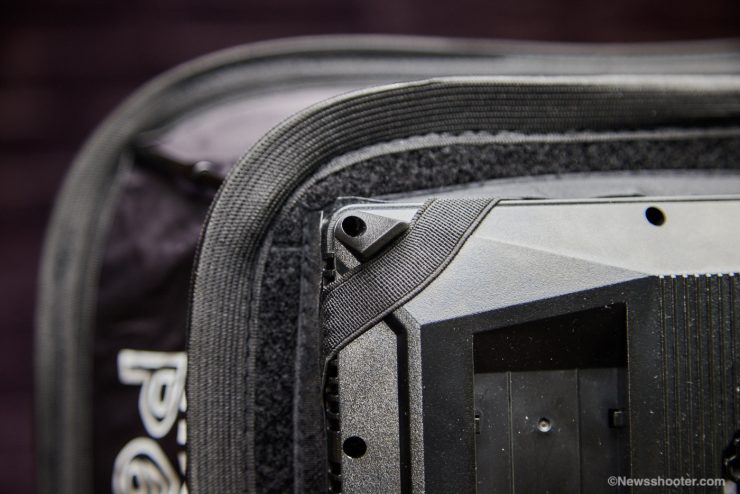
The softbox slips onto the front of the panel and mounts with elastic bands on all four sides. The panel has raised tabs that secure the elastic bands. It’s pretty good. How long will it last? No idea, but I like how fast it is to set up.
One bummer is the softbox doesn’t fit in the included soft case.
Grid
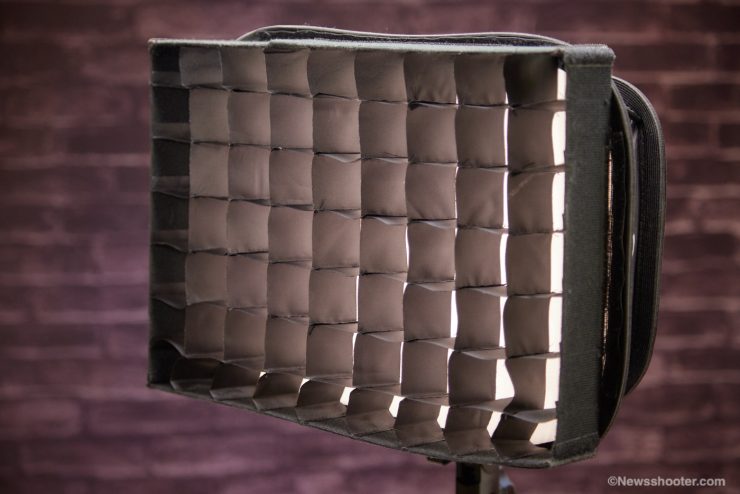
The grid is also nice. It’s 2″ deep with a stiff frame that makes the grids have a nice square shape. This is good as you don’t want the grids folding and blocking the light, just focusing, so the spill is less.
The grid mounts with hook and loop fasteners. Instead of going into the softbox, it sits on top. This is a good thing since the depth of the softbox is only 4″, so moving the front diffuser in further to accommodate the grid will make the softbox less soft. The deeper the box, the softer the light.
This Softbox and grid combo is well thought out and works very well.

Like the softbox, the grid also doesn’t fit in the included case because the frame is not flexible. Small price to pay as I like these accessories.
Mounting System
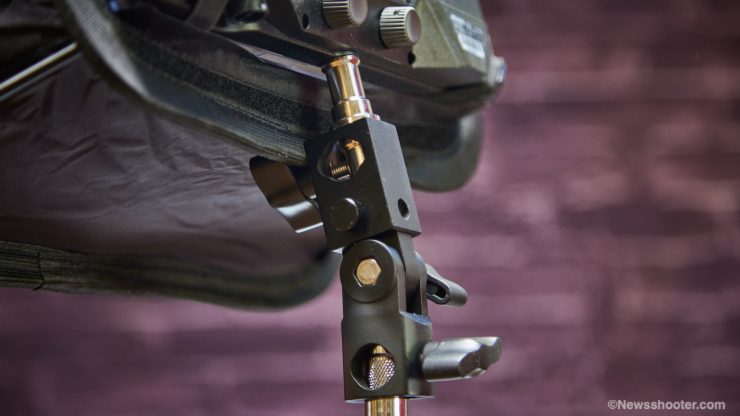
There is only one issue I have with the P60 panels, and that is the mounting system. I’m not a fan of the light post pin that screws into the fixture and uses an articulating light stand adapter to mount on a light stand. The provided mount doesn’t hold the panel firmly even when I tighten it down. It won’t slip, but I can adjust the tilt when tightened.
I understand why amaran lights use them as they are inexpensive and make the fixture more compact. For me, it’s a bit fiddly, and the pin has to be locked down tight, or it will unscrew and spin when mounted inside the stand adapter. I have also stripped mounts like this, and that made the fixture unusable.
I will end up using a grip head since I have plenty, and they are far more secure. Another issue is when the softbox is attached, the P60 is hard to hold when adjusting the tilt. If I’m using a battery, I instinctually want to grab it like a handle, and I don’t think that is a good idea. Without the softbox, it’s easier as I just grab the top. You have to watch for your fingers if you grab the stand adapter while tightening down. I got a good pinch once. Only once.
I do like that it has three mounting points on the panel. It’s great for a taller light when shooting tabletop since a wide beam is generally not needed.
Powering Options
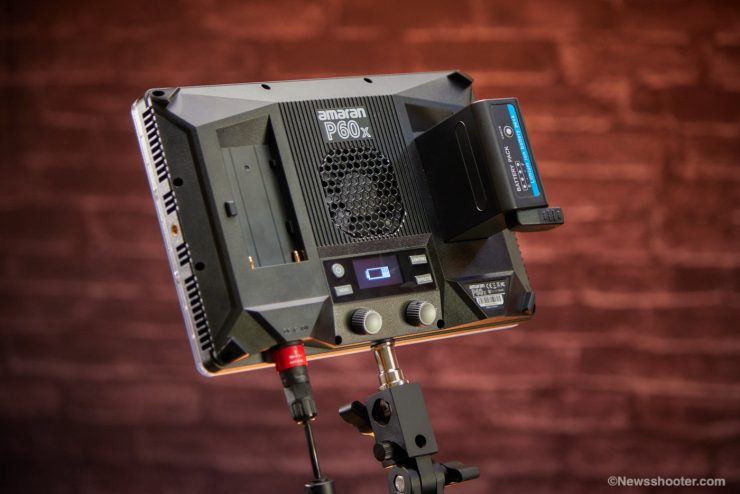
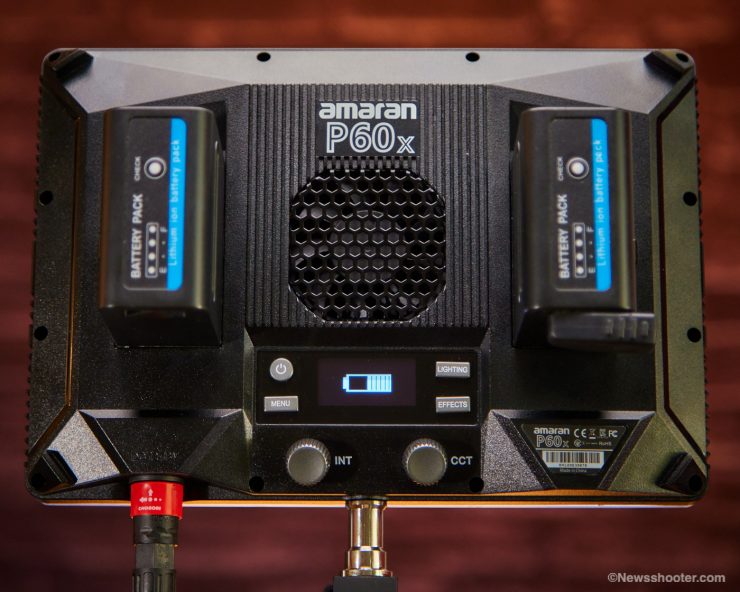
The P60 fixtures share the older design of using two Sony NP-F style batteries, and it also will charge them when the light is plugged into AC. I like this a lot as it makes the lights very flexible quickly.
You get approximately an hour at full power from a 10,050Mah battery. The light requires two batteries attached.
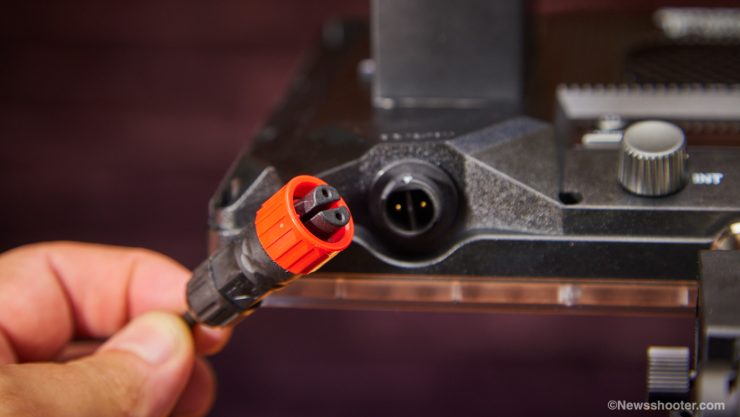
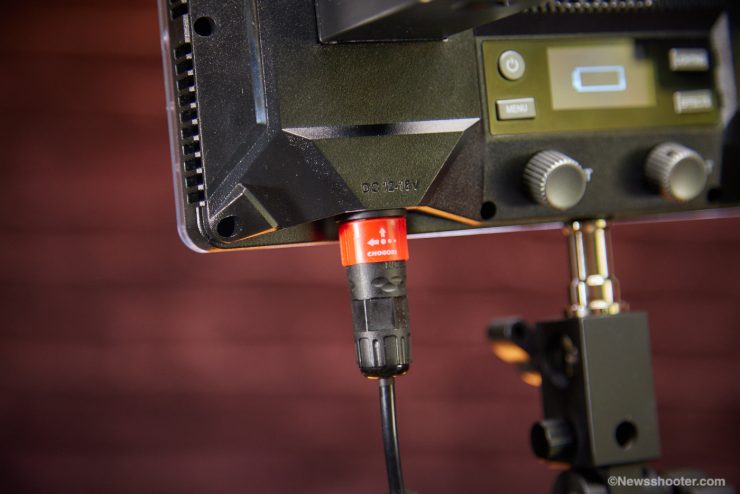
The P60 has a nice twist locking connector for AC power that gives it a more pro feel. The cable coming from the ballast is pretty long, making it easy to lay power brick on the ground. The power brick has a cable attached to hang from the light stand.
Fan Noise
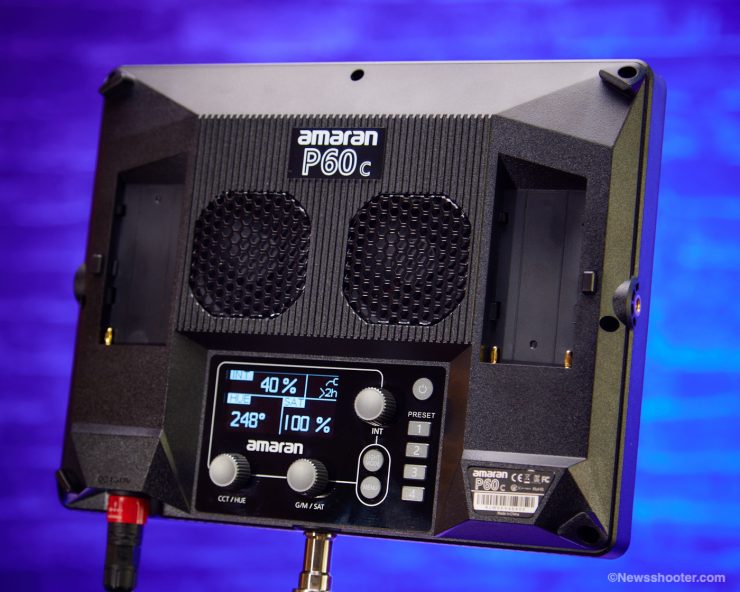

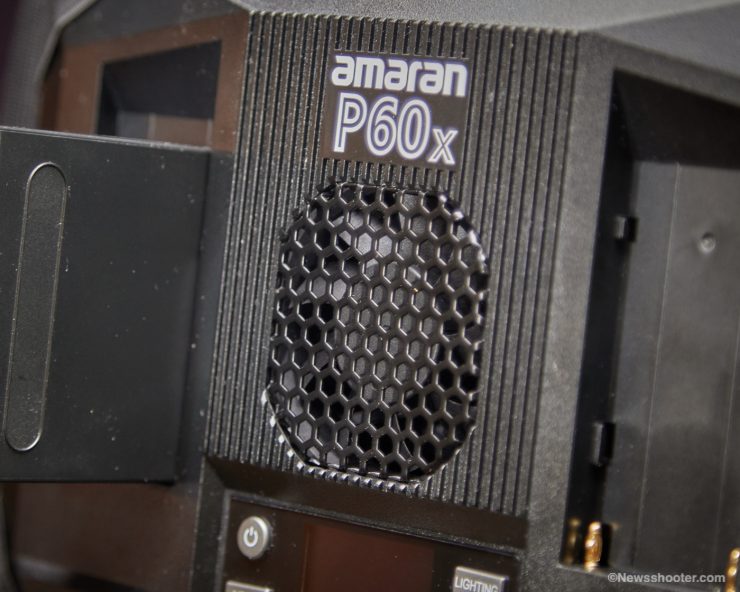
P60x single fan
Those pesky LEDs like to generate a lot of heat, and fans are generally the answer to keep them cool. The P60c has two and the P60x only one. This makes sense since the P60c has more LEDs and is a bit larger panel.
The good news is they run quietly and are not an issue when shooting dialogue from one meter away. The fan has a Smart and Medium option setting in the menu. Smart is like auto. The fan speed will increase when the panel gets warmer and run slower when it’s not needed.
Final Thoughts
I like these new affordable P60x and P60c LED lights. If you think an HSL feature could be helpful, I would get the P60c as it has excellent output and the option for punchy HSL colors. I love options.
The amaran P60c cost $349, and the P60x cost $249. These are a good value, and I think the P60c RGBWW version is worth the extra $100. Not only do you get color, you get four presets and a Plus/Minus Green control option and gels. This all comes in handy when using other lights that have a color shift, and you can dial in the correction for a better match. They are also available in a three-light kit.
Single and Three light Kits
The amaran P60c and P60x are available in single and three-light kits.
These are not super broad panels, but they have enough punch to make them versatile, and as a key from 5 feet, it has a decent 30-inch spread when using the softbox. If you already have Aputure lights, they will fit right in and be controlled with the Sidus Link app for easy integration and control.
My biggest issue is the mounting system. The supplied mounting adapter doesn’t hold the weight of the P60 lights securely. I moved to a grip head, or get a higher quality version of the adapter.
Optional Yoke?
Since the P60 fixtures have 1/4 20″ taps on both sides, a 3rd party yoke could be made. I’m no engineer, but it sure would be a nice accessories option if someone could design one. Did I mention I’m not a fan of the mounting system?
As I mentioned I like the P60 series lights. I owned several amaran lights back in the day and they worked well. These new panels are far better than the former and I can see getting a lot of use from them.

