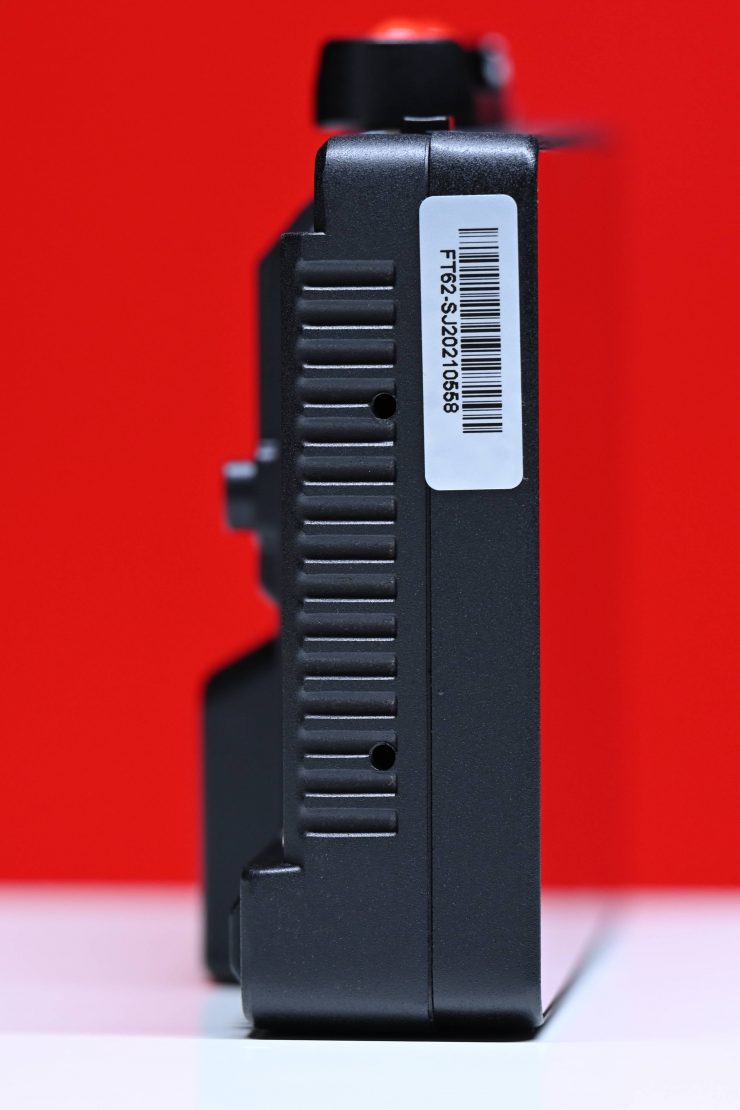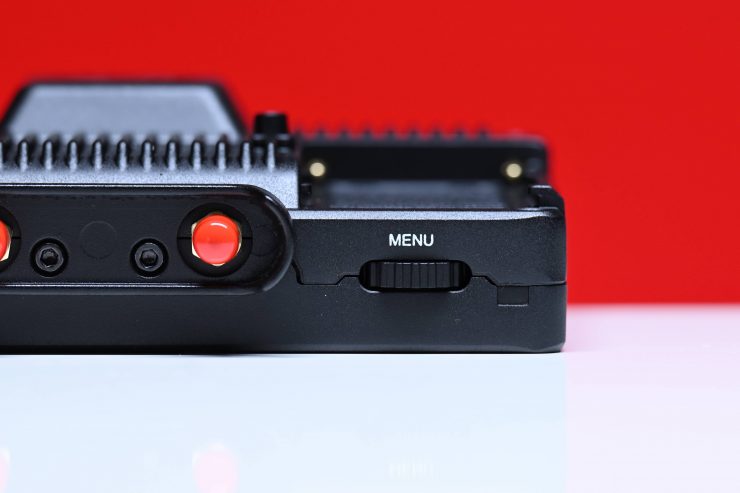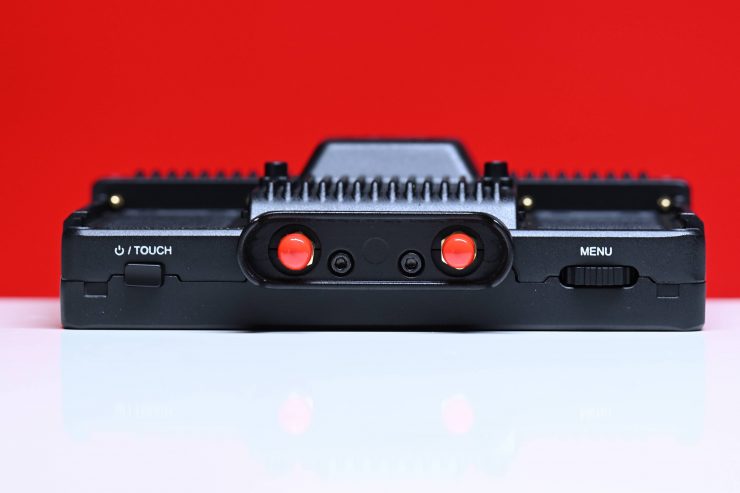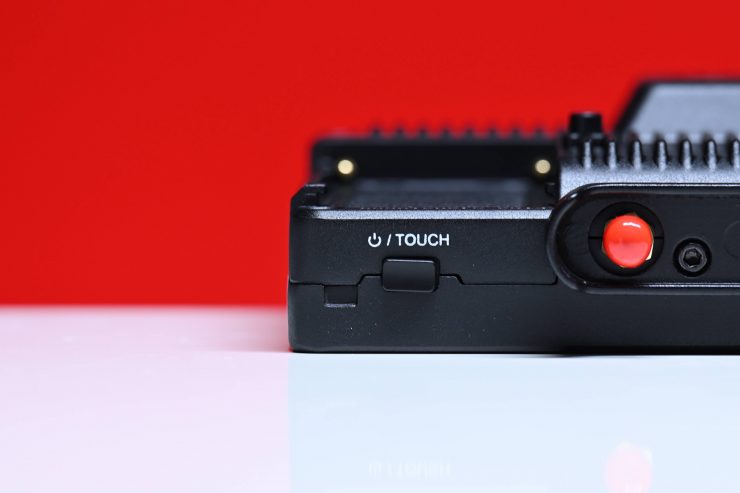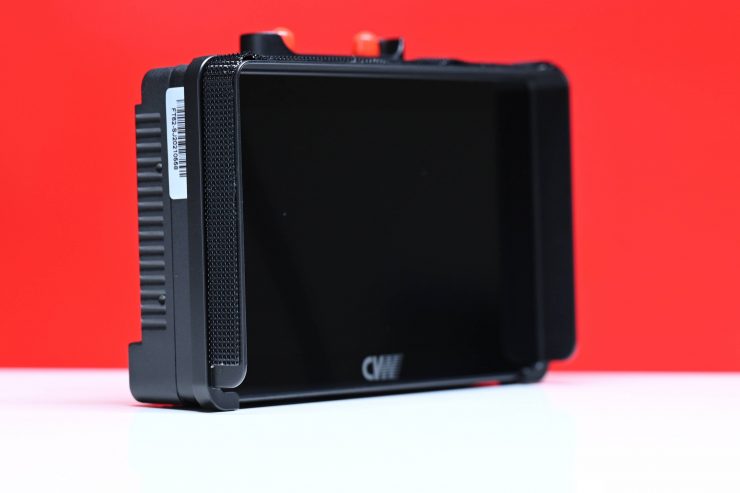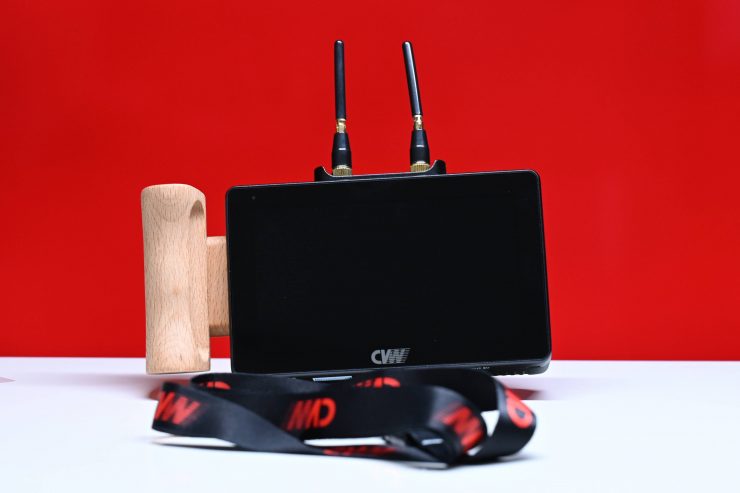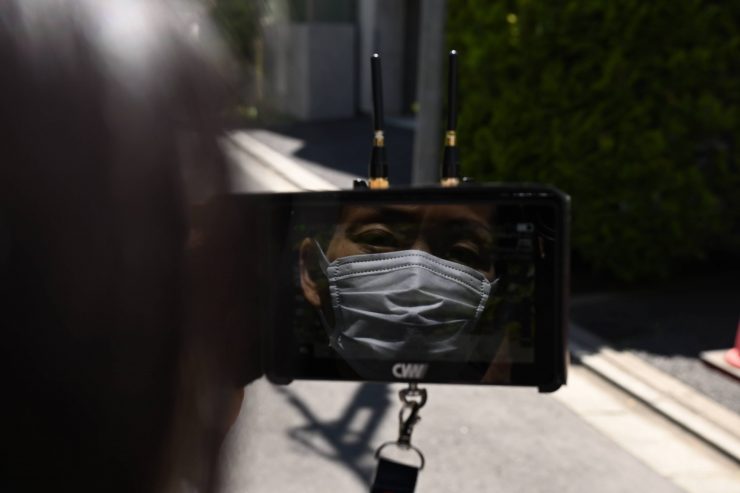
The CVW Swift Z 5.5″ Touch Screen HDMI HDR Monitors with Built-in Wireless Transmission Modules is an affordable all-in-one TX and RX monitoring solution with a claimed range of up to 800ft (243.8m).
The CVW Swift Z looks to be a lower-cost alternative to the SmallHD FOCUS Bolt 500 TX-RX Kit that retails for $2,939.00 USD. The CVW Swift retails for $690 USD. Yes, you read that right, $690 USD. That is for two 5.5″ monitors with built-in wireless TX and RX units.
Now, for $690 USD surely that must be some sort of catch. Well, let’s take a closer look and see if there is.
Key features
- 5.5” touch-screen monitors with built-in wireless modules
- The transmitter can be used as an on-camera HDMI monitor and the receiver as a director’s monitor
- Claimed Ultra-low Latency ≤ 70ms
- Transmission range up to 800ft at 1080p60Hz
- Selectable channels to minimize interference
- HDMI input and output
- HDR support, 3D LUT import, professional video assist tools
- Dual battery support
- Claimed 500 nits of brightness
Concept
Integrated wireless monitors and not that common and they tend to be quite expensive if you have a limited budget. The whole concept behind the CVW Swift Z was to make an affordable solution for budget filmmakers.
Wireless video transmission systems have continued to fall over the last few years and we have seen a plethora of more affordable systems making their way to market.
Identical Twins
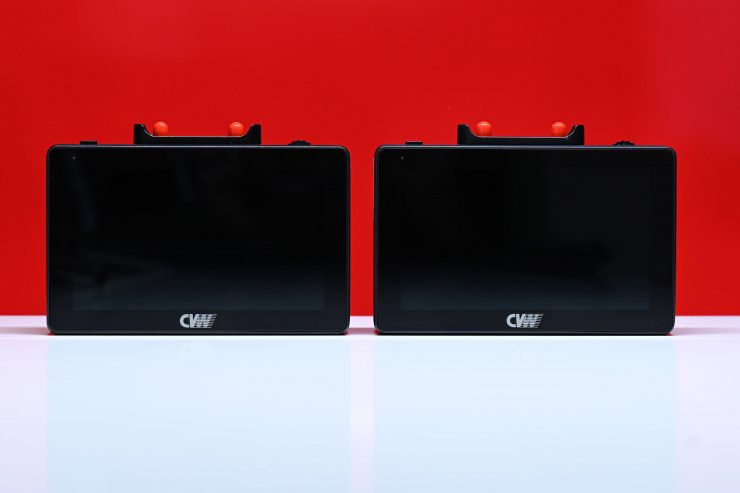
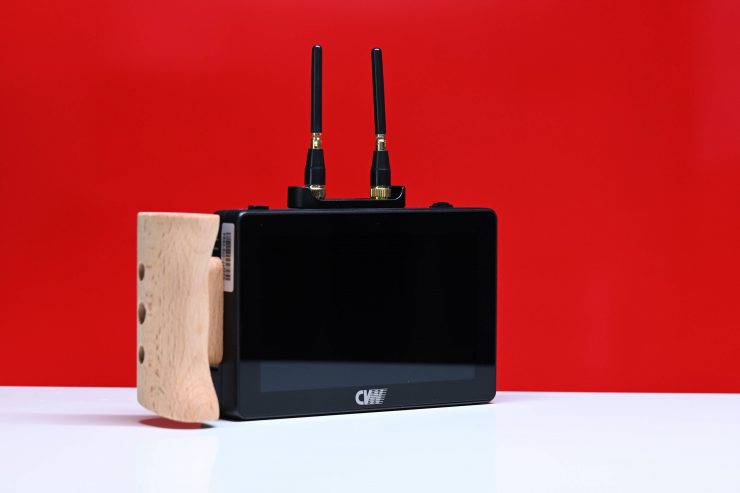
The CVW Swift Z RX and TX monitors are identical in every way.
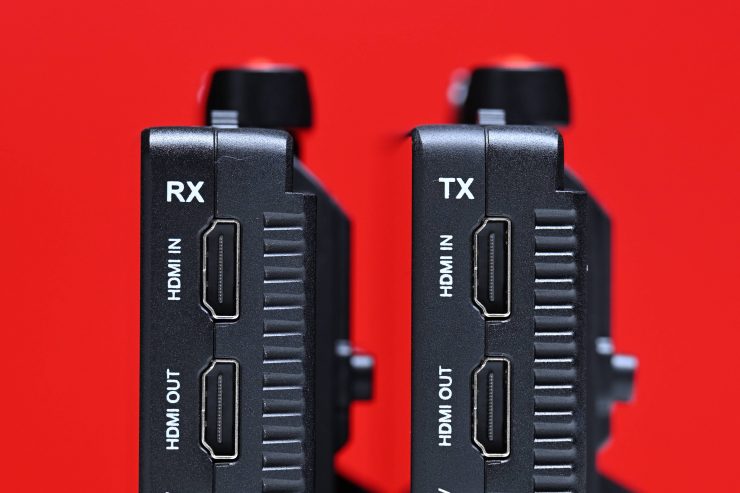
The only way to tell them apart is by the small labeling on the left-hand side.
Size & Weight
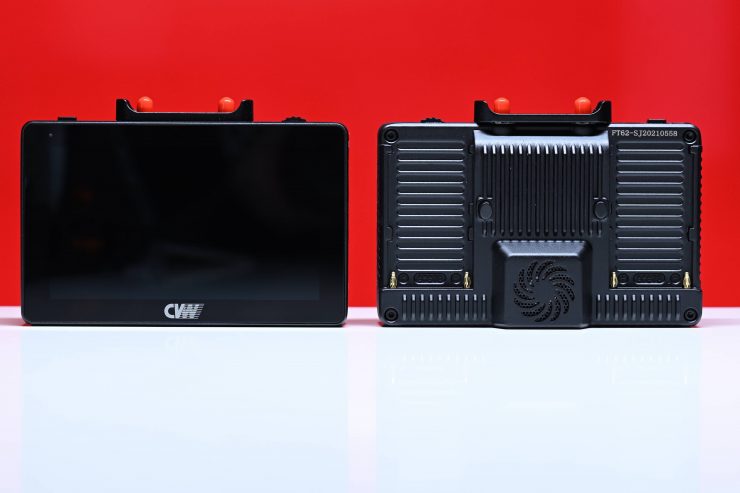
Both the RX and TX monitors weigh 370g (13.05oz) each. As a comparison, the SmallHD FOCUS Bolt 500 units weigh 348.7g (12.30z).
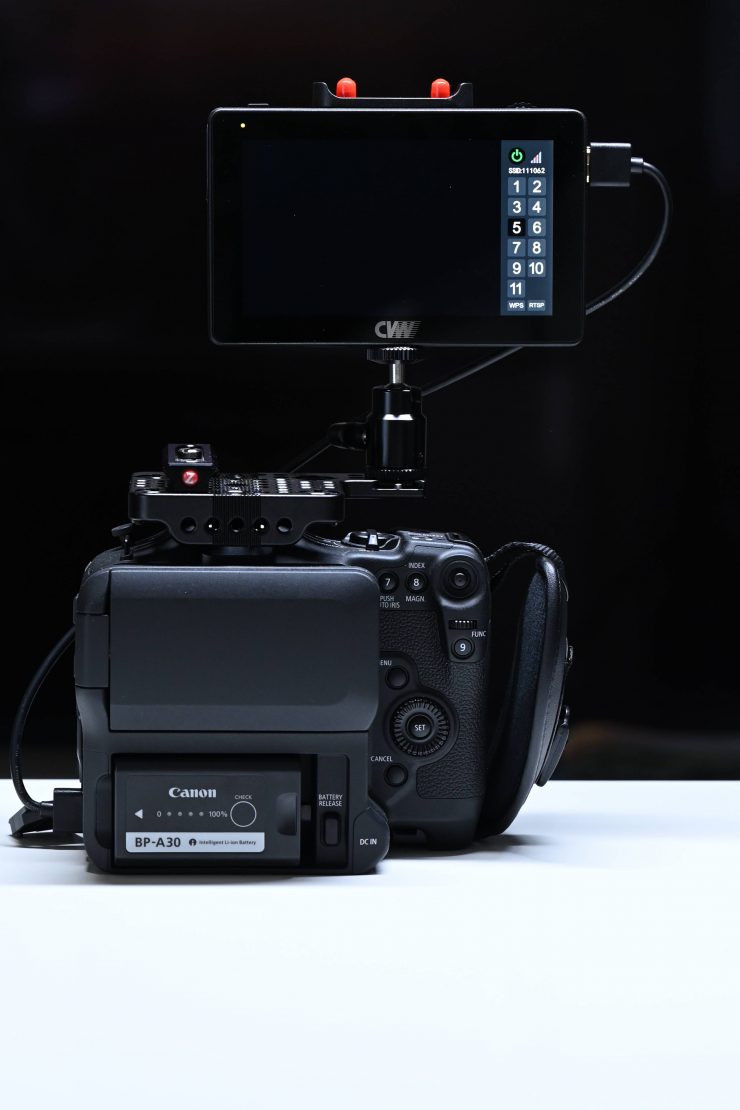
This small size and relatively low weight make them a good match for use with smaller camera packages.
Build Quality

Look, I didn’t expect a product at this price point to have stellar build quality, to begin with. The CVW Swift Z does feel a bit on the plasticky side and the lone button and scroll wheel are not in any way tactile. I didn’t find this to be a major problem as you can use the touchscreen instead.
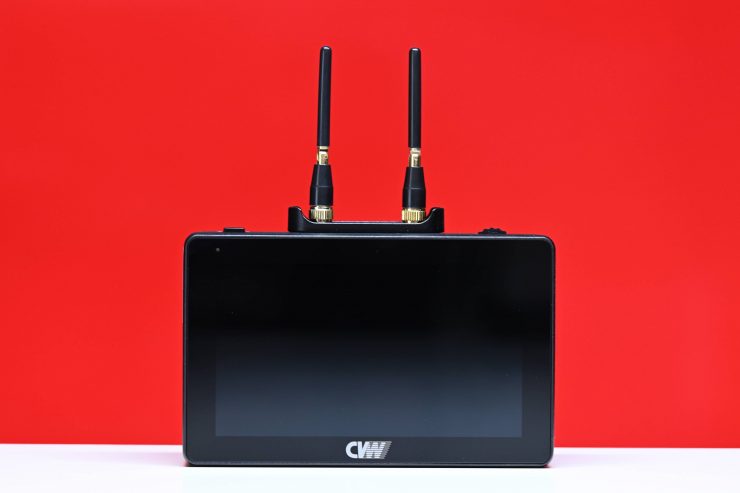
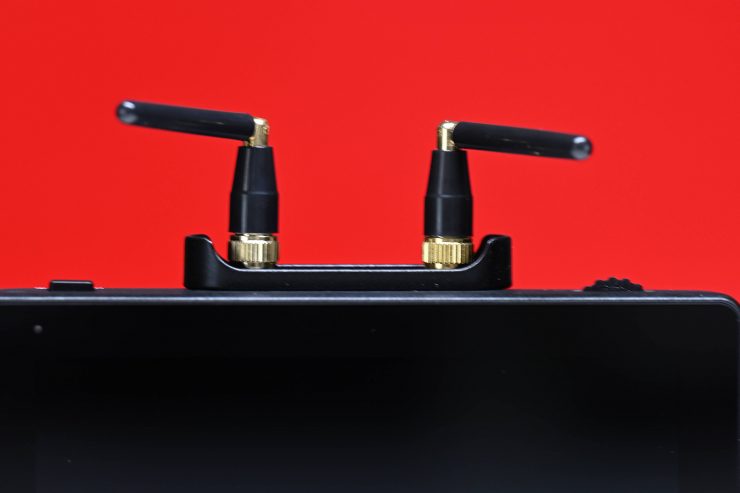
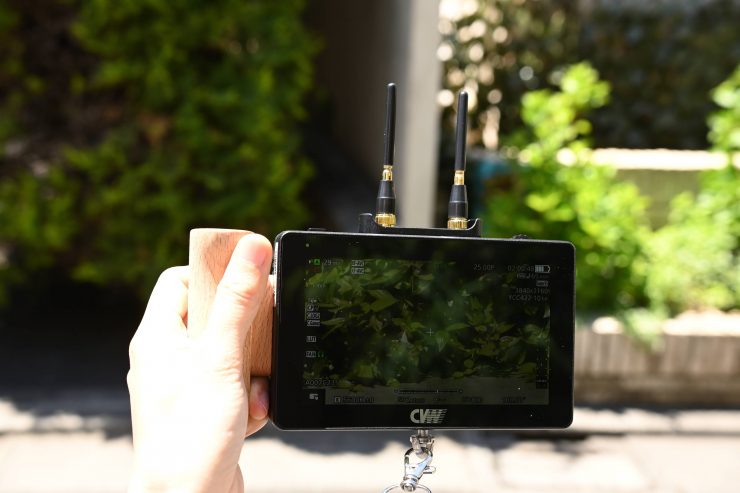
The included antennas don’t feel or look robust and I would be concerned about breaking them. One of the included antennas wouldn’t even fold-out straight.
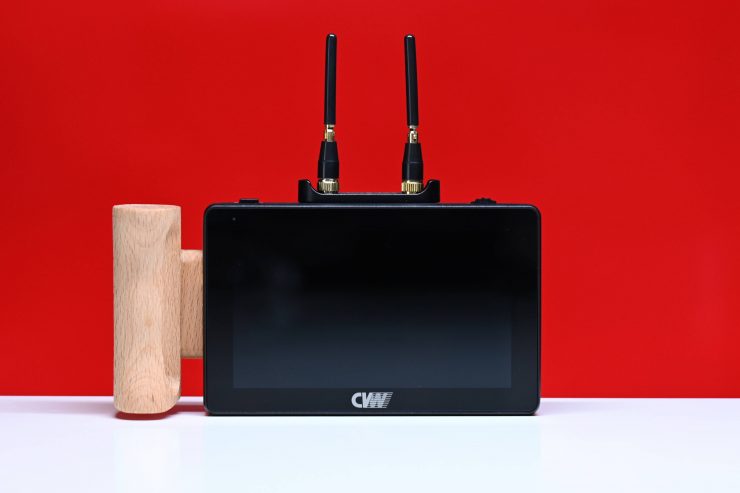
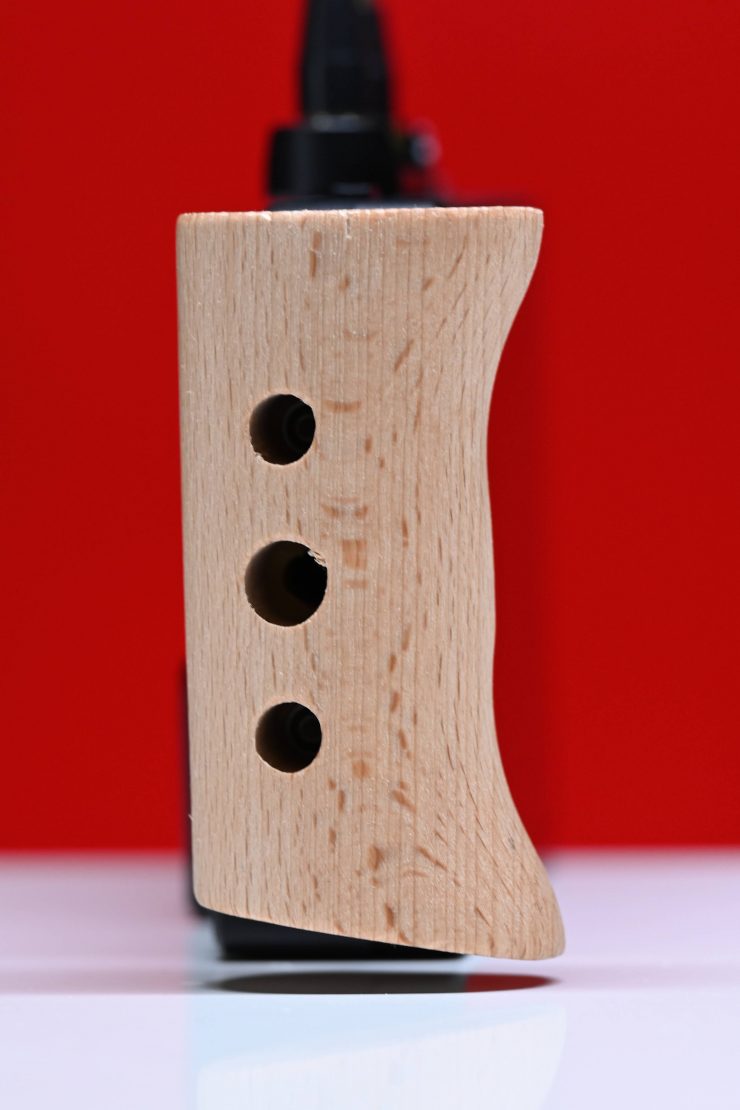
The included wooden handle attaches to the side of the RX unit through two Allen key screws. This handle looks and feels like a spare part from Ikea. However, it does still do the job.
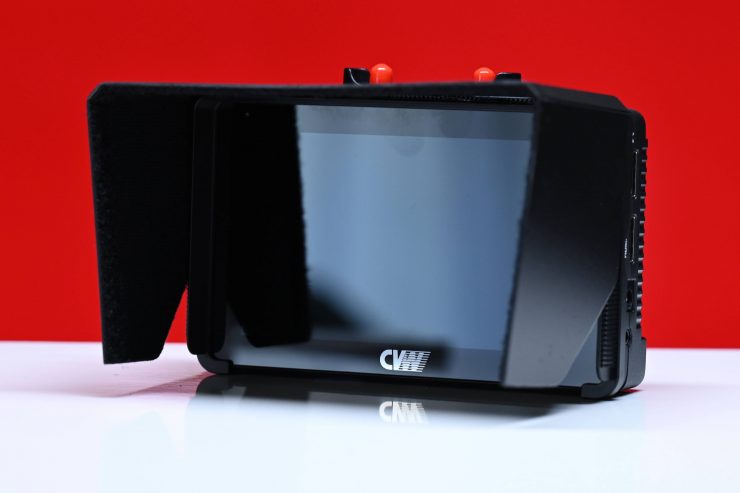
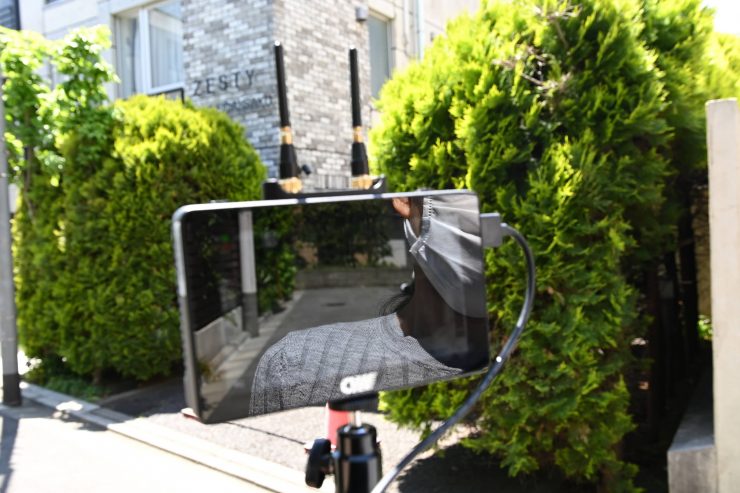
The included sunhoods are also very cheaply made, but they do fold down and attach to a plastic frame fairly quickly. Apologies for the above photos as I actually have the sunhood on around the wrong way!
I know all this makes it sound horrible, but I don’t want anyone thinking that the build quality is anywhere near a SmallHD or Atomos device, because it isn’t.
In saying that, if you are not someone who doesn’t need a ruggedly made product, then none of this may matter to you. For me, the age-old saying of you pay for what you get rings true with this product when it comes to build quality.
What do you get?
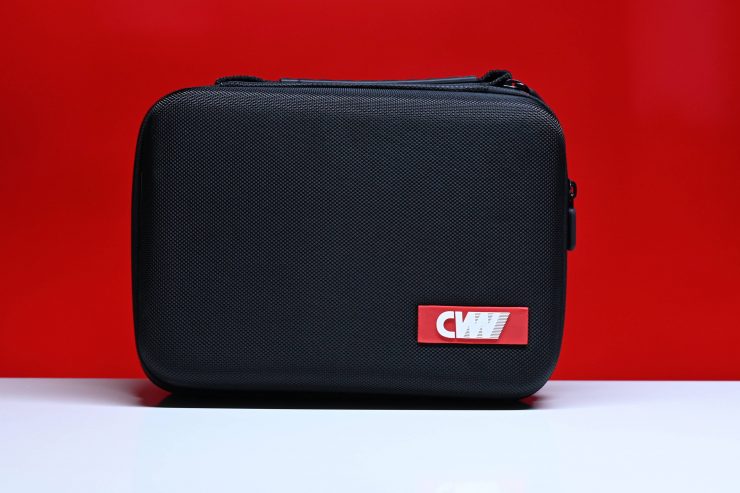
CWV does give you a lot of accessories in the kit. Below is what you get:
- 1x Wireless monitor (TX)
- 1x Wireless monitor (RX)
- 2x Sunhood
- 1x HDMI cable
- 4x Antennas
- 2x Cold Shoe Mount
- 1x USB Type-C adaptor
- 1x Wooden Side Handle (with two screws)
- 1x 1/4-20″ Ring Screw & lanyard
- 1x Manual
- 1x Carrying Case
Screen
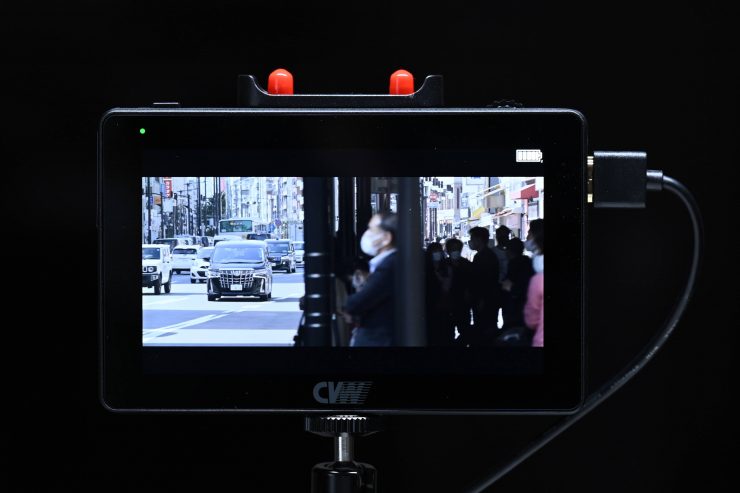
The screen is a 5.5″ 1920 × 1080 touchscreen with 400PPI. It has a claimed brightness of 500 nits.
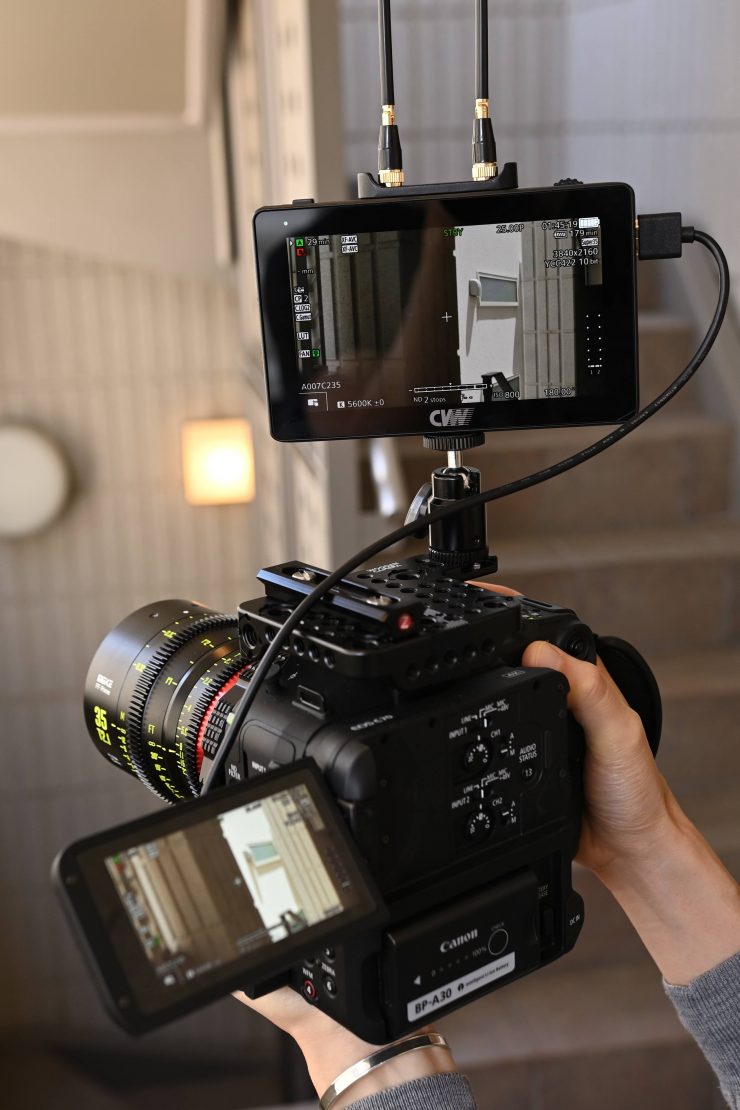
CVW states that the monitors have an HDR function, however with a claimed brightness of just 500 nits, I am not sure how you could possibly show an HDR image. It is probably better to just think of this as an HDR simulation.
How does the screen compare on paper to a SmallHD FOCUS Bolt 500? Below you can see:
| CVW Swift Z | SmallHD FOCUS Bolt 500 | |
| Size | 5.5″ | 5″ |
| Resolution | 1920 x 1080 | 1280 x 720 |
| PPI | 400 | 294 |
| NITS | 500 | 800 |
Inputs & Outputs
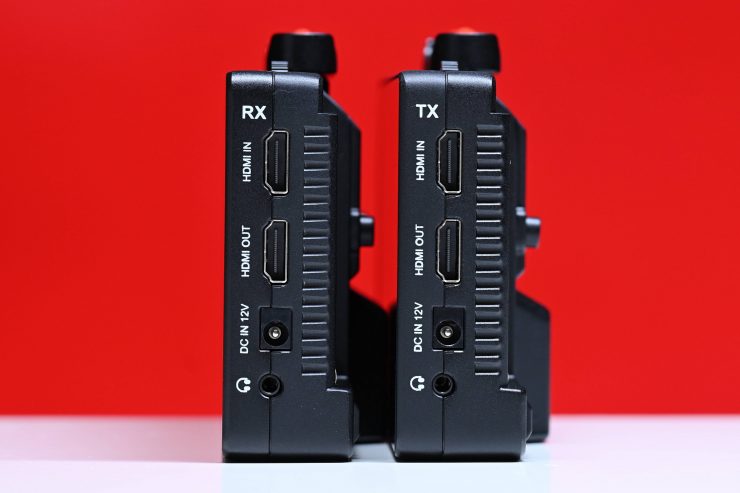
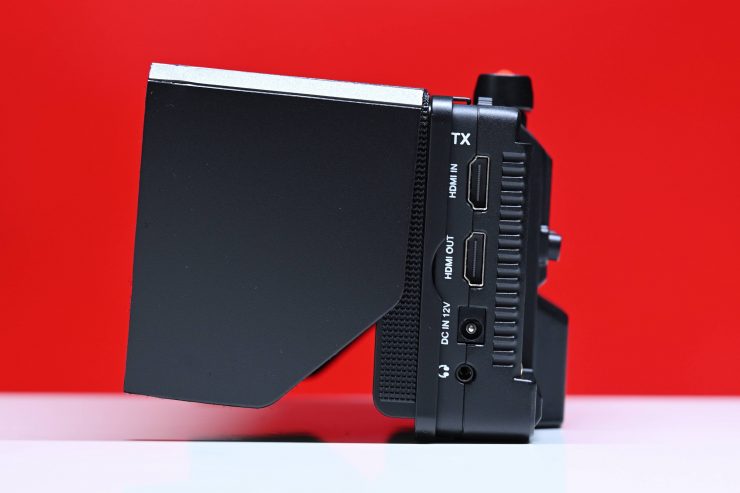
Both the RX and TX monitors feature both an HDMI IN and an HDMI OUT. As a comparison, the SmallHD FOCUS Bolt 500 only has an HDMI input on the TX unit and an HDMI input on the RX unit.
The CVW Swift Z can accept the following resolutions and frame rates over HDMI:
- 480P
- 576I
- 576P,
- 720P60/59.94/50
- 1080I50/59.94/60
- 1080p23.98/24/25/29.97/30/50/59.97/60
- 4K UHD 3840×2160p (30/29.97/25/24/23.98Hz)
- DCI 4K 4096×2160p (24Hz)
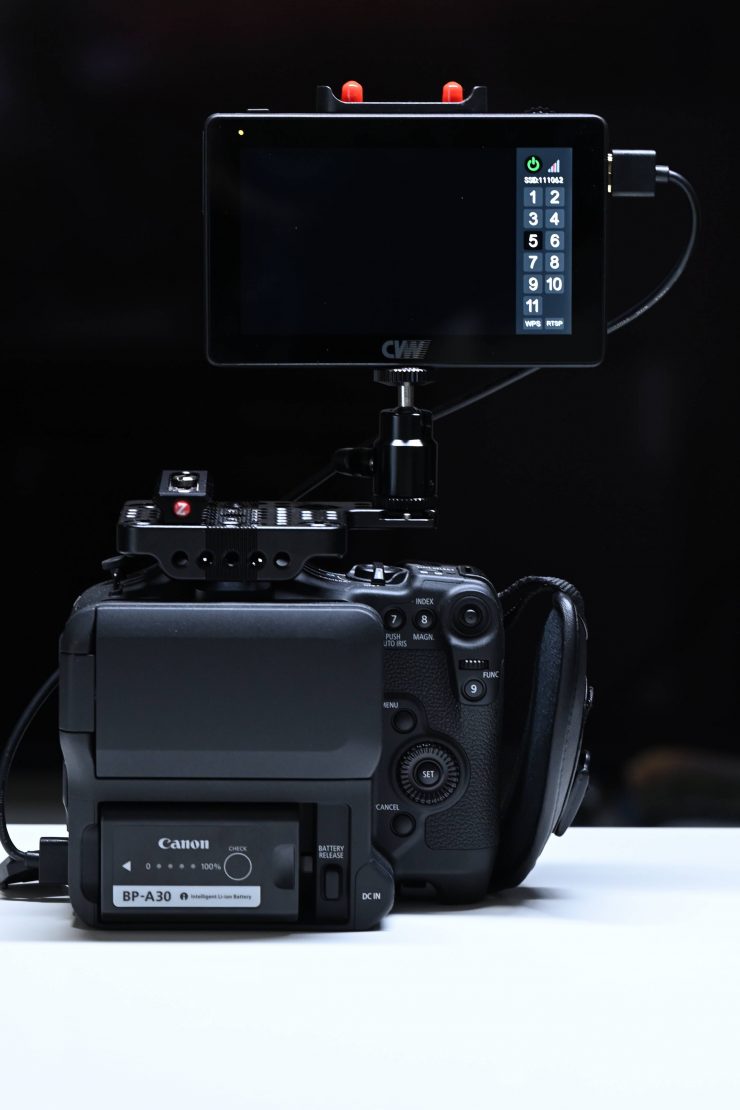
What I found a little odd was that all of the inputs and outputs are on the right-hand side of the monitors. Given that this is an HDMI-only device and will most likely be used with smaller-sized cameras, why didn’t they put the inputs and outputs on the left-hand side? What this means is you have to run an HDMI cable all the way from the right-hand side of the monitor to the left-hand side of the camera. Yes, there will be some cameras that have their HDMI ports on the back of the camera, but the majority of smaller-sized cameras always have their outputs on the left-hand side.
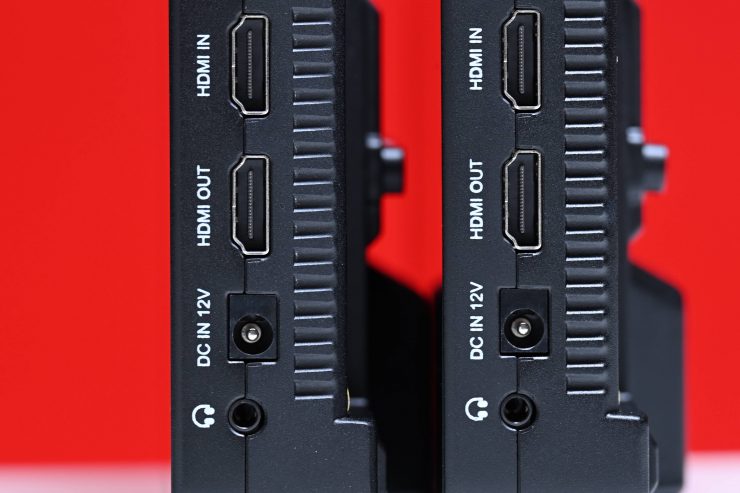
Below the HDMI Input and Output, there is a 3.5mm headphone jack and a 12V DC input.
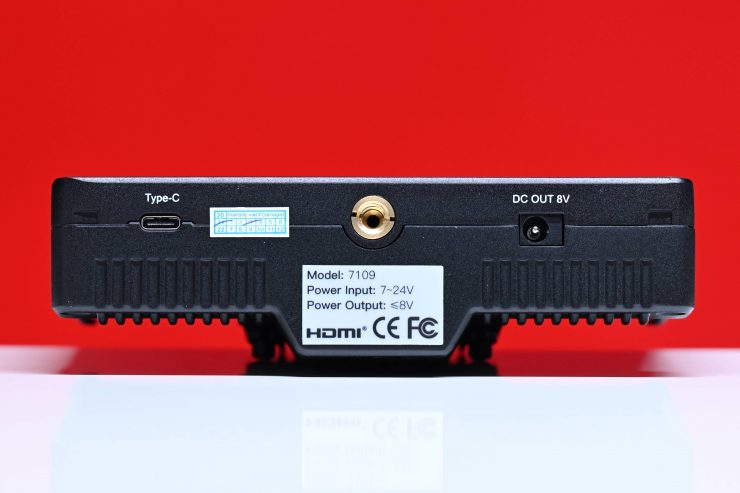
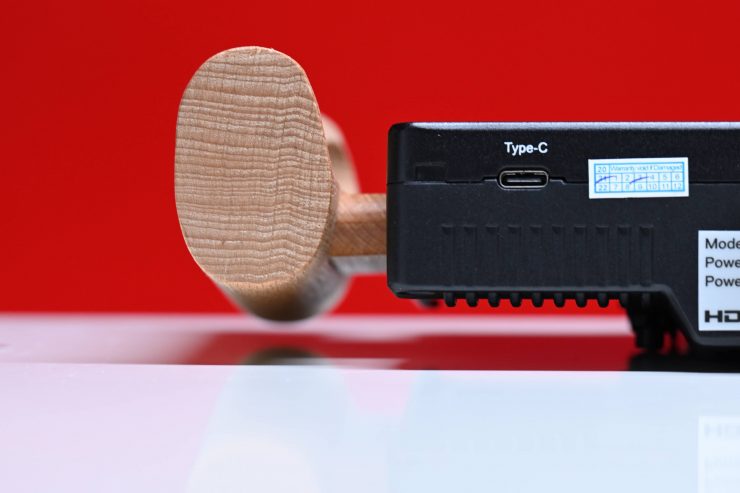
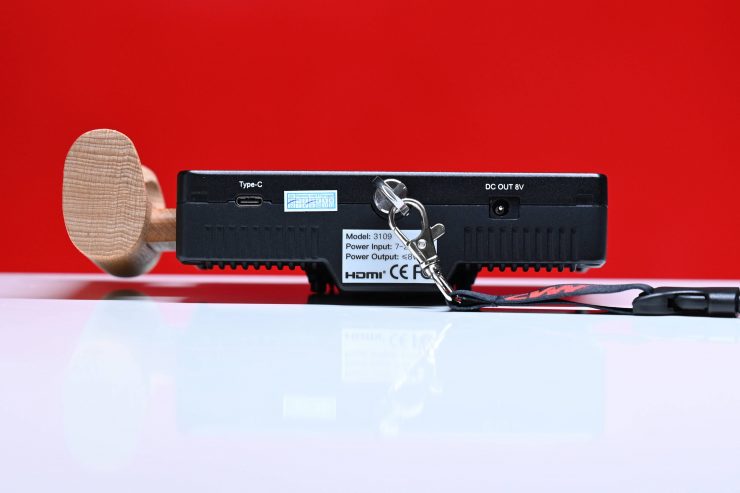
On the bottom of both of the monitors, you will find a USB-C port and an 8V DC Out. The USB-C port is used for firmware updates and also to load up LUTS. You can use the 8V DC out to power select smaller cameras through a dummy battery cable if you happen to have one.
Power
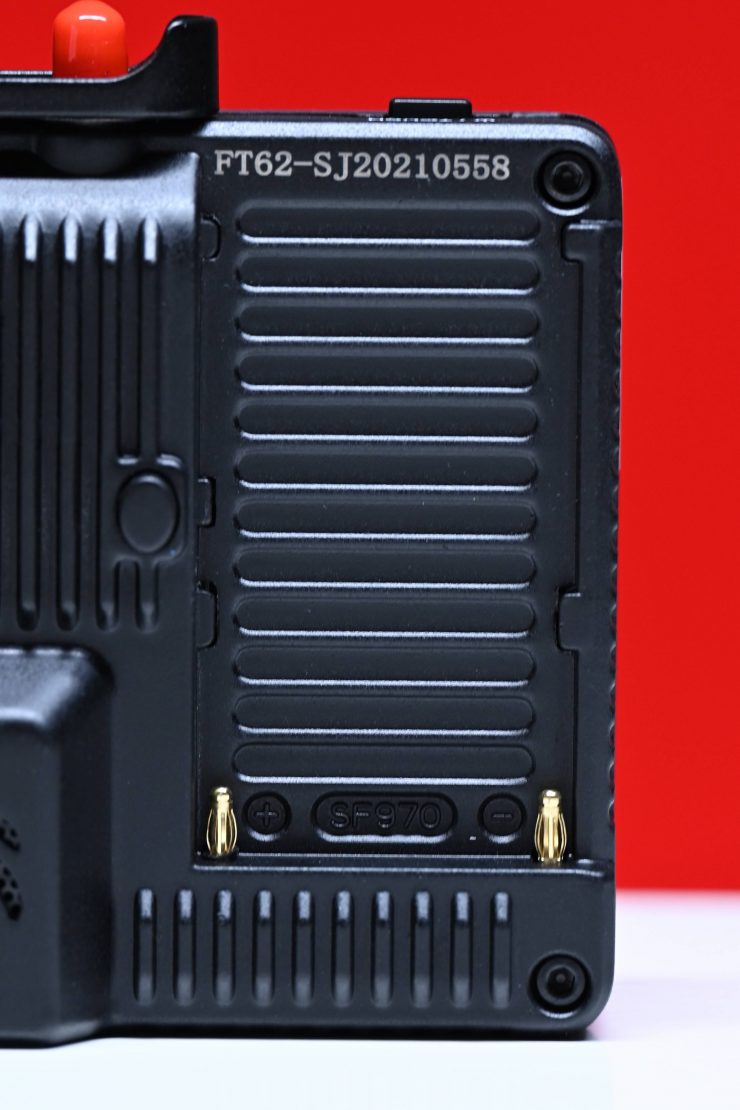
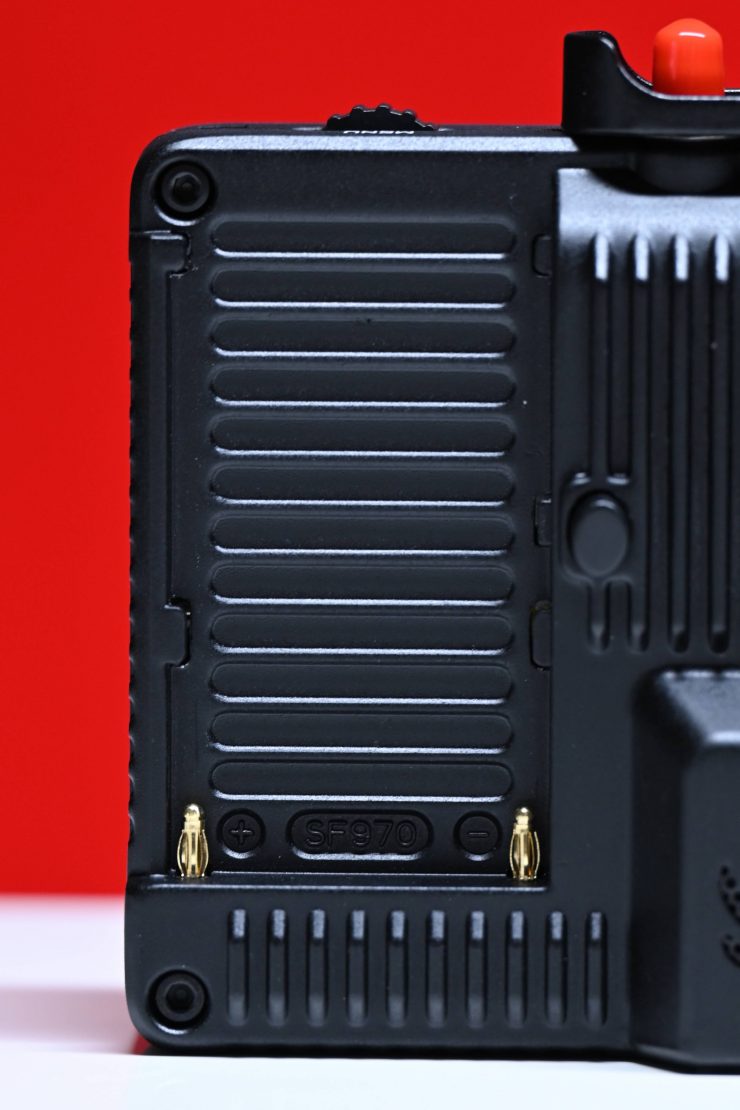
The CVW Swift Z system has dual Sony NP battery plates on each monitor.
You can’t hot-swap batteries. If you remove either of the batteries while the device is on it will turn off. Having a hot-swap capability would have been nice, but unfortunately, it hasn’t been designed to allow you to do that.
You can also power the monitors through a 12V DC input. I tested this out and yes it does work as advertised. If you have a battery on at the same time you can pull the 12V DC input out and it will still stay on.
There is also an 8V DC OUT (Barrel 5.5mm outer, 2.1mm inner) that you can utilize to power certain DSLR or mirrorless cameras.
Both the RX and TX units draw around ≦18W.
Operating System
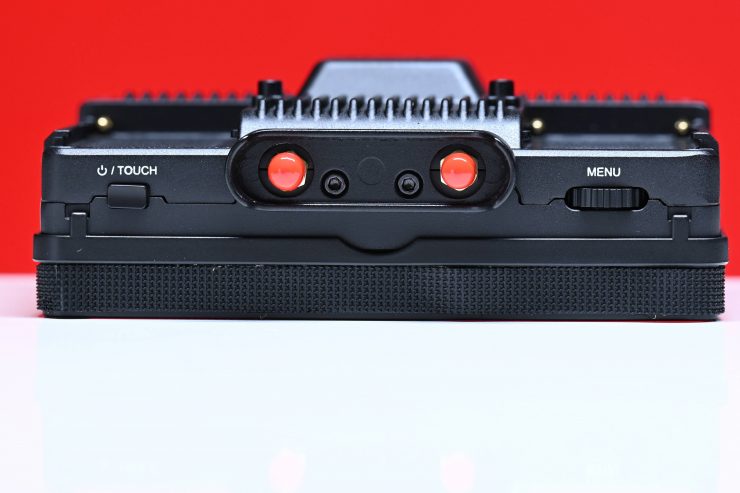
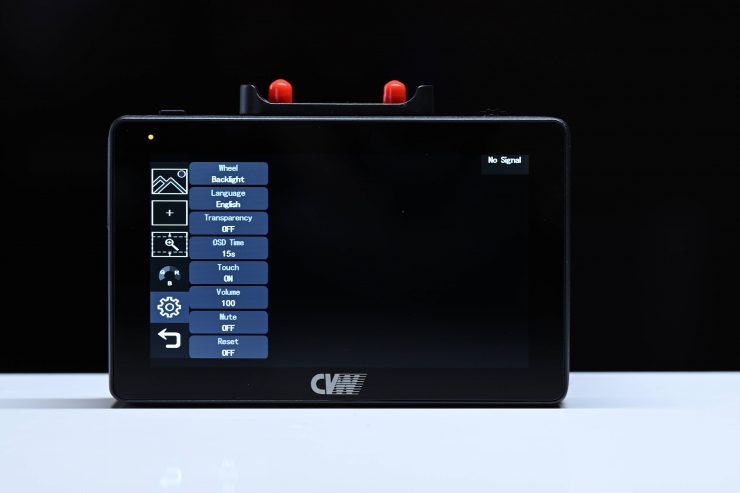
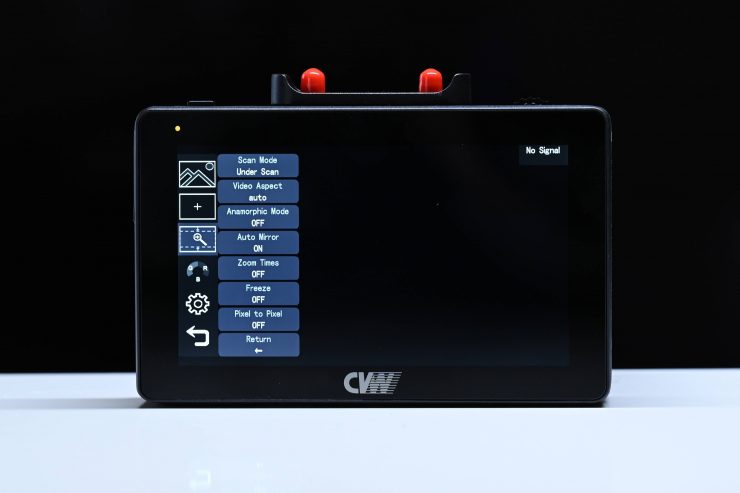
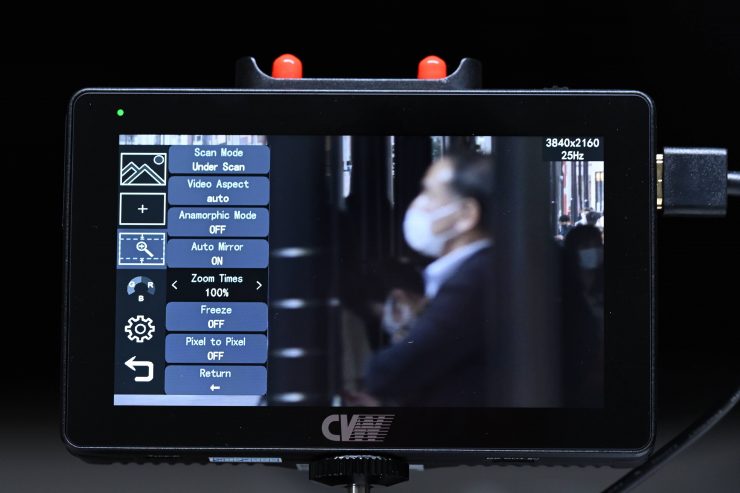
The operating system can be controlled via the scroll wheel on top of the monitor or through touchscreen operation. The touchscreen operation is a lot easier to use than the buttons, but it is nice that you have two options.
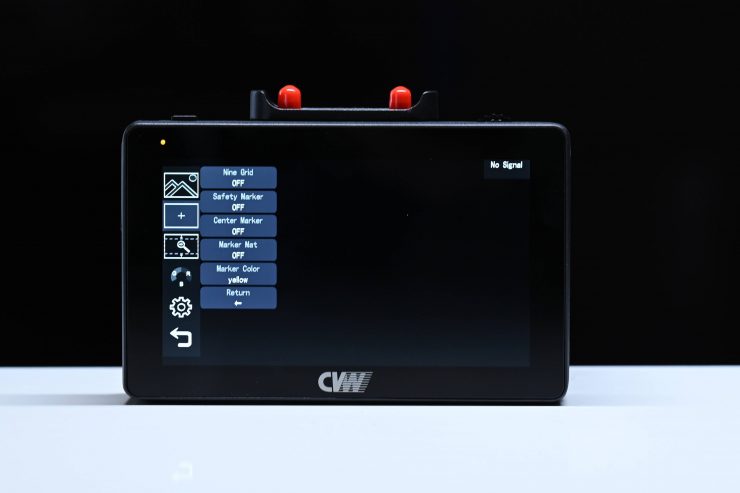
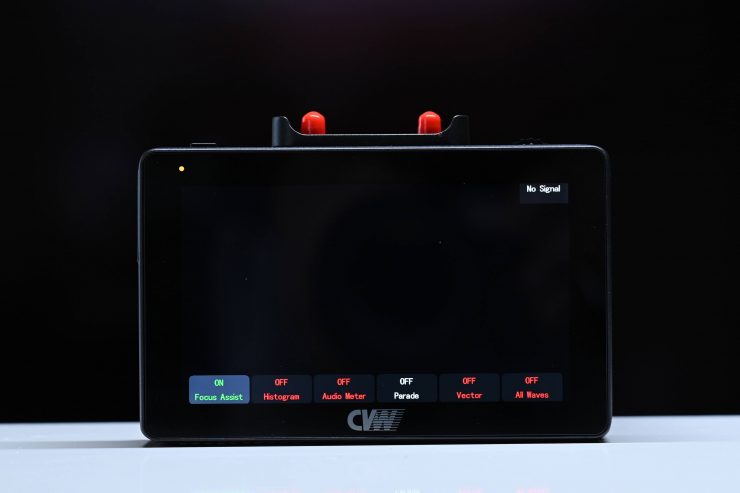
The actual operating system consists of two parts. There is a main section that comes up on the left-hand side when you double-tap the screen and another set of tools come up if you swipe up from the bottom.
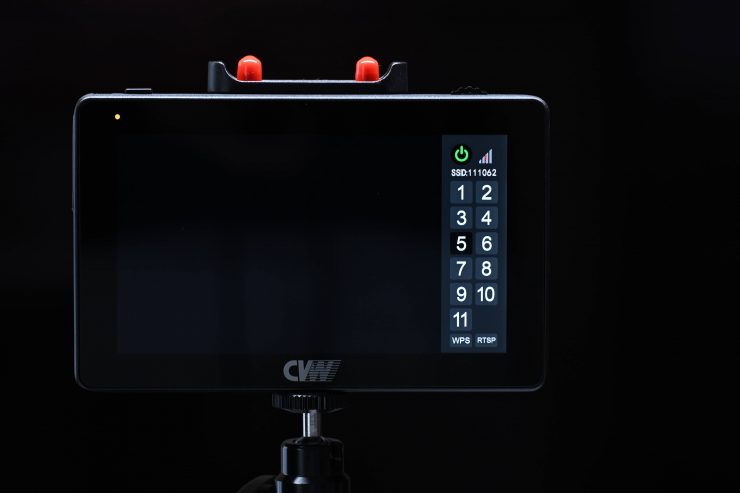
There is also a small menu section that comes up on the right-hand side. Here you can turn the wireless on or off and change the operating channel.
You can pinch to zoom like on most other touchscreen monitors.
Look, the OS is ok but it isn’t the most fluid or well laid out. In saying that, it still gets the job done and if you are not making tons of changes then I think most people will be reasonably happy with it.
Monitoring Tools
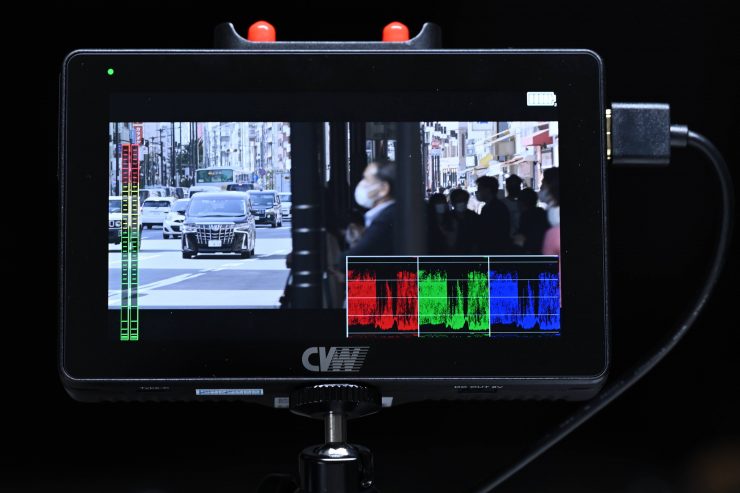
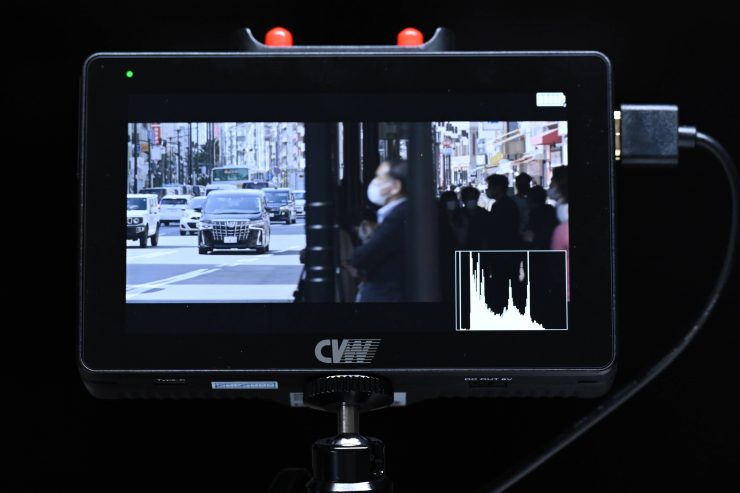
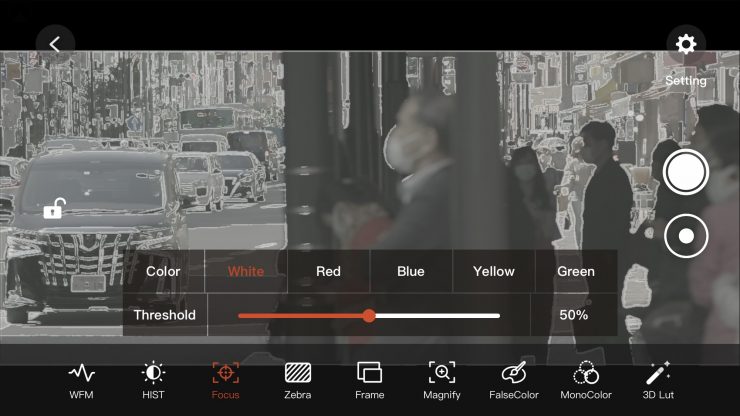
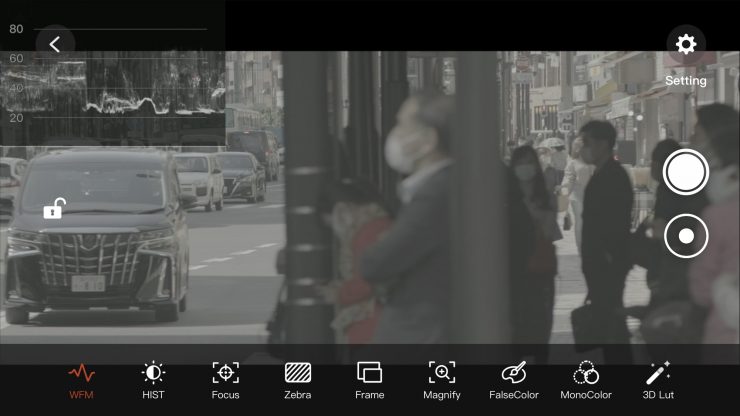
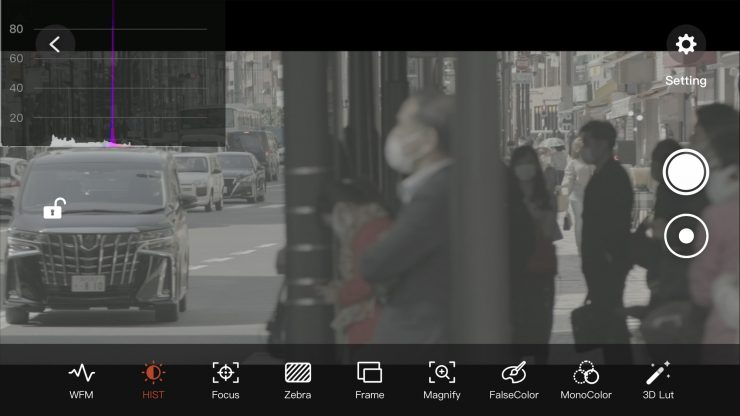
The monitoring tools are fairly stock standard and you get all of the common items you will find on most monitors these days.
These include:
- RGB Parade
- YUV Parade
- Y Parade
- Vectorscope
- Histogram
- Focus Assist
- Zebras
- Monochrome
- Nine Grid
- Safety Marker
- Center Marker
- Marker Mat
- Marker Color
- Anamorphic De-Squeeze (1.25x, 1.33x, 1.5x, 2x)
- HDR
- LUT (SLOG2, SLOG3, LOGC, VLOG)
- LUT Import
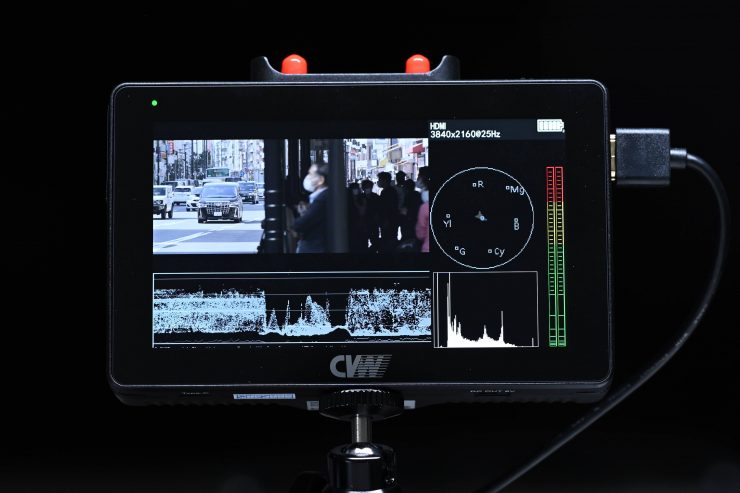
I do like that you can quickly put up all of your key scopes as well as your image with one touch of the screen.
Transmission
The biggest difference between something like the CVW Swift Z and a SmallHD FOCUS Bolt 500 is that CVM is sensing compressed (H.264) video, while the Teradek is able to send uncompressed video.
The CVW Swift Z can transmit the following resolutions and frame rates:
- 480P
- 576I
- 576P
- 720P60/59.94/50
- 1080I50/59.94/60
- 1080p23.98/24/25/29.97/30/50/59.97/60
Now, there is a little issue with this system. You can feed a 4K signal from your camera’s HDMI output into the TX unit, but then if you turn the RX unit on you won’t get any picture. The TX unit doesn’t have the capability to downscale the input source and then transmit it as HD.
This means you have to set the HDMI out resolution on your camera to HD otherwise it will not work as a wireless video system.
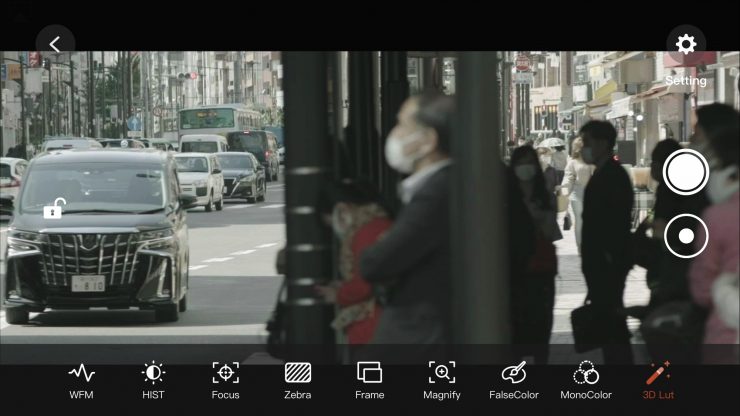
Supports the Crystal Vision app
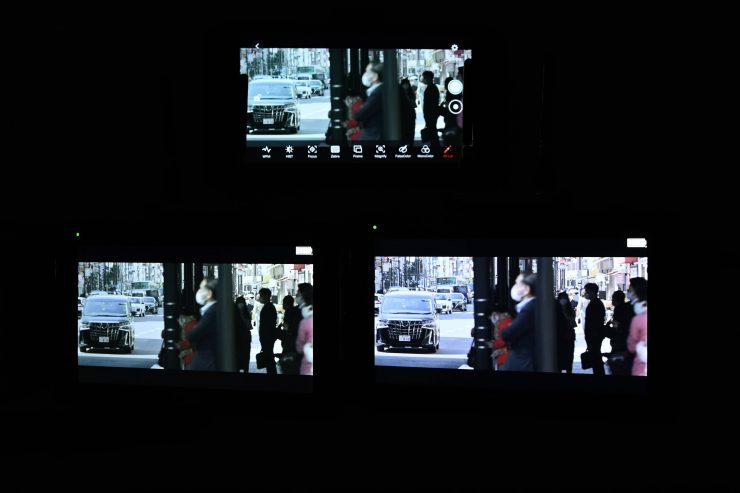
Another nice feature of the CWV Swift Z is that you can also use the Crystal Vision app at the same time as sending a signal from the TX to the RX.
You do, however, have to switch the TX and RX over to RTSP to make this work. This does limit the range of the system when you do this.
The image delay and quality of the image on the App are pretty bad. It is certainly usable, but it is not great. Above you can see the quality from the onboard recording capability the app has.
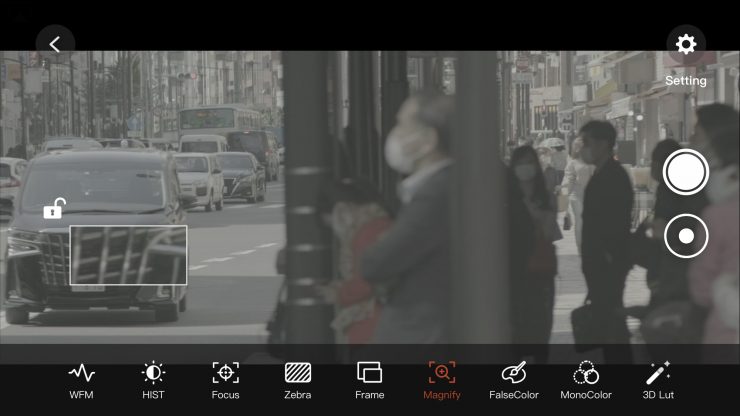
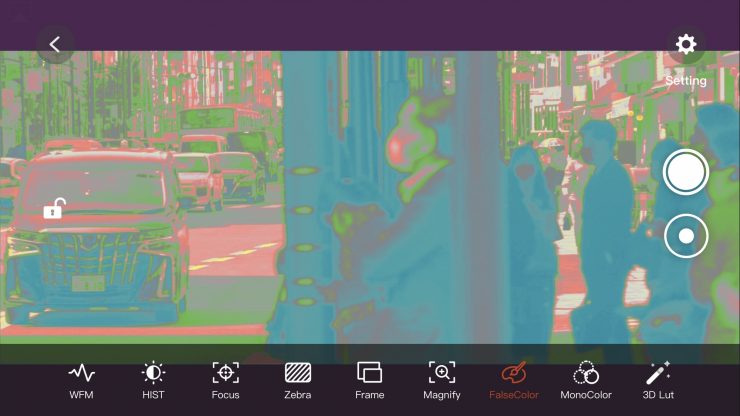
The App has quite a few monitoring tools, but bizarrely you cannot have more than one up at a time. With a camera like the Canon C70 that can not output a LUT over HDMI this is an issue. Once you select the LUT tool on the App, if you want to suddenly bring up a waveform or any other tool, the LUT turns off.
Mounting Points
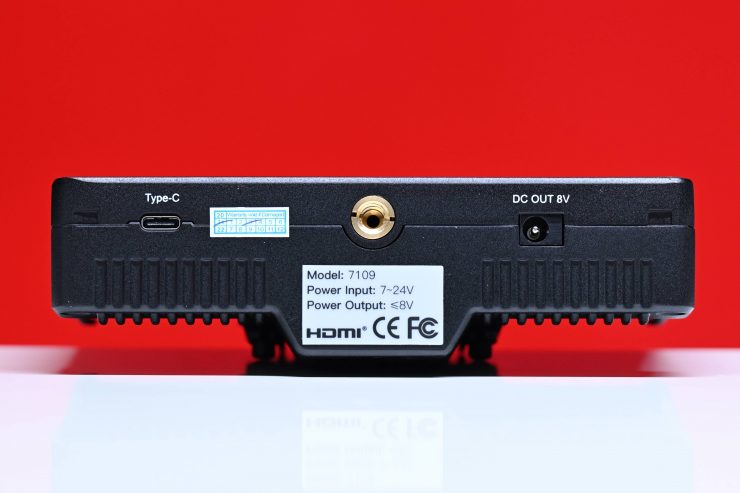
You only have one 1/4-20″ mounting point on the bottom of each monitor. CVW does give you two cold shoe mounts in the kit, but these are fairly ordinary and they barely support the weight of the monitors once you start adding batteries to them.
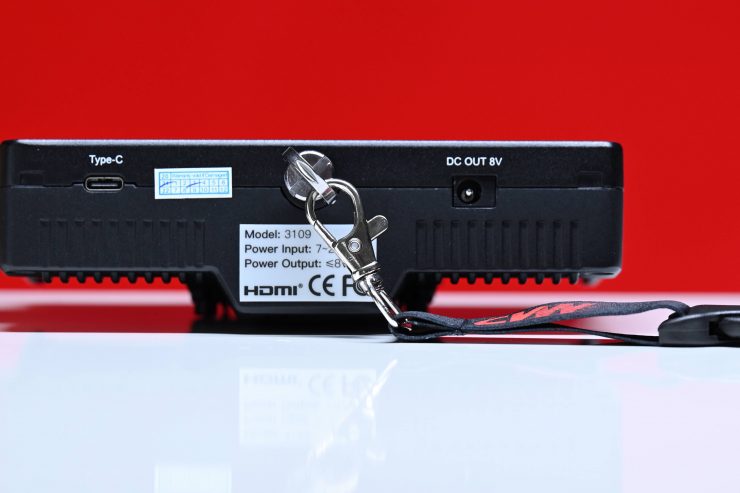
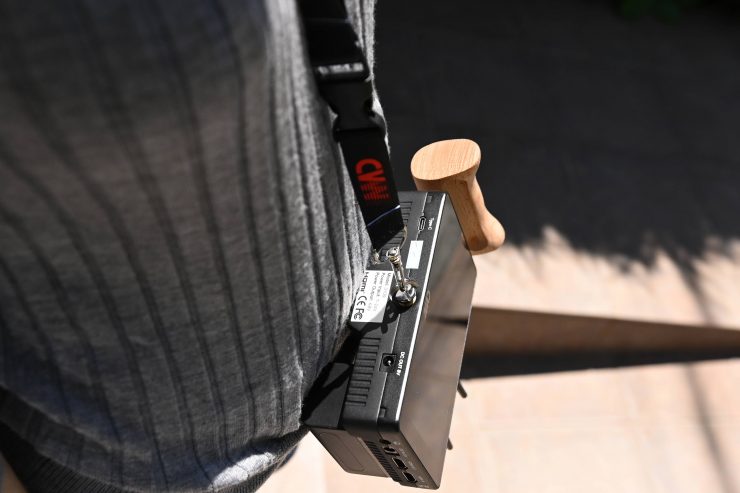
With the kit, you also get a large lanyard that you can screw into the bottom of the monitor. This lets someone carry around the monitor without the need to physically hold onto it.
Heat
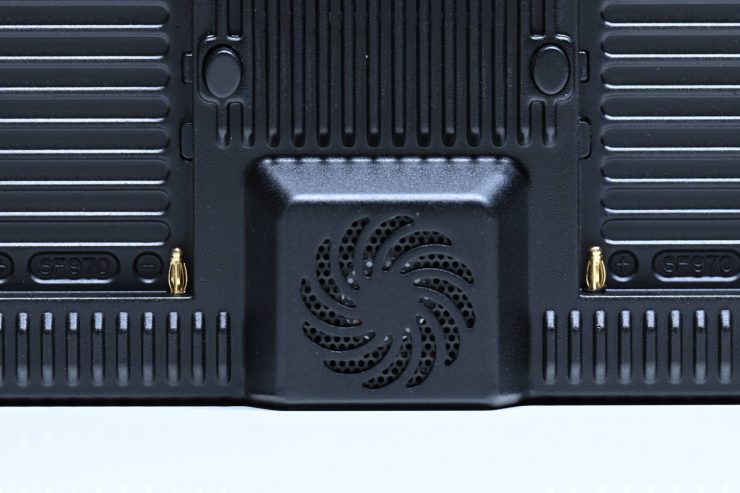
Like most other monitors with built-in wireless capabilities, the Swift Z system does get pretty hot, especially after it has been on for a period of time.
The monitors do have a fan but it is pretty quiet and doesn’t make any noticeable noise.
Usability
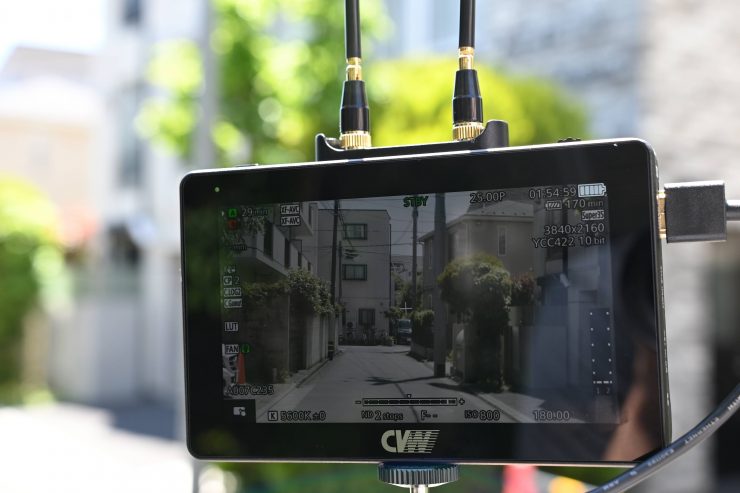
First of all, I did encounter issues with the usability of this system. If I had the HDMI cable plugged into the Swift Z and then I turned on the Canon C70 and then turned on the Swift Z it just kept coming up No Signal. What I had to do is to pull the HDMI cable out of the Swift Z and then plug it back in, and then the image appears. This was extremely annoying.
If I then went ahead and turned the RX unit on, it takes a whopping 50 seconds for an image to appear on the screen. The linking up time between the TX and RX units is painfully slow.
Ok, so what happens if I turn the camera off and then back on again? THis time, both the RX and TX units got a picture back within 5 seconds.
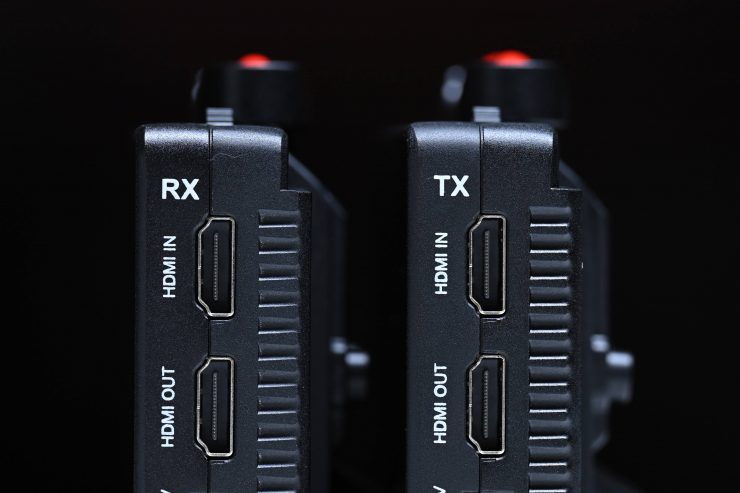
What is nice is that because both the monitors feature HDMI IN and HDMI OUT so you don’t have to use them as a wireless set. You could instead, use them as two stand-alone monitors for two different cameras. It is this added versatility that helps make the Swift Z an appealing product.
Latency
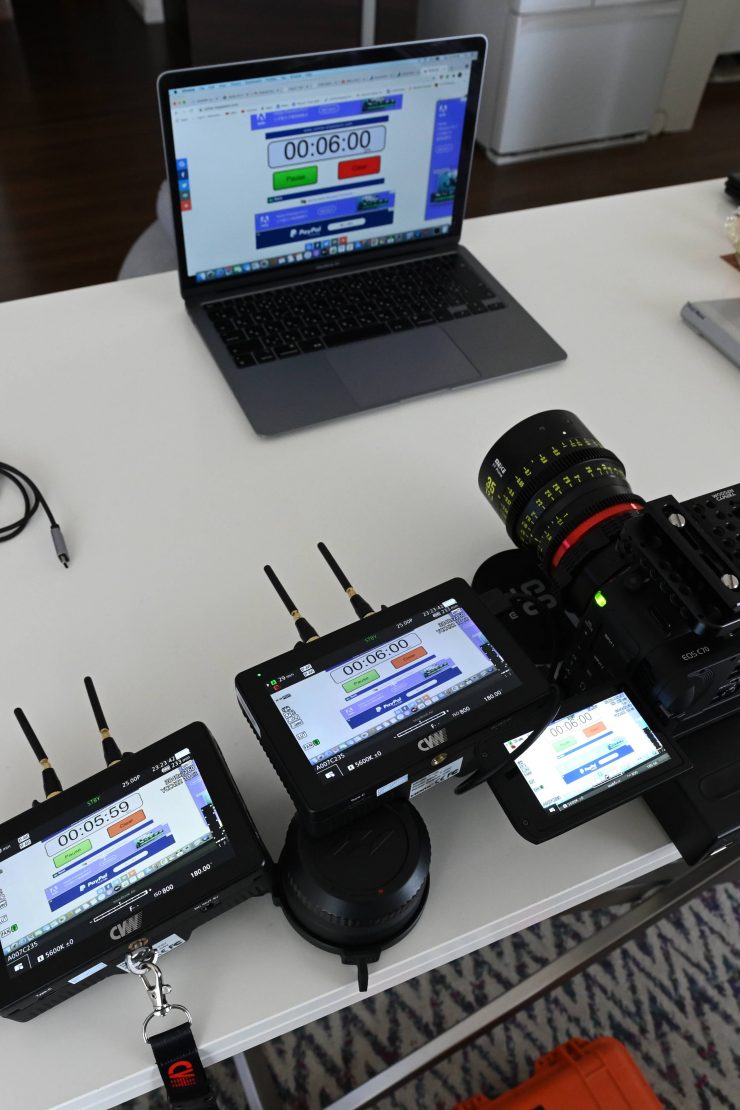
I tested out the CVW Swift Z system to check how much latency there is. I did this over a series of three random tests.
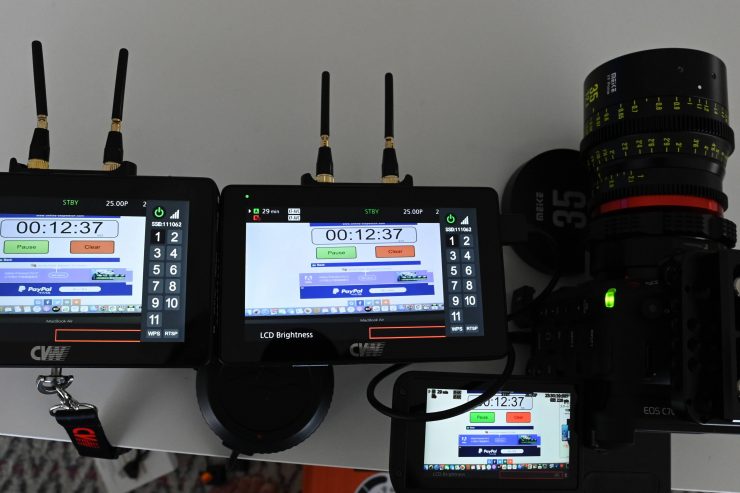
Below is the amount of latency between the camera and the TX unit, the TX and the RX unit, and the camera and the RX unit:
- Camera & TX – 88ms
- TX & RX- 53ms
- Camera & RX- 141ms
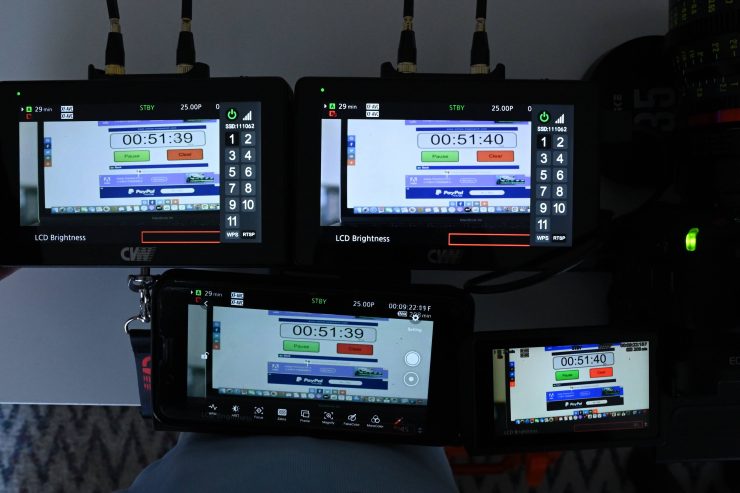
I also checked the image delay between the camera and the image on the Crystal Vision App and found that it was 182ms.
What do these figures actually mean? Well, anything below 100ms is considered to be low, because most humans don’t perceive a delay that small. Once you get over 100ms we perceive a noticeable delay.
The latency between the camera and TX unit and the TX and RX units are all relatively good. However, if you factor in the total latency between the camera and the RX it is not low enough to be used to pull focus remotely.
What you clearly need to know is that the amount of latency you will see can vary dramatically from camera to camera, especially when using HDMI. You also need to be aware that there will also always be a very slight delay between what you are shooting and what you are seeing in your camera’s EVF or LCD screen.
Look, HDMI has inherent image dealy problems, and yes if you combine that along with one of the cheaper wireless video systems you can get a lot of latency. Depending on your needs, there needs to be an acceptable limit that you are willing to tolerate.
Is the screen bright enough?
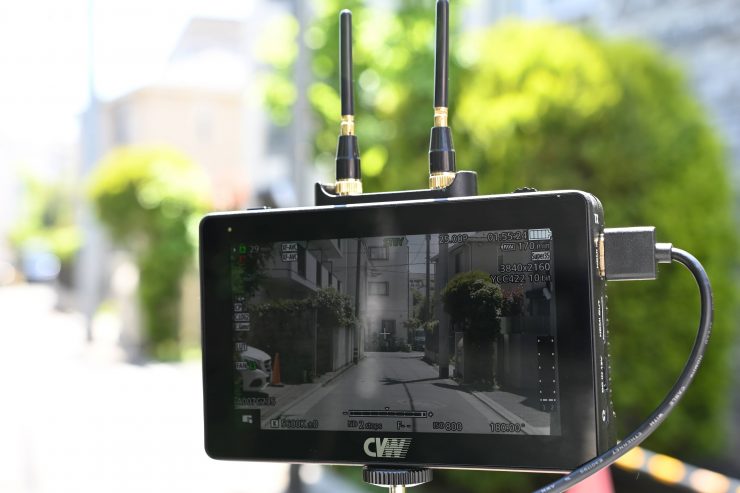
As I have already mentioned, the CVW Swift Z features a claimed 500 nit daylight viewable 1920×1200 IPS LCD screen.
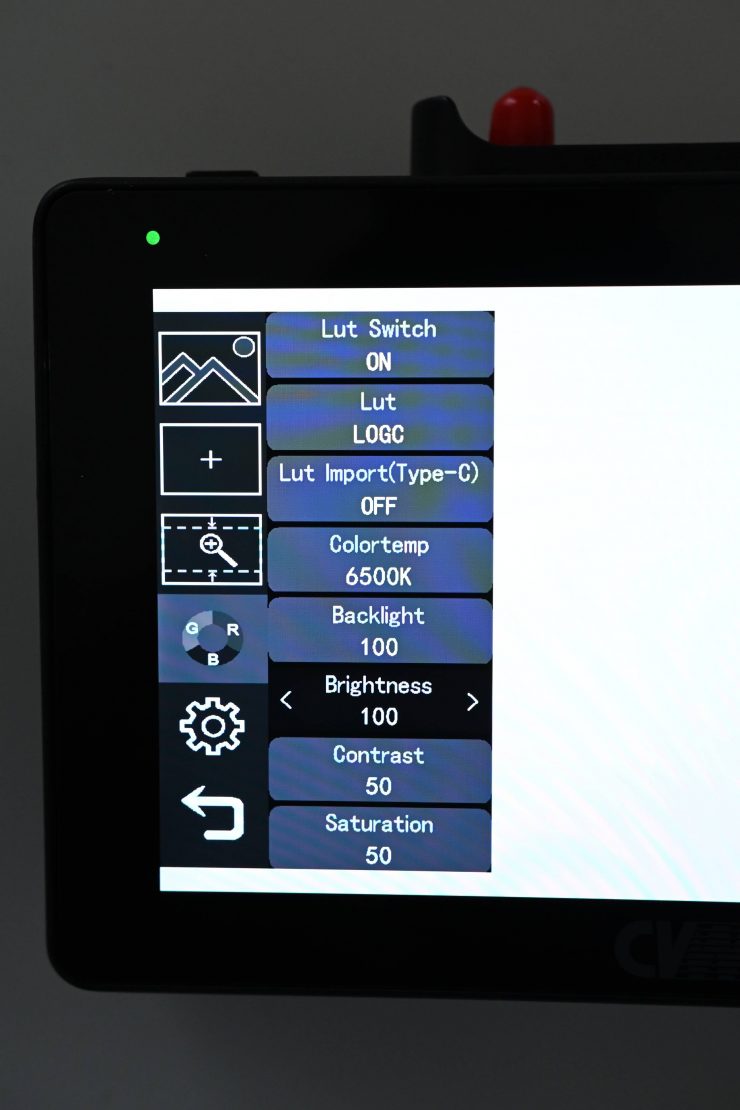
You can change the brightness levels of the monitor as well as the backlight strength. There is also the option to change the contrast and saturation. Changing the brightness does nothing other than making the screen go all milky. You really have to leave the brightness around 50.
I personally think that 500 nits are nowhere near bright enough for outdoor use. You need at least 1,500nits and above to be able to see most screens outdoors on a sunny day.
If you are just using this system indoors then it is perfectly fine. Outdoors it will be a struggle to see the screen clearly when working in certain conditions.
The pixel density is a claimed 400 PPI. The panel is listed as 8-bit with 10-bit scopes. A lot of companies list their monitors as 10-bit even though they are really using a 10-bit (8+2 FRC) panel. FRC stands for Frame Rate Control Technology and an 8+2 FRC panel is basically a way of trying to approximate the color reproduction of a true 10-bit panel. A true 10-bit monitor can display 1024 shades of color, whereas a 10-bit (8+2 FRC) panel can only truly display 256 shades. So what a 10-bit (8+2 FRC) panel does is artificially create in-between shades of color by quickly shifting the pixels to go between certain shades of colors.
For example, you would show the main shade of one color for 75% of the time and then another one for 25% of the time. This creates an illusion for the viewer that they are actually seeing more colors than what can actually be displayed.
Image quality
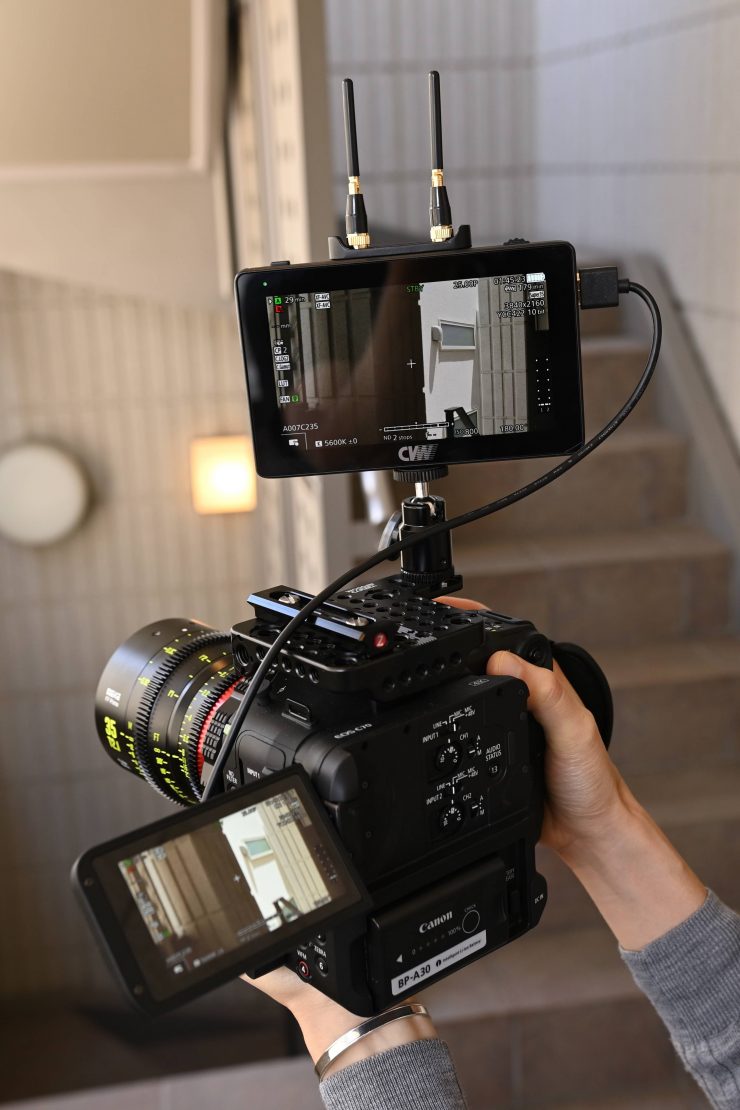
At the end of the day if a monitor can’t display accurate images then it doesn’t matter how many bells and whistles it has.
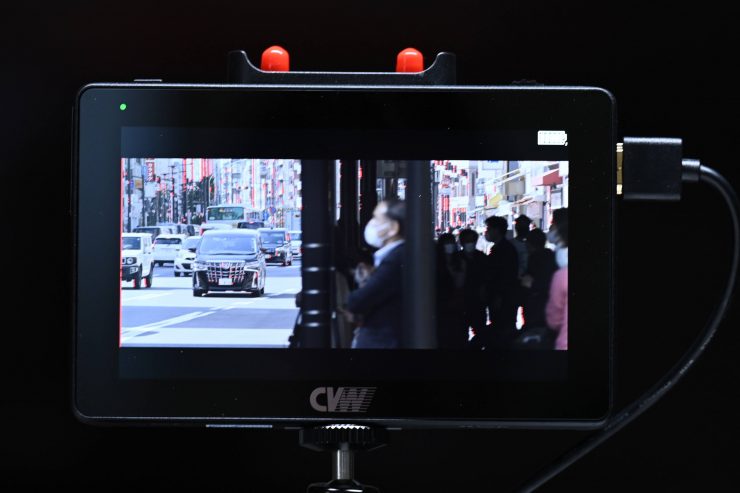
The picture quality on the CVW Swift Z is ok, but it isn’t great. However, I think for the price most people will be happy enough with it. It isn’t going to challenge a SmallHD or Atomos device for image quality.
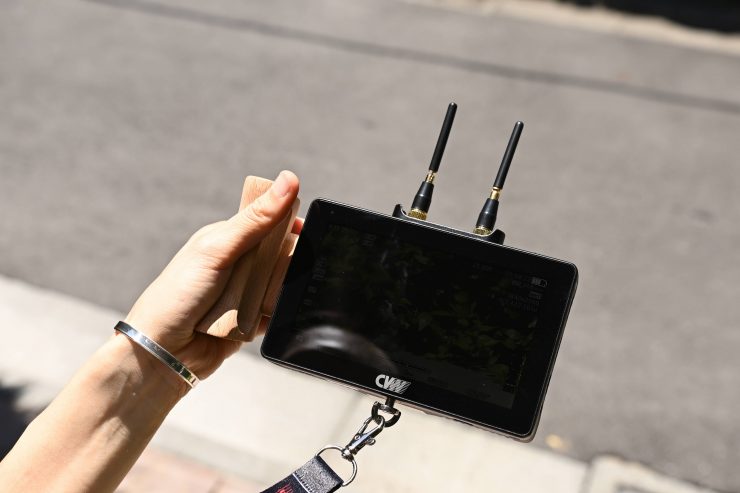
The trouble I found with the screen, as I mentioned earlier is that it isn’t very usable outdoors. It isn’t bright and it is highly reflective.
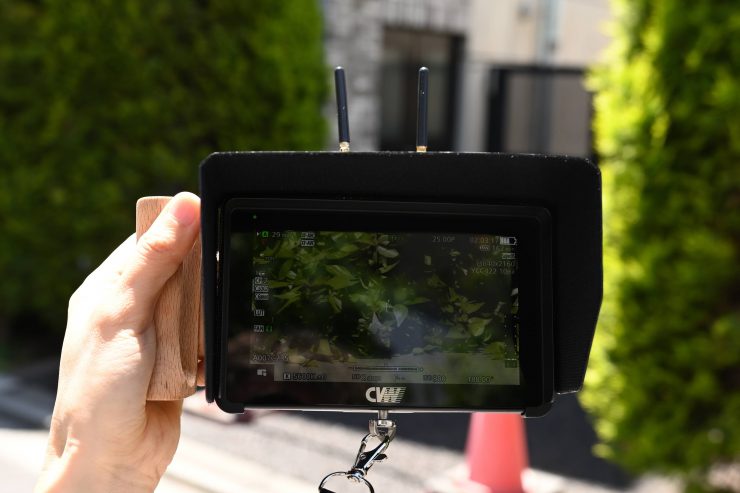
The sunhood does help a little bit, but it doesn’t magically fix all of the issues.
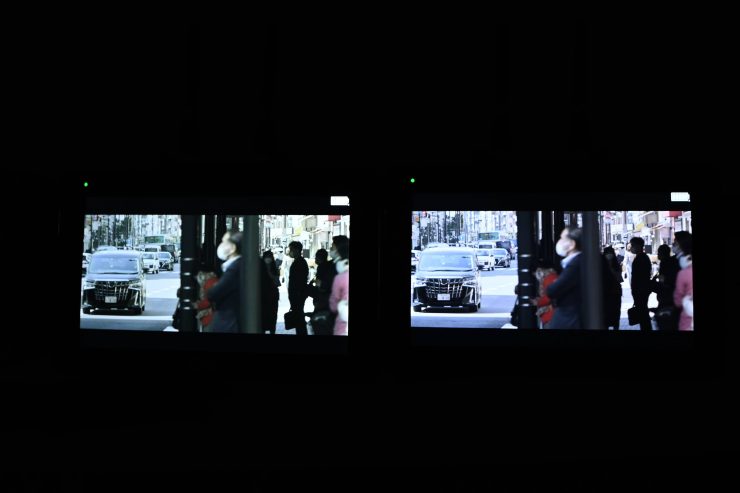
Here is the other issue, both the RX and TX monitors had different color casts, despite all of the settings being exactly the same. The TX monitor was much more magenta than the RX monitor which leaned green.
Does accuracy really matter?
This may sound like a ridiculous question to ask, but with everyone watching content on different screens and types of screens, it’s a legitimate question.
Just because you are basing color accuracy, brightness, and contrast off whatever monitoring or grading monitor you are using there is very little chance that it is going to be seen by someone as intended unless it happens to be shown in a movie theatre (and even then there is still variables).
In the case of giving a monitor to a director, producer, or client, does it really need to be super accurate? That answer is really going to depend on the level of production. For me personally, I would rather try and provide the best image possible so that a director, producer, or client knows exactly what they are getting. It is important for me to show producers, directors, or clients a fairly accurate indication of what they are getting.
Is it actually 500 nits?
To check the claimed brightness of the CVW Swift Z, I shot a white card and then exposed the image so it was just below 100% IRE so there was no clipping. I then took a reading from the CVW Swift Z using a Sekonic C-800. TheSwift Z has a claimed maximum brightness of 500 nits so does it produce 500 nits?
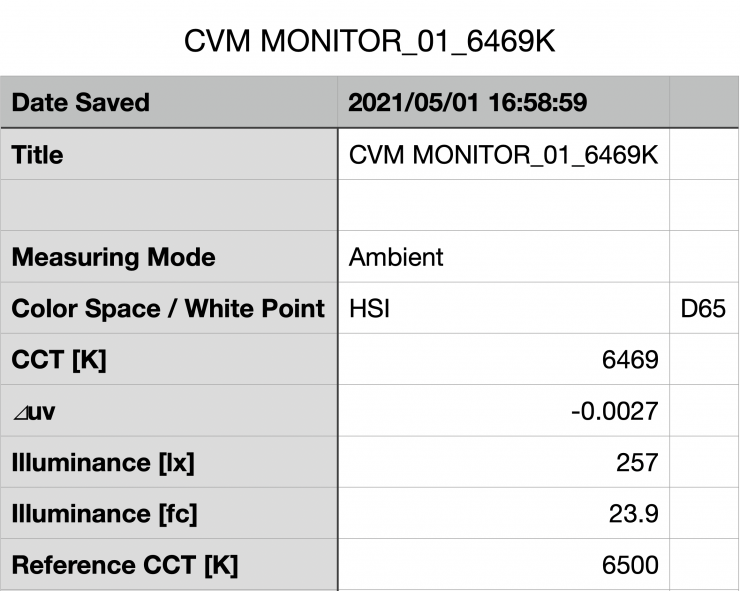
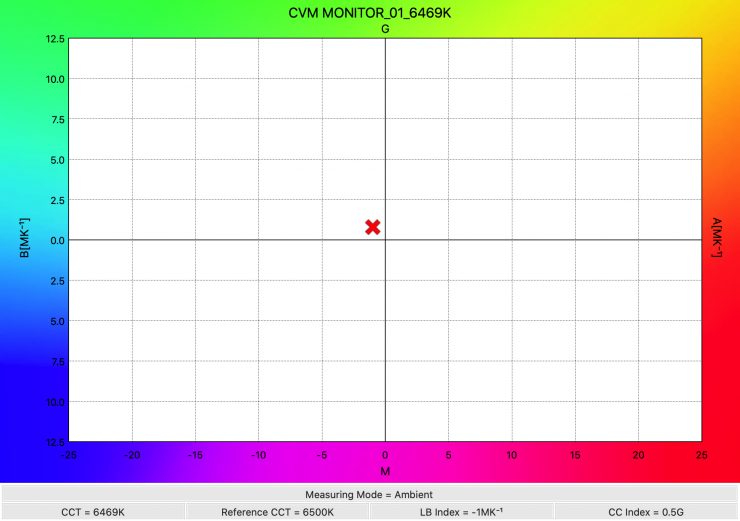
The CVW Swift Z gave me a reading of 259 lux and a Kelvin color temperature reading of 6469K when the monitor was set at 6500K with the Backlight at 100% and the Brightness set at 50%. Just for reference, it had a CC score of 0.5G The reading of 259 lux was well below the claimed figure of 500 lux. This is why we actually test products and don’t just take a manufacturer’s word.
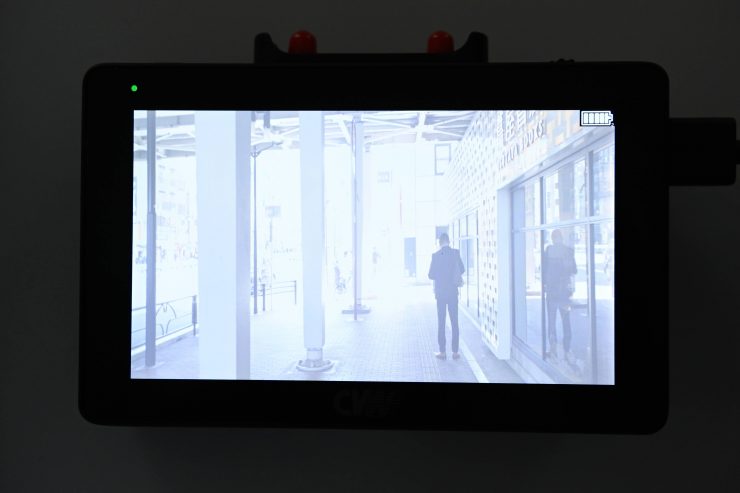
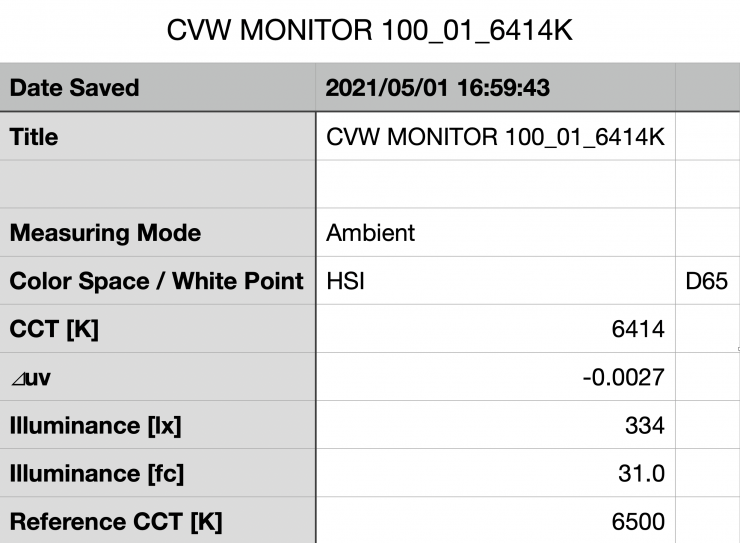
Now, you can turn up the brightness on the screen, however, it just results in a washed-out and unusable image. It also doesn’t significantly increase the brightness of the display. I still got a reading of just 334 lux with the brightness and backlight both set at 100%. As I mentioned earlier in the review, you can’t use the monitor with the brightness turned up.
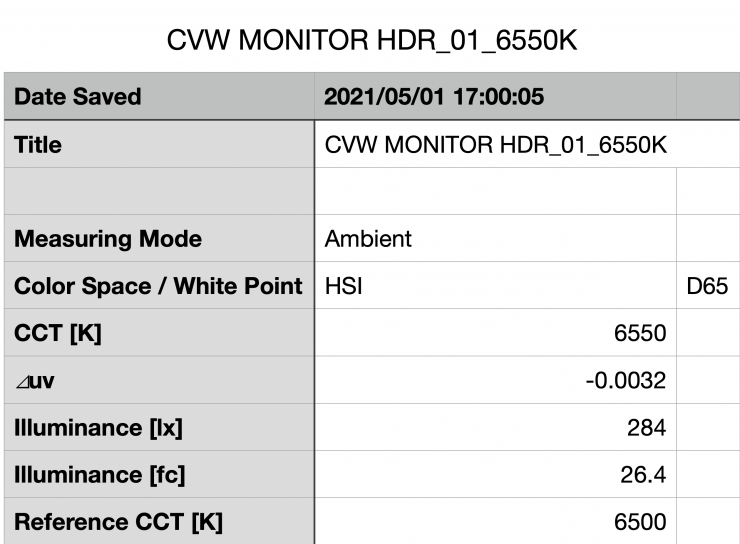
Ok, so what about if we put it in its HDR mode and send an HDR signal from a camera to the monitor. Does that get us a brighter screen? No, it doesn’t. I still only recorded a figure of 284 lux.
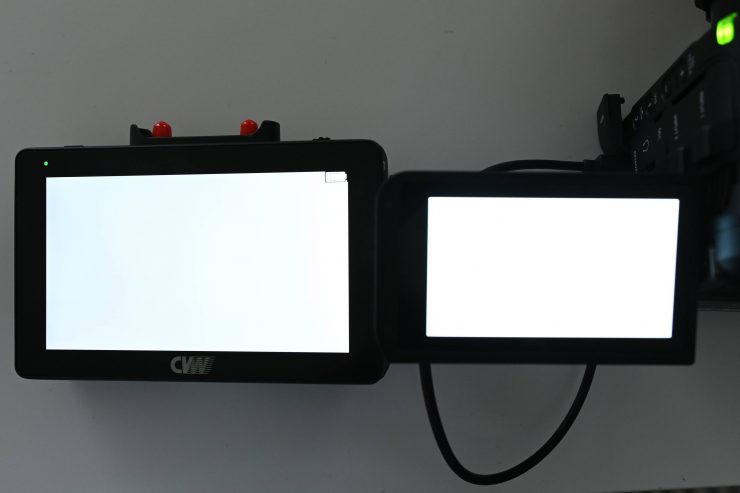
Just as a comparison, above you can see the difference in brightness between the CVW Swift Z and the onboard LCD screen for the Canon C70. The Canon’s LCD screen was set at its default brightness level.
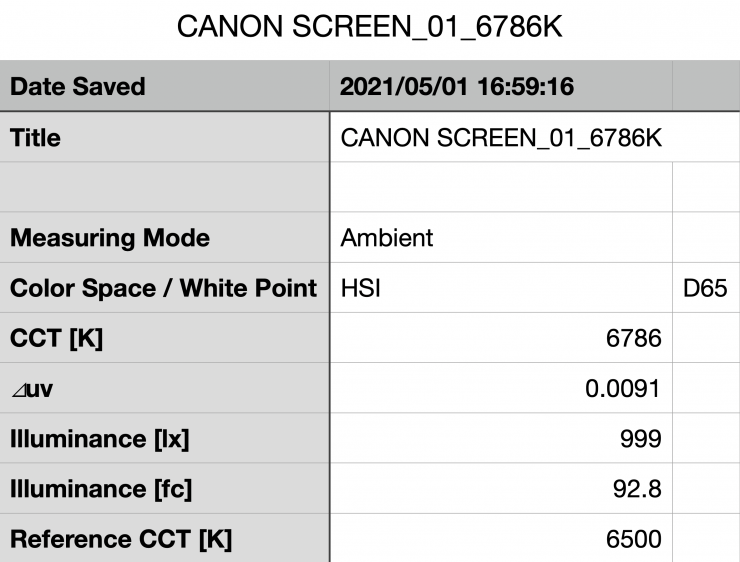
Now, out of curiosity I also measured the screen brightness of the Canon C70 and I got a reading of 999 lx.
To sum it up, this monitor doesn’t come anywhere near its claimed figure of 500 nits. The Canon C70’s onboard LCD screen was more than 3x brighter than the Swift Z.
Power up time
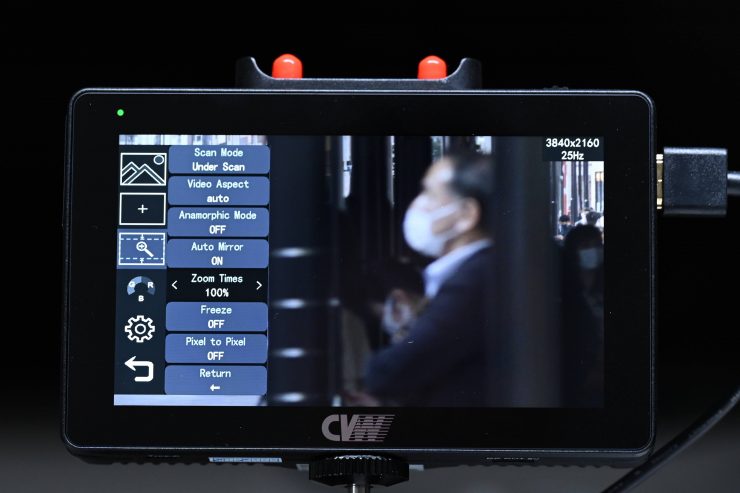
I hate monitors or products that take too long to boot up before you can use them. The CVW Swift Z boots up reasonably quickly. I timed it at about 6 seconds from the time I turned it on till I got a picture up on the screen.
Wireless performance
This is always a hard one to review and test. Wireless range and performance depend on where you are using it. In one location you may get 500′ of range or more, and in another, you may be lucky to get 50′. From my testing here in Japan.
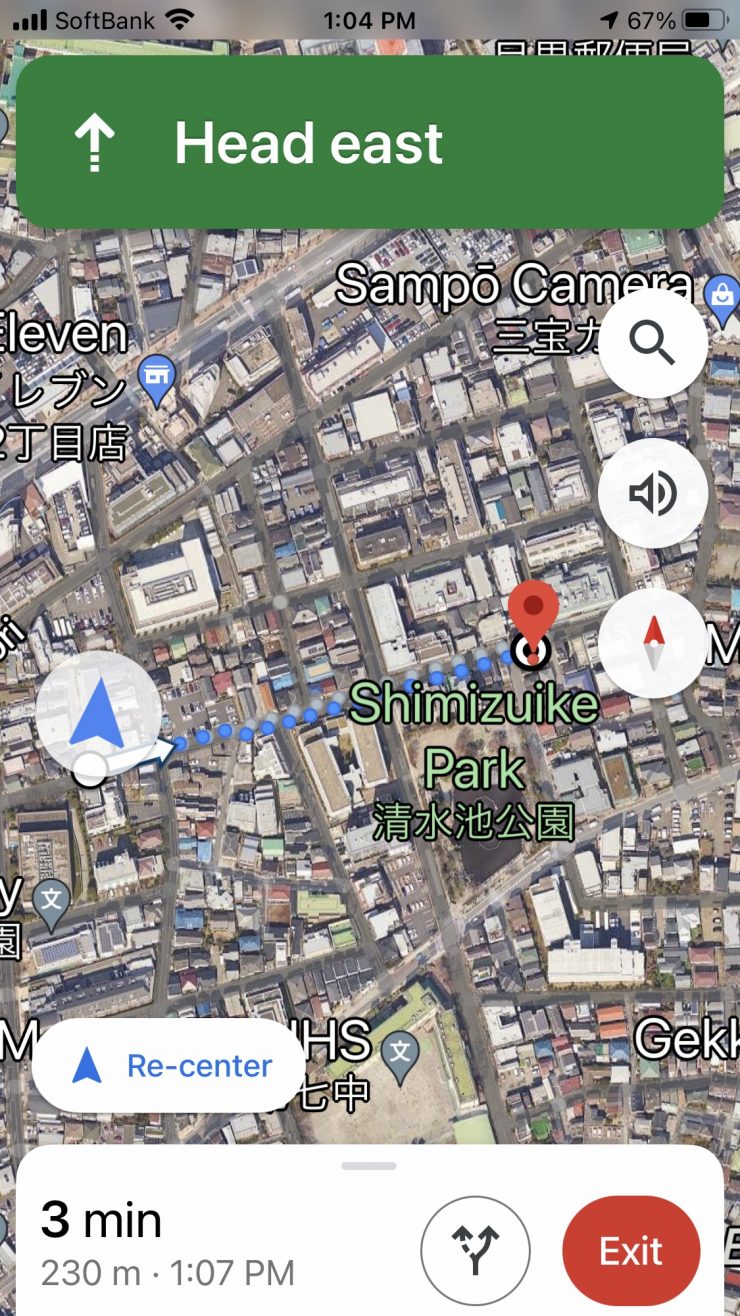
The advertised line of sight transmission distance is claimed to be 800ft (243.84m). I got around 754ft (230m) before the signal dropped out completely. Occasionally I would get some image dropouts if an object came between me and the TX.
Once the wireless signal dropped it reappeared automatically once I came back into range. I didn’t need to turn anything off and then back on again.
I also wanted to see what would happen if I lost connection, so I turned the receiver off and then back on again. It took around 50 seconds for the receiver to re-establish a connection which is horribly slow for any wireless system.
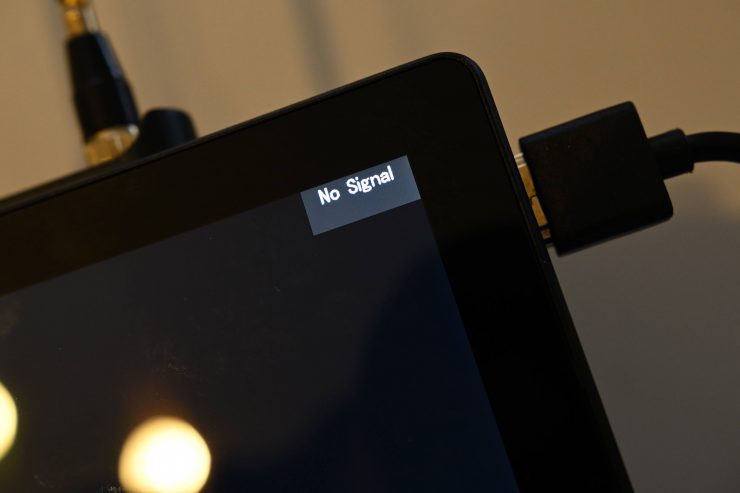
Next, I turned the transmitter off, which is more commonly what may happen when you change over a camera battery or power the camera off and then on again. Now, when I did this the TX unit came up with No Signal again and I had to pull the HDMI cable out of the Swift Z and plug it back in.
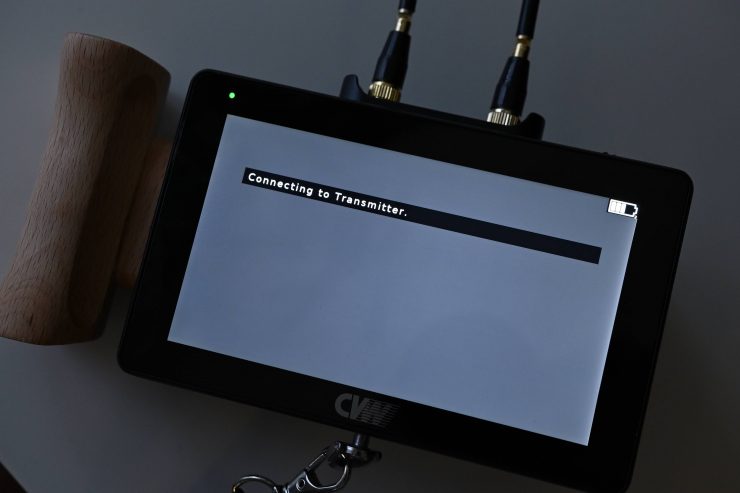
After plugging the HDMI cable back in I got a picture back on the TX unit, but then the picture never came back on the RX unit. All it kept displaying was, Connecting To Transmitter, but it never did. I had ton turn it off and then back on again and then wait till it connected back up.
What about if I pulled out the HDMI from the camera? This time the system re-established connection in around 8 seconds.
So what would happen if I suddenly changed the frame rate to 50p on my camera while the system was on? I lost the picture for just a few seconds before it came back. When I changed the camera back to 25p, it took around 3 seconds for the picture to re-establish.
The system is very finicky for a lack of a better word when it comes to the wireless. Having to pull cables out and put them back in and turn devices on and off is not what you want with a wireless system. A good wireless system should be straightforward to set up and use and it should connect up quickly.
Is it a disadvantage to having the wireless built-in?
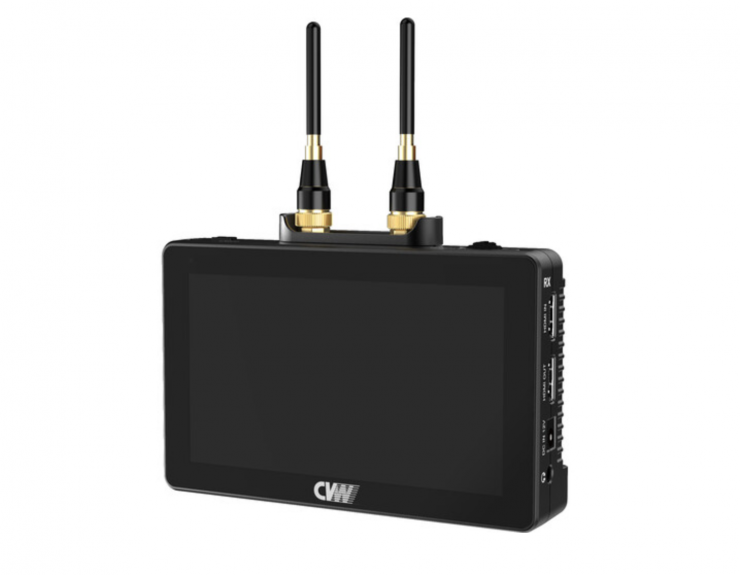
This is a question a lot of people are bound to ask, so I’ll address it from my perspective. No, I don’t think it is a disadvantage having it built-in, and here is why. The in-built RX and TX in the monitors doesn’t really make them any bigger. Also for a system at the price, you are not making a massive investment so if it lasts you a few years then it was money well spent.
The Swift Z is also compatible with all Swift series wireless transmitters and receivers. This is nice because you can use it with stand-alone TX or RX units if you wanted to.
Price
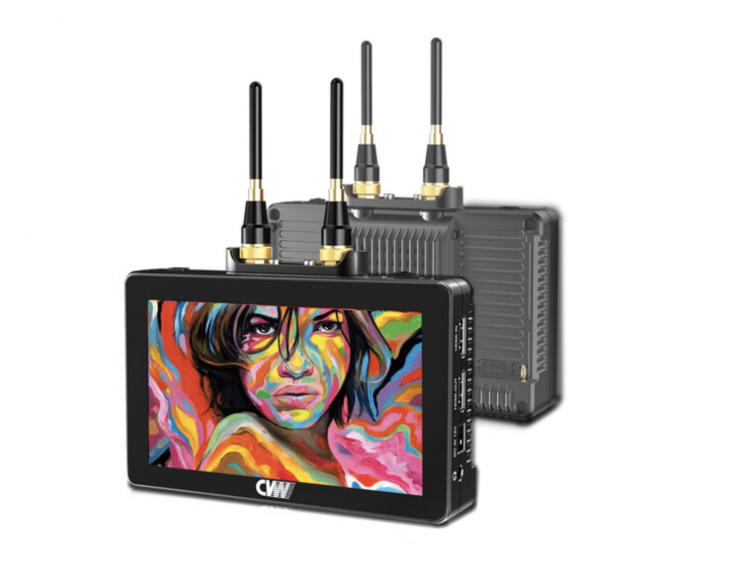
As I have already mentioned, the CVW Swift Z retails for $690 USD. This makes it very affordable for what it is. You are certainly getting a lot of functionality without having to spend too much money.
You can also buy it at the Pergear store for $690 USD.
In Japan, you can buy it through Amazon for ¥89,399. You can also get it on Amazon USA for $690 USD.
Competition
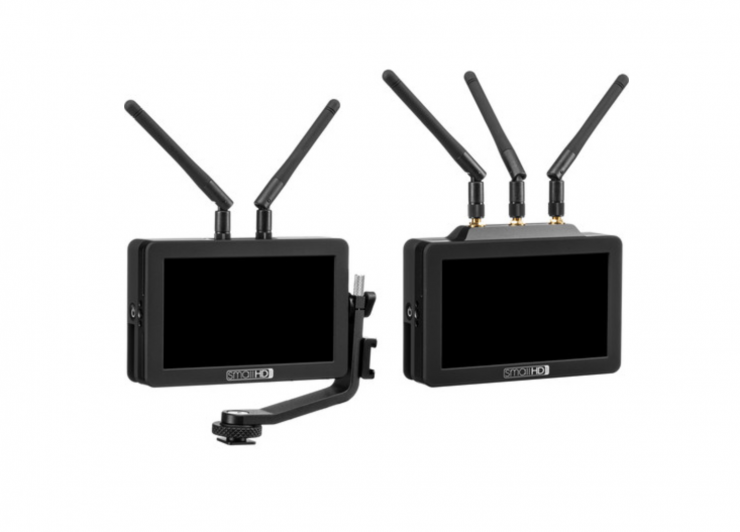
The only other HDMI TX and RX monitor kit that I know of is the SmallHD FOCUS Bolt 500 TX-RX Kit that retails for $2,939.00 USD.
Conclusion
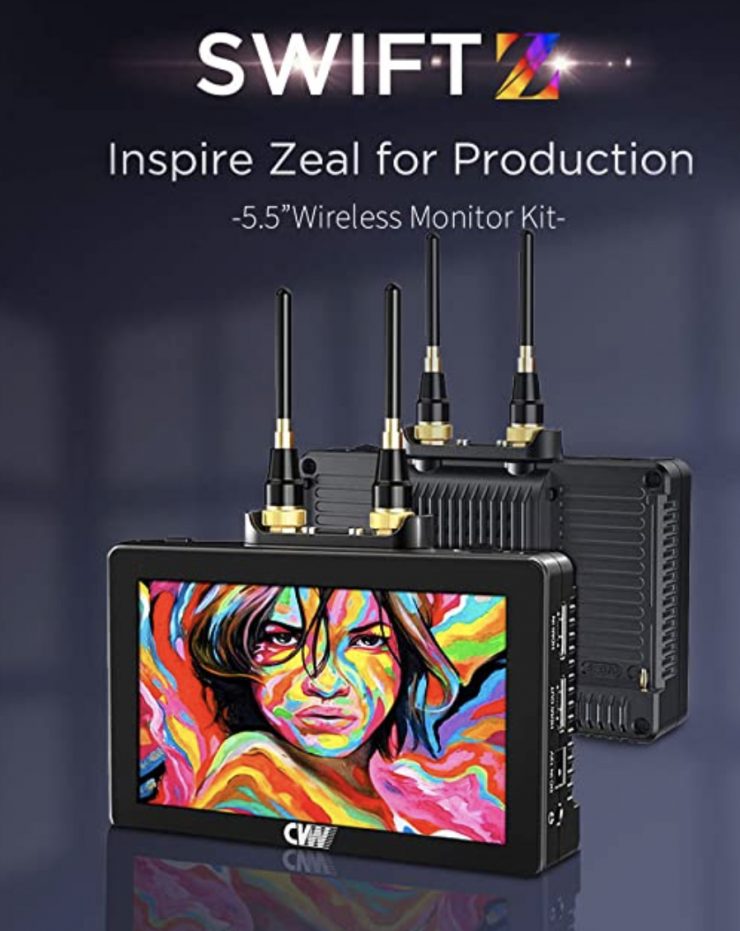
The CVW Swift Z certainly offers excellent value for money considering the fact that you get two monitors with built-in wireless video capabilities and a bunch of accessories. The screen quality is reasonable, albeit not that bright, and the touchscreen operating system is easy enough to use.
The build quality does leave a little bit to be desired, however, if you are going to make a product at this price point then you have to expect compromises somewhere.
Having the inputs and the outputs on the right-hand side of the monitor is a little bit of a head-scratcher.
The other elephant in the room is the problems with having to pull cables out and plug them back in, as well as resetting the power when using the system for wireless. On the positive side, the range is good and the signal is pretty stable.
With the Swift Z, you need to be very aware of all of its quirks. It is not a perfect system by a long stretch and as long as you are happy to live with its faults and issues then you will find it is a meat and potatoes system that will send a signal from one monitor to another without emptying your wallet.
At the end of the day, the CVW Swift Z gets the job done and it will certainly appeal to a lot of shooters who want an affordable wireless system with the added benefit of getting two monitors.

