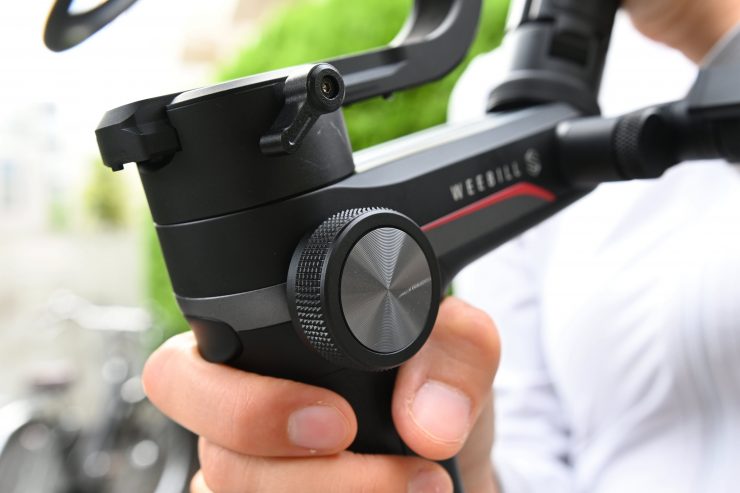
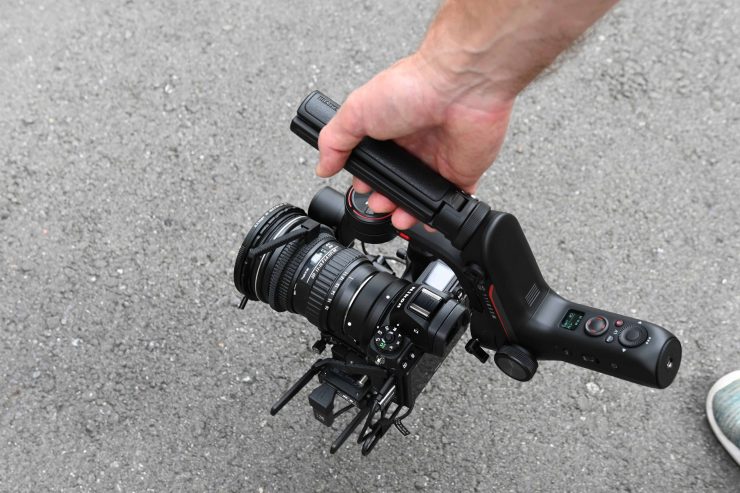
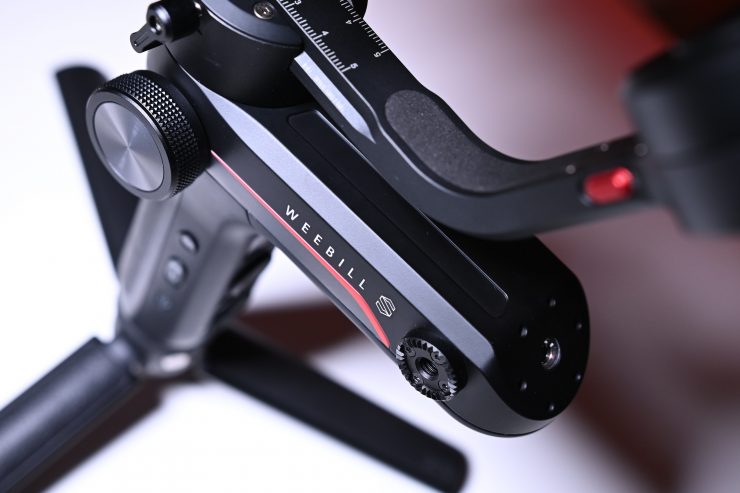
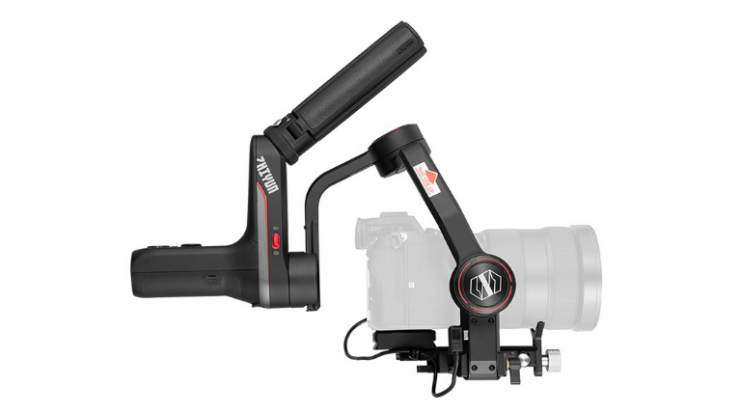
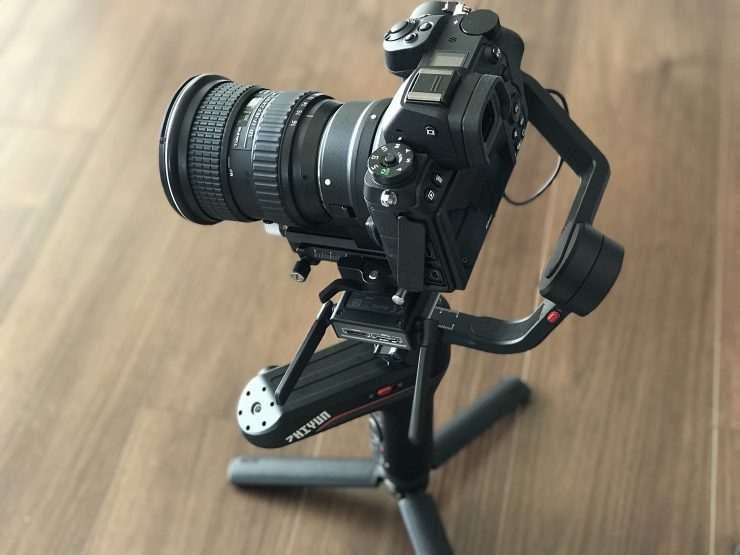
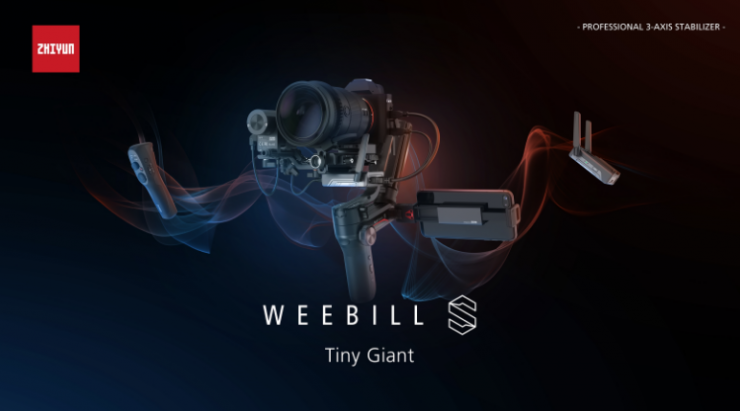
Zhiyun has officially announced their latest gimbal the WEEBILL-S. The WEEBILL-S is designed for mainstream mirrorless and DSLR cameras.
The WEEBILL-S features an upgraded algorithm, stronger motors, an intelligent ViaTouch 2.0 system, as well as an optional ultra-low latency HD image transmission module.
Key features
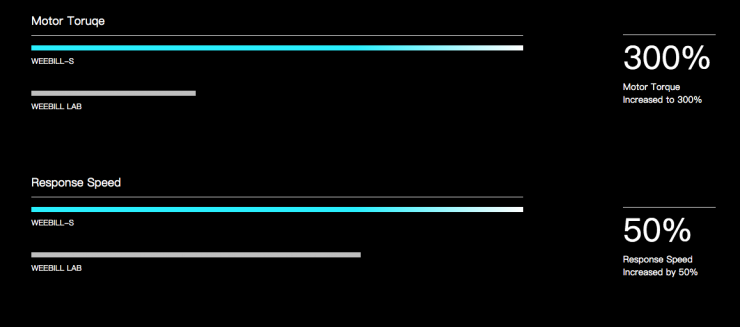
- Improved Motor Torque and super compact : Weebill-S inherits the unique structure of last generation but comes with new motor with 300% improvement in motor torque and 50% increase in responsiveness. Combos like Sony A7III +FE 24-70 F2.8 and Canon 5D4 + EF 24-70 F2.8 can be perfectly balanced.
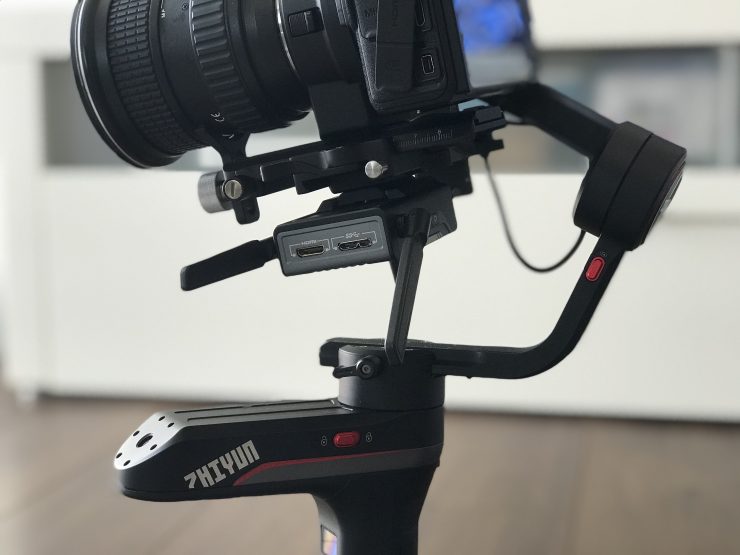
- Upgraded Image Transmission Module: Full new compact TransMount image transmission module can be directly mounted under the quick release plate. 1080p at 30fps, maximum 100-meter image transmission featuring: LUT, pseudo coloring, focus peak, and zebra adjustment for professional monitoring and livestream publishing.
- ViaTouch 2.0 and SmartFollow 2.0: Users can monitor video, control and record, and adjust the camera parameters through ViaTouch 2.0. SmartFollow 2.0 allows precise object tracking without the need of balancing your phone onto camera or gimbal.
- Sync Motion: control the stabilizer’s direction with a smartphone using the APP.
- Two-in-one quick release plate: Manfrotto and Arca-Swiss quick release plate allows easy setup and fast transition between equipment.
- Electronic & mechanical focus/zoom: supports both electronic focus control and mechanical focus/zoom control through a control wheel on the handle.
- Intelligent Auto Tune: Weebill-S can automatically recognize the setup weight and auto tune its power to best adapt the camera setup.
- Modular design for more options: When mounted with image transmission transmitter and receiver, up to 3 devices can be connected to your stabilizer including professional monitors.
I have previously reviewed quite a few of Zhiyun’s gimbals in the past, including both the WEEBILL LAB and the CRANE 3 LAB. The WEEBILL-S isn’t a replacement for any of these gimbals, it’s simply a new addition to Zhiyun’s line up. Zhiyun has now released more than 15 different gimbals to the market since 2014.
WEEBILL may sound like a bit of a crazy name, but there is a story behind it. A Weebill is actually Australia’s smallest bird.
First Impressions
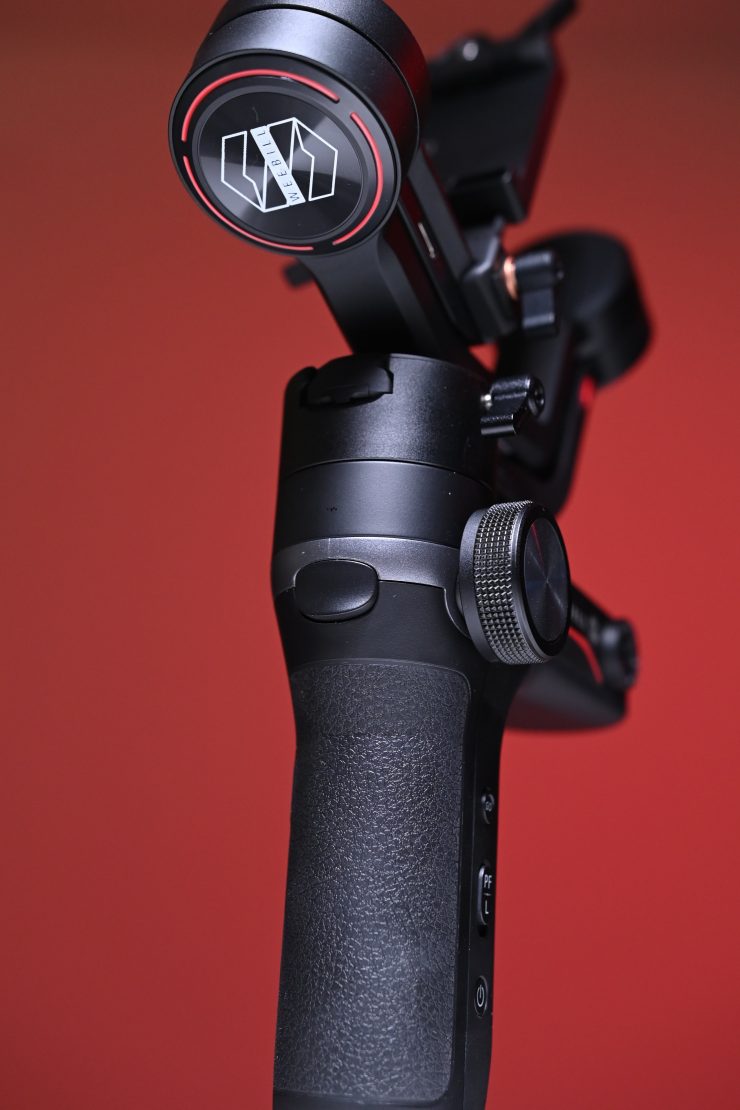
The WEEBILL-S is a nice compact size and it folds down so it takes up very little space in a bag. It’s also very lightweight and looks to be a good option if you just need to get the occasional gimbal shot with a small mirrorless camera.
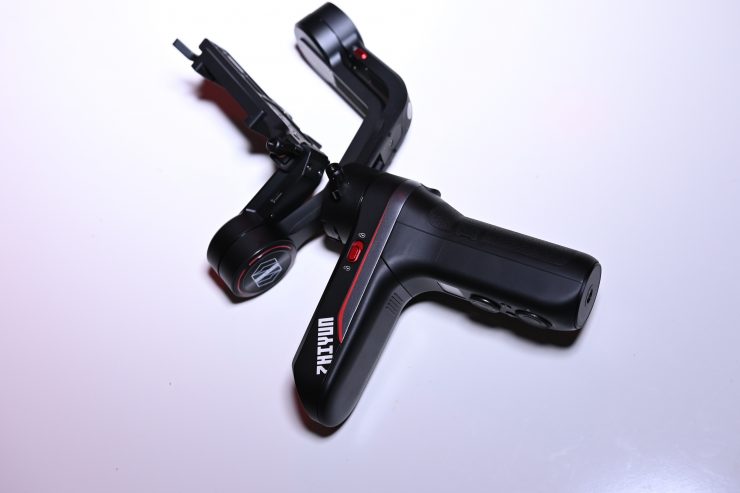
I personally don’t use gimbals that often, but when I do, I want something that is compact and easy to use. The WEEBILL-S looks like it fits that bill quite well.
Design
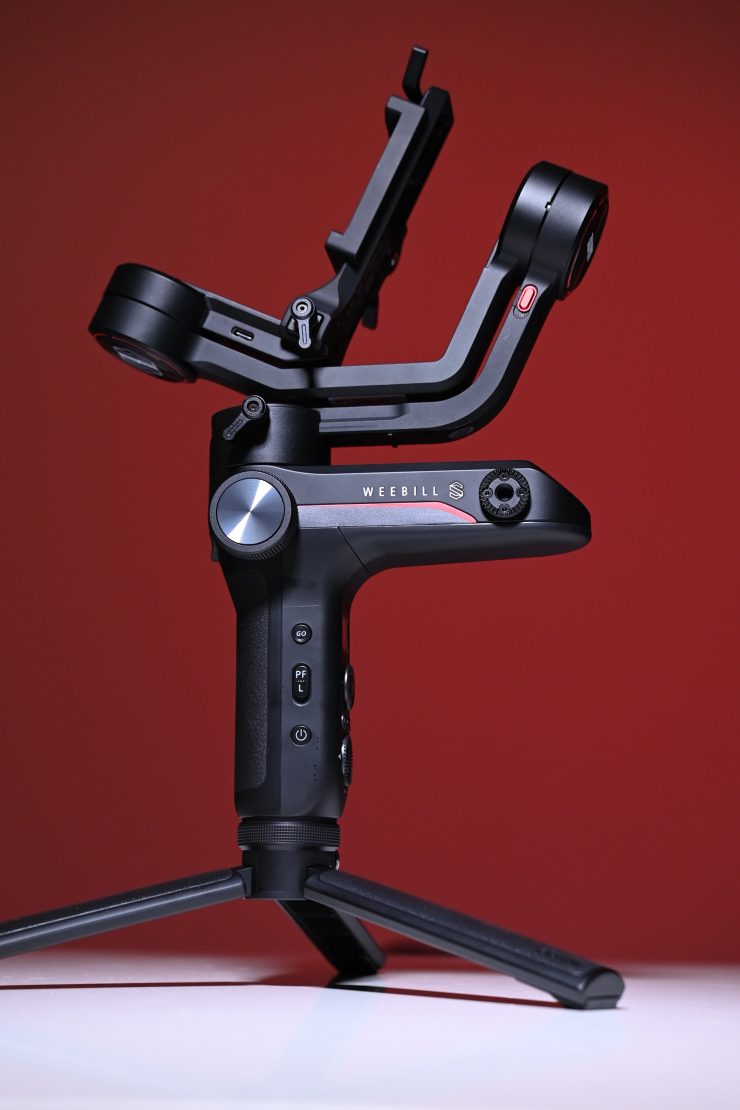
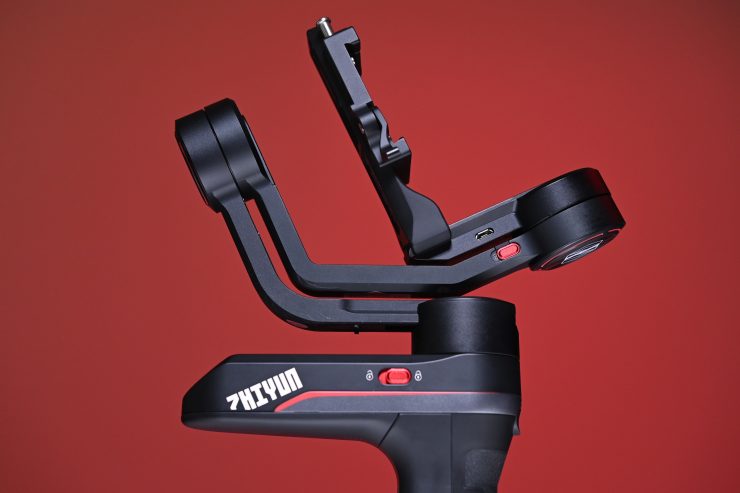
The WEEBILL-S takes its design cues from the WEEBILL LAB, and its appearance is very similar. It has the ability to be held with one hand or two hands depending on how you configure it. You can either hold it upright or use it in an underslung position simply by choosing how to hold it or by re-positioning the bottom handle.
When the first one-handed gimbals came out there was always this crazy maneuver you had to do to flip the gimbal around to put it into a low slung mode. With a lot of today’s gimbals, you don’t need to do this anymore. Some gimbals perform better than others at this task. Zhiyun has certainly made this task very easy with their most recent gimbals and a lot of this has to do with the design.
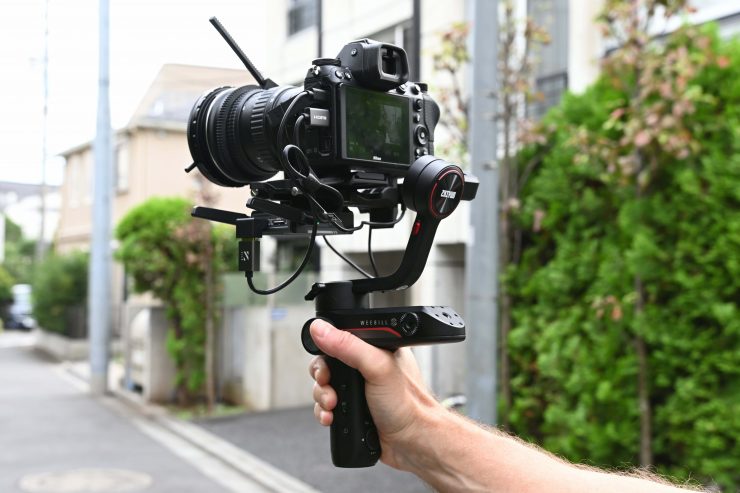
Whether you like this design is going to very much be down to personal preference. By going with this type of design, at least Zhiyun has given you options as to how you can hold and use the WEEBILL-S. You may well find that you prefer holding it one particular configuration over another.
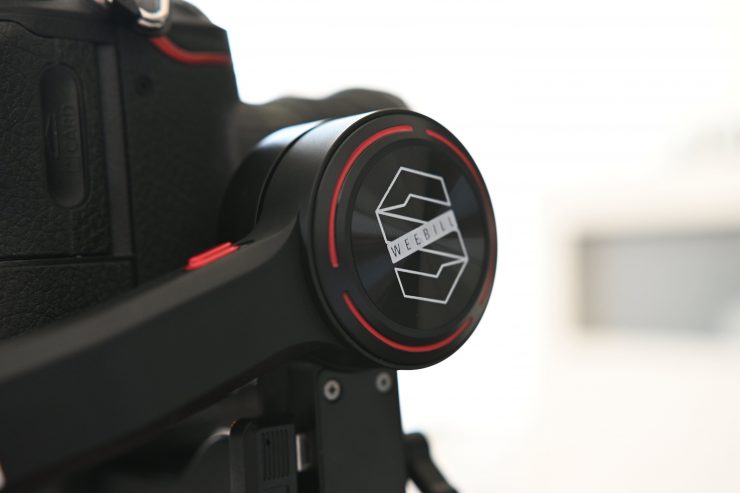
The rear motor is also offset so you don’t have the back screen on your camera being obscured when you are shooting. Again, this is something I liked about the larger WEEBILL LAB.
Gimbals are commonplace now and just about everyone makes one. We have reached a stage where manufacturers are experimenting and trying to redefine how a gimbal should operate and what features you should expect as standard.
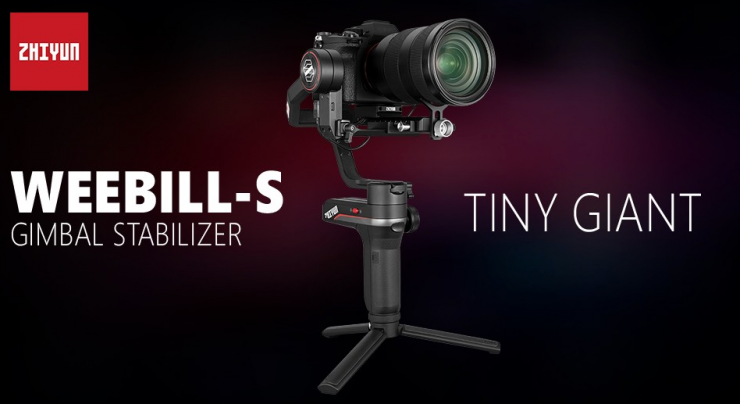
In recent times we have seen companies coming out with one-handed gimbals that can accept some pretty heavy payloads. In my opinion, I think this sort of defeats the purpose of having a compact one-handed gimbal. The heavier the payload, the shorter the time you actually hold it for. I think once a gimbal payload reaches a certain point you are better off with a two-handed design. This is especially true if you are going to try and use something like a Canon C200, Panasonic EVA-1 or an ALEXA Mini on a single-handed gimbal.
I’m still not sure if I agree with this new fad of designing gimbals so that they are easier to get low angle shots. I don’t personally shoot a lot of low angle shots and I think the majority of gimbal uses probably get the majority of their shots at normal eye level. While there is absolutely nothing wrong with making a gimbal easier to use for low angle shots, it shouldn’t be the most important aspect of designing a gimbal. In saying that, I like that the WEEBILL-S has been designed in a similar configuration to the WEEBILL LAB.
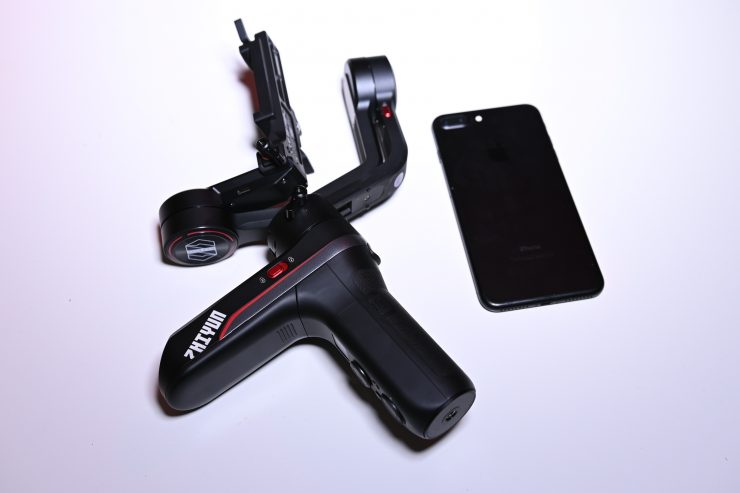
I also like that the gimbal can be folded down into a very small footprint. This makes it a lot more convenient to travel with as it won’t take up a lot of space in your bag.
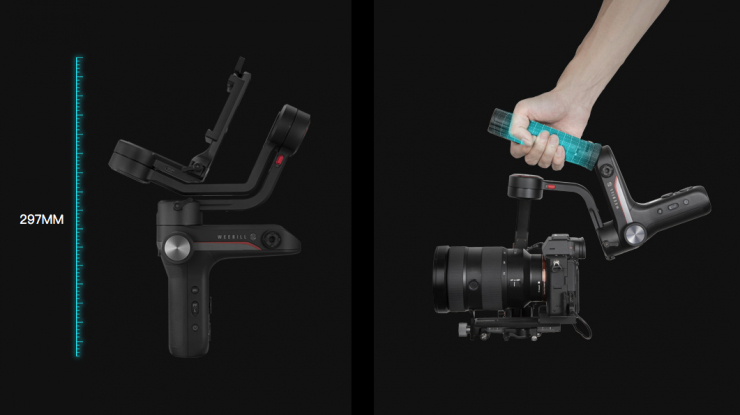
Its small size makes it a lot easier to carry around and transport than the larger WEEBILL Lab or CRANE 3 Lab.
Build Quality
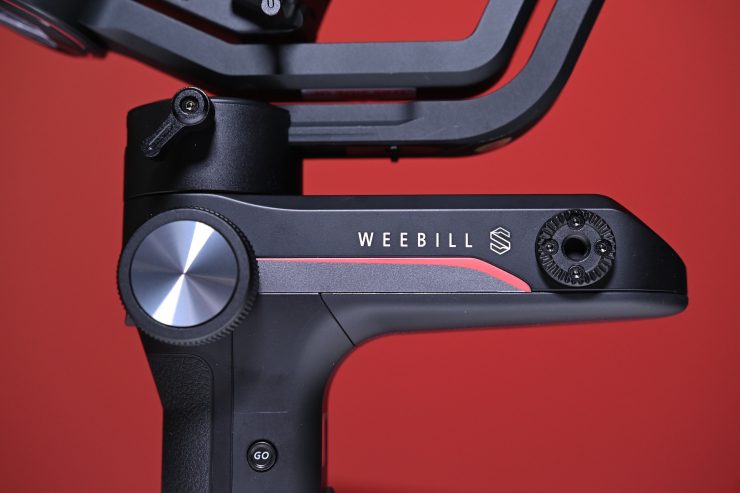
The WEEBILL-S is reasonably well made. If you have been happy with the build quality of other Zhiyun gimbals, you will be happy with the build quality of the WEEBILL-S.
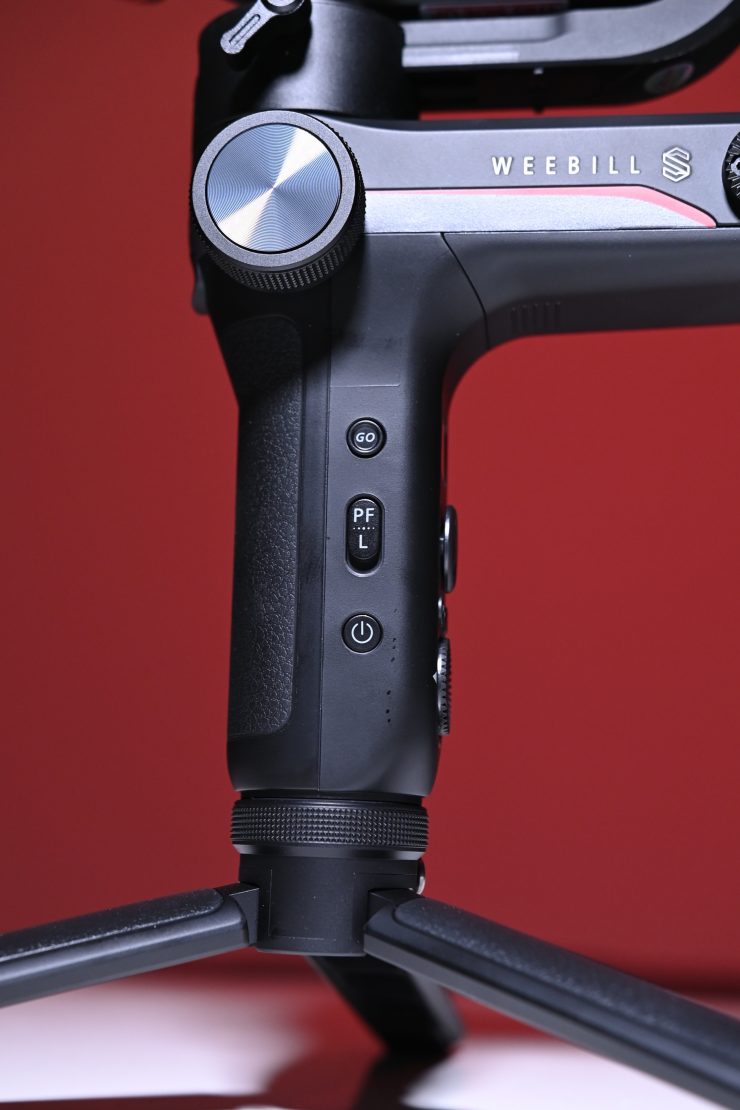
All the buttons, switches, latches and knobs are reasonably solid and I don’t have any concerns over any aspect of the build quality.
Weight & Payload Capacity
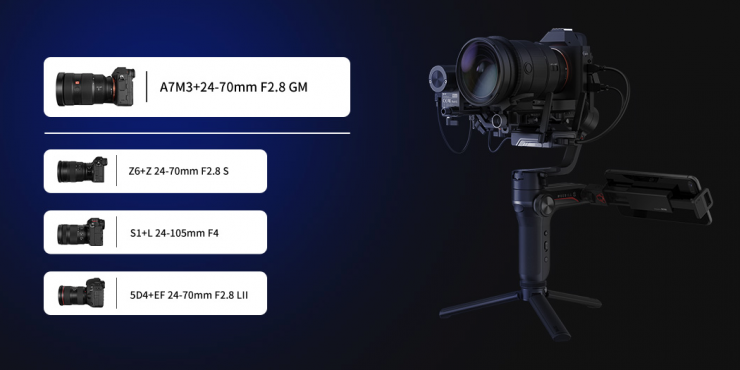
The WEEBILL-S weighs 926g (32.66 oz) without the tripod and batteries. Zhiyun hasn’t given me an exact payload capacity, but they told me that lens and camera combinations such as Sony’s A7III and FE 24-70mm F2.8 or the Canon 5D Mark IV and EF 24-70mm F2.8 will work.
What do you get?
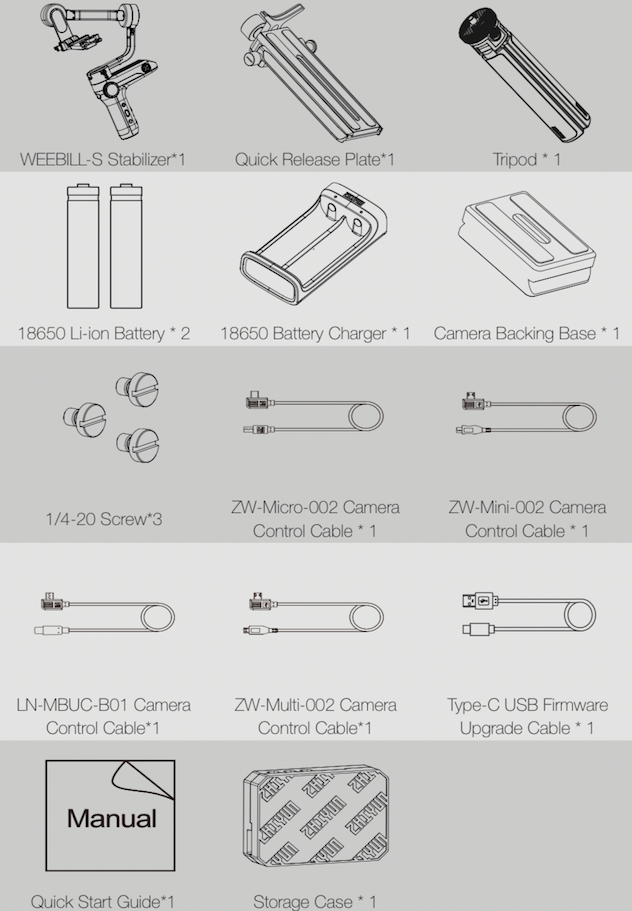
Zhiyun gives you all the basic items that you need to get up and tunning with the WEEBILL-S.
Batten down the latches
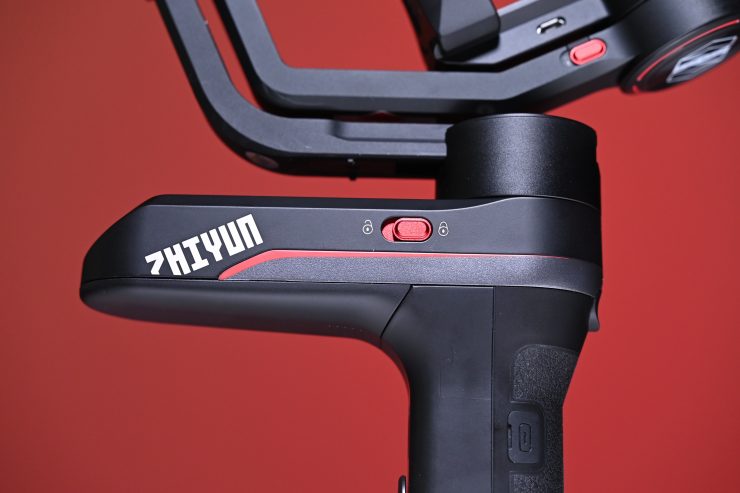
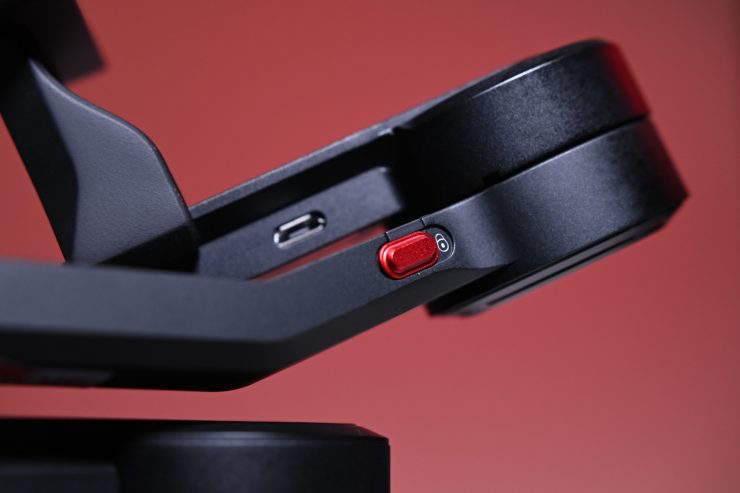
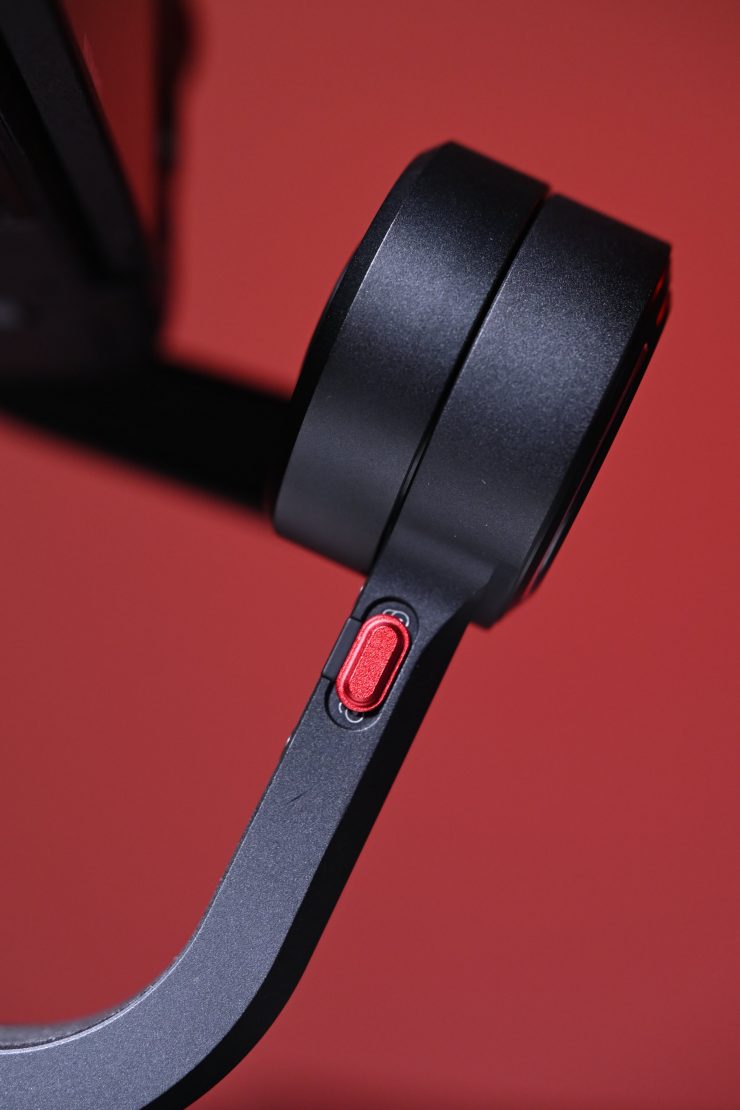
Just like the WEEBILL LAB and CRANE 3 LAB, the WEEBILL-S features a latch on each axis that you can lock off to make balancing the gimbal a lot easier. The only difference is that the WEEBILL-S features newly-designed lock switches.
The newly-designed lock switches are in my opinion, slightly better than the old ones.
So is it actually easier to balance? In short, yes. I like that you can balance one axis, then lock it off and do the next one. Just to be crystal clear, you do have to balance the WEEBILL-S just like you would any other gimbal, but if you are familiar with this process, you will find it similar to any other gimbal you have used.
What I do like is if you are traveling around from location to location you can lock all of the axes and keep your camera on the gimbal. Then when you turn up you can simply unlock them and you are ready to go. This saves you a ton of time as you don’t have to re-balance the gimbal every time you move locations. If you are like me, I tend to leave a camera on a gimbal as I find it too time-consuming to be taking a camera on and off all the time. This is one of my favorite features in the current Zhiyun gimbals.
Quick Release Plate
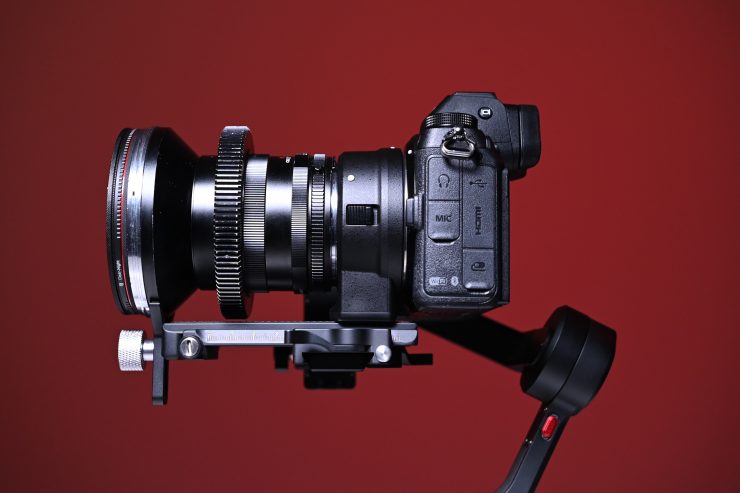
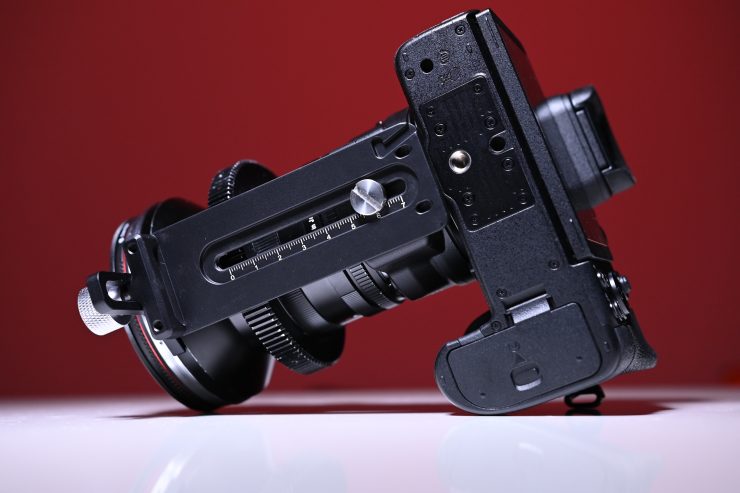
Zhiyun has also used the popular two-in-one quick release plates (Manfrotto/Arca-Swiss), which is nice when you want to take your camera off the gimbal and shoot and then put it back on without the need for re-balancing.

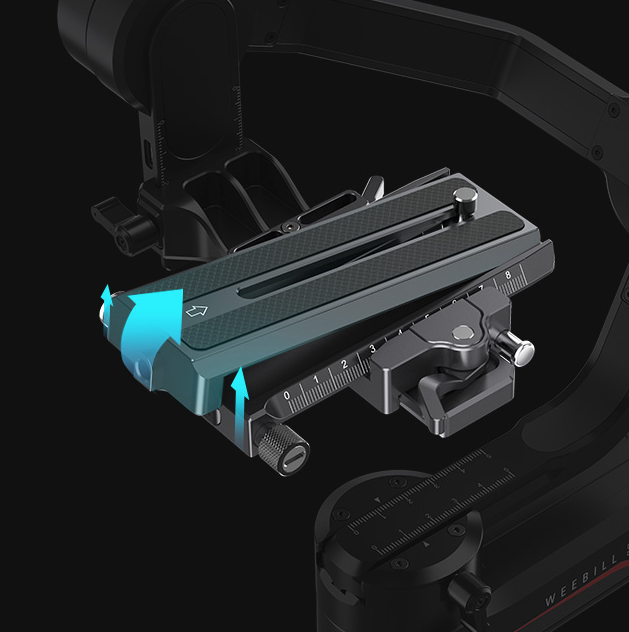
There is also a riser plate you can use if you need to get your camera higher up above the quick release plate.
Balancing
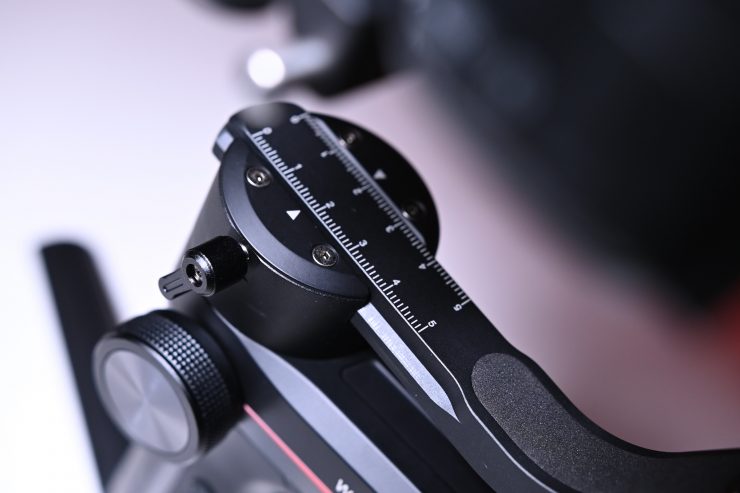
As I mentioned earlier, the WEEBILL-S is reasonably easy to balance thanks to its ability to lock each axis.
Now, there is a bit of a catch 22 with the WEEBILL-S. Even though it can handle fairly impressive payloads for a gimbal of this size, if you are running quite a heavy lens then you have to slide the quick release plate so far back that if you try and put the gimbal into low mode the camera ends up hitting the rear motor.
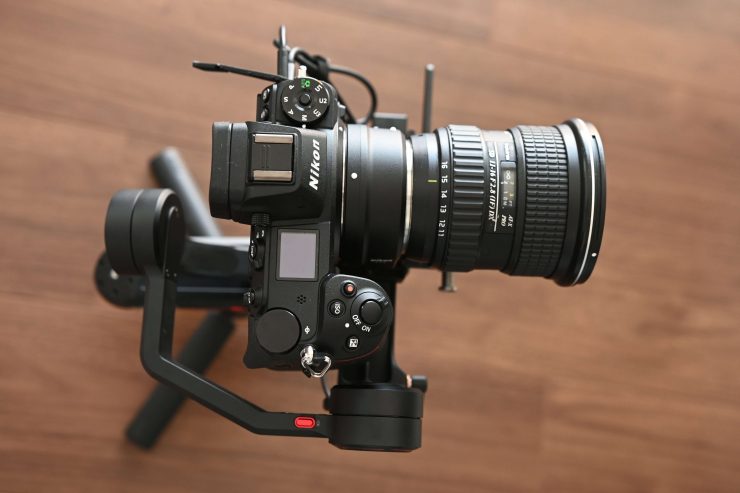
I tried putting a Nikon Z6, Nikon FTZ adaptor. and a Zeiss ZF.2 21mm F2.8 lens on the WEEBILL-S, and although it would balance if I tried to go into low mode the rear EVF ended up hitting the rear motor.
This is not a problem that just solely exists with the WEEBILL-S as most other gimbals these days have the same problem. With stronger motors and better payload performance, the current crop of gimbals are able to handle the weight of heavier cameras and lenses, however, that doesn’t necessarily mean that you will get a full range of movement.
I personally think the WEEBILL-S is better suited for smaller sized mirrorless cameras running native lenses. While it will work with other lens and camera combinations, you are probably better served using a slightly larger gimbal that offers more flexibility.
Built-in stand
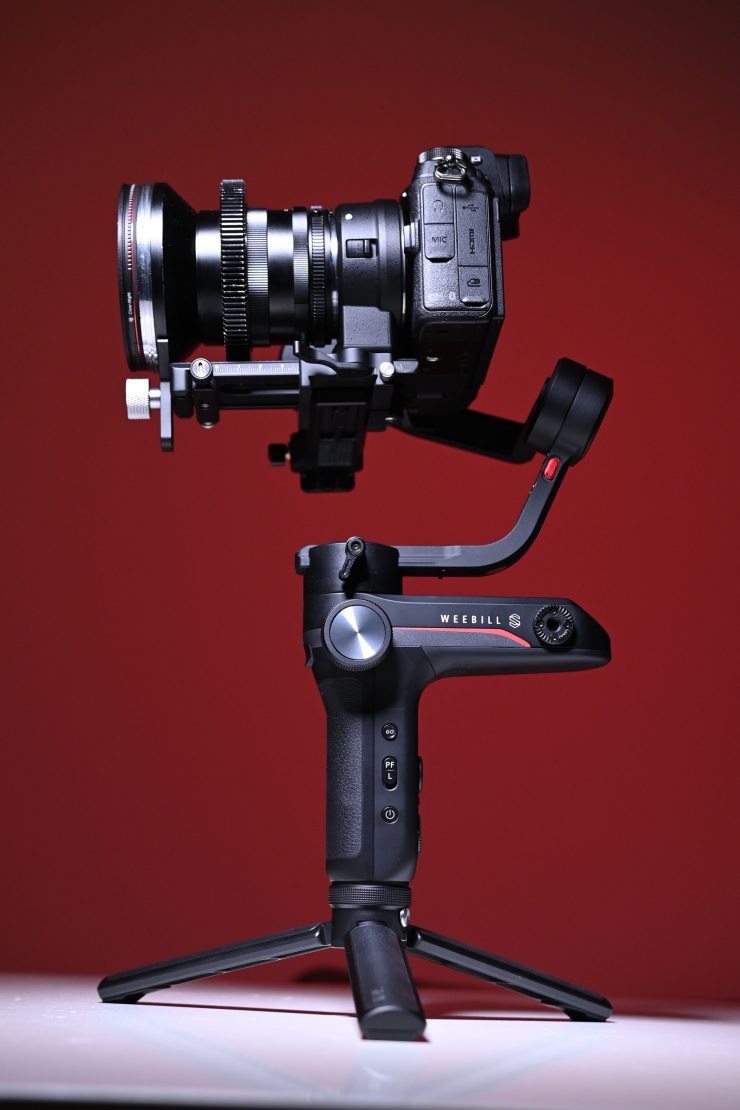
I like this facet of the design and it is the same as on the WEEBILL LAB and CRANE 3 LAB. You don’t have to screw in a stand to the bottom of your gimbal, all you do is fold the three legs out and you have a stand. I like this aspect of the gimbal. This stand/handle can be detached from the gimbal and you can either choose not to use it, or you can reposition it to make shooting underslung shots a lot easier.
Stronger Motors/ Better Algorithm
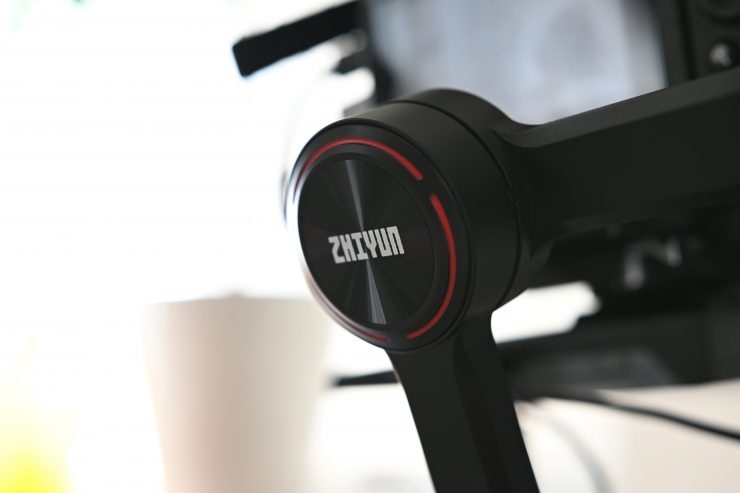
The new motors being used on the WEEBILL-S are claimed to provide a 300% improvement in motor torque and a 50% increase in responsiveness. According to Zhiyun, camera and lens combinations such as the Sony A7Ⅲ with FE 24-70mm F2.8 and Canon 5D MK IV with EF 24-70mm F2.8 can be easily balanced and stabilized on the WEEBILL-S.
There is an autotune function that allows the gimbal to set the correct motor power for whatever camera and lens combo you choose to run.
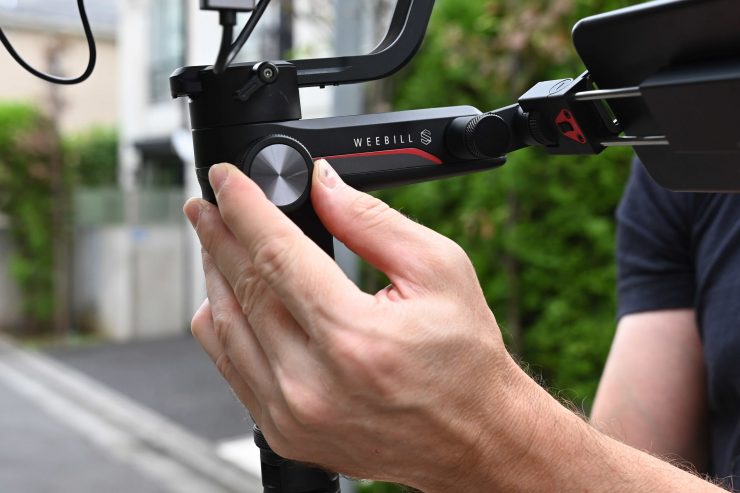
WEEBILL-S uses an upgraded 8th Instune algorithm that is said to deliver high responsiveness and eliminates jitter when using the gimbal in fast movement situations. You can adjust the speed and various parameters of each axis directly through the dial on the handle itself.
The motor torque of the stabilizer shall be adjusted by 3 levels to adapt the specific camera and lens applied for the best performance.
Auto torque adjustment: Under auto torque adjustment, the stabilizer will adjust the motor torque according to the weight of the carried camera and lens.
Operation Method: Single press Menu Button and rotate the dial to “motor”, then rotate the dial to “auto” and press the right side of the dial to confirm. The stabilizer will enter the auto torque adjustment state. Please do not operate the stabilizer before the stabilizer shortly vibrate, and a “√” mark will appear on the display screen, which means the auto torque adjustment is completed.
Customized Motor Torque: Please set a proper motor torque according to the actual camera setup. Overhigh motor torque will cause the stabilizer vibration, vise versa, excessive low motor torque will affect the gimbal stabilization.
Stabilizer Modes
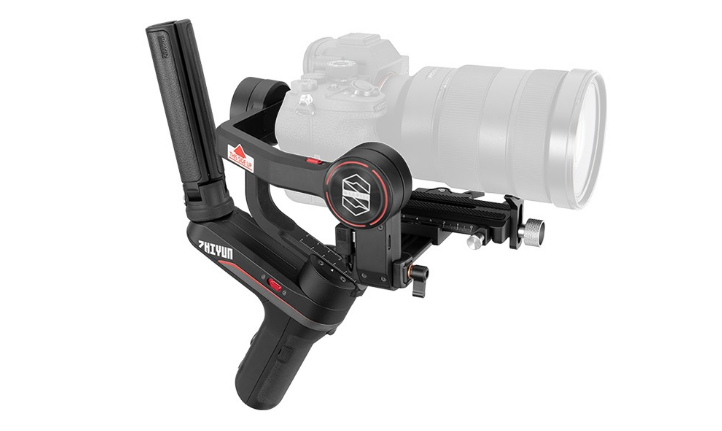
Pan Following Mode (PF): Push up the PF/L mode switch
The camera pans left/right following the movement of the stabilizer while the tilt and roll axes are locked. Push the joystick up/down allows manual control of the tilt axis.
Locking Mode (L): Push down the PF/L mode switch
This mode locks the movement of all three axes to keep the camera fixed on a shooting direction. Push the joystick up/ down and left/right allows manual control of the tilt axis and pan axis.
Point of View Mode (POV): Single press the POV mode button
This mode allows all three motors to rotate 360° following the movement of the stabilizer.
Follow Mode: Press the Trigger Button at the back
The camera pans and tilts following the movement of the stabilizer. Push the joystick left/right to control the rotation of the roll axis.
Go Mode: Press the Fn Button
The camera pans left/right and tilts up/ down following the movement of the stabilizer at faster speed while the roll axis is locked.
Please make sure to put the tripod lock switch to lock position before entering into Sling Mode.
Vortex Mode: Double press the POV mode button
The camera tilts with a 90 ° angle and pans to follow the movement of the handle with unlimited 360 ° rotation while the roll axis is locked. Push the joystick right/left to control the rotation of the pan axis.
Physical controls
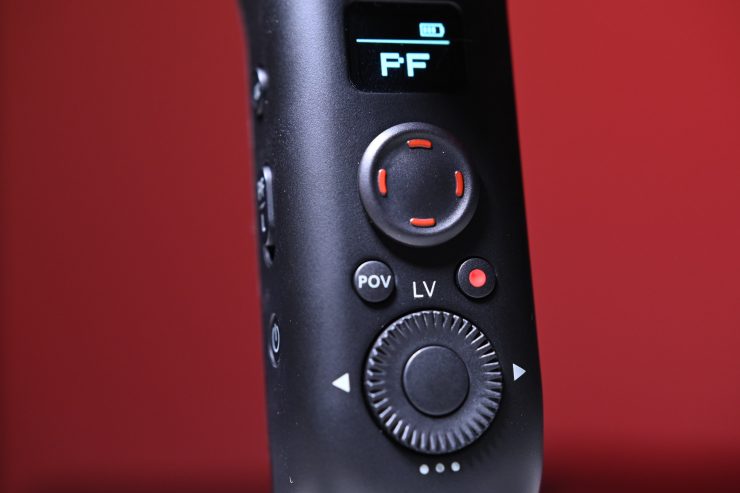
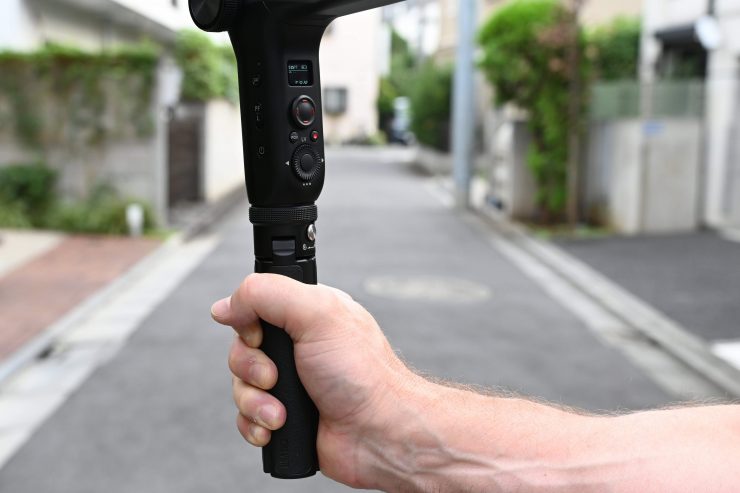
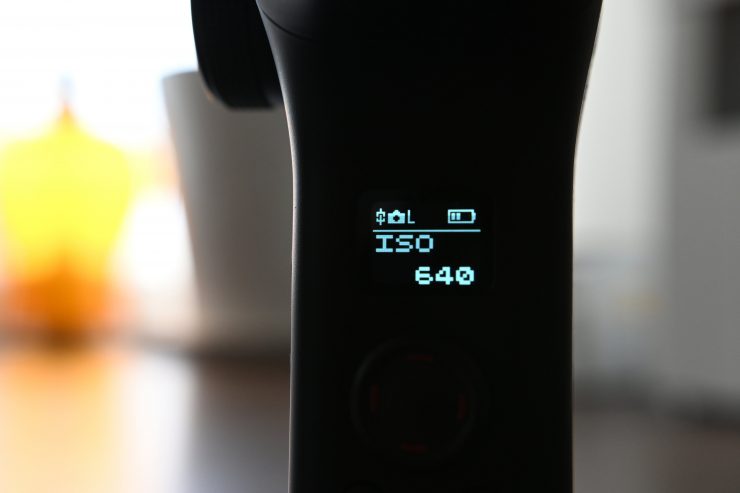
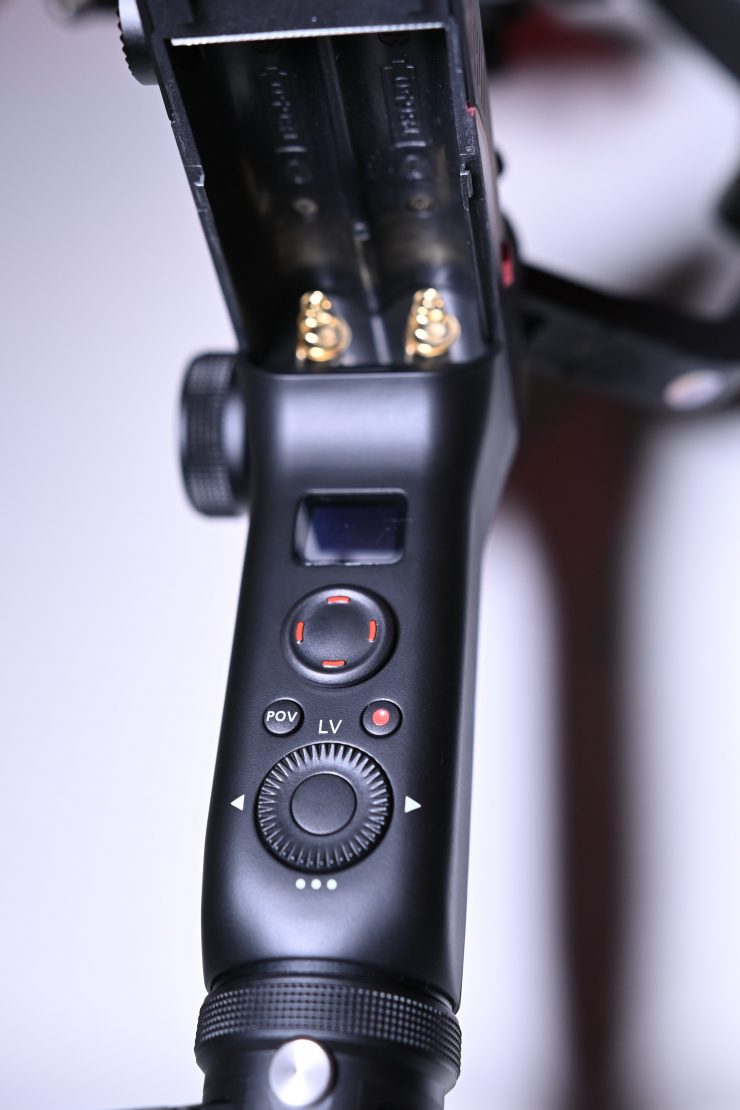
If you are familiar with other Zhiyun gimbals you will find that the control layout is similar to previous offerings. On the main handle, there is a small display, record button, POV button, the joystick control, and the buttons for navigating the menu.
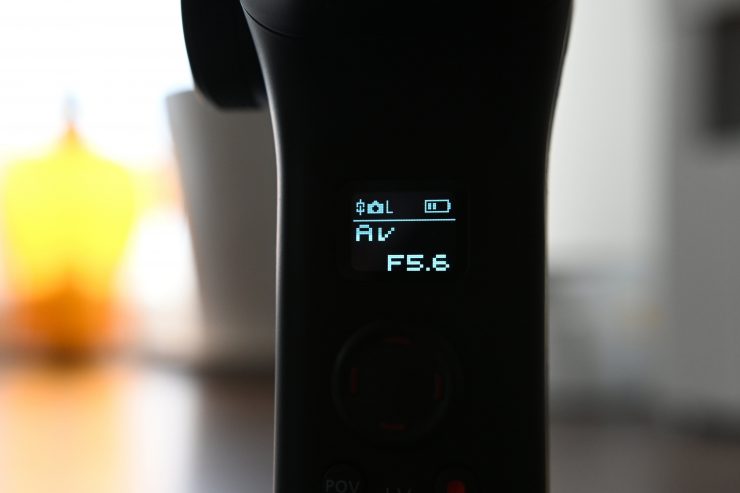
The screen can show you a lot of information about the WEEBILL LAB, and especially your camera settings, but it is in a position that when you are using the gimbal you probably won’t be able to see it. On this same screen, you are able to adjust compatible camera settings such as ISO, shutter speed (which for some strange reason gets displayed as TV), and your f-stop using the scroll wheels.
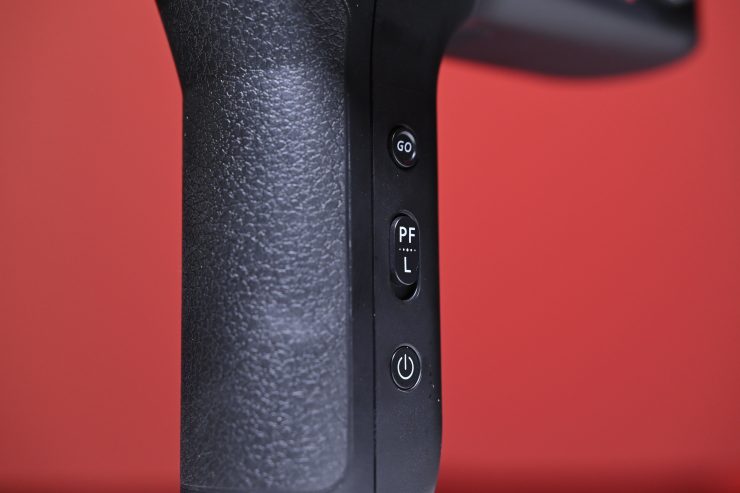
On the left-hand side of the handle, there is the on/off switch, the Go button, and a switch to put the WEEBILL LAB into Locking Mode or Pan Following Mode.
On the front of the main handle is a trigger button that changes the following mode depending on how many times you press it.
PhoneGo Mode
If you want to follow fast moving objects or people you can enter what is called the PhoneGo Mode. By single tapping on the Go button, the gimbal goes into its maximum follow speed. This is handy if you are filming sports or anything with fast moving motion.
Motion Sensor Control
The gimbal has a built-in motion control sensor, so if you don’t want to use your smartphone on your gimbal, you can take it off and turn it into a motion sensor controller. By simply moving your phone, you are controlling the gimbal in real time. This is a nice feature and it’s impressive that it is a free built-in feature in the app.
It does take a bit of time to get used to how it works, and it is not the most intuitive way to operate your gimbal, but once you get the hang of it it works fairly well.
Zhiyun Play app
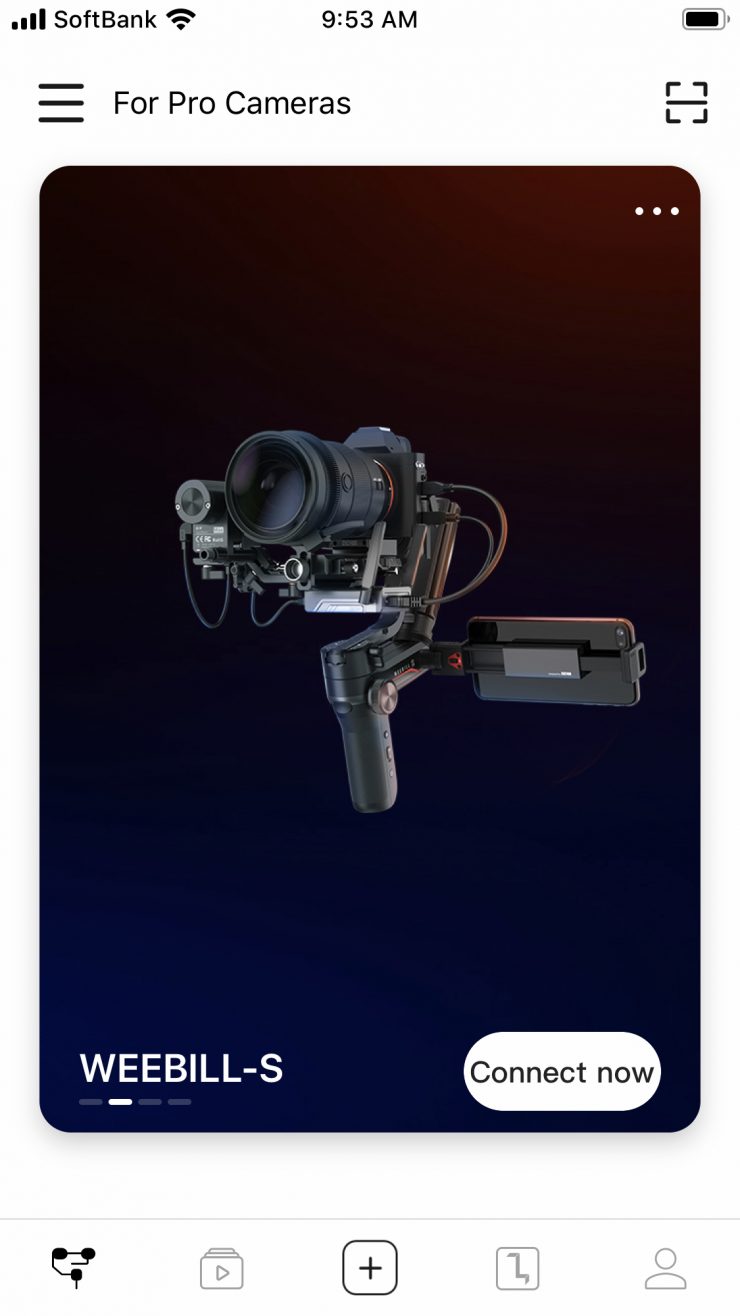
Like all of the Zhiyun gimbals, the WEEBILL-S uses the Zhiyun Play app that is available on both the iOS and Android platforms.
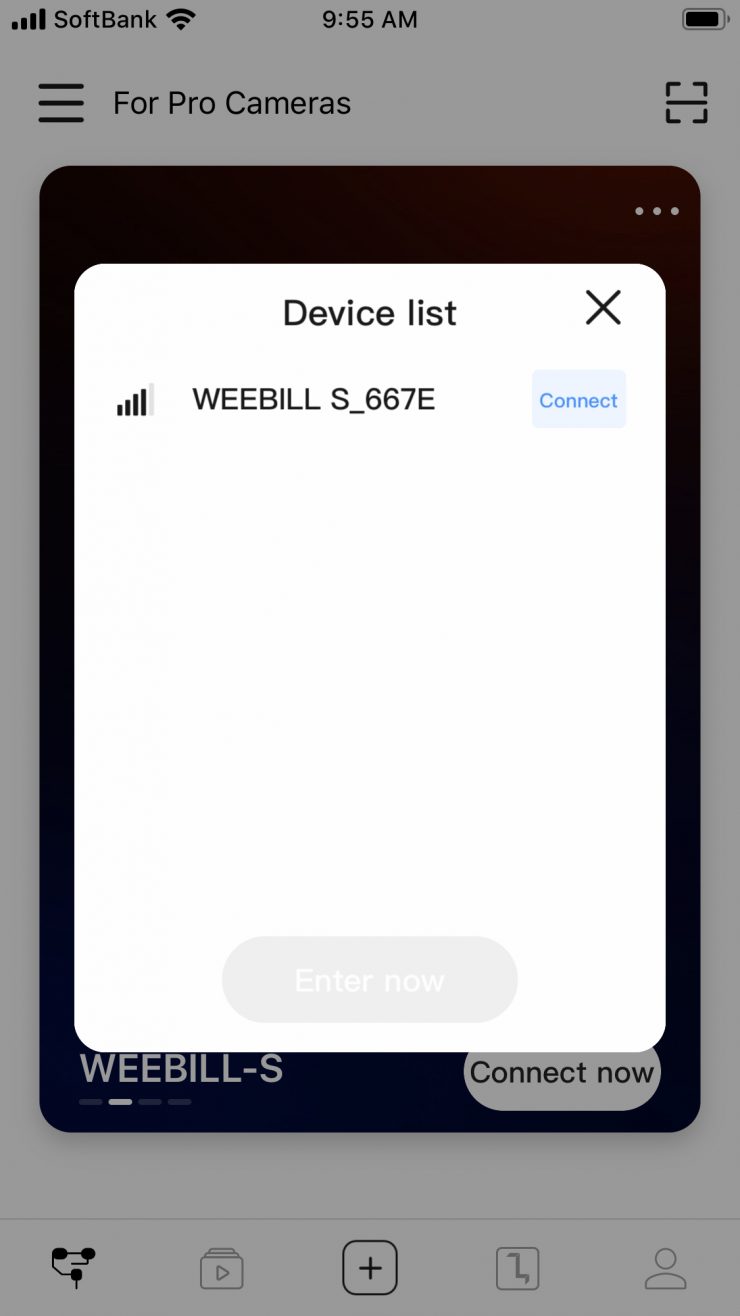
It’s relatively easy to connect the WEEBILL-S to the app and get the whole system up and running.
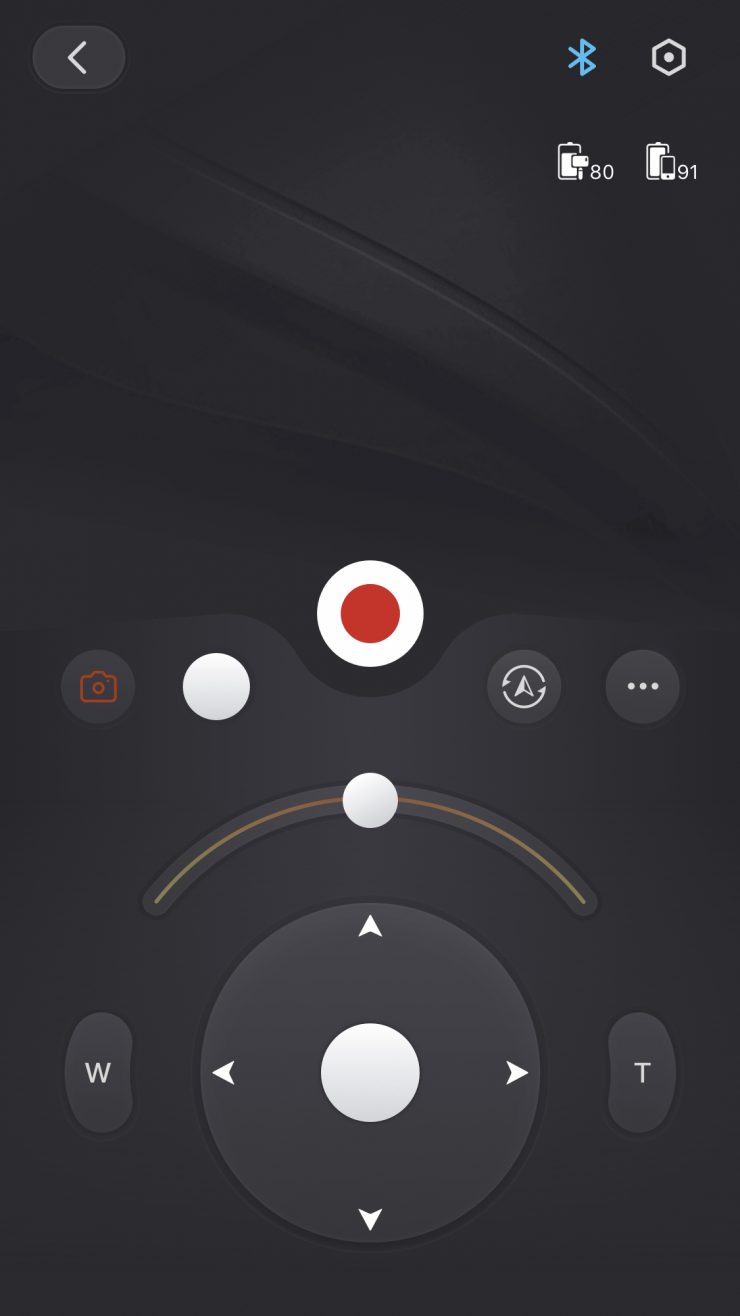
Once you are connected up you are greeted by the main interface screen.

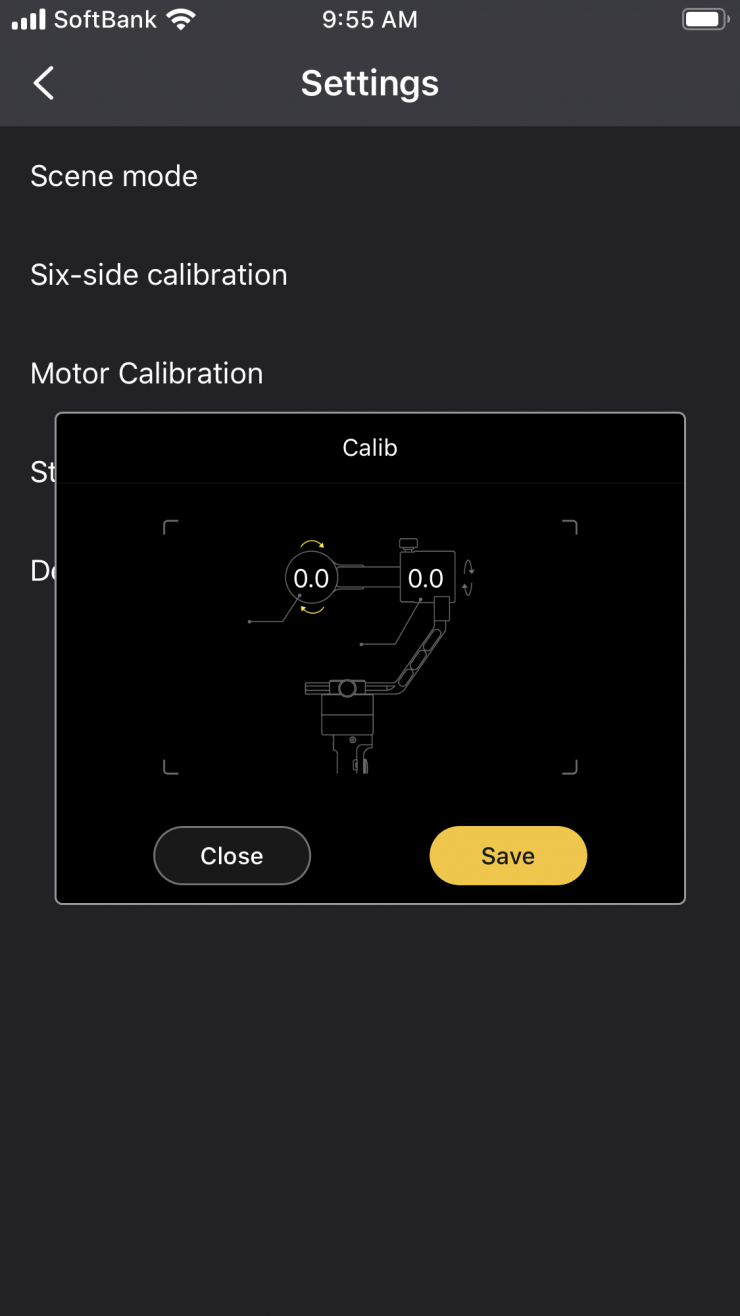
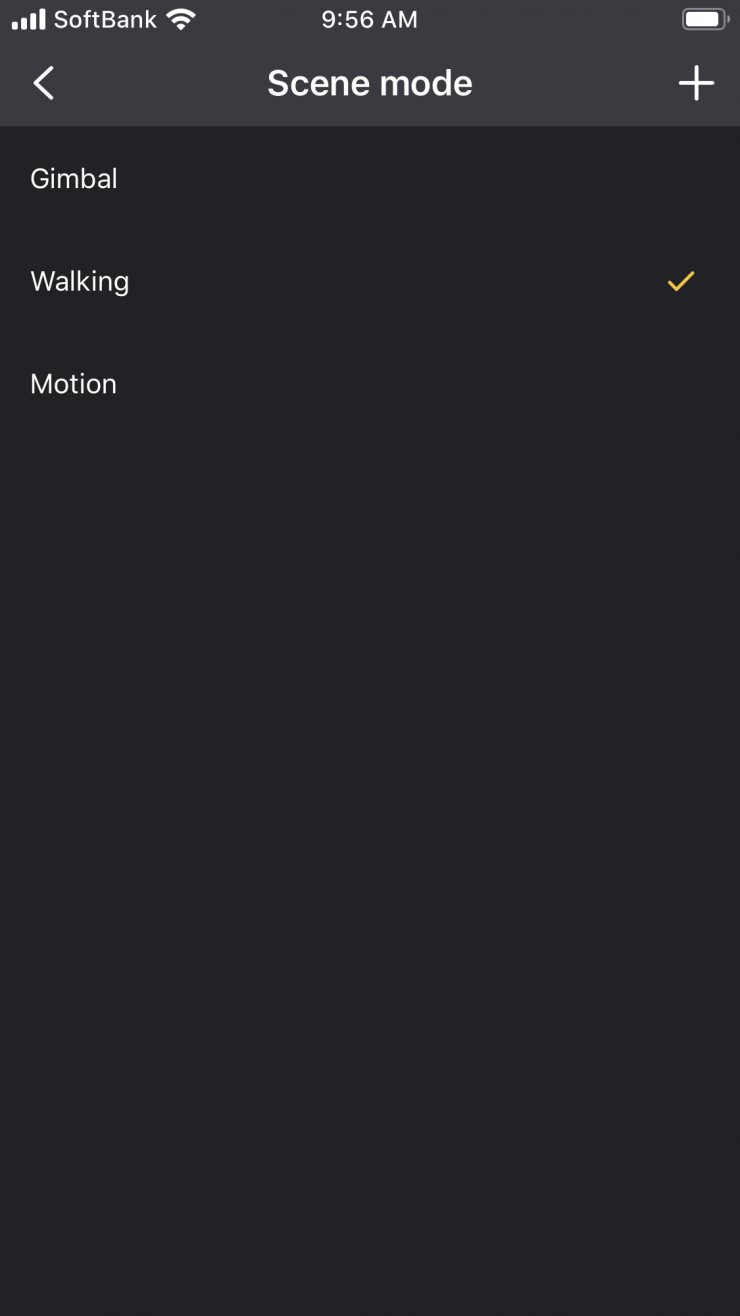
There are options here to adjust parameters such as motor strength, motor calibration, and the Scene Mode.
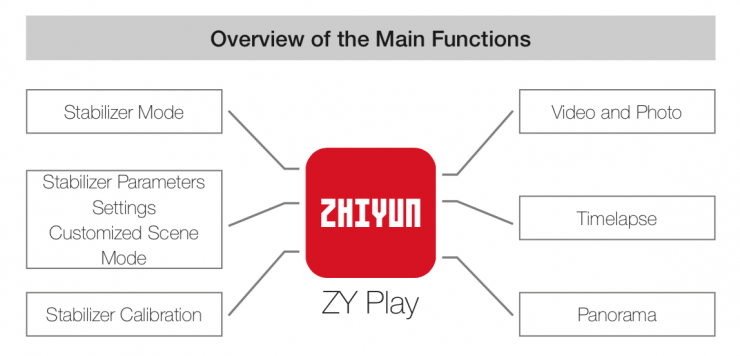
Above you can see what functions can be controlled using the ap with the WEEBILL-S.
Sync Motion
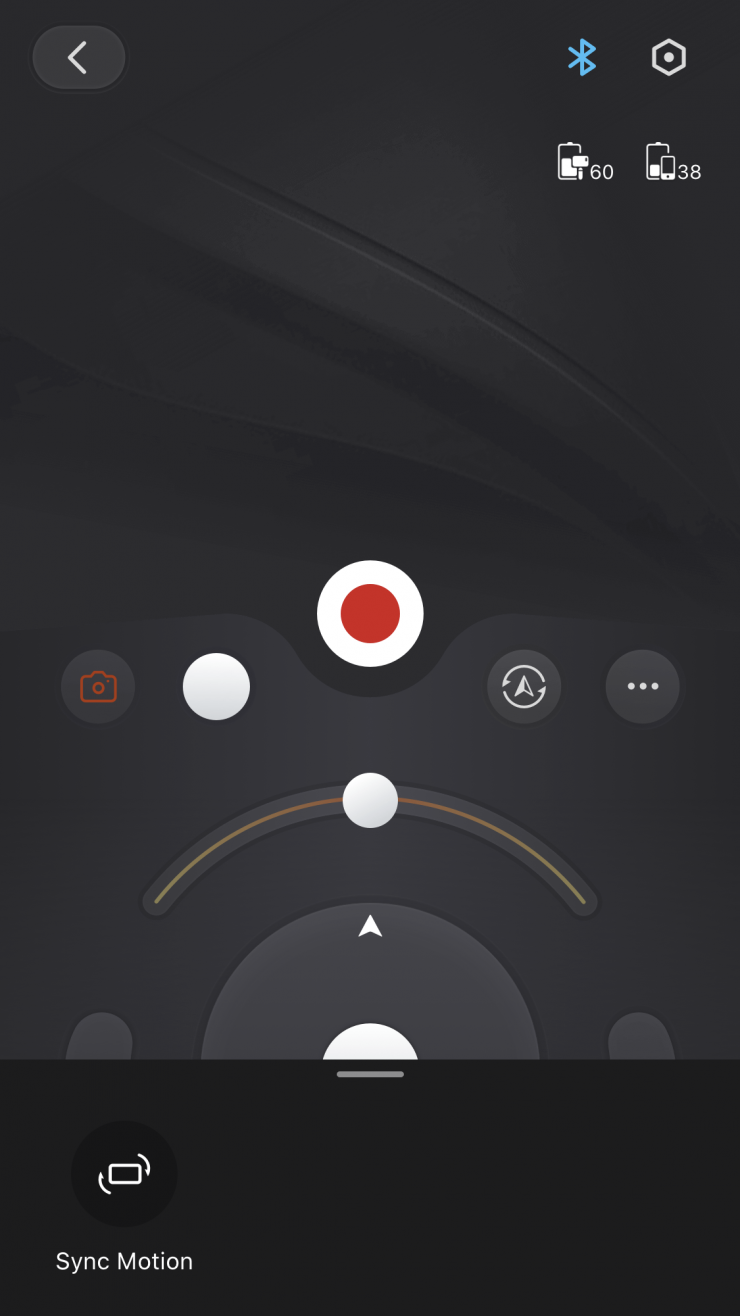
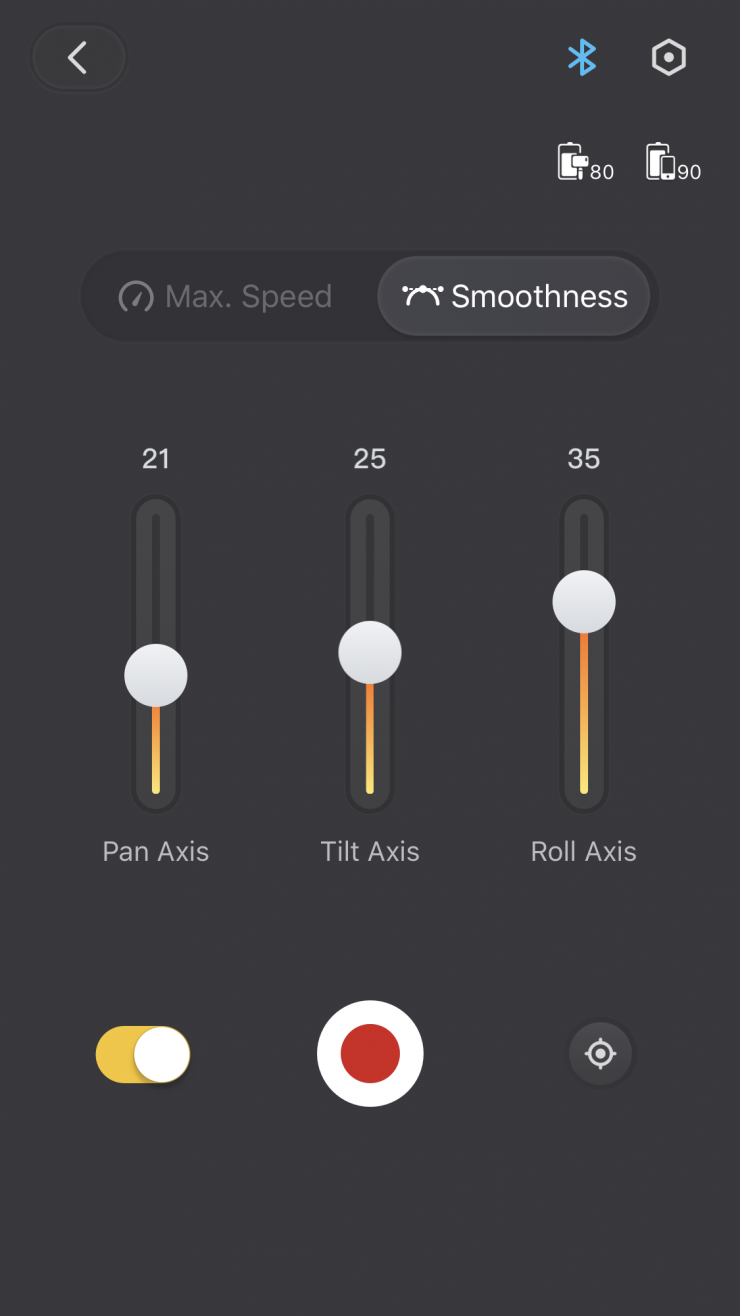
Sync Motion is a mode that allows you to control the movement of your gimbal by virtually moving your smartphone or tablet in whatever corresponding direction you choose.
To move the gimbal left, you move your smartphone left, if you want the gimbal to tilt up you tilt up your smartphone. This is very similar to how DJI’s Force Mobile works. DJI just announced this for the Ronin-S a few weeks ago as apart of a firmware update.
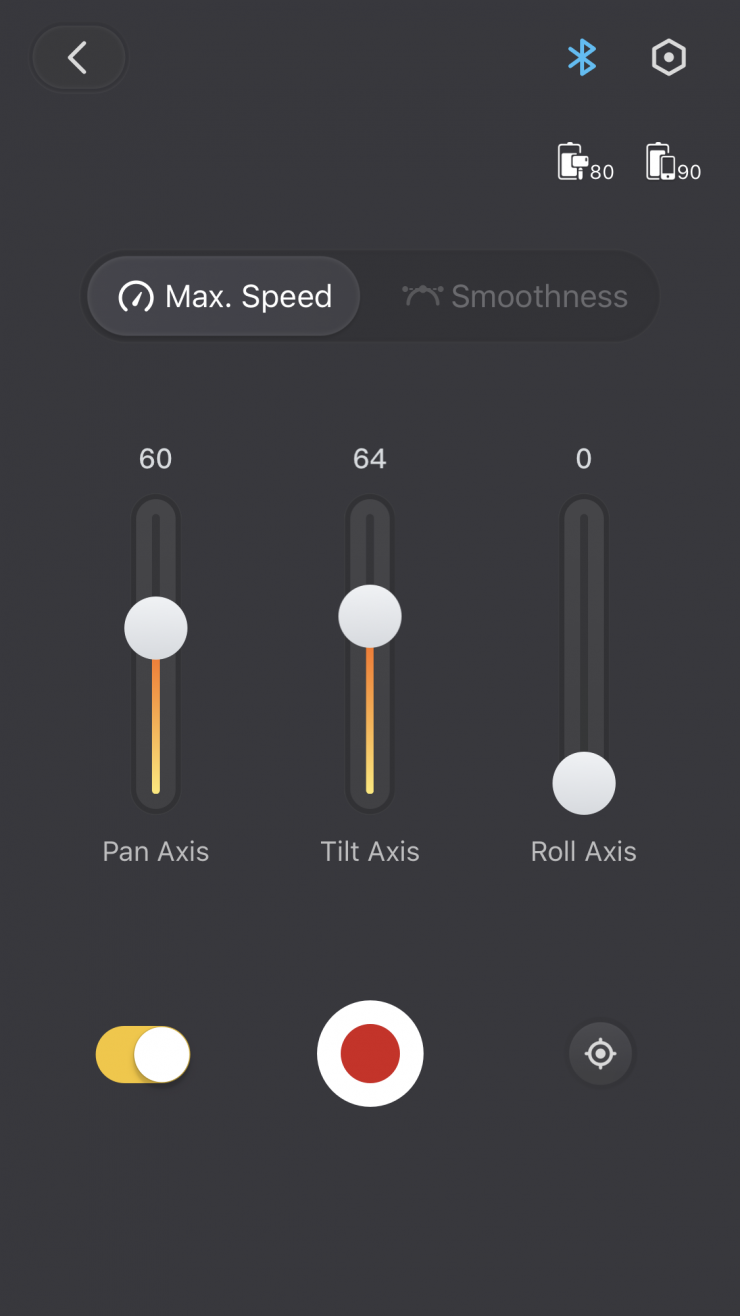
This actually works really well, and with a bit of practice, you can create very smooth moves. It’s nice that inside the app you can adjust the speed and smoothness of how it will react. I found that setting the speeds and smoothness very low provided the best results.
If you are using the WEEBILL-S as a remote camera then it is a nice way of controlling the gimbal. It also comes in very handy if you have a second person with you, as they can control the pan and tilt while you just operate.
SmartFollow 2.0

SmartFollow 2.0 now allows precise object tracking with no need of balancing your phone onto a camera or gimbal. Simply box the wanted object via phone screen and let the gimbal and camera do the rest. SmartFollow 2.0 empowers you to work with super flexibility either you work alone or in a team.
I couldn’t try this out as it wasn’t available with the early firmware I was using.
*Requires TransMount Image Transmission Module.
Upgraded Image Transmission Module
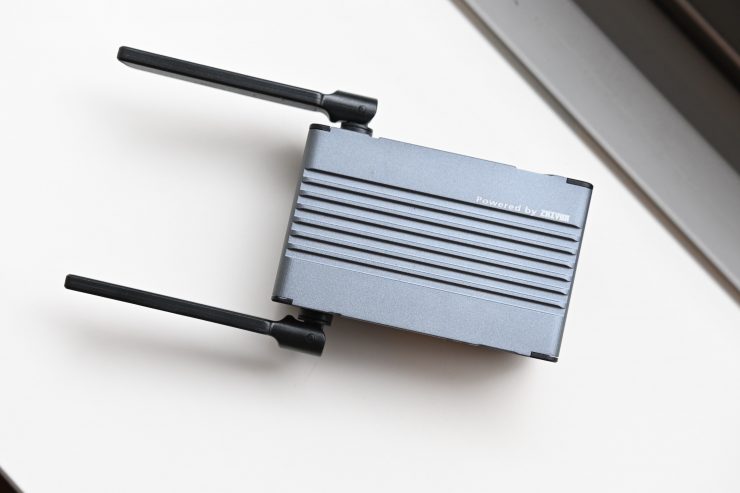
The WEEBILL-S can work with an all-new TransMount Image Transmission Module (optional accessory). This is in contrast to the WEEBILL LAB and CRANE 3 LAB that have an onboard image transmission system as standard.
I personally would have preferred to have seen the image transmission system incorporated into the WEEBILL-S and not be an optional module. I imagine that the reason why Zhiyun has chosen not to include it as standard is probably to do with keeping the weight and the price down.
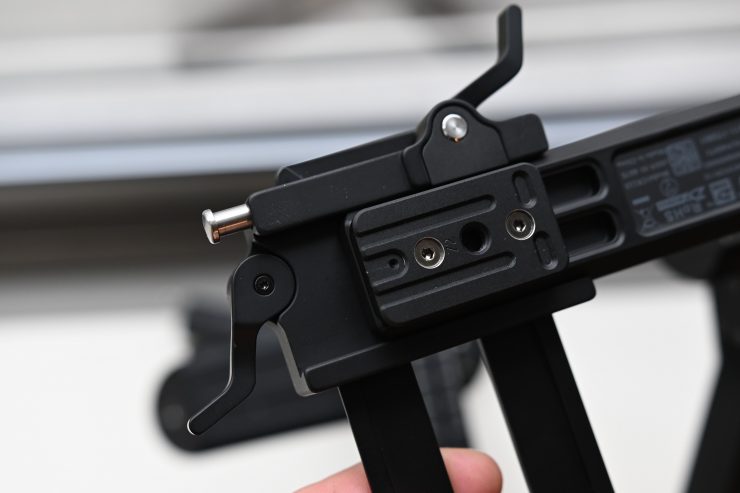
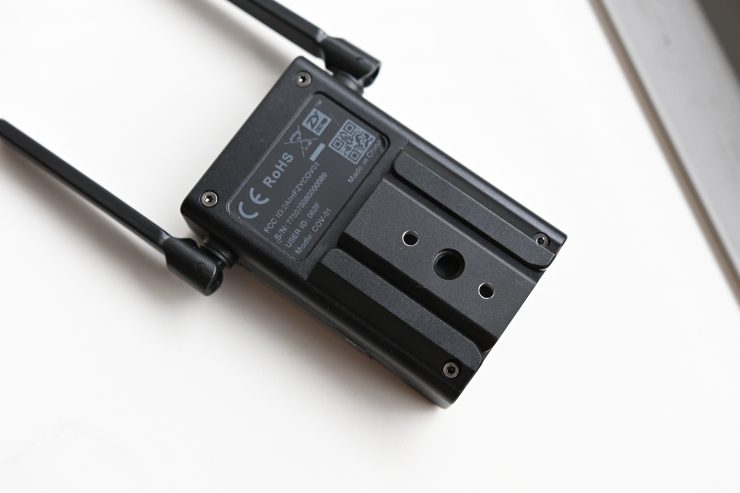
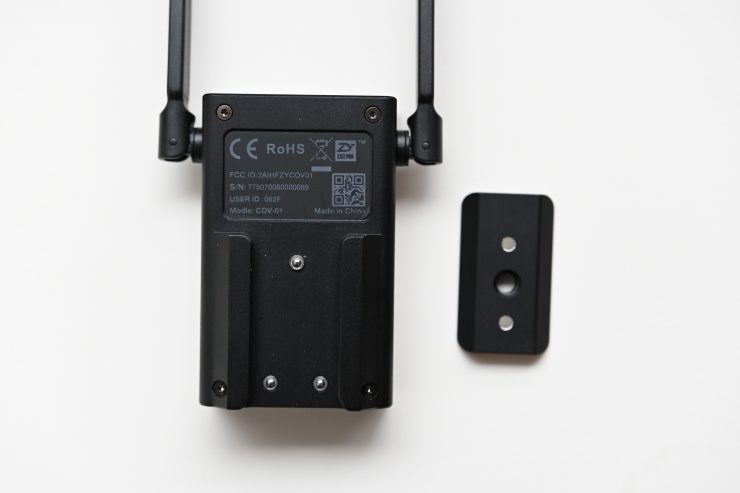
The TransMount Image Transmission Module can be mounted directly under the quick release plate. The plate that you attach to the quick release plate allows you to slide the TransMount Image Transmission Module on and off without needing any tools.
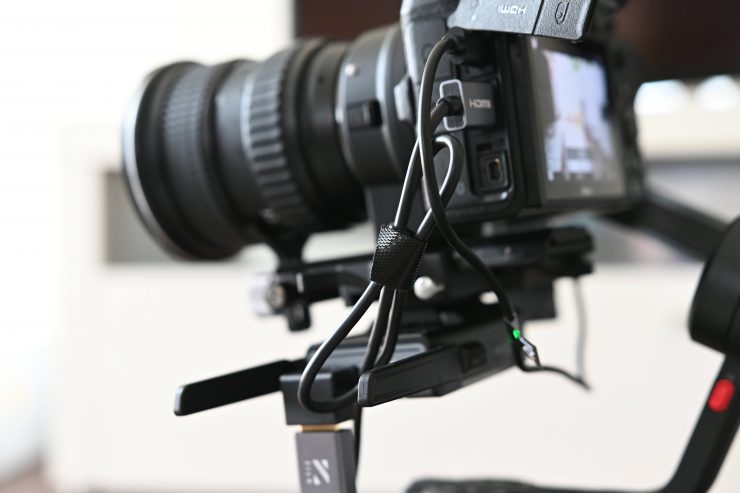
Again, by adding the module you are adding more weight to your set up. This could affect what lens and camera combinations you can run. You also need to be aware that you will end up with cables sticking out of the side of the TransMount Image Transmission Module and your camera.
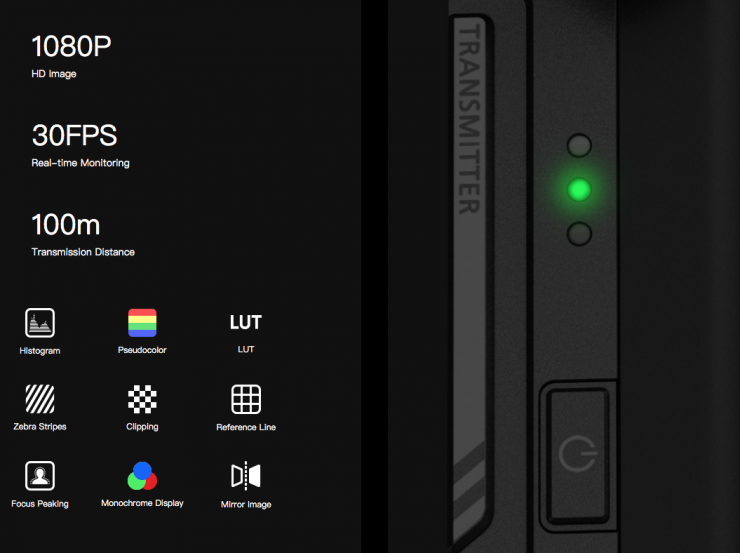
The TransMount is powered via its inbuilt battery which can be charged through an included USB cable.

The Transmission Module can transmit up to 1080P 30fps with ultra-low latency up to 100m (328ft). The signal can display images with a LUT, False Color, Focus peaking, Zebra Stripes, and a moveable 2x and 4x image zoom.


Histogram 
Zebras 
Peaking 
LUT
These are pretty useful features, even if they are a little limited in terms of their flexibility. You can’t adjust the color or intensity of the peaking and you can’t adjust the level of the zebras.

Adding LUTs is also a little problematic as you have to add a link address to import a LUT. I am attempting to find out from Zhiyun how this exactly works. I couldn’t load up any LUTs.
Above you can see a short video demonstration of what the image monitoring tools look like.
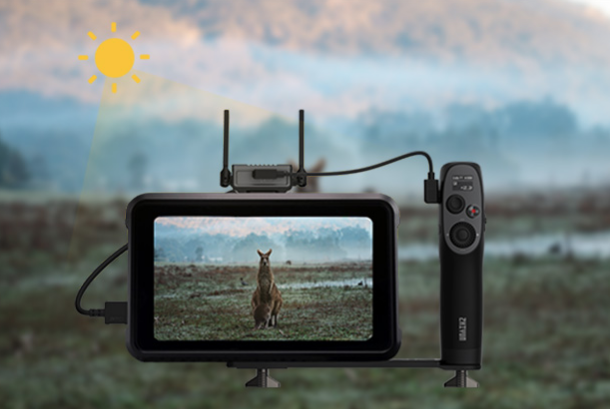
The TransMount Image Transmission Module consists of a Transmitter and a Wireless Remote Controller. By using the image transmission receiver and transmitter, up to 3 devices can be connected to the gimbal, including not only smartphones and tablets, but also any professional monitor.
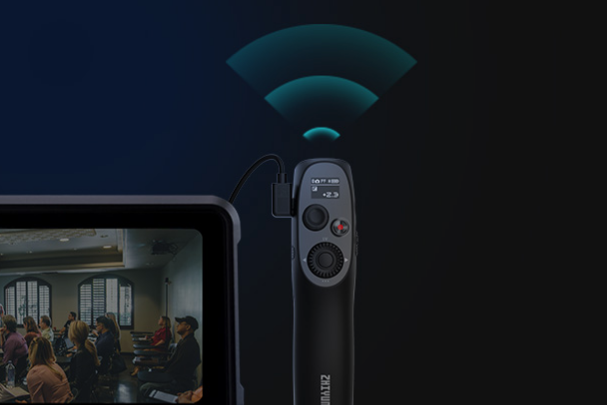
I wasn’t able to see how the Wireless Remote Controller works as it wasn’t available when I did this review.
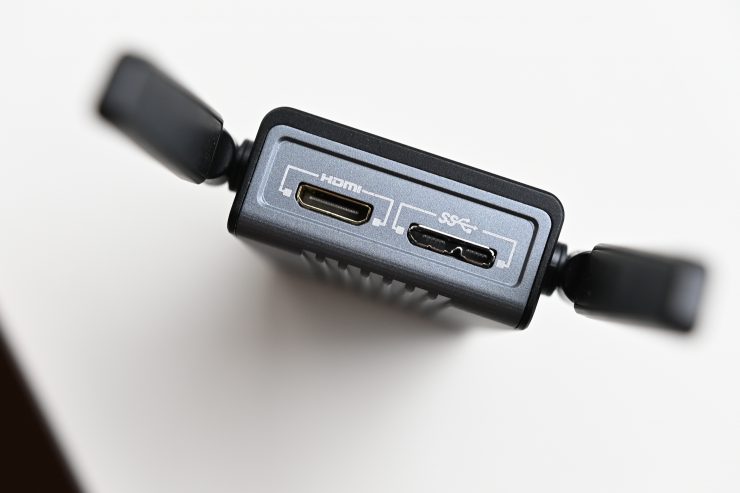
You don’t have to use the receiver if you just want to monitor on a smartphone or a tablet. You only need the receiver if you want to output to an HDMI monitor.
The new Wireless Remote Controller features a built-in motion sensor. It gives users precision motion-sensing control and lets them change parameter settings in real-time.

The TransMount Image Transmission Package also gives you the ability to easily live stream to social media channels.
Besides HD image transmitting, the system allows you to connect your smartphone to the camera and gimbal. Various gimbal and camera settings can be adjusted in real-time, such as Follow Speed, Aperture, ISO, and Shutter Speed.
As far as latency goes, it performs pretty well for a Wi-fi based image transmission system. While you won’t get super-low latency, it is low enough that you can use it for most applications.
The range is claimed to be up to 100m, but this will vary greatly depending on whether you have line of sight and what country and area you are using it in.
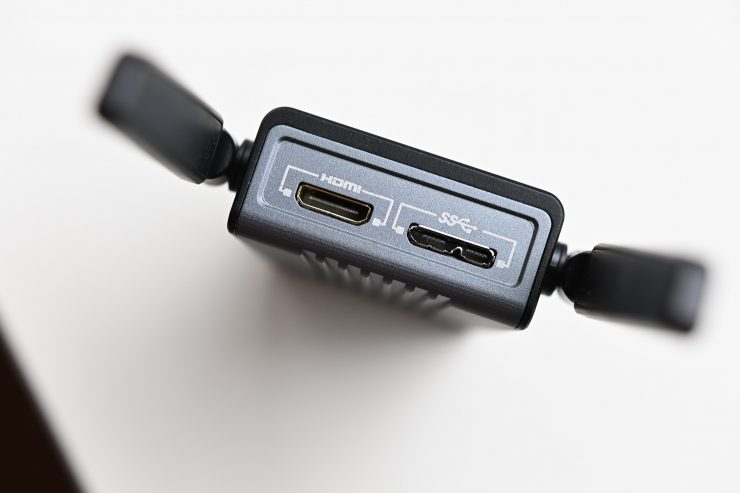
The nice thing about the TransMount Image Transmission Module is that you can use it as a stand-alone HDMI wireless image transmitter with any camera. As it has an inbuilt battery and accepts a HDMI signal it is a nice affordable alternative to using a dedicated wireless image transmission system.
Because of the Wi-Fi frequency band differences in Japan and Israel, the image transmission performance and distance in these areas may be affected when using a smartphone as a monitor. As I was testing the WEEBILL-S in Japn I did occasionally have problems with image breakup in certain areas.
As it streams to smartphones and tablets all you need is the free Zhiyun Play app and you can monitor the signal on up to 3 devices at the same time. Now, in saying this, I couldn’t get the wireless signal to appear on my iPhone and iPad at the same time. In fact, I couldn’t get the wireless transmission image to display on my iPad period. I was, however, running a Beta version of the Zhiyun Play App.
From my experience reviewing previous Zhiyun gimbals, these problems do eventually get ironed out with more stable releases of the app.
Focus Control
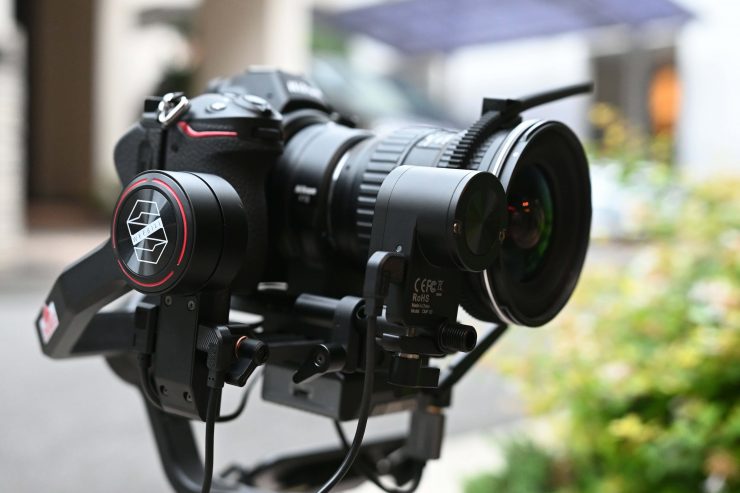
In good news, the Zhiyun wireless follow focus system that works on the Crane Lab 3 and WEEBILL Lab will work on the WEEBILL-S.
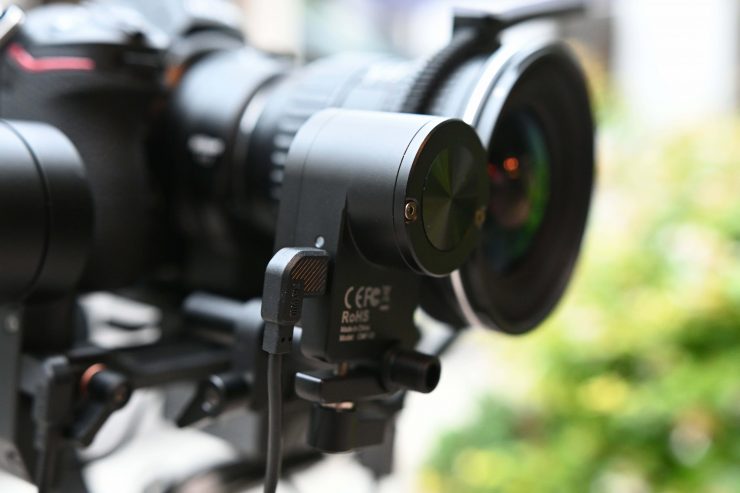
The gimbal supports both electronic focus control and mechanical focus/zoom control through the control wheel on its body. With compatible camera and lens combinations, you can pull focus or zoom.
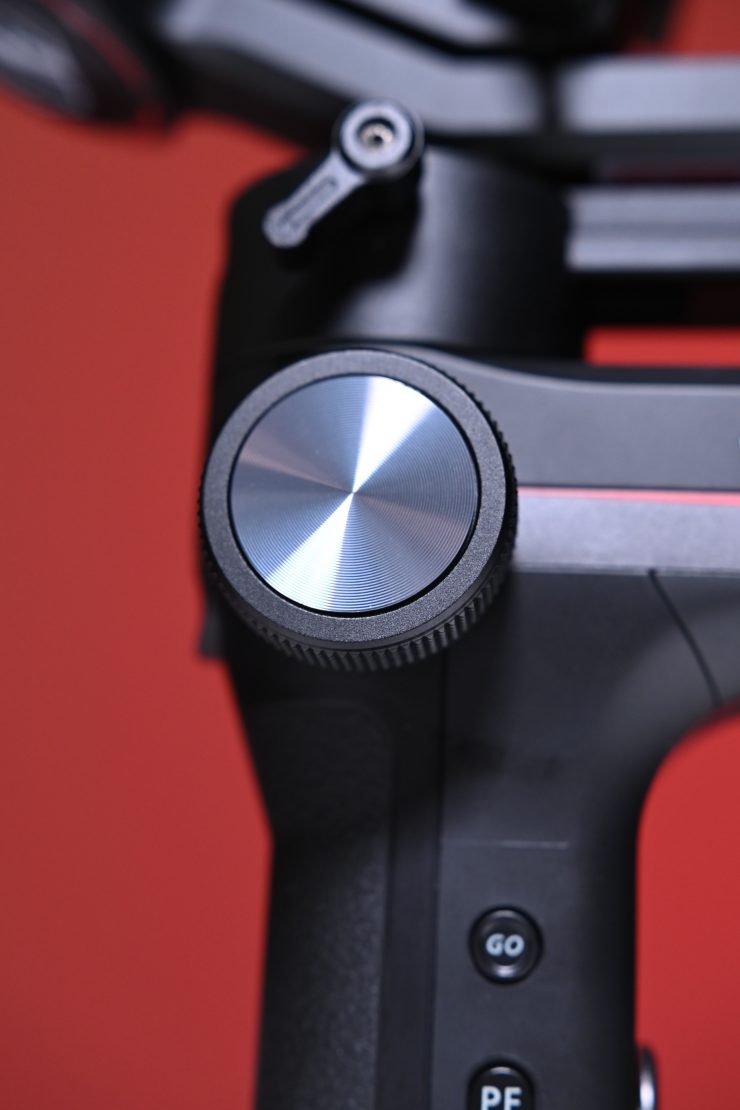
The control wheel controls the servo focus/zoom motor by default. For electronic focus control, you need to go into the Menu to configure the gimbal.
Now, you do have to be very mindful that by using the wireless follow focus system you will be adding additional weight to the front of the camera. This can affect balance and it will limit what type of camera and lens combo you can run.
Run Time
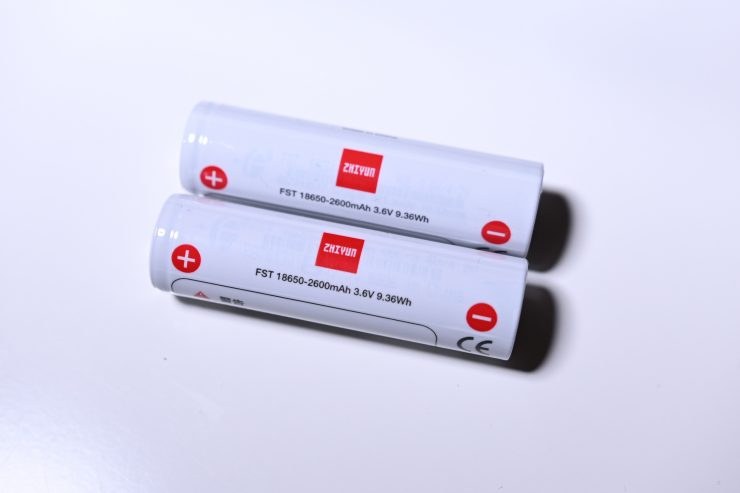
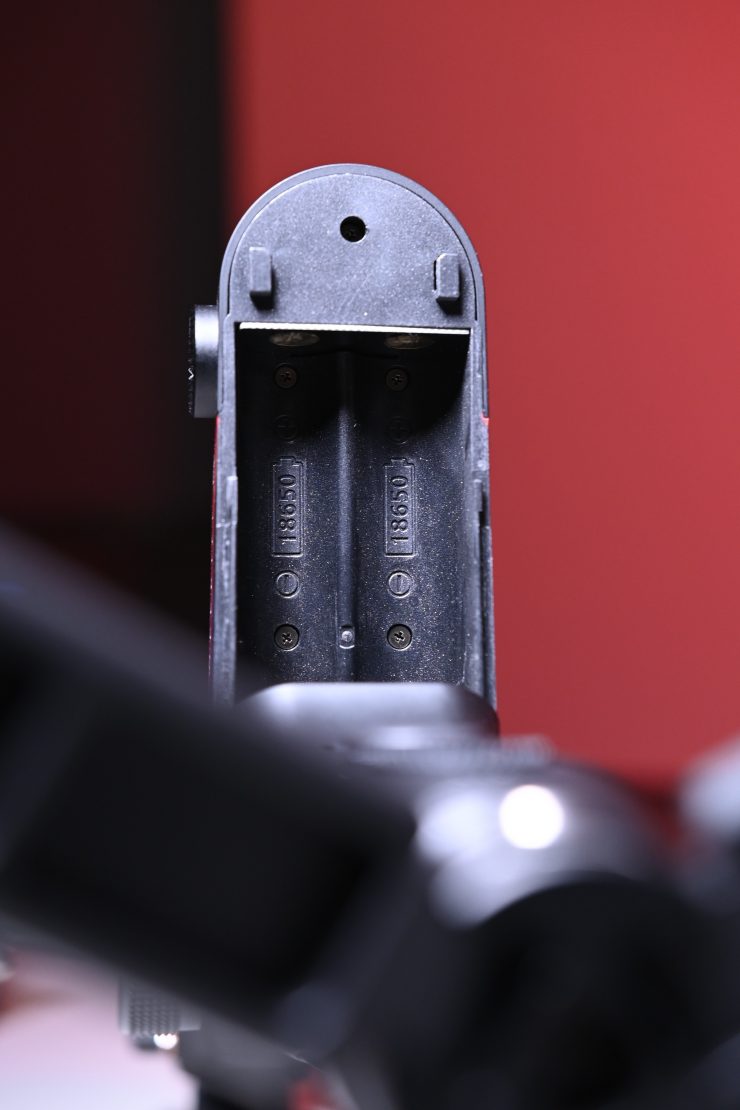
Zhiyun says that the WEEBILL-S will run for up to 14-hours using the two interchangeable and rechargeable batteries. The WEEBILL-S can also charge compatible cameras at the same time.
Camera Control
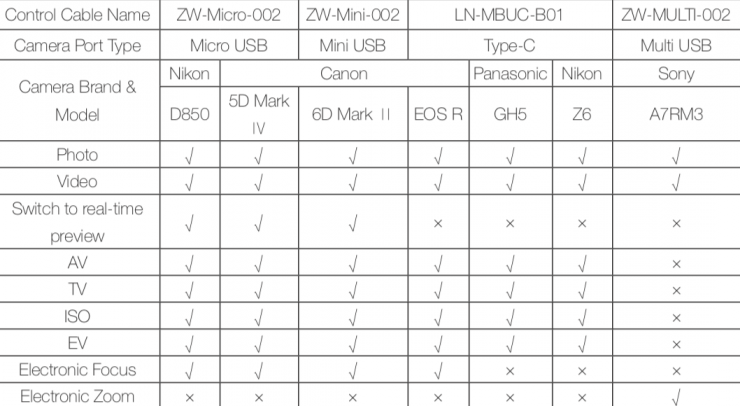
Like almost all of Zhiyun’s gimbals, you can control certain aspects of your camera’s functionality by using one of the included control cables.
You do this by plugging the camera control cable into the control interface of the camera and then connecting it to the gimbal
Usability
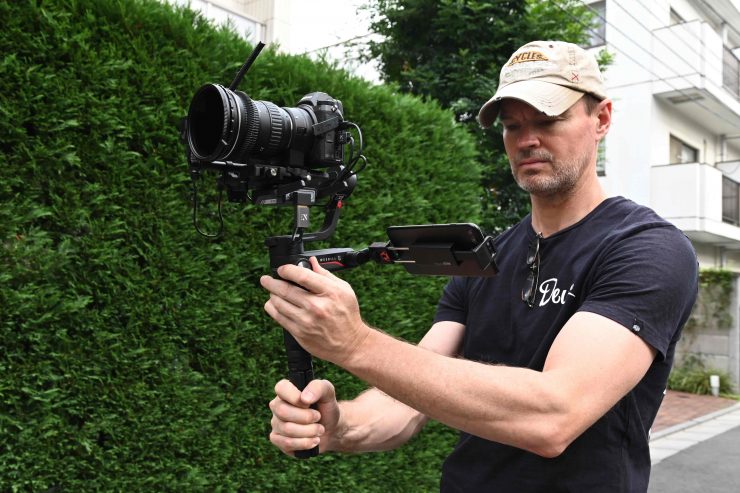
Features are great, but at the end of the day it’s still a gimbal, and therefore it needs to be able to create smooth shots. So how does the WEEBILL-S perform? For the most part, the gimbals stabilization is nice and smooth and with the increased motor strength it never really feels like its struggling even if you are running fairly heavy camera payloads.
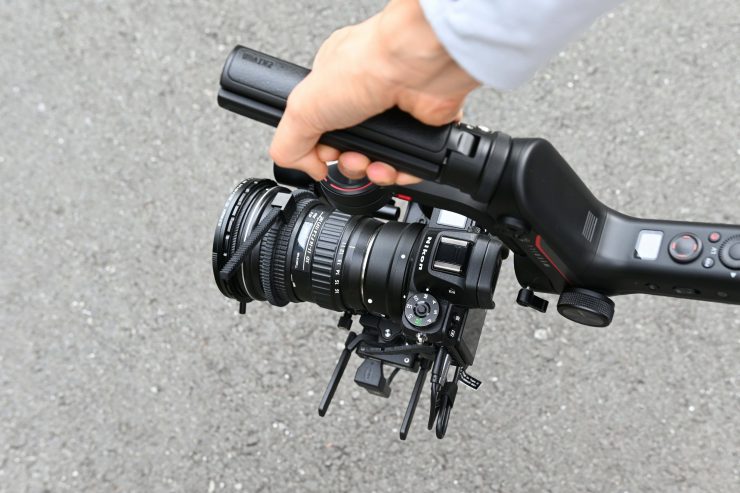
I wanted to grab a few test shots with the gimbal based around the concept of being able to get a smaller camera up and running quickly with not much setup time. I gave myself 5 minutes to set up everything from scratch and then to start rolling. Above you can see a continuous clip that I filmed. I haven’t cut anything out or post stabilized any of the material. I want you to be able to see exactly how it performs. I used a Nikon Z6, FTZ Adapter, Tokina 11-16mm, SLR Magic variable ND filter and the Zhiyun wireless follow focus system. I did this because I also wanted to see how the gimbal handles a heavy payload.
I found that the majority of the footage I got was fairly smooth and usable. I did have instances where the gimbal would shake slightly, especially when going from a high to low angle shot and vice versa. It’s important to note that I did set the gimbal up quickly, and with more fine-tuning, you would probably be able to obtain better performance. Like most gimbals, it isn’t always perfect and occasionally you will get movements that are slightly jerky when you are changing direction.
I did find that the gimbal tends to drift in the Pan Follow mode and it sometimes moves off-center. This is annoying when you are trying to follow something or someone and you try to change direction quickly.
Like any gimbal or Steadicam, results will vary depending on how proficient you are as an operator.
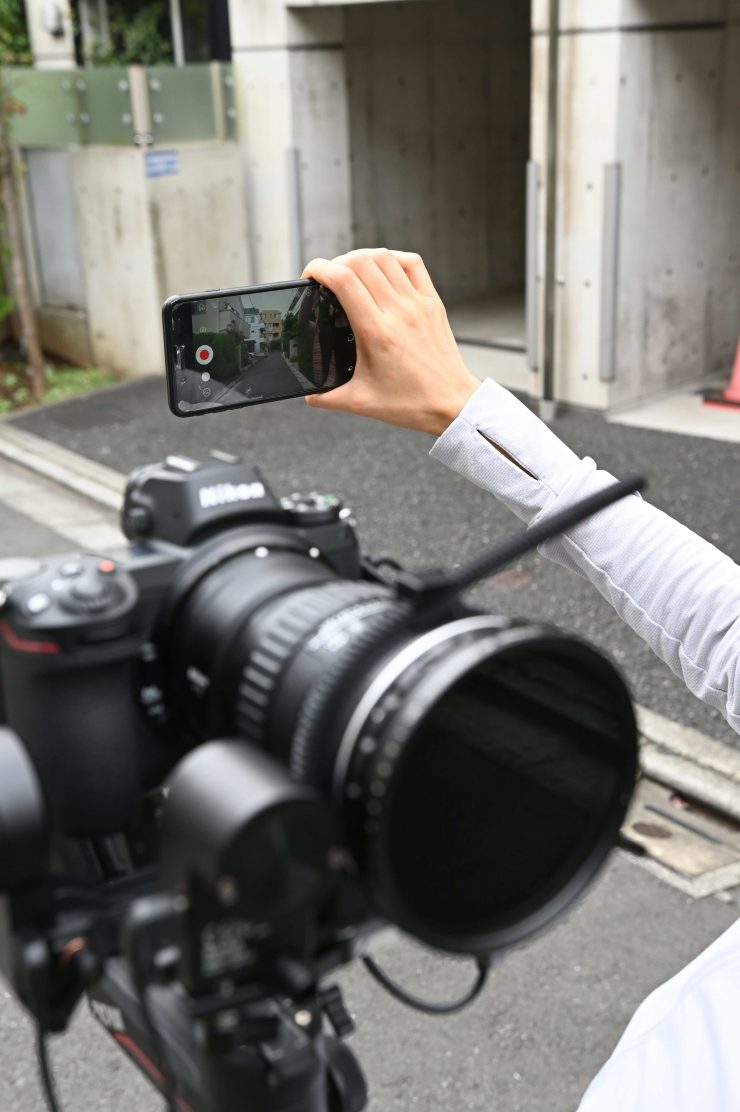
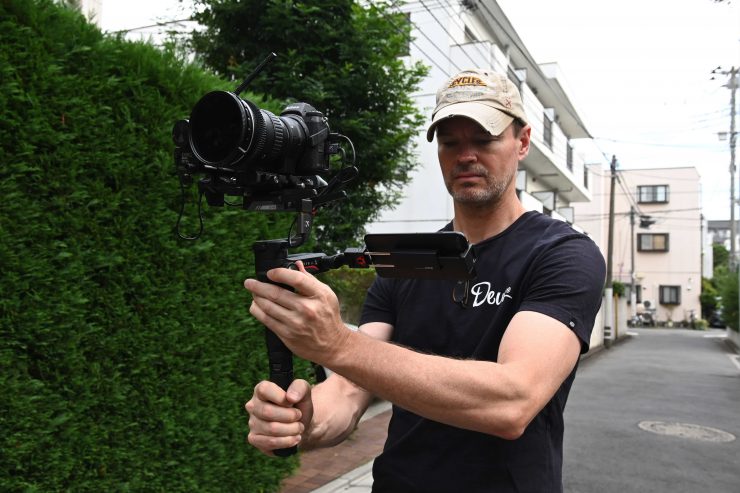
I also found that it was a really handy feature to be able to hold onto your smartphone and have the gimbal facing behind you. This allowed you to get a walking shot of a subject without you having to walk backwards. Not only can you see your shot, but you can also see where you are going. This is very useful if you are operating as a solo shooter. You could also just face the smartphone holder towards the front and use it that way, but I found if you do this, it is harder to see the screen and you have to move the gimbal further in front of you. This can be problematic as you can end up getting your own arm or shoulder in the shot.
The nice thing about all of this is you don’t have to use it if you don’t want to. You can just use the WEEBILL-S like any other gimbal, it’s not dependent on the app. You could just use the onboard screen of your camera and then fire up the app and give it to a producer or director so they could see what you are filming. It’s also nice to give it to someone else so they can control the gimbal while you are shooting.
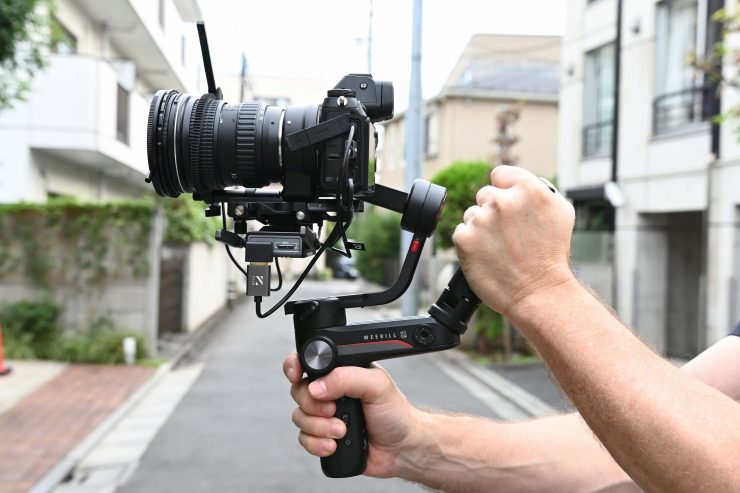
The design allows you to rest the top of your hand against the bottom support platform which in my opinion, provides more stability so your hand isn’t moving around so much. This may sound like a small thing, but I found it helped me get smoother looking shots.
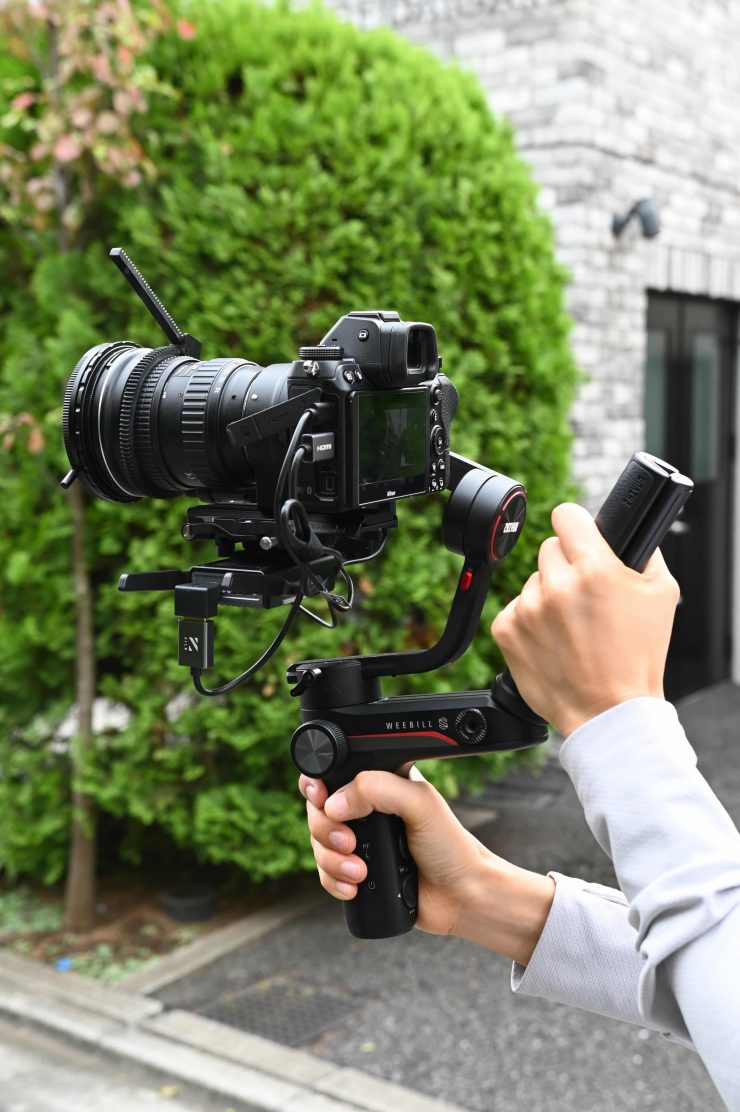
One-handed gimbals always have the inherent problem of creating quite pronounced up and down movement when you are walking. This is due to the momentum of your body moving your arm up and down. With a two-handed gimbal, this is easier to control as you are essentially locking your shoulders to create a more stable platform. While the WEEBILL-S does a fairly good job with this, just like any one-handed gimbal, you will still get a slight up and down movement when walking.
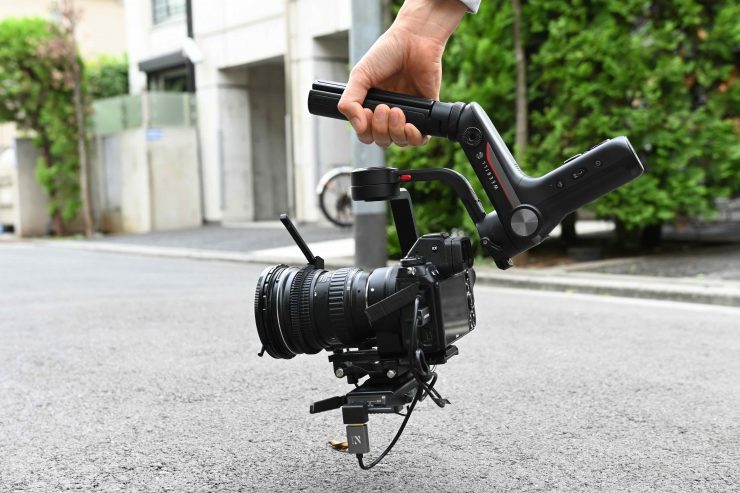
The design of the WEEBILL-S certainly does make it easier to get low angle shots and transition from a low angle to a normal level. By screwing the handle/stand into the support you can hold onto the handle from above the gimbal when doing low angle shots. If you want to transition from low to high you simply bring the gimbal up and then grab hold of the bottom handle while still holding onto the top one.
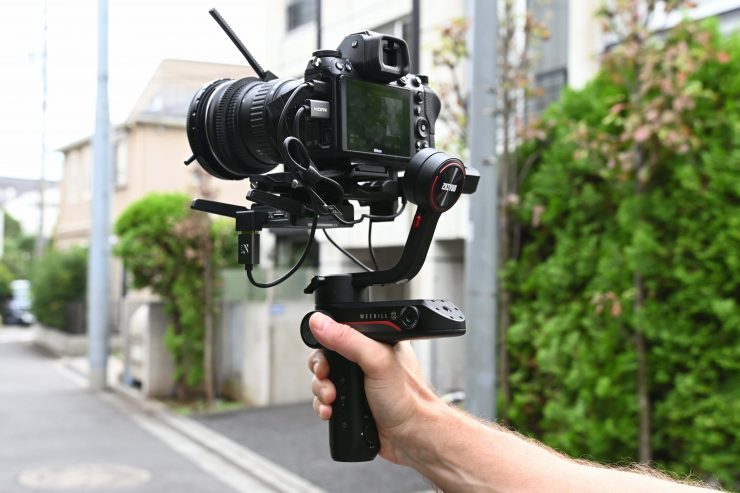
I actually found that for me personally, I preferred to hold onto the gimbal with a single hand when shooting at normal eye level. I just found that it felt more stable. As far as the actual performance of getting smooth shots, I didn’t feel like it was that much different from any other Zhiyun product I had used.
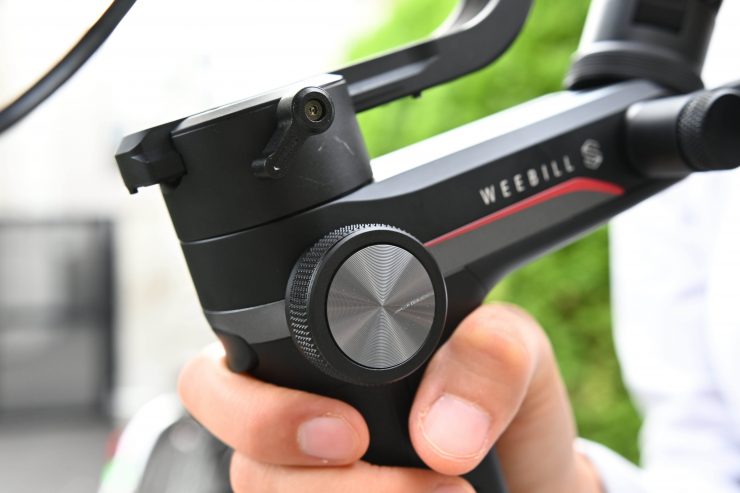
What you do need to be aware of is if you take the bottom handle/stand off and just use the WEEBILL-S it, your hand is likely to accidentally bump the controls. I found if I used the gimbal like this I was always hitting the joystick button and accidentally moving the gimbal around.
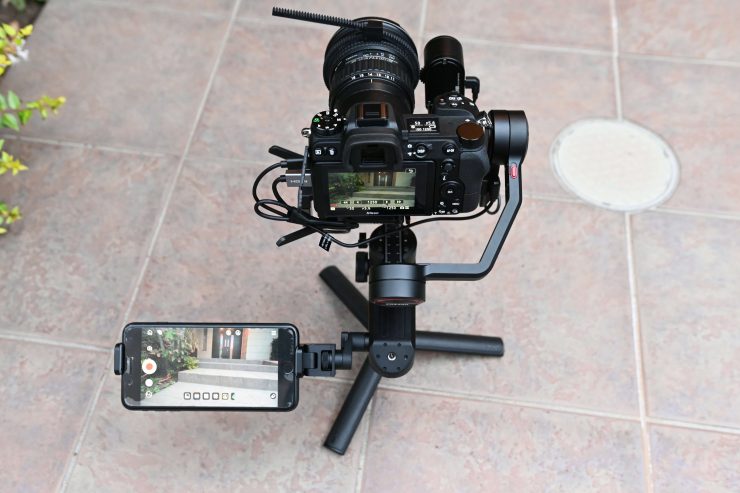
It’s nice to have the optional focus motor as you don’t have to touch the camera at all to change focus. It also allows you to change focus mid shot which is incredibly useful. The focus control wheel is located in a nice position and it is easy to use when you are shooting.
The biggest downside about usability is the inability to be able to use the TransMount Image Transmission Module and features such as Sync Motion at the same time unless you use the Wireless Remote Controller or two smartphones or tablets.
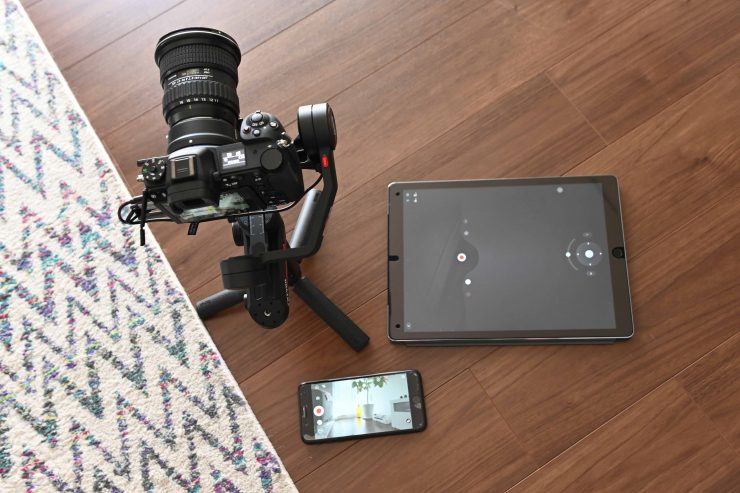
I found that if I used my iPhone for the wireless video and my iPad to control the gimbal it worked. This is hardly a good solution though.
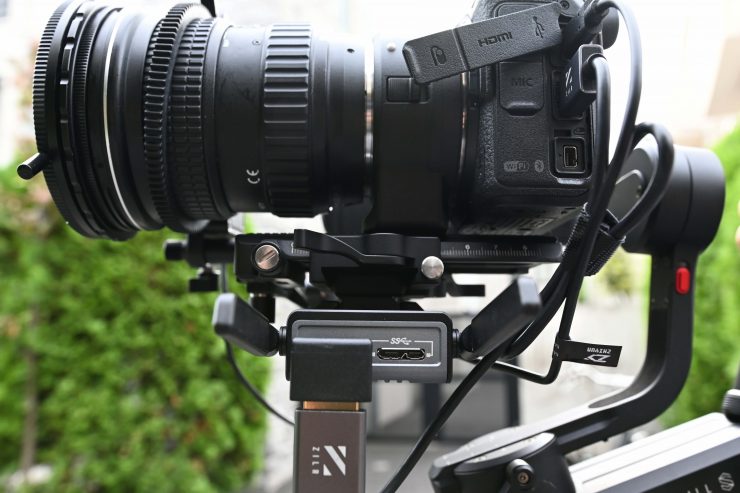
As both the TransMount Image Transmission Module and the Zhiyun Play app both use separate Wifi networks you can’t have them running at the same time on the same device. Maybe this is something that can be addressed via firmware.
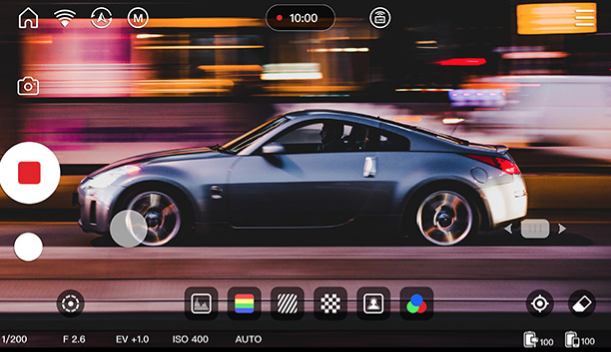
UPDATE: It looks like you you will be able to do gimbal and camera control as well as see your image on the same screen. Again, as I was running early beta firmware this wasn’t available at the time of testing.
Price & Availability
The Zhiyun WEEBILL-S retails for $439 USD. You can buy the optional Zhiyun-Tech TransMount Phone Holder with Crown Gear for Crane 3-Lab & WEEBILL LAB for $49 USD. This is really a must if you plan on using a smartphone with the gimbal.
The Zhiyun-Tech TransMount Max Servo Zoom/Focus Controller for Crane 3-Lab & WEEBILL LAB is $89 USD.
A Zoom & Focus Pro Package that includes the WEEBILL-S will be $519USD/€499/£449.
A Image Transmission Pro Package that includes the WEEBILL-S will be $679USD/€599/£549.
Conclusion
Almost all of today’s gimbals provide pretty good performance when it comes to stabilization. Gone are the days where the quality of the motors and stabilization varied immensely. Today, it’s all about what additional features can you offer, and every gimbal manufacturer is trying to come up with new functionality and accessories that they can offer.
The WEEBILL-S is a nice, cost-effective gimbal for mainstream mirrorless and DSLR cameras. It offers a good combination of performance and features, in a compact, easy to use, and store package.
The optional wireless video transmission system and the Zhiyun Play app allow you to monitor images and make changes to your camera and gimbal.
I like that the optional TransMount Image Transmission Package can be used both with the gimbal and without. This makes it a lot more versatile product than simply having it built-in to the gimbal. The downside of this, however, is that you do need to attach and separately charge another device to enable wireless video transmission from the gimbal.
The app can be a little buggy at times and it’s not always 100% reliable. You need to be aware that it could slow down your shoot if you are run into any issues.
In summing up I think Zhiyun has made a pretty good gimbal that certainly offers a lot of value for money. Its performance as a gimbal is good and the fact that it is very compact and easy to set up and use is bound to make it a popular choice for shooters looking for a gimbal to use with a mirrorless or DSLR camera.

