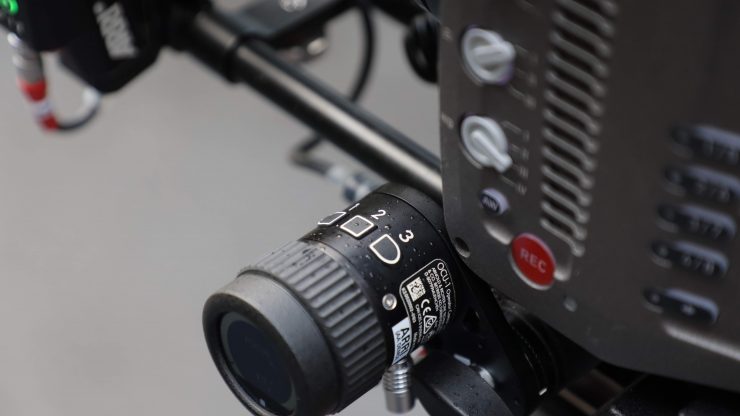
The ARRI OCU-1 is a product that caught my attention when it was first shown at IBC in 2018.
Even though it was primarily designed to enable camera operators to override and return focus, iris, and zoom controls from the WCU-4 Wireless Compact Unit, it can also be used as an electronic follow focus by solo shooters. This makes it a lower cost option than going with a full ARRI Master Grip setup.
As I primarily operate as a solo shooter, or in small crews, I wanted to test out the OCU-1 to see how it performs as an alternative to other wireless follow focus systems.
OCU-1 Key features
- Override Function: Prioritizes OCU-1 wheel over wireless control with WCU-4
- Versatile Controls: Full lens control, advanced camera control
- Flexible Design: Can be mounted in various ways
- Easy to Use: three assignable user buttons, multi-lingual touch display
- Control of Canon EF lenses
Size & Weight
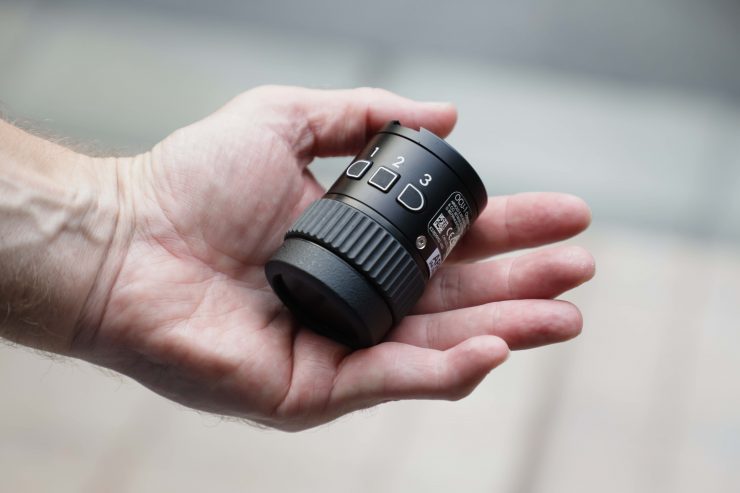
The OCU-1 is small and lightweight. It tips the scales at just 165.5 g / 5.84 oz.
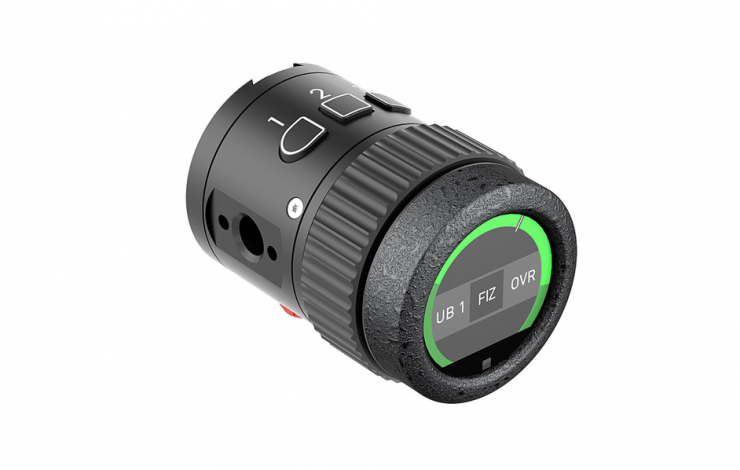

ARRI OCU-1 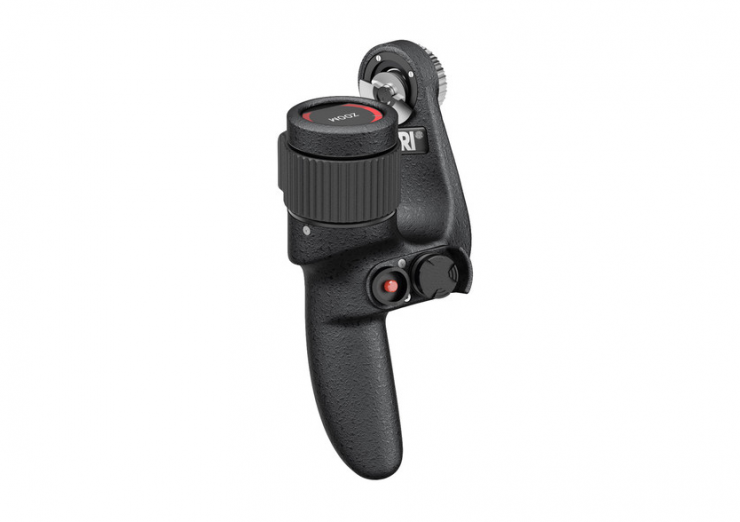
ARRI Master Grip
It features the same control wheel, display, and LBUS integration as you will find on the ARRI Master Grips.
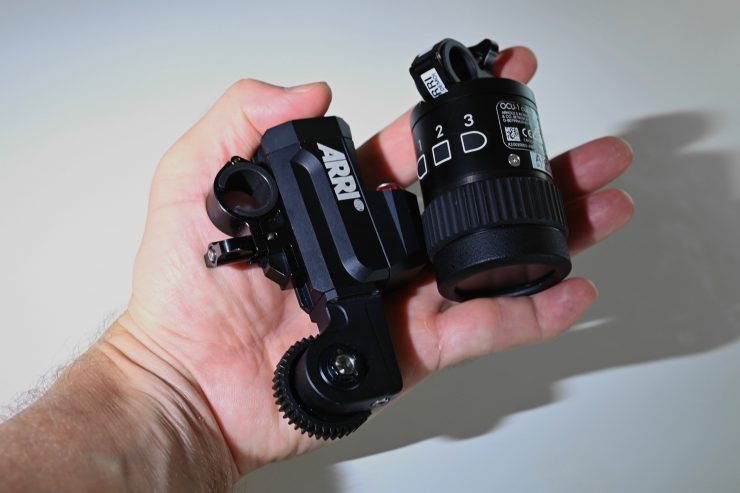
To give you an indication of size, here is the OCU-1 and a cforce Mini motor in my hand.
This low weight and small size make the OCU-1 a very streamlined follow focus solution. If you compare it to the size of a manual follow focus unit, it is tiny.
Build Quality
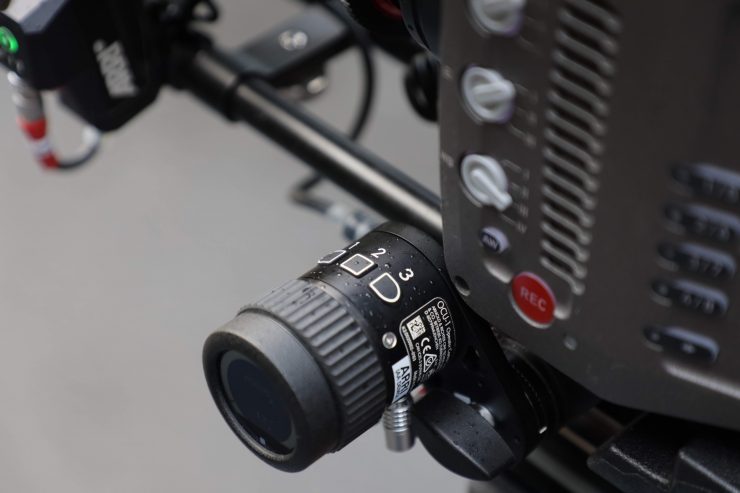
The OCU-1 has typical ARRI build quality. It is very well made and like almost every other ARRI product it has been designed to stand up to the rigors of field use. I have no doubt you could use this in any type of inclement weather conditions without any problem at all.
How can you attach it?
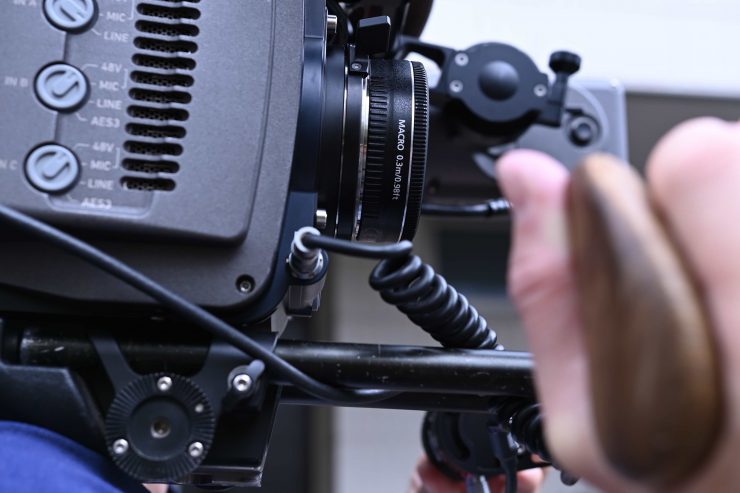
The OCU-1 has a range of mounting options and can be attached to 15mm or 19mm rods, an ARRI Rosette, or 3/8” mounts.
I personally found that how I mounted the OCU-1 depended on how I was shooting.
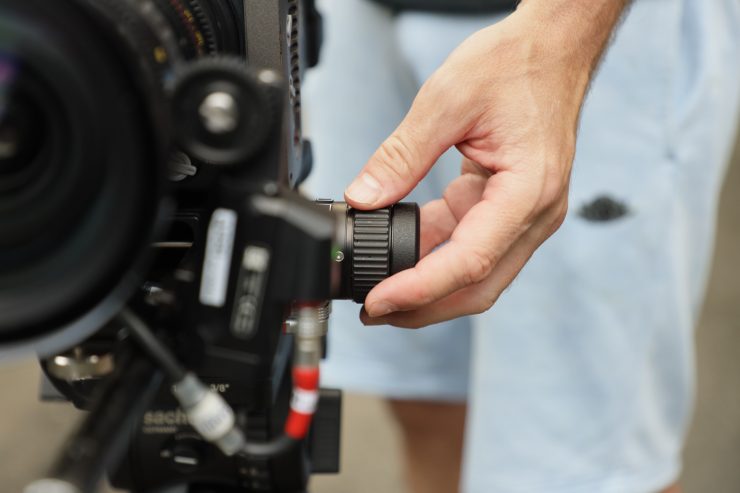
If I was just shooting on a tripod then mounting it on my AMIRA’s ARRI rosette made the most sense.

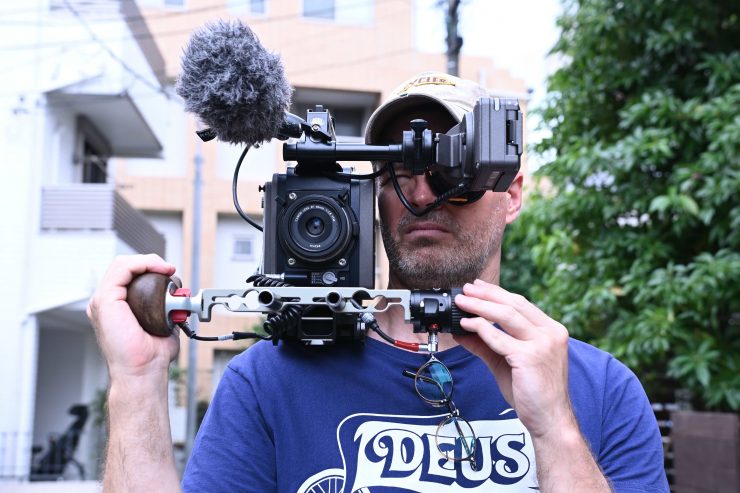
If I was shooting handheld, or using a combination of handheld and tripod, I preferred to mount it on a 15mm rod.

While you can still keep it on the camera’s rosette and shoot handheld, I didn’t find it to be the best option.

For interviews or times when you are going to be spending a lot of time with the camera on a tripod and using an on-camera monitor, I found it was best to mount the OCU-1 to an arm.
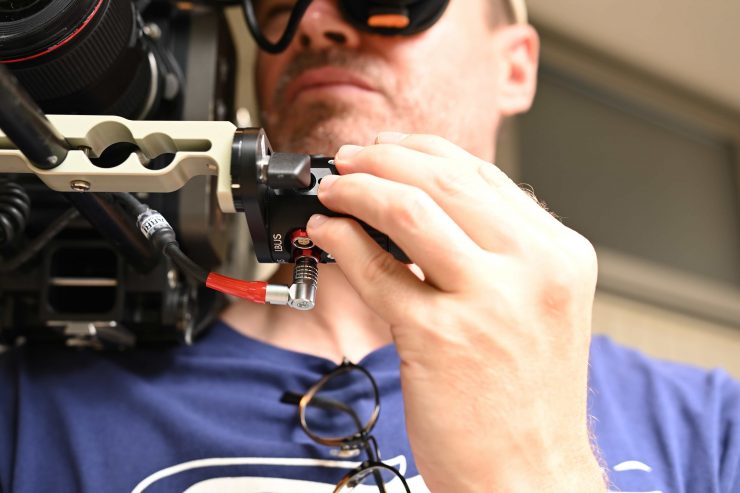
What you do need to take into consideration if you want to use the OCU-1 on an arm is that you will need to get a longer LBUS to LBUS cable.
Power
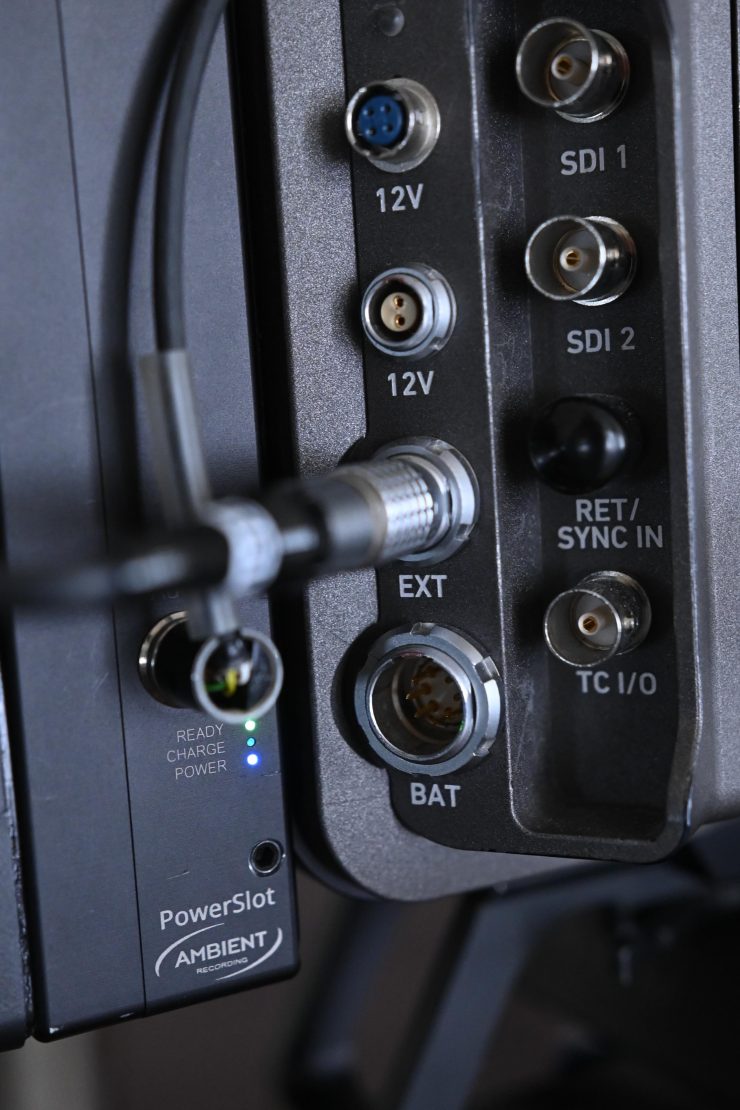
The OCU-1 doesn’t have any internal battery, it needs to be powered from your camera through the LBUS connector. For my testing, I was powering the OCU-1 using an LBUS to AMIRA EXT cable.
You might be thinking, why doesn’t ARRI just put an internal rechargeable battery inside the OCU-1? Well, they probably could have, but the system is designed to be hard-wired, so there really wouldn’t be much point.
What was my setup?
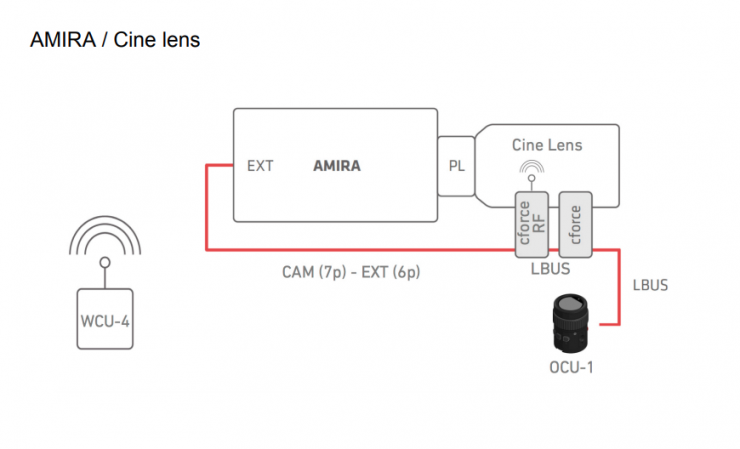
I was using the following parts for the review:
| Item Code | Descriptions |
| K2.0020002 | Operator Control Unit OCU-1 Basic Set |
| K2.0020003 | OCU-1 Rosette Bracket |
| K2.0006176 | CLM-5/cforce mini Clamp Console 19/15 mm (Including insert) |
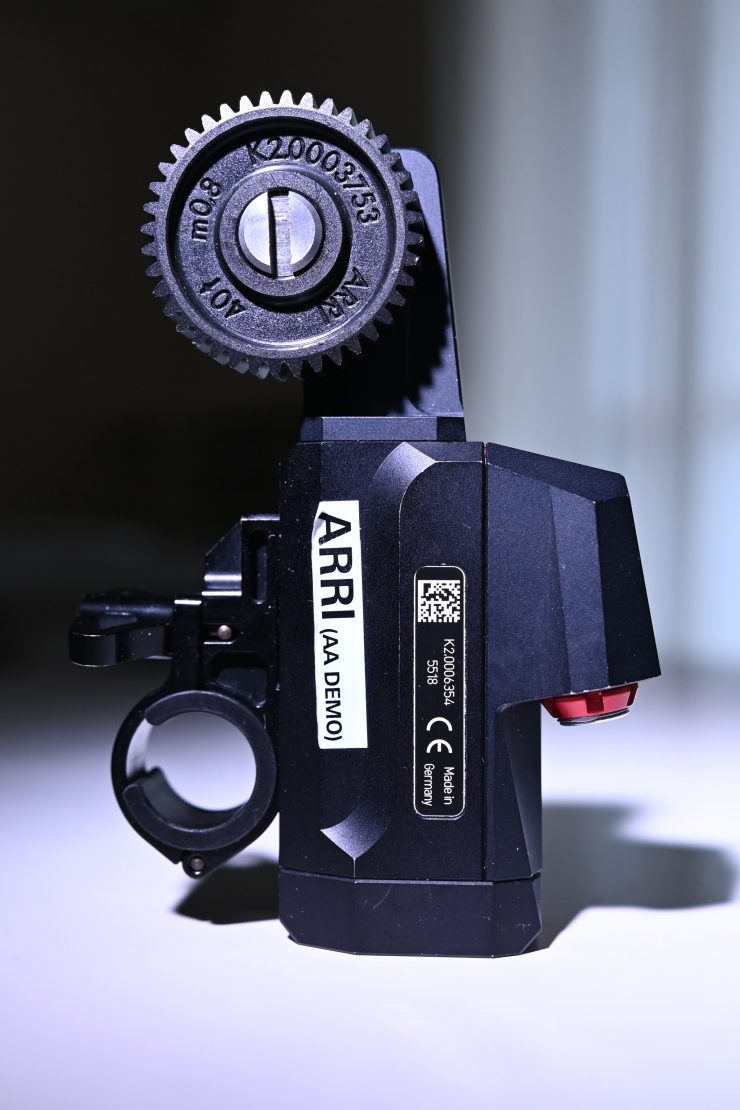
| K2.0006354 | Cforce mini (Basic Lens Motor Set) |
| K2.0003753 | CLM-5/cforce mini Gear m0.8/32p, 40t |
| K2.001262 | Cable LBUS (angled) to AMIRA EXT (straight) 80 cm |
| K2.0013042 | Cable LBUS (angled) to LBUS (straight) 35 cm |
I have included the ARRI part numbers so you can easily look up everything I needed to make this set up work.
As you can see, you need a few parts if you want to use the OCU-1 with a cine lens and a motor.
As the OCU-1 requires a wired connection, it uses LBUS cables and connectors. LBUS is an ARRI/cmotion bus standard designed to allow multiple lens motors and control devices to communicate with each other.
OCU-1 Layout

Above you can see a basic layout of the controls, buttons, and mounting points for the OCU-1.
OS
A product is only as good as its operating system, so does the OCU-1 fare?
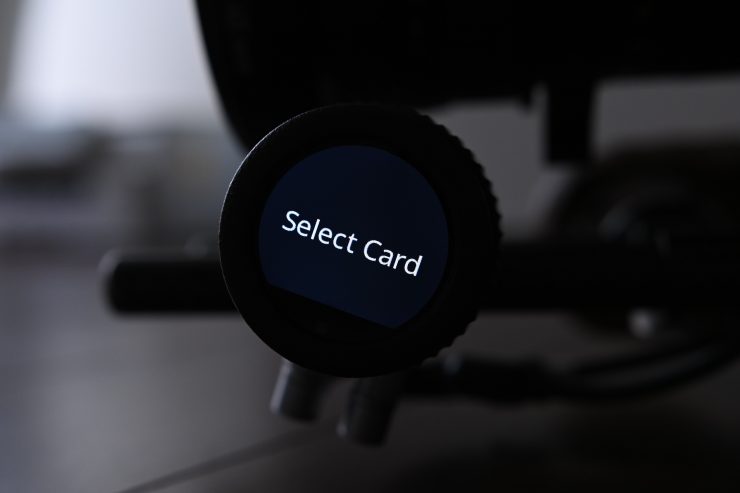
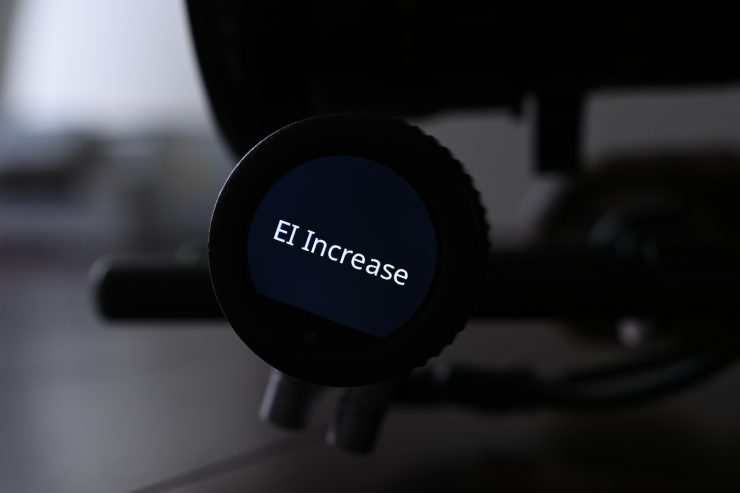
The main user interface of the Operator Control Unit OCU-1 is done via the use of a touchscreen. You need to use touch gestures for navigating through the menus and changing settings.
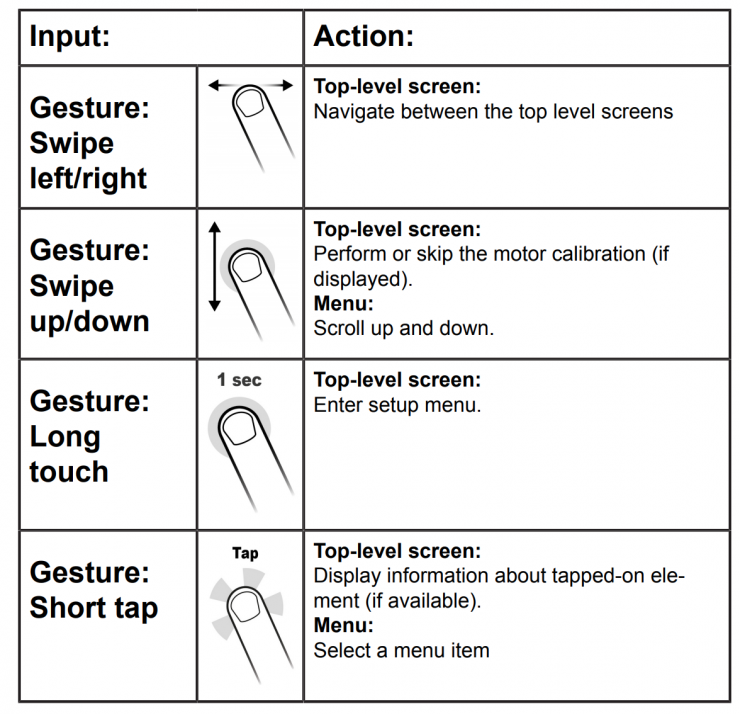

Above you can see the way the touchscreen works.
The Operator Control Unit OCU-1 has 3 different top-level screens. To
navigate between them you swipe left/right. The 3 different top-level screens are:
- Motor screen
- Button screen
- System screen
I’m not going to lie, getting used to this touchscreen operation does take a little bit of time. It’s certainly not a system you can just grab for the first time and know-how to use it instantly. I do recommend you read the manual before attempting to use it.
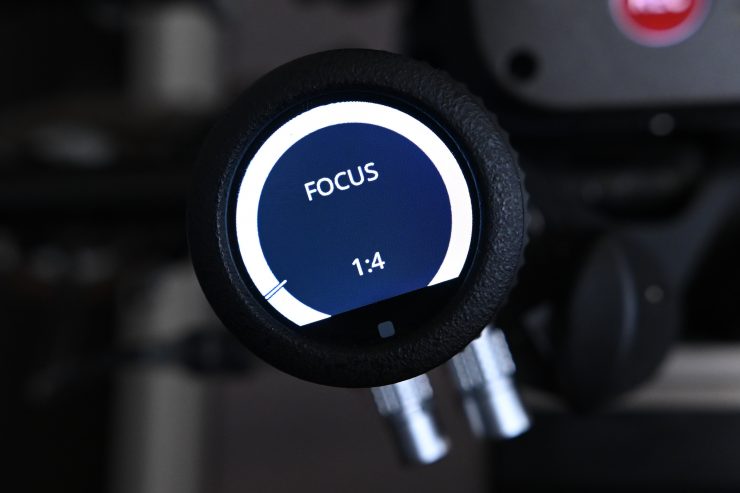
At first, I was constantly finding myself making the wrong swipe commands or not remembering what swipe motion did what. Was it a tap? Was it a swipe? Which way do I have to swipe? But, after about 15-20 minutes I quickly got the hang of it.
If you don’t like the touchscreen method you can still use the buttons for navigation. By default, this feature is disabled and needs to be enabled in the SYSTEM menu.
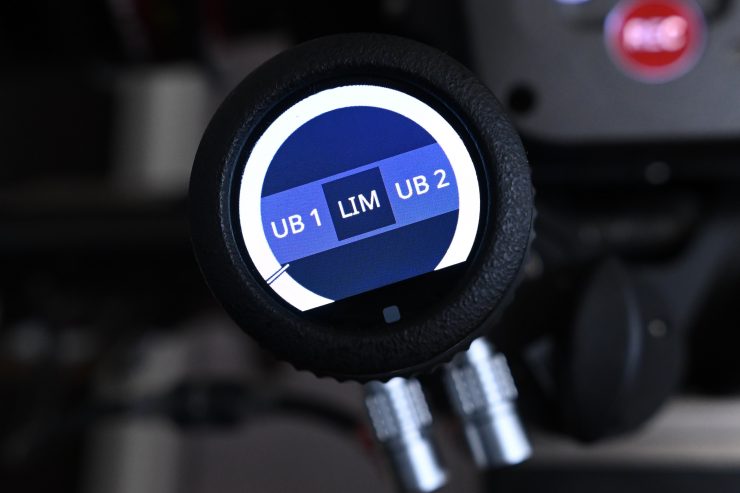
The OCU-1’s operation and OS is certainly something you can only become comfortable with over a period of time. I really wish ARRI had of been able to come up with some sort of menu system for the OCU-1 that could be seen in your cameras EVF and LCD screen. I would go one step further and suggest that even having a dedicated menu page on the camera itself for the OCU-1 menu would be even better.
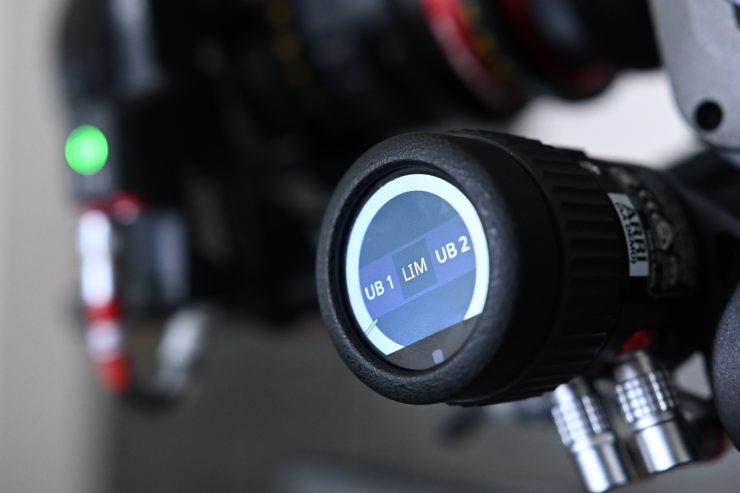
Even though there is a multitude of menus and functionality you can change, I personally found it was just easier to set it up how you wanted to use it in advance, before you start shooting.

What you do need to remember is that if you are using the OCU-1 as a solo shooter, you can’t see the LCD screen. If you want to make any changes you have to stop shooting to do so.
How to first set it up
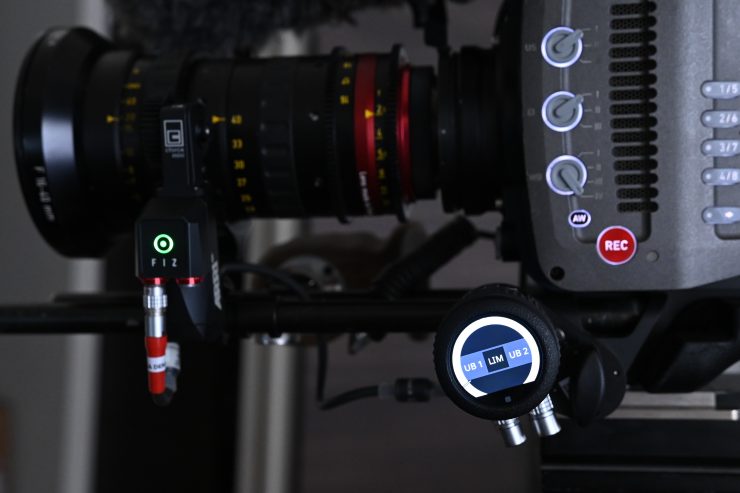
The OCU-1 and Cforce Motor are super easy and quick to set up. You just attach both of them to your camera and then connect the cables. As soon as you turn the camera on the whole system turns on as well.
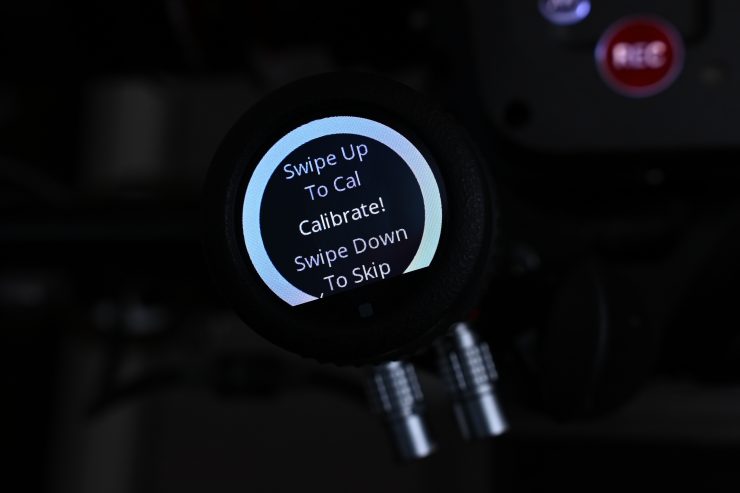
If you are using the OCU-1 with a new motor or the motor axis has been changed, a motor calibration is necessary. If this is the case, The OCU-1 will display a calibration request on the motor screen. You swipe up to calibrate the motor. What is nice is that the OCU-1 powers up instantly and you can calibrate a motor before the camera is even ready to roll.
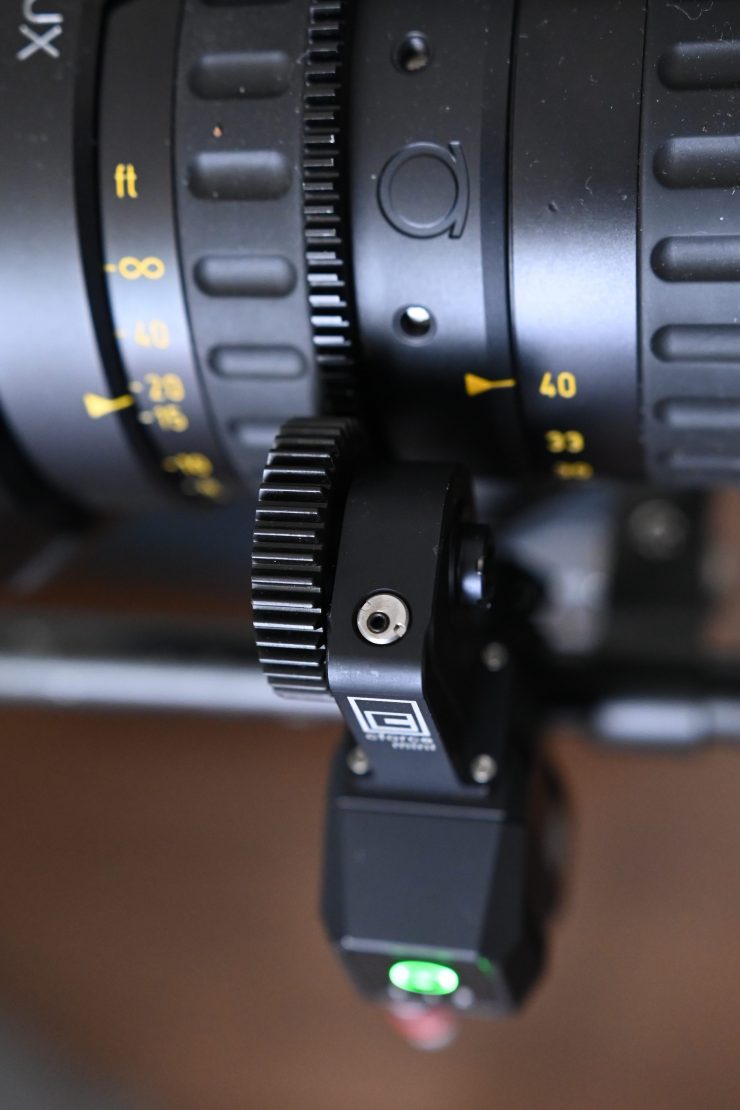
Unlike a lot of other systems, once you have calibrated a lens and then you turn the power off and then back on again, you don’t have to recalibrate the lens.
What can the OCU-1 do?
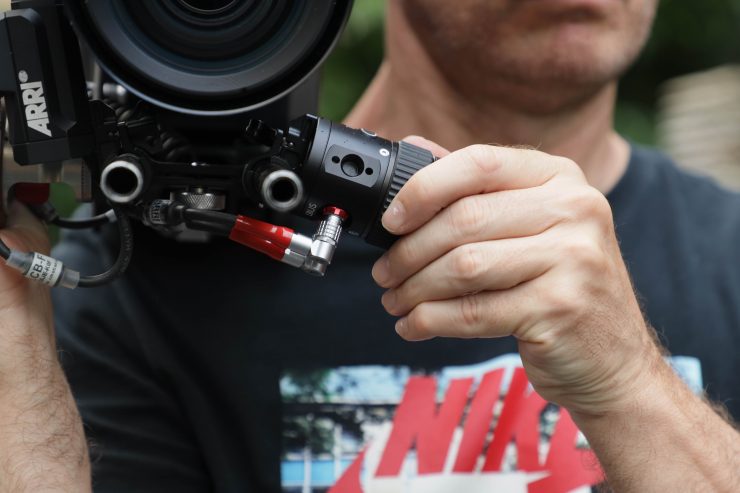
For a tiny device, ARRI sure has packed a ton of functionality into the OCU-1. The OCU-1 can do everything that the Master Grips can.
Here is just some of its functionality:
- Control all three FIZ axis
- Set limits for any axis
- Change the speed of the motor- the speed is set as the ratio between lens range (1:4, 1:2, 1:1, 2:1, 4:1)
- Change the direction of the motor
- Tell the OCU-1 what side of the lens the motor is on
- Set the motor torque level from 1 (lowest) to 4 (highest)
- Set three assignable camera buttons to the OCU-1
The amount of functionality built into the OCU-1 is truly impressive. There are so many ways to customize and use it depending on your application.
Canon EF Lens Control
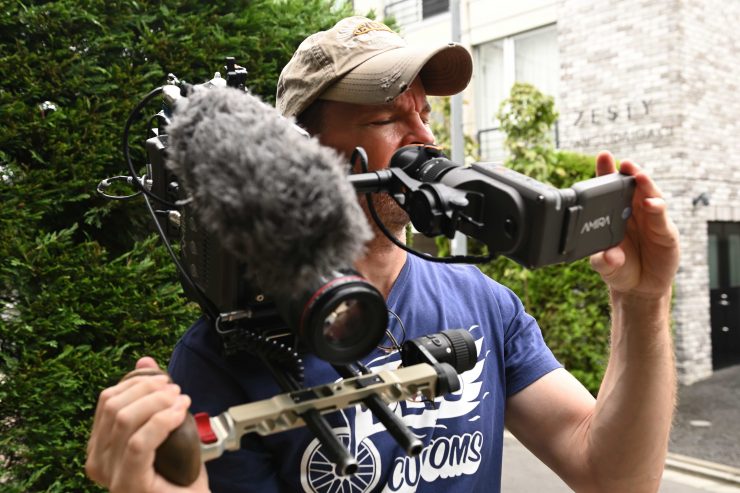
If you are using Canon EF lenses with an Amira or Alexa Mini, the OCU-1 gives you full control of iris and focus without having to use any external motors.
For solo operators or crews wanting to go as lightweight as possible with an Amira or Alexa Mini, the ARRI Canon EF mount makes a lot of sense. Instead of using bigger, heavier cine glass, you can choose from the vast array of EF lenses from Canon, Sigma, Zeiss and other manufacturers.
Apart from the common features for controlling lenses, the camera also supports Image stabilization from EF lenses.
The only trouble when using Canon EF mount glass on an Amira or Alexa Mini is that you have to control the iris via the scroll wheel on the EVF or on the Live Screen. This is far from ideal. Below is how you set this up.
Adjusting the Iris (EF lenses) Manually
- Choose HOME > EI > IRIS.
- A screen showing the current iris value is displayed.
- Turn the jogwheel up or down to open or close the iris. Press the jogwheel to toggle between full stops and substops. (Note: Sub-stop precision depends on the lens type and is automatically set by the
camera.)
Activating Iris Adjustment on the Live Screen
- ► On the live screen, you can activate and deactivate iris adjustment by short pressing the lower round button.
- Keeping the button pressed activates iris adjustment until it is released. (Note: Depending on the orientation of the monitor, the round button may be located on the right.)
Defining the Auto Iris Calculation
- The camera can perform an auto iris calculation and adjust the lens iris automatically
- If supported by the mounted lens. The auto-iris function can be triggered via a user button.
- The auto iris calculation can be configured with the following settings.
- Choose HOME > EI > IRIS > OPTIONS.
- You have the following options:
- Auto iris mode
- Defines the iris calculation.
- Integral
- Iris is calculated based on full image content.
- Center
- Iris is calculated with higher priority on image center.
- Auto iris offset
- Offsets the auto iris calculation result by up to +/- 3 stops in 1/3 stops
With the OCU-1 you can make iris and focus adjustments while you are shooting handheld without the need for taking one hand off your lens to adjust iris via the EVF.
I decided to try out the OCU-1 and Canon EF lens combination to see how it works.
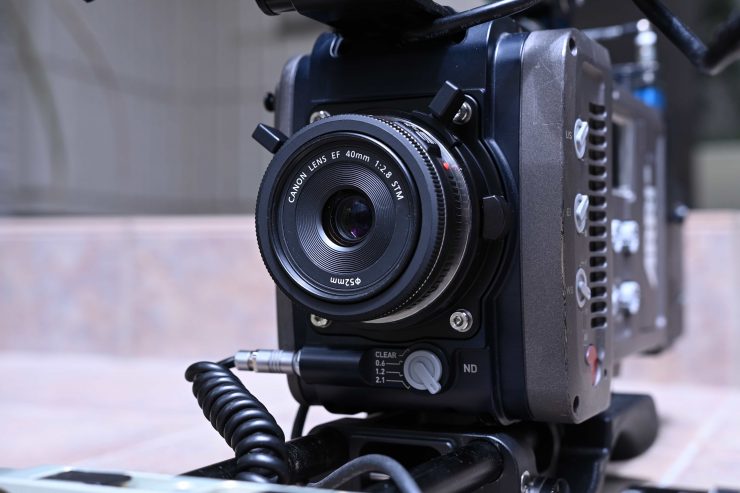
I have been skeptical about using Canon EF mount lenses on my Amira as I don’t like lenses where the iris control isn’t smooth, and the focus is also not smooth or tactile.
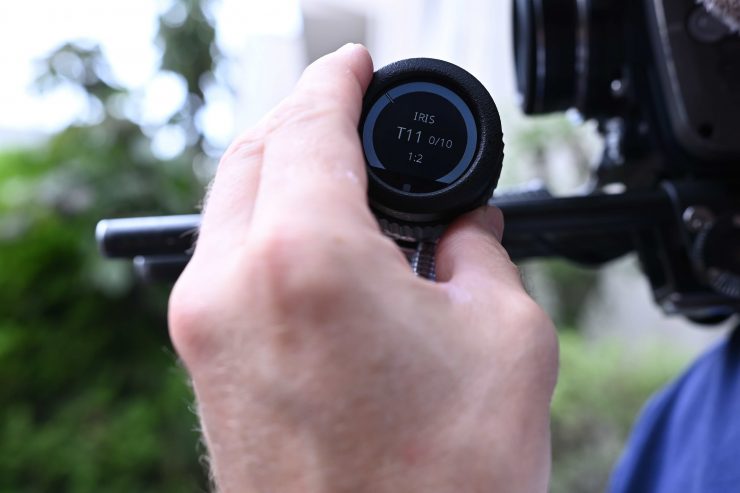
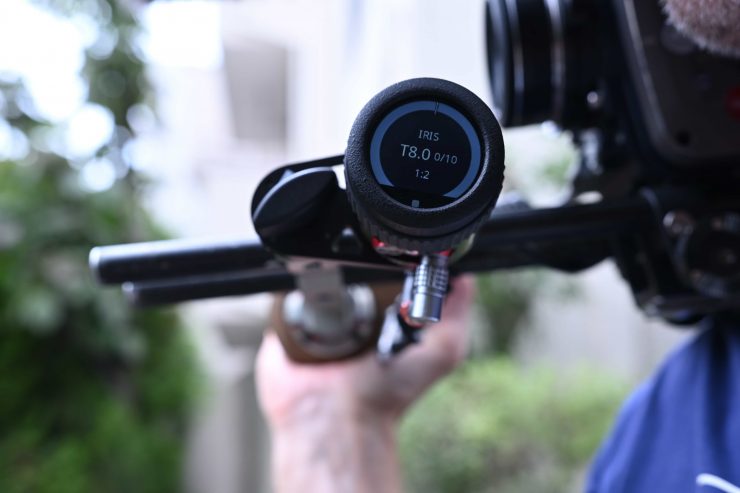
Whatever ARRI has done with the OCU-1 and their Canon EF, they are doing it right. Not only was the iris control very smooth, but you make adjustments in 1/10 stops.
Above you can see a small demonstration of how well the iris functionality works with the OCU-1 and the Canon EF lens mount.
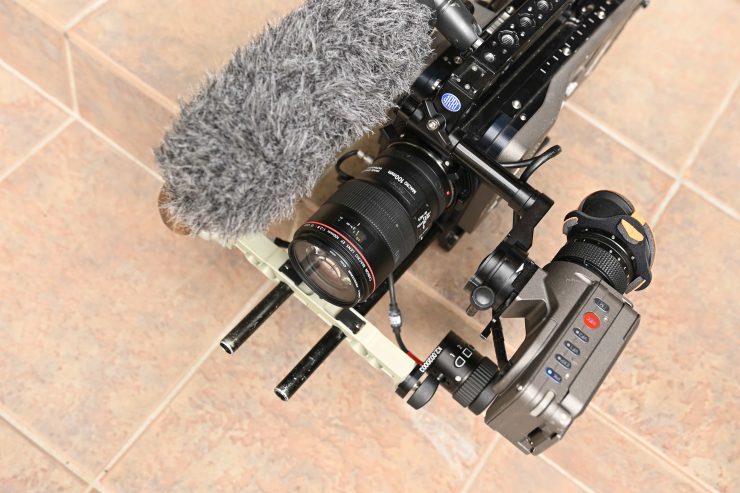
The biggest problem with most stills glass, especially the ones designed primarily to use autofocus, is that the focus is far from ideal to manually operate. What ARRI has done with the OCU-1 is come up with some very clever focus operating curves.
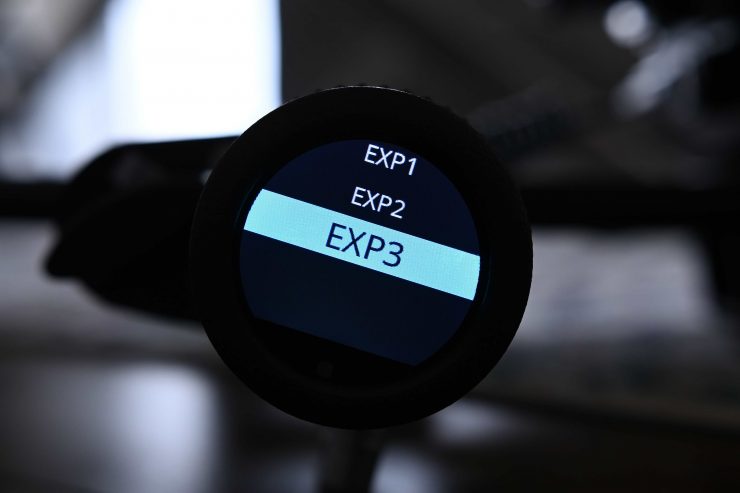
This allows you to select either the default Linear setting, or three different exponential curves that change the focus response. By choosing one of these EXP curves you can create a focus response that has more in common with a cinema lens than a stills lens.
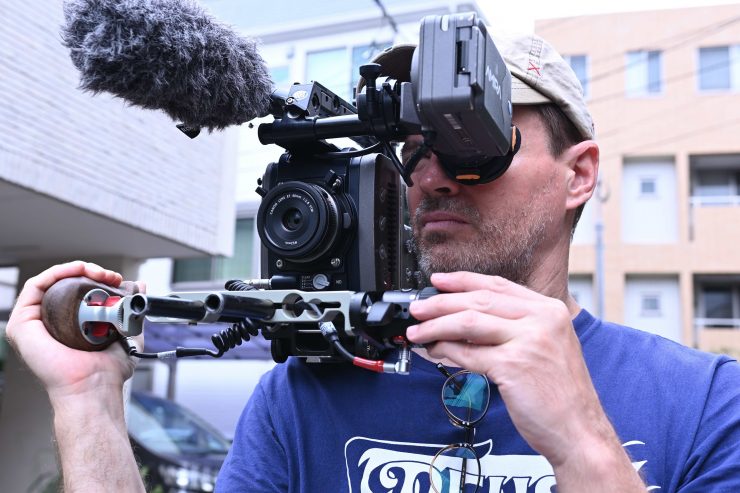
What it is effectively doing is increasing the range of movement of the OCU-1’s wheel so that the focus throw of the lens feels like it has been increased. This makes pulling focus on a Canon EF stills lens far easier than if you were doing it using the lens barrel.
By assigning Focus to one of the OCU-1’s user-assignable buttons, and Iris to another, I could easily switch back and forth to have complete control over the lens without my hand ever leaving the OCU-1.
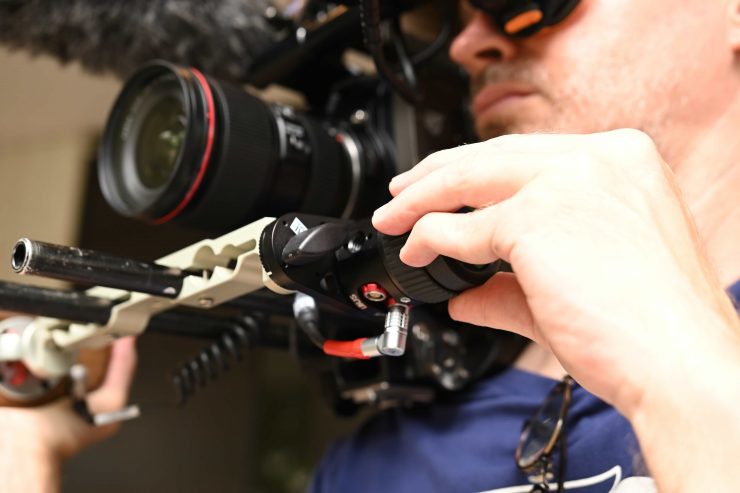
The OCU-1 makes using Canon EF mount lenses a much more enjoyable experience. The OCU-1 may have single handily changed my views on using Canon EF mount lenses on my camera.
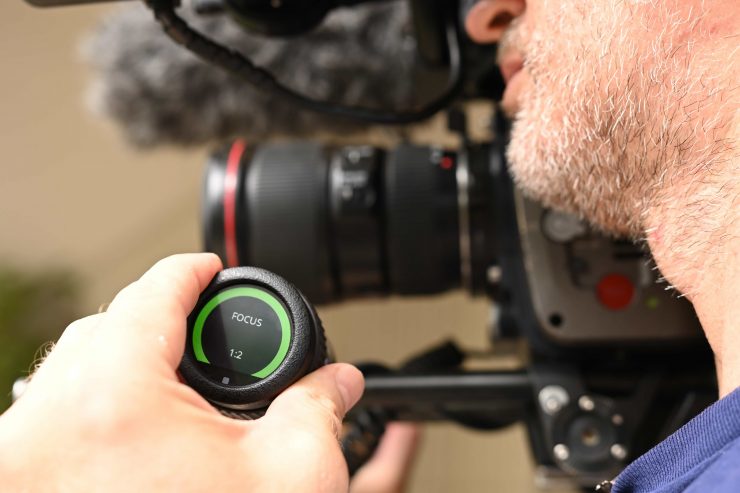
For those times when you need to do a lot of run and gun shooting or need a lighter camera package, the OCU-1, and Canon EF mount glass makes a lot of sense.
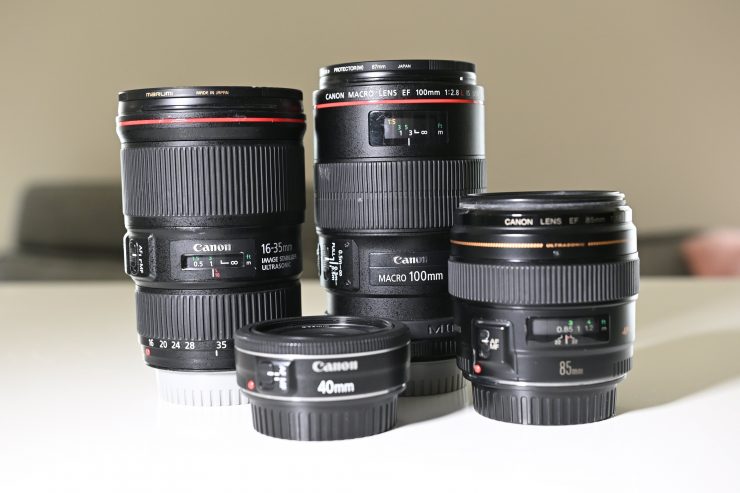
I tried the OCU-1 with a range of Canon EF glass and they all worked well. Some lenses are noisier than others when you are changing focus or iris. In a nice touch, if you are using a lens that has image stabilization it works just as well on the ARRI as it would on a Canon camera.
Camera Control
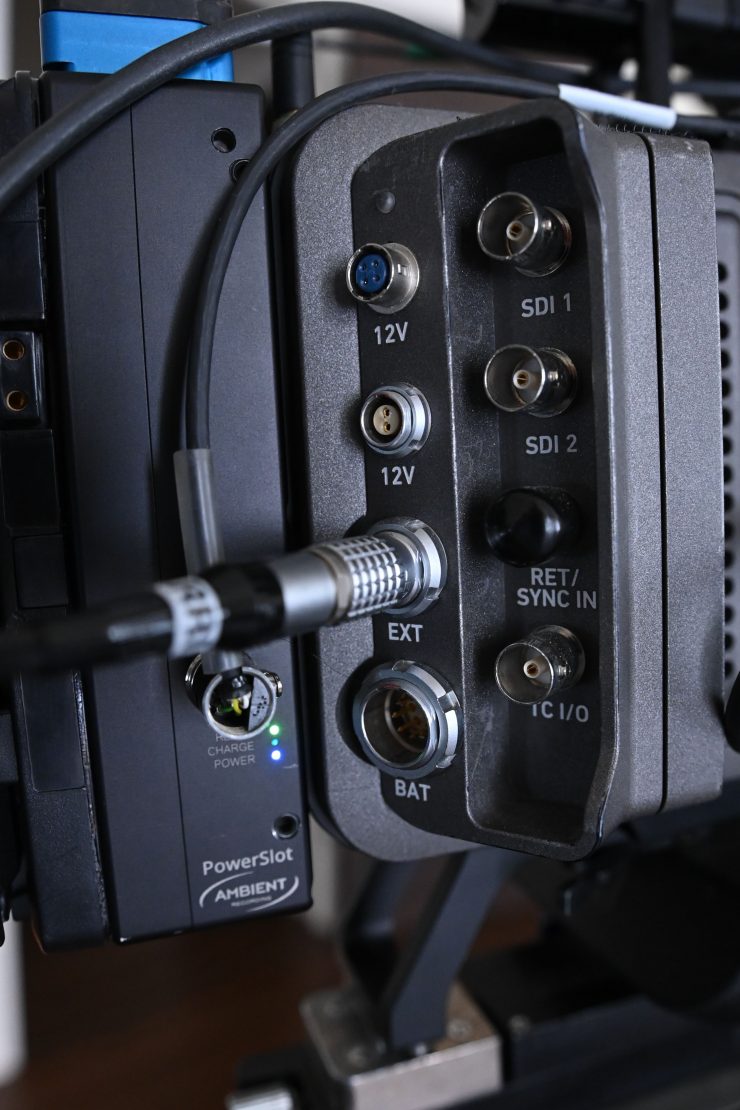
In a nice touch, by using the LBUS to AMIRA EXT cable, it not only powers the OCU-1 and the Cforce Mini motor, but it also allows me to control aspects of the functionality of my camera.
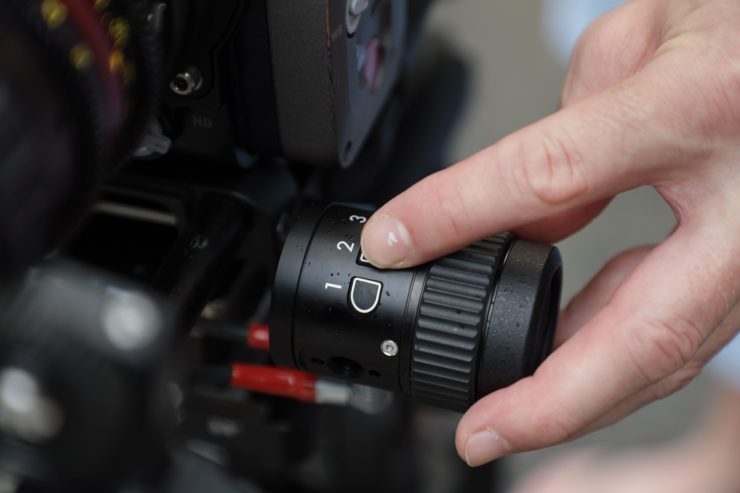
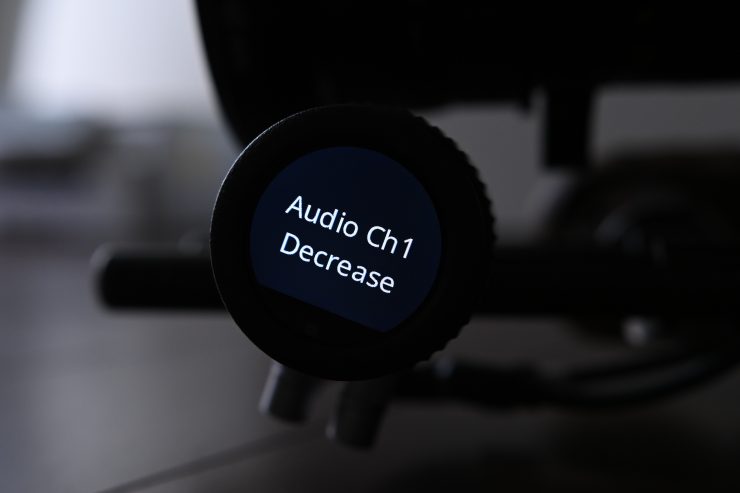
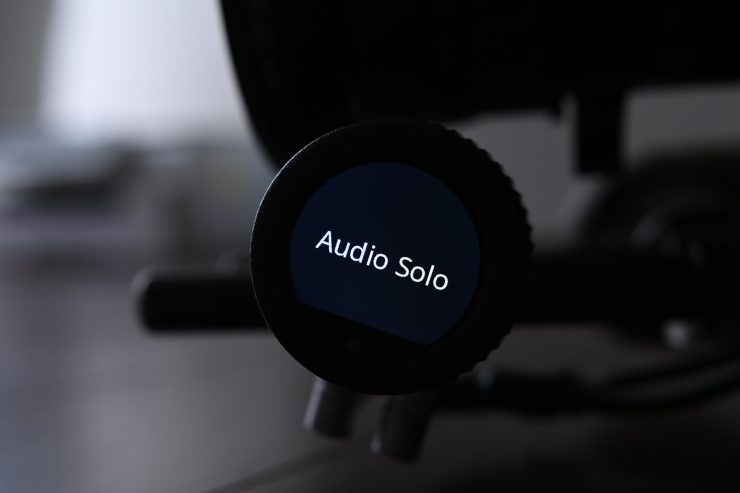
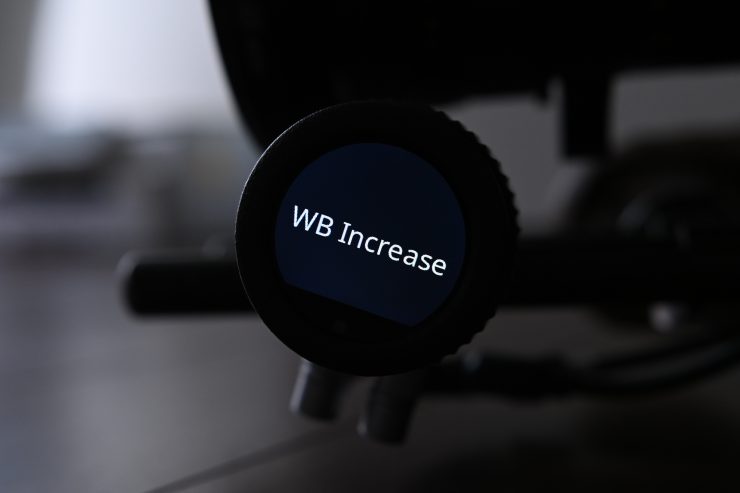
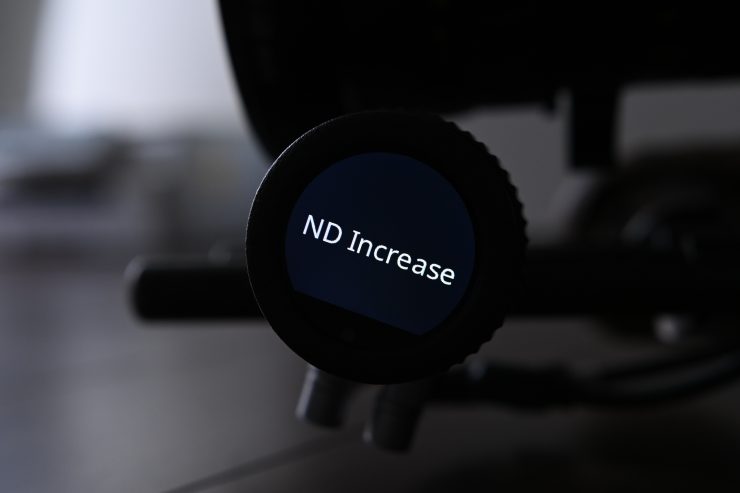
There are 3 user-assignable buttons on the OCU-1 that can be programmed.
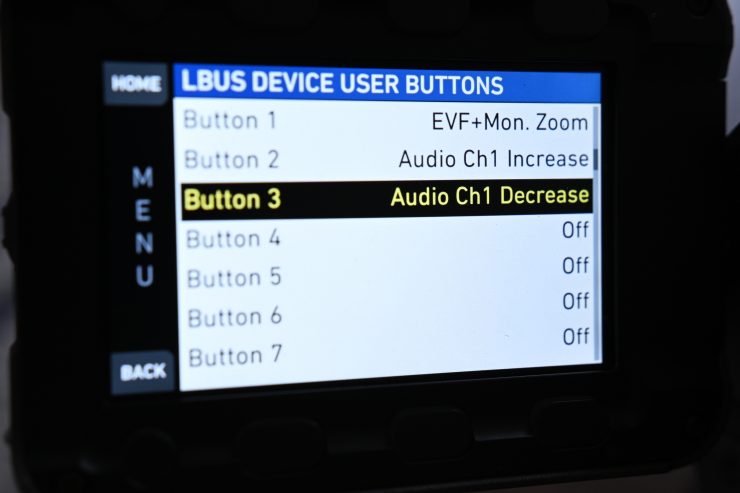
All I had to do is go into the menu of my camera and select User Buttons, and then LBUS Device User Buttons. There I could assign any function that I chose to one of the OCU-1 user buttons.
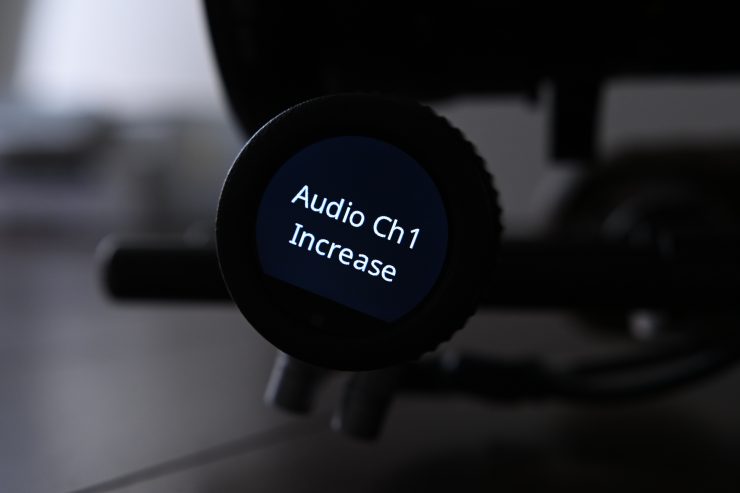
This is really handy. As a solo shooter, I could assign items such as EVF+Monitor Zoom and even Audio Increase or Audio Increase. This allows me to access key functionality without my hands ever leaving the camera.
This ability alone makes the OCU-1 a very good accessory for solo shooters using ARRI cameras.
What motors will it work with?
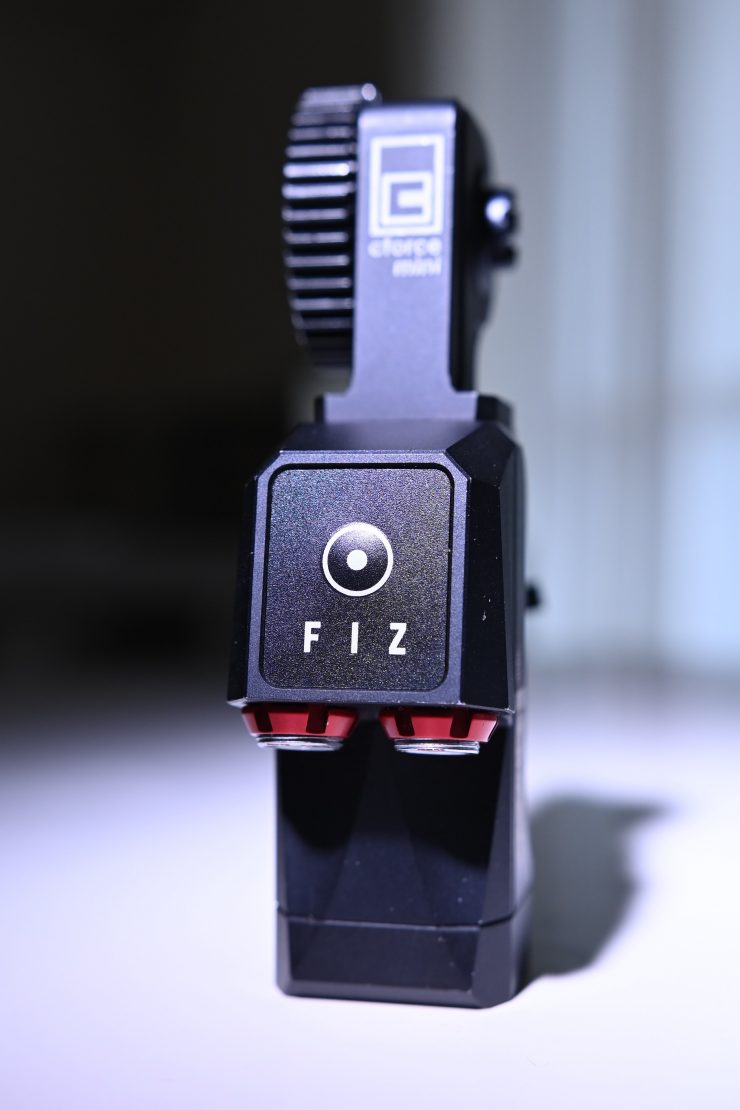
Like any wireless follow focus system or FIZ controller, you can’t just use any motor you want. You can only use ARRI’s own Cforce motors that made for them by Cmotion. The motors that are compatible with the OCU-1 are:
- cforce mini
- cforce mini RF
- cforce Plus
If you just want to use the OCU-1 to control one FIZ axis, for example, focus, you only need to buy one motor. If you want to control all three axis from your OCU-1 you would need to buy 3 motors.
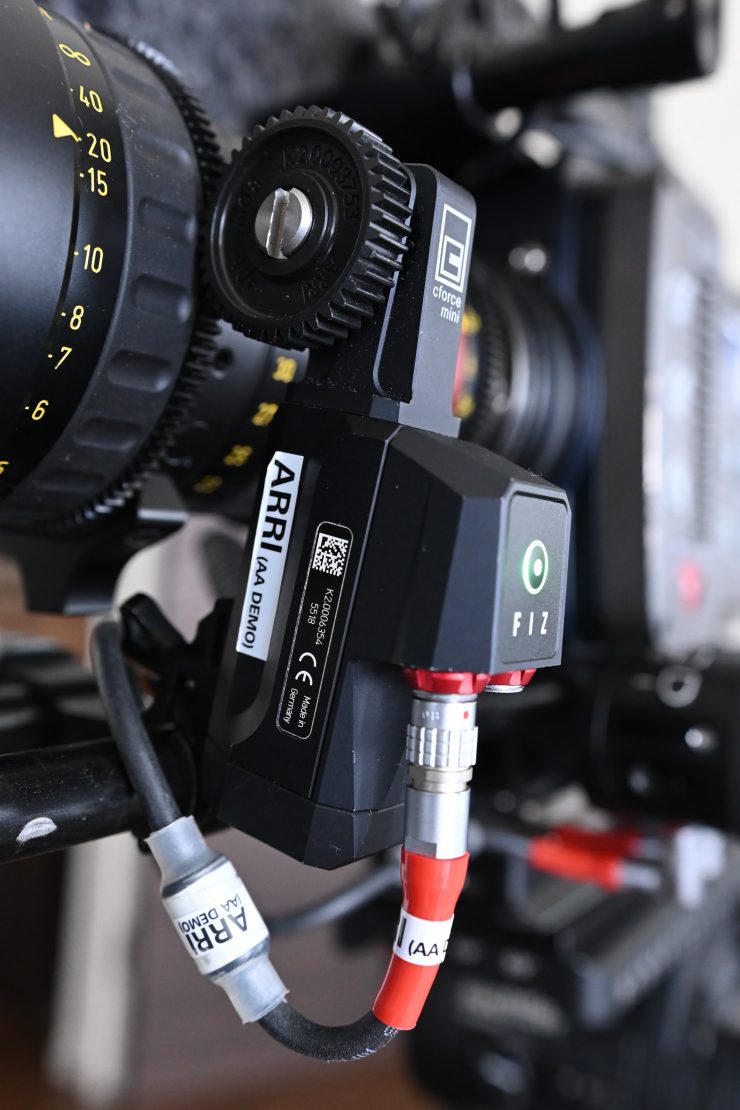
The nice thing about these motors is that they will work with the OCU-1, Master Grips, WCU-4, and the WCU-1. They will also work with cmotion’s cpro.
OCU-1 override function
If you use the OCU-1 in addition to the WCU-4 lens control system it allows shooters to have full control of their lenses when they want it. The OCU-1 features a clever override function that enables you to override and return focus, iris, and zoom controls at the touch of a button. With its three assignable user buttons and a finger wheel, the camera operator will always have the ability to control the lens, even when motors are attached. This will help camera operators to save time while framing a shot or doing adjustments when the focus is slightly off. The OCU-1 override is indicated on the WCU-4 screen and enables the focus puller to re-engage control smoothly without a jumping motor.
Stabilized Remote Head SRH-3 support
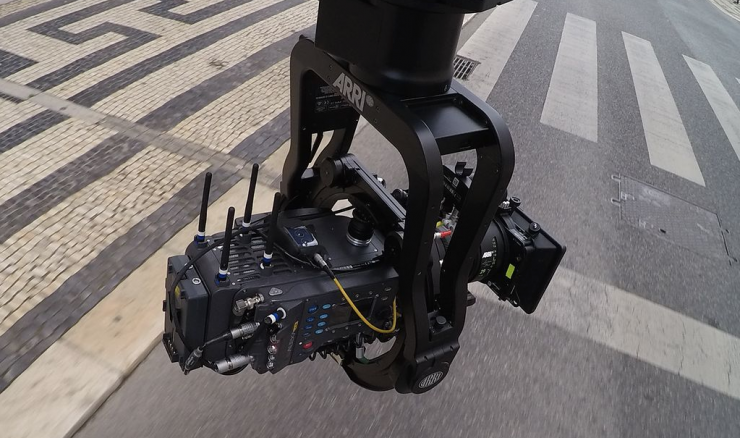
Not only does the OCU-1 work with the WCU-4, but it also offers support for ARRI’s SRH-3 Stabilized Remote Head.
Will the OCU-1 work with non-ARRI cameras?
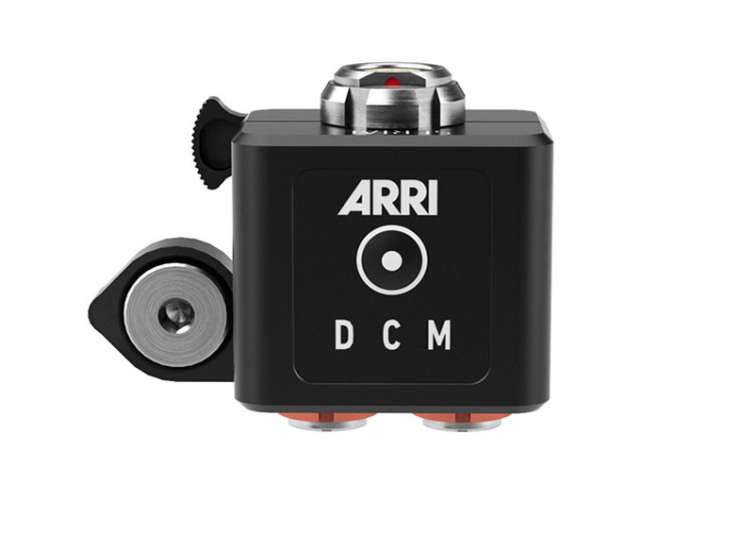
Yes, it will. The OCU-1 will work with Sony/Red/Canon, and Blackmagic (LANC) cameras if you purchase the optional CUB-1 interface box.
The LCUBE CUB-1 is a miniature signal converter that converts LBUS
protocols to serial protocols and vice versa.
Above you can download the camera compatibility document that shows you what functions will work with various different cameras.
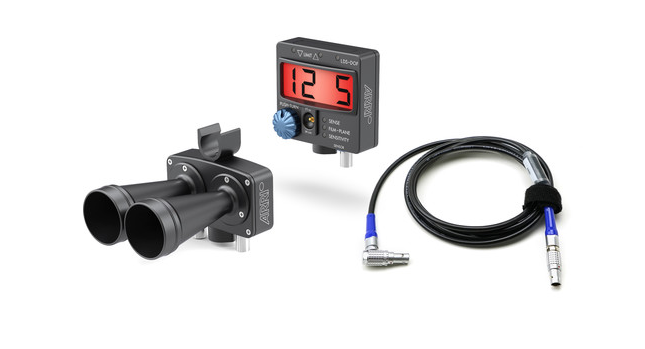
If you use the CUB-1 and one or more cforce motors you can also connect a UDM-1 Distance Measure to an ARRI camera.
ENG Lens Control
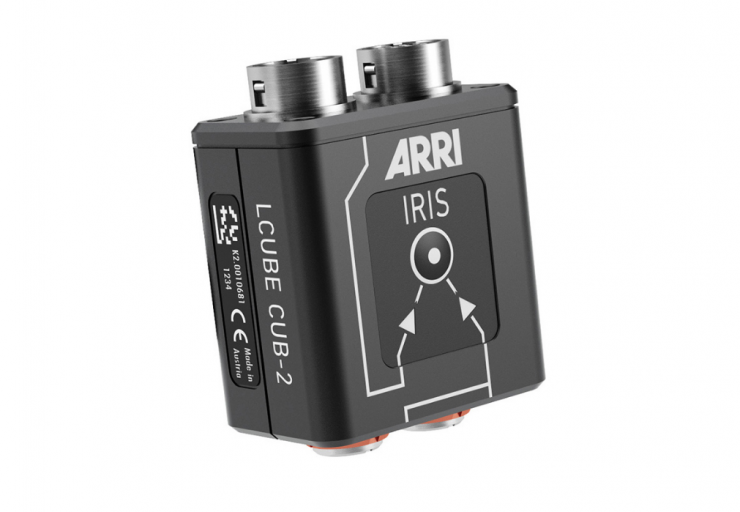
By using the optional LCUBE CUB-2 you can connect ENG servo-zoom lenses by using a Hirose 12 pin to LBUS (Lemo 4 pin) cable. This allows the OCU-1 to directly control focus, iris, and zoom of a servo-zoom lens. The LCUBE-CUB-2 also provides a switch to select between iris control from camera (auto-iris via camera Hirose 12 pin interface) or OCU-1/Master Grips (via LBUS). The device has an integrated dovetail for mounting the LCUBE Bracket (K2.0009620) or the CLM-5/cforce mini Clamp Console 19/15 mm (K2.0006176).
Full Compatability List
- ALEXA EV
- ALEXA LF
- AMIRA
- ALEXA Mini
- ALEXA Mini LF
- UMC-4
- SMC-1
- EMC-1
- AMC-1
- Stabilized Remote Head SRH-3
- Sony/Red/Canon, Blackmagic (LANC) via CUB-1
- ENG Lens via CUB-2
How is it to actually use?
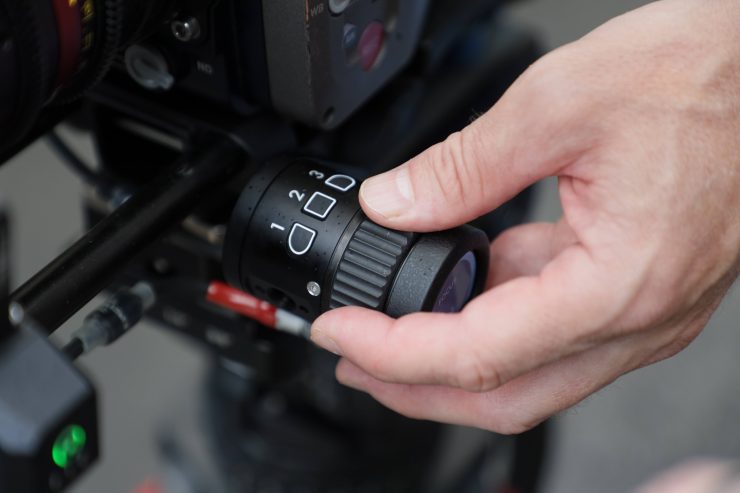
Like any piece of gear, the specifications can look great on paper, but if those specifications don’t transfer over into the real world then no one is going to use the product.
The OCU-1 certainly looks great on paper, but how it is to actually use?

I was surprised by how much I actually liked the OCU-1. I had reservations before doing this review as to just how relevant or useful I would find it for the type of work I do.
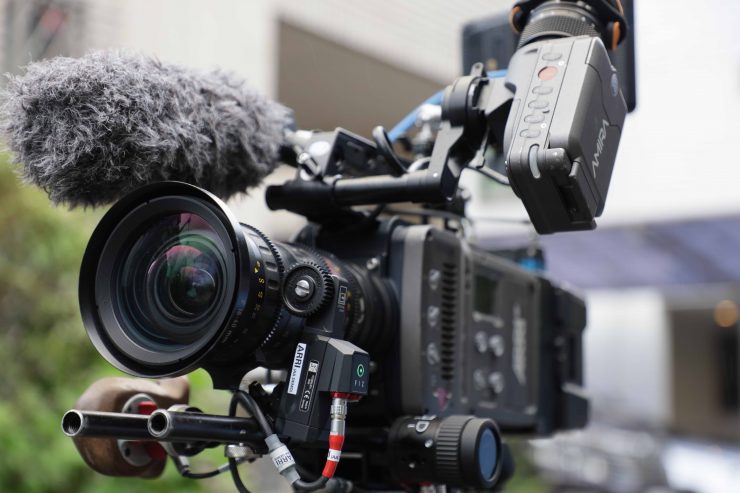
The OCU-1 and Cforce Mini motor stay out of your way and let you get on with shooting. Because they take up such little real estate, you barely notice that they are even on your camera at all.
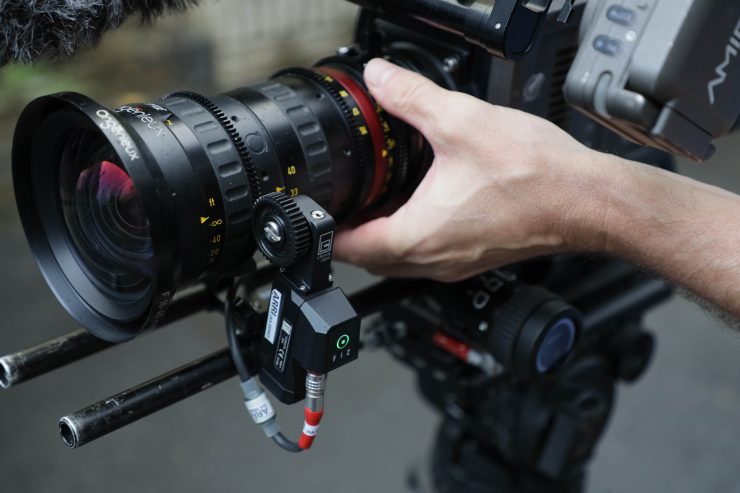
The benefit of the system taking up such little space is that is still easy to reach your lens and camera to make changes.
By keeping everything streamlined and simple, I was able to operate in the same way I always do with minimal inconvenience. By using a simple one motor configuration I found that even when I was changing lenses, it wasn’t taking me what I would consider an unreasonable amount of extra time.
Sure, it isn’t as quick as just swapping over lenses without needing to line up a motor and do calibration, but it was still reasonably fast. For those times when you need to operate really quickly and you have to swap over the lenses, it’s best to avoid lens motors altogether.
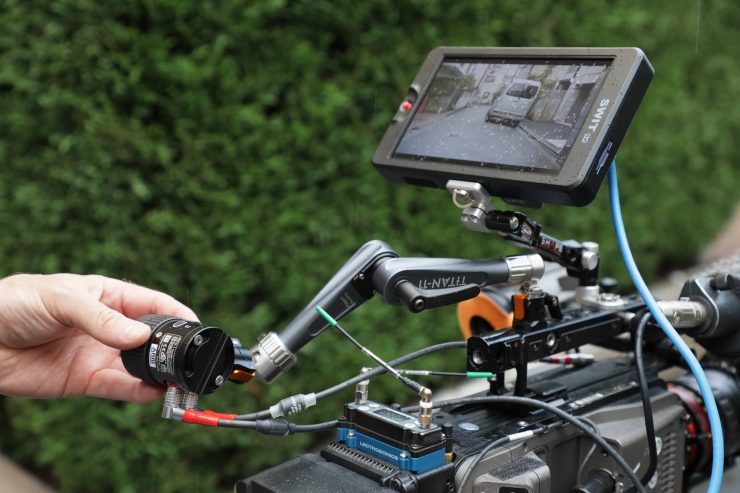
The nice thing about the OCU-1 is that because it is far more than just an electronic follow focus, I could keep it on my camera and use it to control camera functions even when I didn’t have a motor attached.

Not only does it act as an extra place to steady your camera when you are shooting handheld, but it also allowed me to make camera changes without my hands ever having to leave their shooting position.
Price
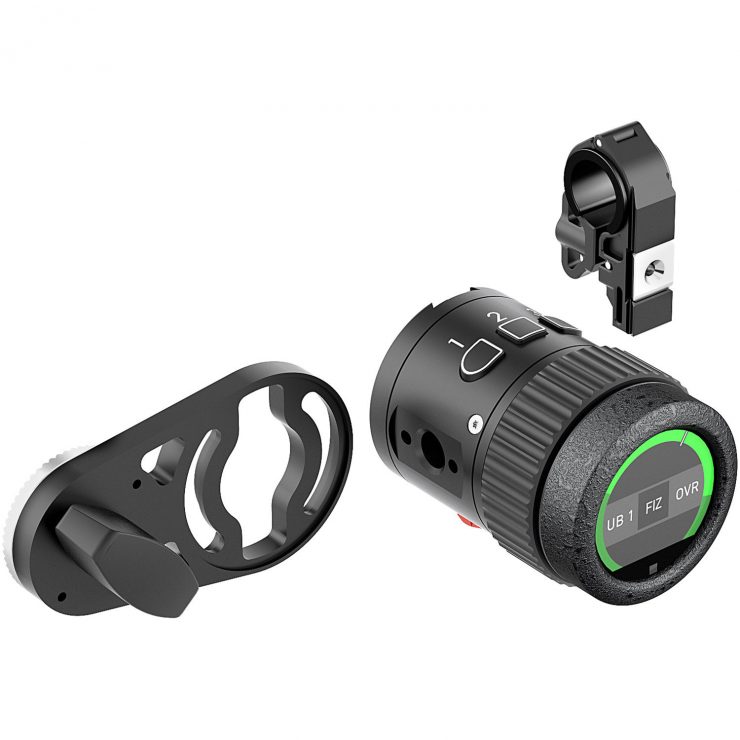
The OCU-1 is available in a range of configurations.
- ARRI Operator Control Unit OCU-1 Basic Set $1,430 USD
- ARRI Operator Control Unit OCU-1 Extended Set $1,810 USD
What you do need to factor in is that if you want to use the OCU-1 with non-Canon lenses you are going to need to buy cforce mini motors and the LBUS cables.
This is the cost of the motors:
- ARRI cforce mini RF Basic Set $4,260 USD
- ARRI cforce mini RF Motor Unit $4,100 USD
- ARRI cforce mini Motor Basic Set $2,650 USD
- ARRI cforce Mini Motor Unit $2,330 USD
- ARRI cforce Plus Motor Basic Set $2,940 USD
Conclusion
The OCU-1 is a clever piece of kit that can be used in a variety of ways. If you are an ARRI user or owner who is operating by themselves or in a small crew, it is certainly a product worth looking at.
While it works with cameras from other manufacturers it’s probably not a product a lot of people will look at. Not only do you need to add a CUB-1 interface box to make it work, but you also won’t get any of the enhanced camera control functionality you get when using it with an ARRI.
I love the small, compact size of the OCU-1, the build quality, and its feature set. It’s easy to use and easy to set up. It’s nice that you can have a tiny device that can give you full 3-axis FIZ control., or control Canon EF lenses.

