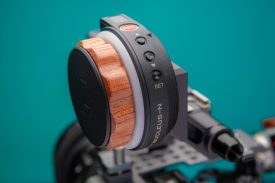
Affordable wireless follow focus units have been coming to market quickly these days, as well as single handheld gimbals with follow focus units designed to work with them. Tilta first introduced the new compact Nucleus-N wireless follow focus at BIRTV 2018.
The new Tilta Nucleus-N (Nano) is a compact wireless focus system that is designed for use with a gimbal however that is not the only way this compact system can be used. The Nano is much more compact than the popular Nucleus-M wireless
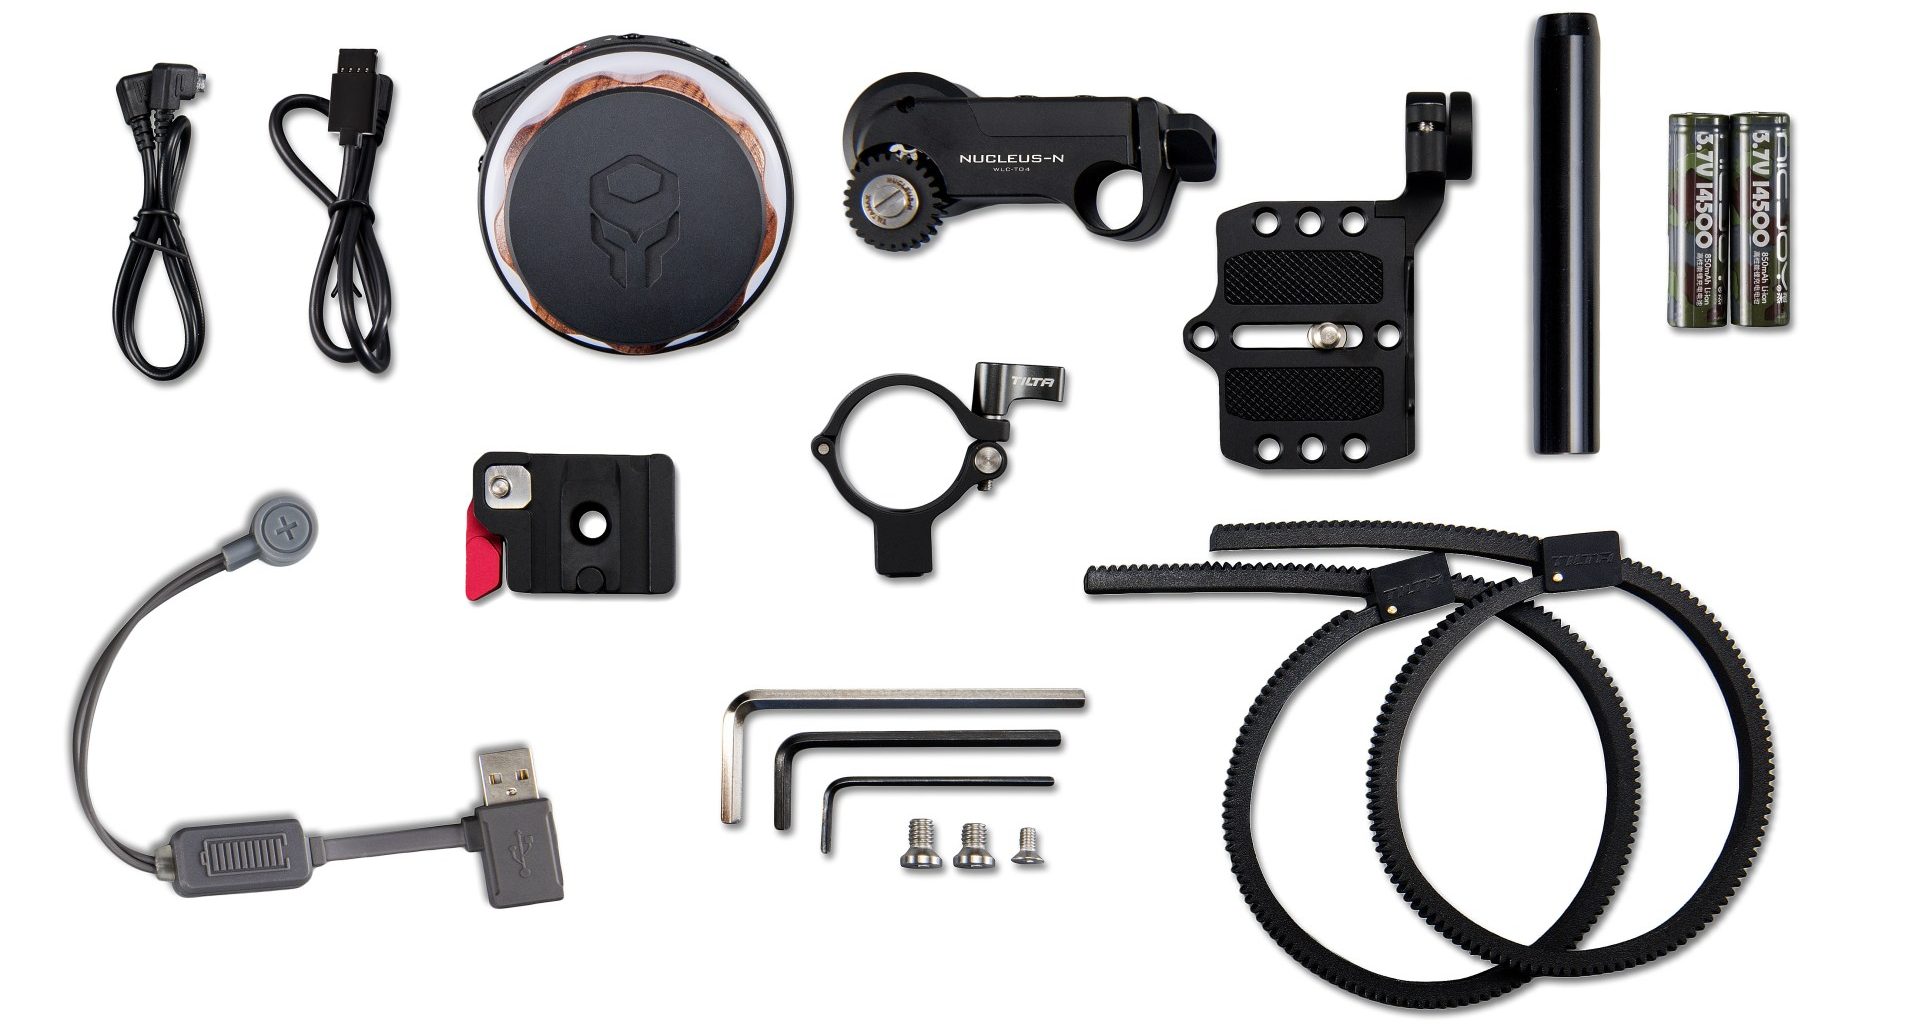
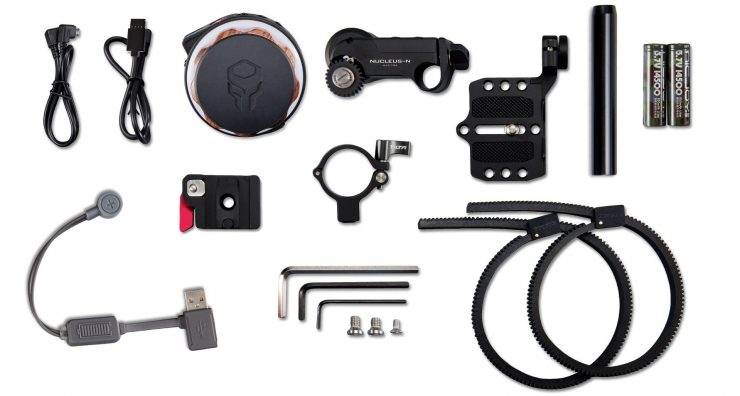
Tilta Nucleus-N Kit – What’s included
- Nucleus-Nano Hand Wheel Controller
- Nucleus-Nano Wireless Follow Focus Motor
- 15mm Single Rod Mounting Baseplate For 95mm Lens
- (2) 1/4″-20 Hex Screws
- (2) Rod Mount Hex Screw
- 15mm x 100mm Black Aluminum Rod
- 31cm 5V Micro USB male to 5V Micro USB male motor power cable
- 12V / 2A Ronin-S to 5V Micro USB male motor power cable
- (2) Photographic lens follow focus gear rings
- Nucleus-Nano Hand Wheel Attachment Plate for Ronin-S/G2x
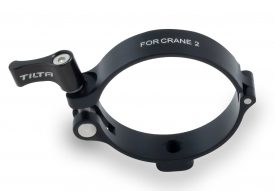
- Nucleus-Nano Hand Wheel Attachment Adapter for Zhiyun Crane 1
- 14500 Battery Charger
- (2) 14500 Batteries
- M4 Allen key
- M6 Allen key
- Soft Case
- User Guide
All this for $229 USD is remarkable but does it perform? More on this later.
As you can see, the Nucleus-N comes with a lot of
Single-handed operation is possible by mounting the controller unit to the gimbal body’s rosette connection. You can then toggle between the G2X’s modes and pull focus at the same time. While this sounds easy, holding a heavy gimbal and using a follow focus can be tiring on the arms. Nevertheless, it’s an option that can be very handy when selective focusing is necessary.
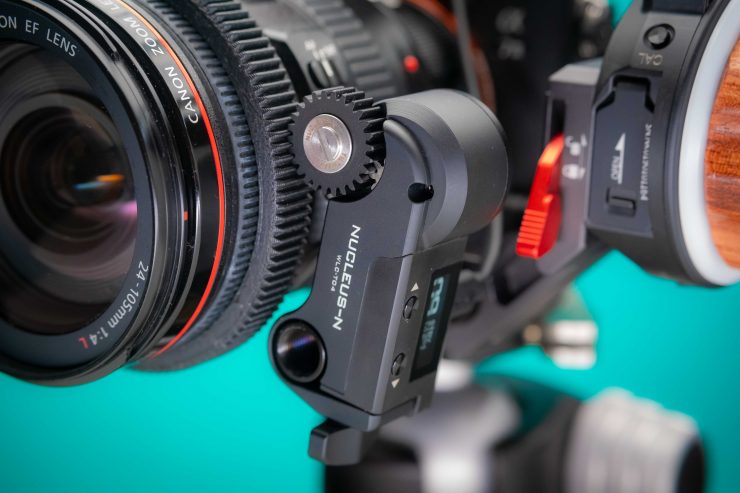
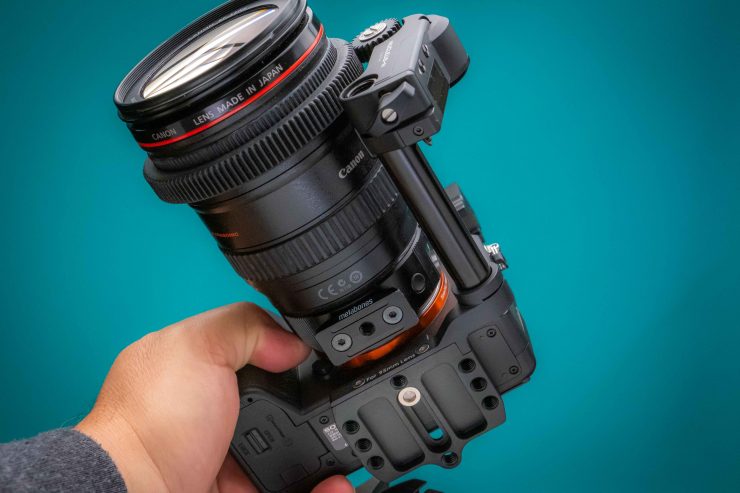
The kit comes with 15mm rod mounting hardware so you can directly attach the Nano motor to the bottom of a camera. No cage required.
Will it work without a gimbal?
While having the ability to control focus on a gimbal is nice what if you want to use it with just a camera or in a cage? Well yes, you can.
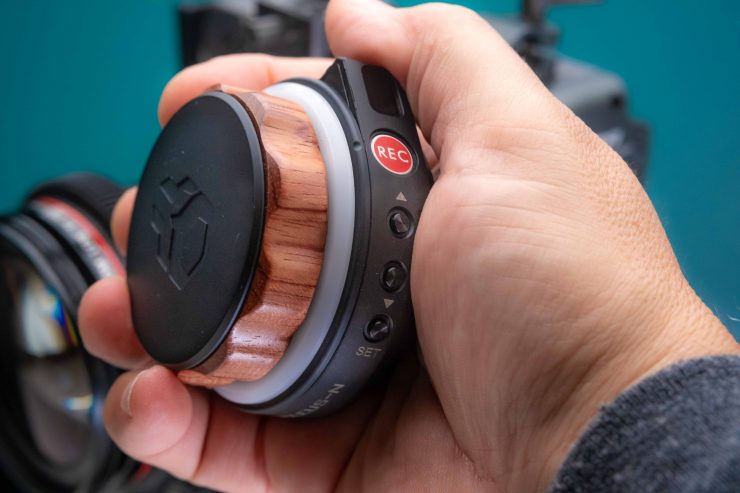
One downside to the Nucleus-N is the small controller is difficult to hold. I haven’t found an off the shelf way to make it more comfortable but I’m sure I’ll figure it out. It’s clearly designed to be mounted and not held in the palm of your hand.
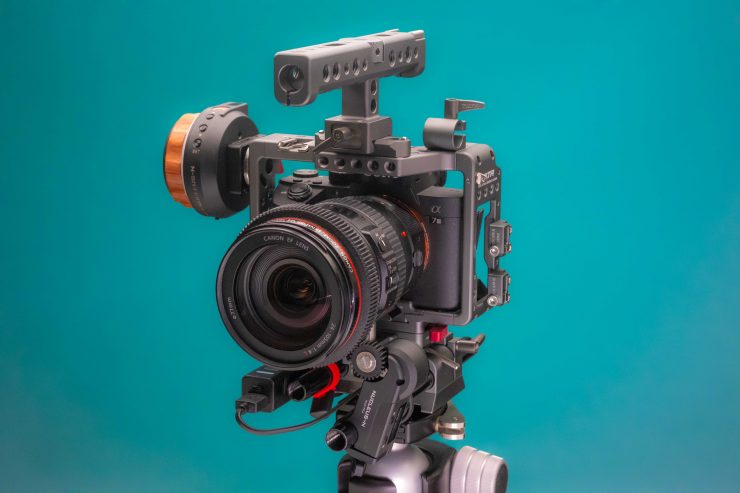
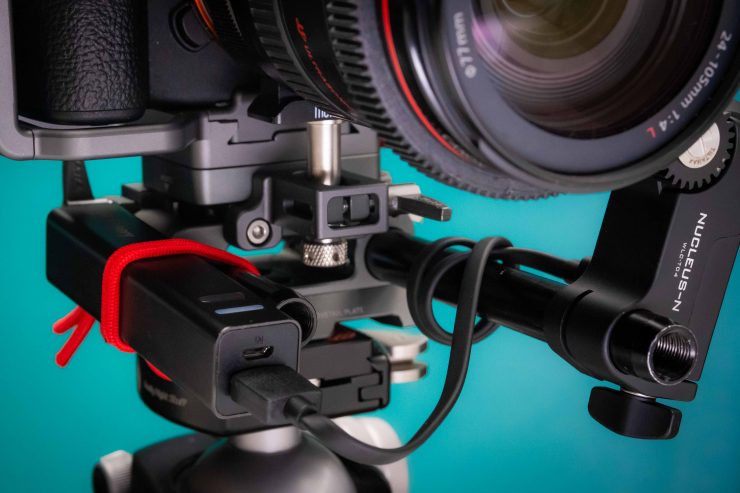
One simple way to get the Nucleus-N in service is using the supplied base plate with 15mm rod mount. It simply attaches to the bottom of your camera. Add the included rod and mount the motor. The issue here is how to mount power for the motor and mount the controller.
Batteries are the bane of our existence in the video production world and having to add power on a small camera can be challenging. Fortunately, we only need 5v and a USB battery works just fine.
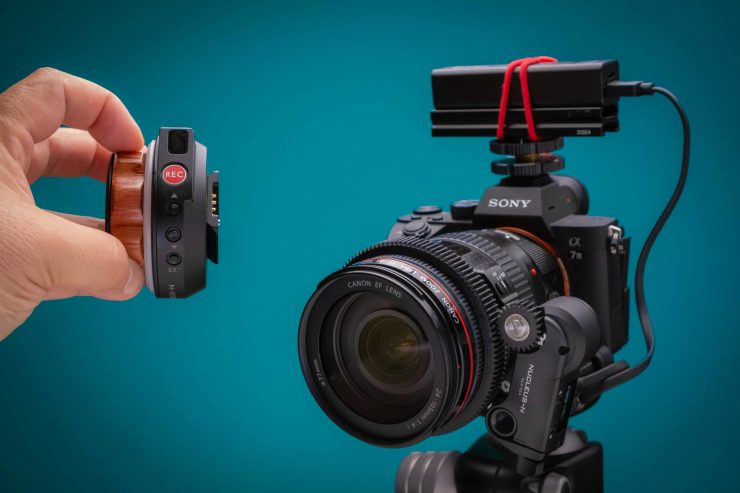
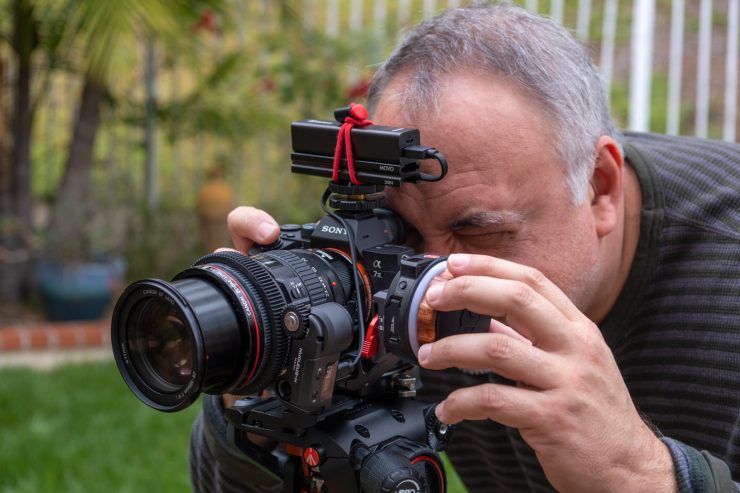
I used a solution to mount the USB battery by tieing it down with a Red Whip to a cold shoe extender that attaches to the top of the cameras hot shoe. These Red Whips are from Think Tank Photo. I love them. You could just as easily use some velcro or a bongo tie to make your own mounting solution.
With the optional Nucleus-Nano Hand Wheel 15mm Rod Adapter, I had just enough room to slide it behind the motor for a tight but compact setup.
I have the Canon 24-105 attached with a Metabones adapter making the lens fairly long and in this case that’s a good thing since I needed the extra room for the controller adapter. With smaller shorter lenses it might be too tight to use the 15mm adapter for the controller. One way around this would be to use a regular 15mm baseplate so you could mount the motor on the other side, or add a cold shoe mounted rod.
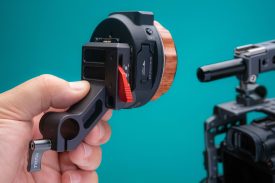
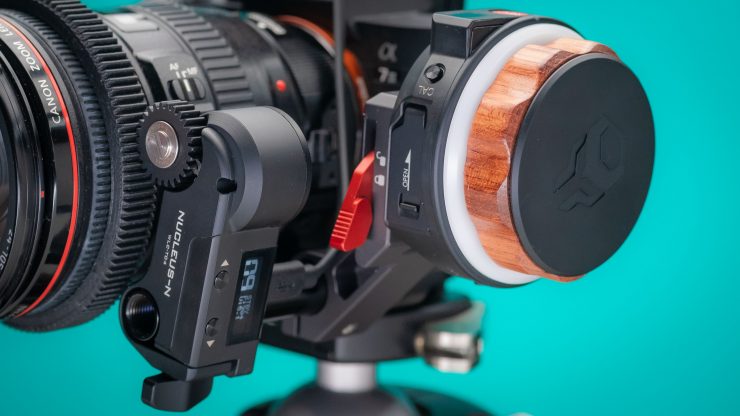
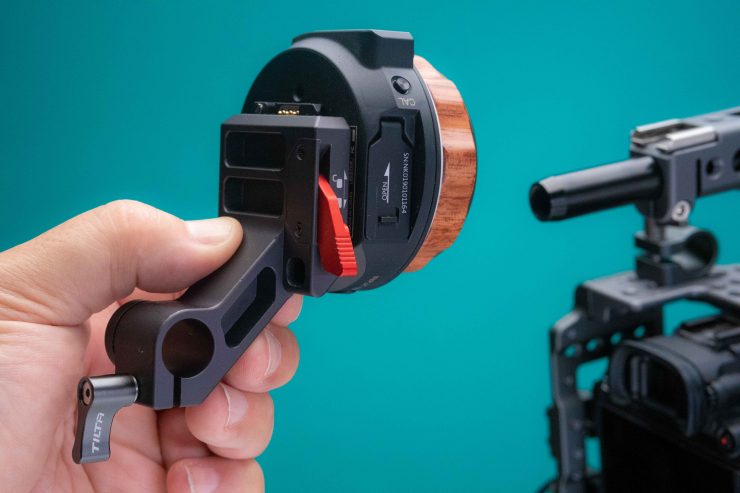
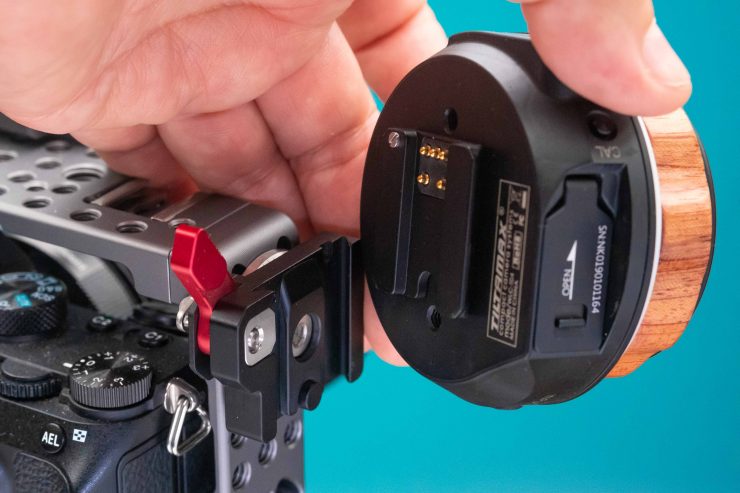
The kit comes with a Rosette adapter that screws onto an existing rosette like the Tilta cage above. The clamp adapter doesn’t use a Rosette but fits over the top of one perfectly and screws into the center tap. This works very well and makes taking the controller on and off the cage very fast. This same adapter works on the Ronin-S as well as the Zhiyun Crane adapter mount.
This is a clean and simple cage setup with the USB battery attached to a 15mm rod using a Red Whip bungee cord. I like this because the amount of cabling is minimal and out of the way. The downside is if I want to use the REC button to start/stop recording I would need to cable it across the camera as I don’t have room for mounting the adapter clamp on the other side. But I do have other options.
I really like this Nucleus-Nano Hand Wheel 15mm Rod Adapter. It retails for $35. Not only does it work with no cage it works even better with a full rail setup too. I found it very usable on this a7 III Tilta cage. When using rails the mount can be added to the other side of the lens or wherever a rod clamp is postioned.
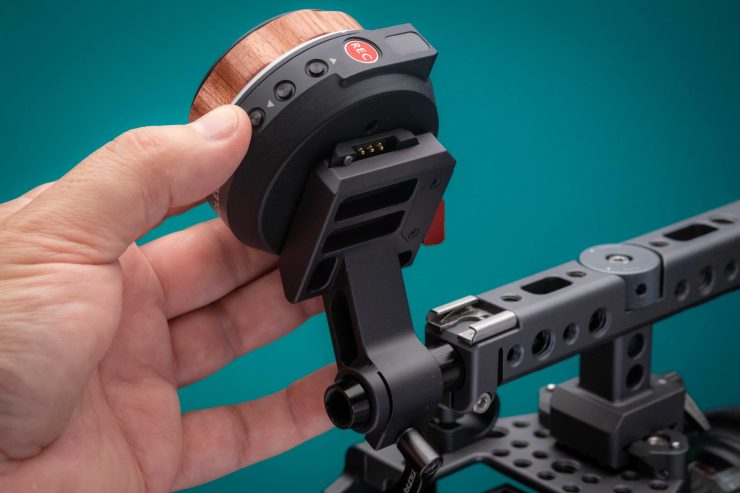
By adding a small rail to the Tilta cage top handle I can mount the controller so I could pull focus on the right side of the camera. If you prefer to use it on the left simply reverse the position of the rail adapter. Since the Nucleus-N controller can be set to operate in both clockwise and counterclockwise direction switching sides is very easy. As you can see the controller has several mounting options and Tilta has made it fairly easy to get the Nano controller on different setups.
The Controller
The controller has a range of approximately 300 feet or 91 meters. Since it’s designed to be mounted instead of being held makes the controller a little hard to palm. I mentioned this earlier and mounting it seems to be a better way to use it. I think if you plan on using the Nano controller in the hand more often this model might not be the best option as pushing menu buttons on accident does happen. If you are wired to use the record button as well you will often trigger record by accident. There just isn’t a lot to hold on to. The Nucleus-M controller can be used to operate the
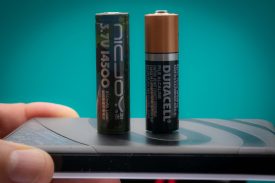
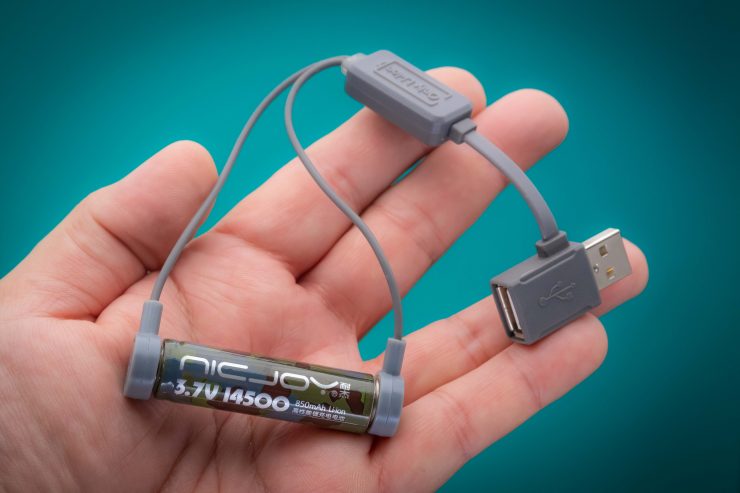
The Nucleus-N is powered with one 14500 type battery. I was getting about 5 hours of
To charge the 14500 battery, Tilta includes this super lightweight single battery USB charger. I haven’t seen a charger like this before. It’s nice and compact but since it’s a USB charger expect longer times to replenish the cells.
The Nano controller is designed to operate with the left hand as all the functions like the REC button and menu SET button are right side up in this position. Makes sense since it’s intended use is with gimbals. The menu LCD screen is visible in either orientation.
The wheel has a nice smooth feel to it. N
The Nano Motor
The Nucleus-N motor is compact with no external antenna on the top. Unlike the “M” version the 15mm rail mount is not relocatable.
The motor requires a minimum of 5V and up to 18V input. This can be a portable USB battery that supports 5V or a P-Tap/D-Tap output on a larger V-Mount battery.
One issue that comes up right away when using the Nano on a rig is powering it. Since it’s designed to be used with a Tilta gimbal that has a power tap, smaller mirrorless cameras without an external power source for powering the motor can be a challenge. Here is where you have to get a little creative and decide how to mount an external battery to the camera or small cage.
I went with a small portable USB battery that not only supplies the 5v the motor needs but is shaped in a way that I can easily mount it. This small and long battery can be easily mounted with a Red Whip, bungee cord or Bongo Tie making it nice and clean. Just find a place that won’t get in your way and your set. I hate cables getting in the operation zone.
For the P-Tap option, Tilta has a Nucleus-Nano P-TAP to Micro USB Motor Power Cable available for $29
Setting up the controller and motor
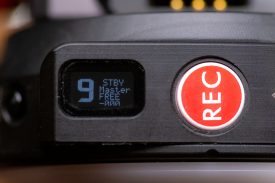
The first thing you need to do is make sure the motor and the controller are using the same frequency channel. You have 10 channels to choose from. On the motor click and hold the up button to change the channel. To go to the lower channels click and hold the down button. On the controller do the same only double click the up and down buttons to match them up.
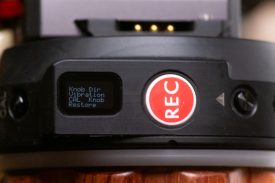
The controller menu is tiny and fairly dim. I found it’s easiest to read under dimmer light due to the tiny LED display. When it’s bright, the brightness of the tiny LED’s is hard to see. When outside seek shade as it’s very difficult to see.
The controller has the following settings.
- Knob direct – Clockwise/Counter Clockwise
- Vibration – Controller vibrates when hitting A/B marks
- Calibrate knob – If the controller range isn’t correct calibration will fix it.
- Restore – Restores to factory settings
- Information
To access the menu hold down the UP button for 2 seconds. The listed features will now display. Use the down button to move through the menu options. To change a setting the first option needs to be at the top of the menu then double click the up button to make a change.
Auto Calibration for lenses with hard stops and stills lenses without stops are done with the controller. Also setting up an A/B mark for a limited range to perform repeatable focus pulls. This is very easy to do and I appreciate the simplicity.
Calibrating for lenses with hard stops
For lenses with hard stops at close focus and infinity. Hold the CAL button down for 3 seconds to engage the motors auto-calibration function. The Nano will go to macro and set and then infinity and set both points automatically.
Calibrating for lenses without hard stops
For still lenses without hard stops turn the handwheel to where the lens reads close focus or Macro and double click the “CAL” button. Now turn the wheel to the infinity position on the lens and again double click the
“CAL” button. The range is now set.
Setting A/B range
Rotate the handwheel to the desired “A” location and press “SET” to create the “A” mark. Rotate to the next desired focus and press “SET” again to create the “B” mark. Done. To clear the marks simple press “SET” again. You can’t change the A/B marks once set only clear them both and start over.
Tilta Nucleus-N wireless follow focus usability
I found the Tilta Nucleus-N wireless follow focus system easy to use. You don’t have too many options to set up and that is something I do appreciate. The range is pretty good but I don’t see the controller being used too far away from the motor as holding the controller in your hand isn’t very comfortable. Calibrating the motor is simple and if your using a lens with hard stops a simple press of the CAL button sets the range. Calibrating a stills lens without hard stops is also easy and when the motor is powered down it doesn’t lose the settings. Setting a range works well and clearing them does too.
One disadvantage to the 5v motor is it doesn’t have as much torque and speed as it’s big brother the “M”. The motor is smooth with most of the stills lenses I tested with though. I see very little latency if any. When you’re using A/B marks, the whole rotation range of the controller is used. If the rack focus is long it’s hard to perform in one turn as your wrist can only rotate so far. It would be nice to be able to shorten the rotation but hey for $229 maybe that’s asking for too much? All in all the Nucleus-N is very easy to use.
Like most follow focus units having a solid lens mount is a must to avoid the mini tilt when changing directions. Adding a cage with lens adapter support will help considerably to avoid the issue. With the supplied base plate I was getting some lens wobble when changing focus rotation.
Familiar Products
I mentioned that affordable wireless follow focus systems are getting very popular and we do have several choices but in the sub $300 range it gets thin. I still can’t believe the pricing on this thing.
Worth taking a look at are PDMovie Live Air ($499 USD), DJI
Conclusion
The Tilta Nucleus-N wireless

