While this may not be earth-shattering news for some Canon C200 & C300 MKII users, it was for me. I somewhat dismissed the 3.5mm mic input on the camera as an alternative to using XLR inputs. Well, this isn’t the case and with the right cable, you can get four clean channels of audio directly into the C300 II recording simultaneously.
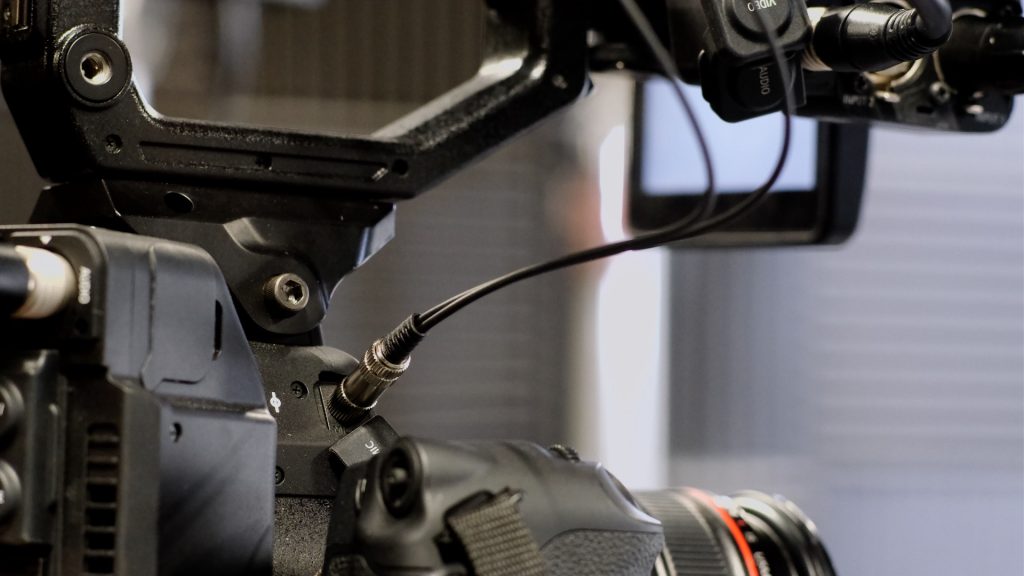
Many DP’s use separate audio, however, I usually don’t due to a few reasons. One main reason is I generally don’t need more than two channels recorded and the C300 MKII preamps are pretty good, so the benefit of better quality doesn’t outweigh the simplicity of having it recorded directly into the camera. Editing is also easier as I don’t have to sync in post.

I had a shoot coming up that required three channels of audio. I was thinking about using my small Tascam recorder with matching Sanken COS 11 Lavalier mic for the third channel but I decided to look into that underused and slightly misunderstood 3.5mm mic input on the C300 II. After talking to my buddy Gary Huff, he mentioned to me that he has used it with a Sennheiser wireless and it worked pretty darn well.
Getting connected
The C200 also can use this method however you have to be using either Raw or XF-AVC mode to get four channels of audio.
Because I have COS 11 mics that don’t have the battery option I need to use them with a camera that supplies phantom power. My SR Lectrosonic wireless is a two-channel receiver. It’s really quite good. The wireless uses TA3 connectors for output. I have a few of these that have XLR on the other end. The configuration I decided on was to get the SR Lectrosonic into the 3.5 input and use one COS 11 into the XLR.
The C300 II 3.5mm input is stereo left and right connection, so I needed a cable that would take the two outputs of the SR Lectrosonic and join them into a single stereo track with one channel recording to the left, and the other channel recording to the right. Lectrosonics has this MCSRTS Dual TA3 to 1/8″ TRS cable available with the mini XLR (TA3) connectors.
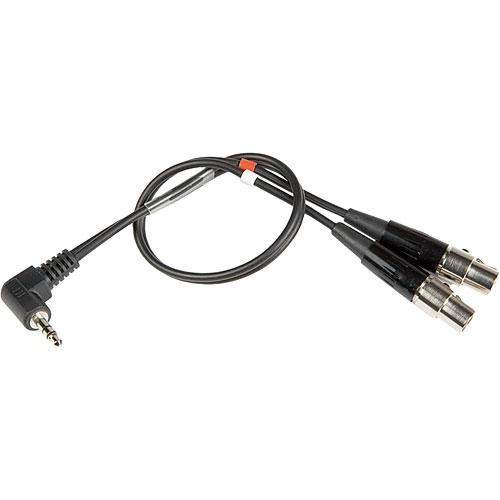
It’s not cheap at $58 but it works! You can also make one up to but my soldering skills are utter crap.
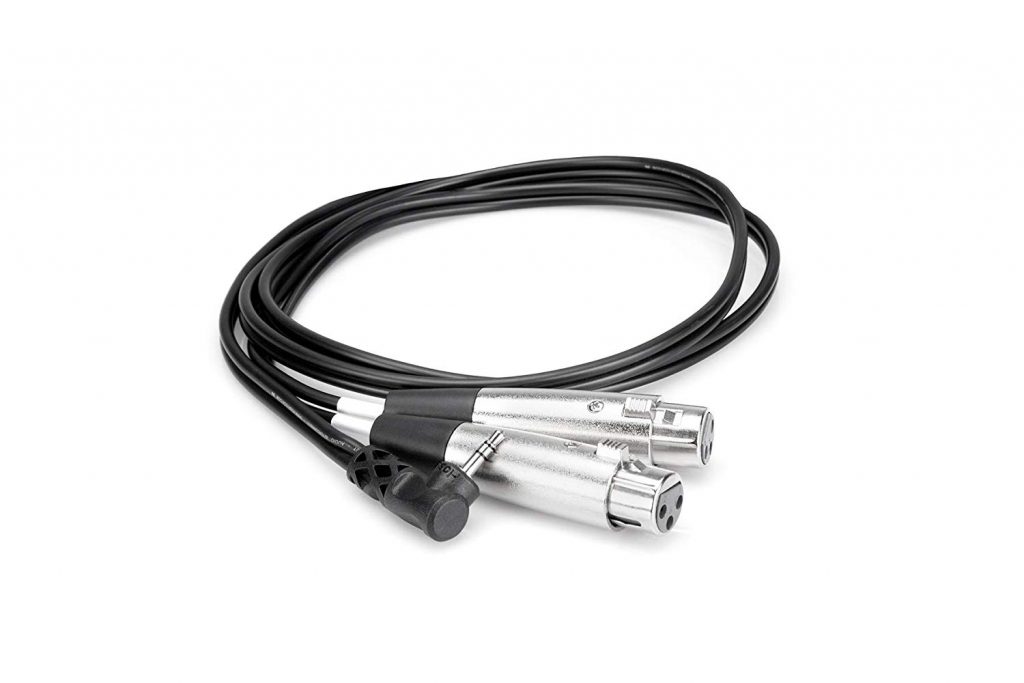
Another popular configuration would be using a 3.5mm or 1/8″ TRS to XLR. This cable is much cheaper at $16. With this cable, you will need to use microphones that don’t require phantom power or at least supply it in the XLR connector as the 3.5mm input doesn’t supply any phantom power. It also uses full-size XLR connectors.
Menu settings
With the cabling all taken care of all that’s left is making a few menu changes.
- Go to MENU
- Audio Setup
- Audio Input
- Mic Mode: Change to Manual from Automatic
- Mic Level is now active. Open Mic Level
- Adjust level
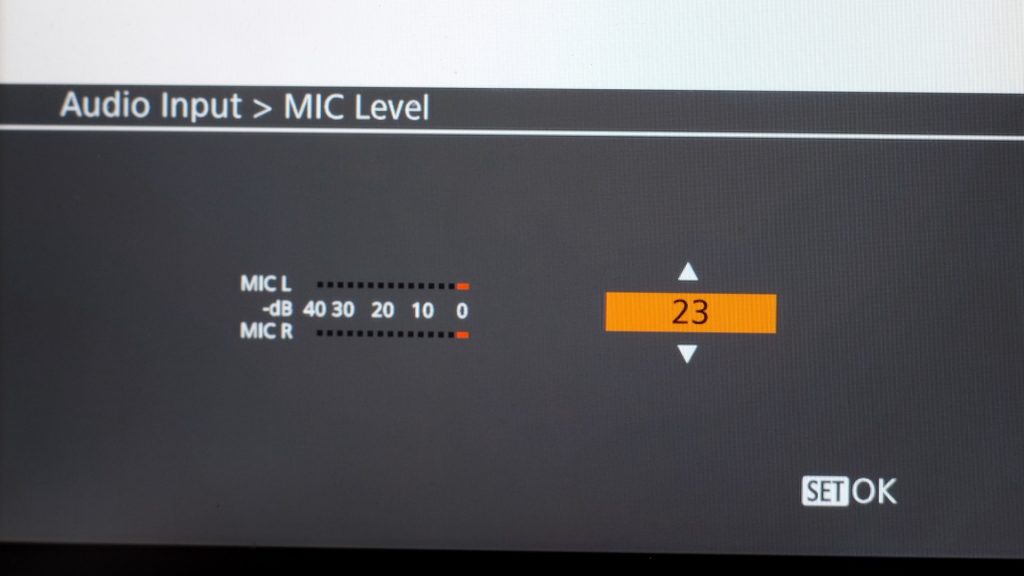
One big downside is you can’t adjust each microphone. It’s going to be one level for both channels. The reason for this is the camera is set up to take a stereo single from the 3.5mm input, not dual mono. A workaround would be to add a preamp with level controls between the camera and the input.
While it’s not a perfect solution it sure worked great. Hope this helps you get a couple extra channels into your camera as well.
Female 3.5mm Connector Options
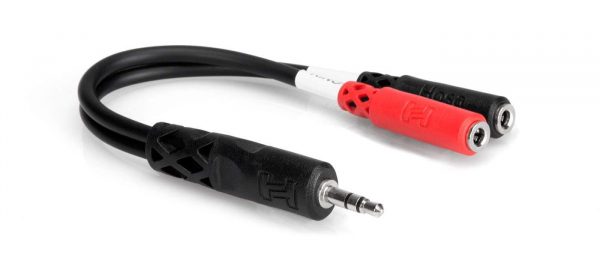
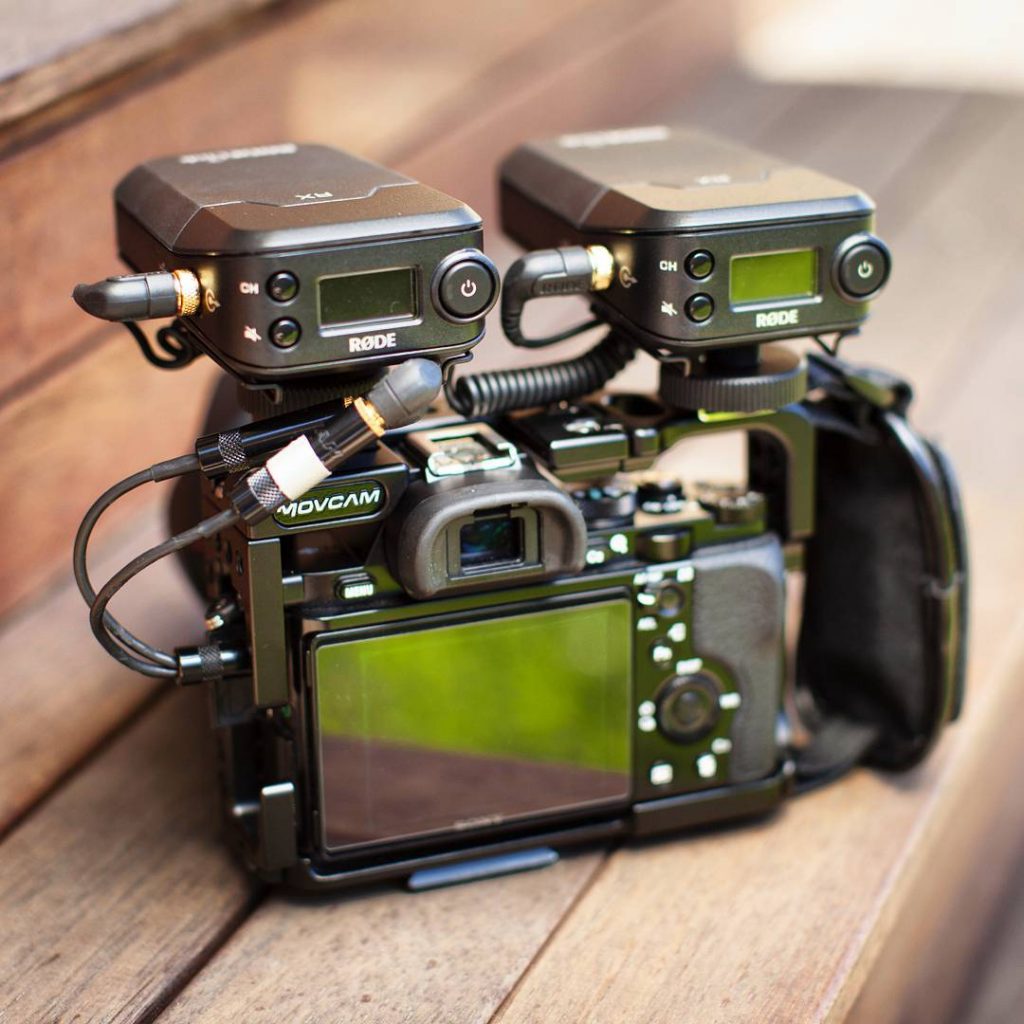
If you wanted to do a similar setup with a mirrorless/hybrid camera or have a wireless receiver/on-camera mic that uses a 3.5mm connection, you can also find similar splitter cables with female 3.5mm connectors instead of XLR like the Hosa YMM-261 3.5 mm TRS to Dual 3.5 mm TSF Stereo Breakout Cable. Again, you won’t have control over each individual audio track as you can only set one main audio level for both audio channels but you may find that it works fine for certain situations. Here’s an example of a set up using dual RØDELink receivers.
