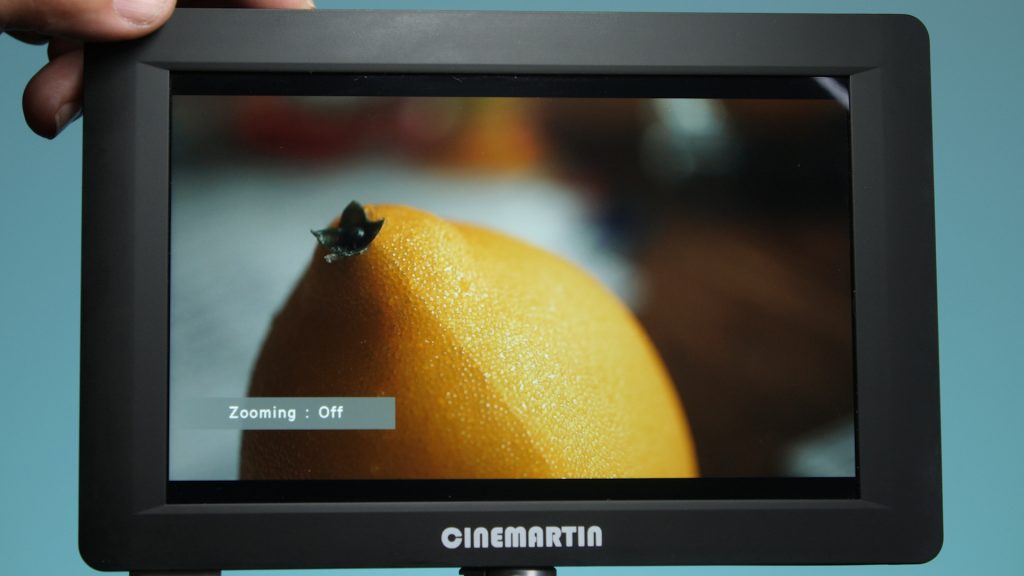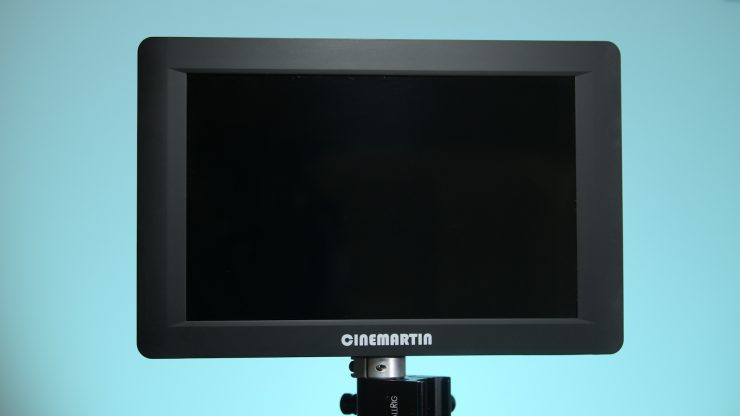
The new affordable Cinemartin 7″ Eclipse monitor has some nice features at a very competitive introductory price of $590. For starters the 7” Eclipse is a high bright with a range from 700 to 1000 NITS. Has several features like focus peaking, false color and histogram to name a few. All in a very thin and lightweight body.
The Eclipse is a full HD PAL and NTSC monitor. In fact it’s more than HD at 1920 x 1200, and can handle a 4K DCI signal of 4096 x 2160 without changing the resolution settings in the menu. Just plug the camera into the HDMI input and the monitor will detect the signal automatically. As for inputs the Eclipse also has SDI in and outputs with full HD passthrough. SDI is for HD only.
The Eclipse is the lightest monitor i’ve ever used especially for a 7” model. It’s also very thin at 17mm at it’s widest point. This makes the Eclipse a very good gimbal monitor or for any handheld rig setup.
Image Quality
The image quality is excellent on the Eclipse 7” monitor. It delivers a sharp image with pleasant highlight control. Some monitors in this price range tend to blow out quickly before 100 IRE. I found this to not be the case on the Eclipse. The 1000 NIT rating makes it work very well in outdoor conditions. When shooting indoors I turned the backlight down to around 60. Doing This gets longer battery life as well. Overall the 7″ Eclipse performs very well.
Powering Options
The monitor comes with two Canon battery plates and the batteries can be hot swappable for continuous use. The kit I have didn’t come with a Sony L type plate however Cinemartin offers this as an option. Another powering option is using the supplied D-Tap cable. This is great for larger cameras that use V-lock or gold mount batteries.
On the body you have four 1/4 20 mounting options as well as a flip feature in the menu if you need to mount the monitor upside down. You can also have the menu OSD flip. That’s handy in case you need to change some settings when the monitor is flipped.
On the left side is the power switch and four assignable function buttons. On the right side is the input selection button and Menu Exit. The labels for the buttons are on the back of the monitor. I know it wouldn’t look as clean to have them on the front of the panel, but it sure would make finding them while shooting easier. To access the menu you use the scroll wheel that is also a button. Just push down on the wheel and then scroll through the menu. To select an item push the wheel down. The menu is very simple and easy to navigate.
Let’s move on to the on board tools.
Focus Tools.
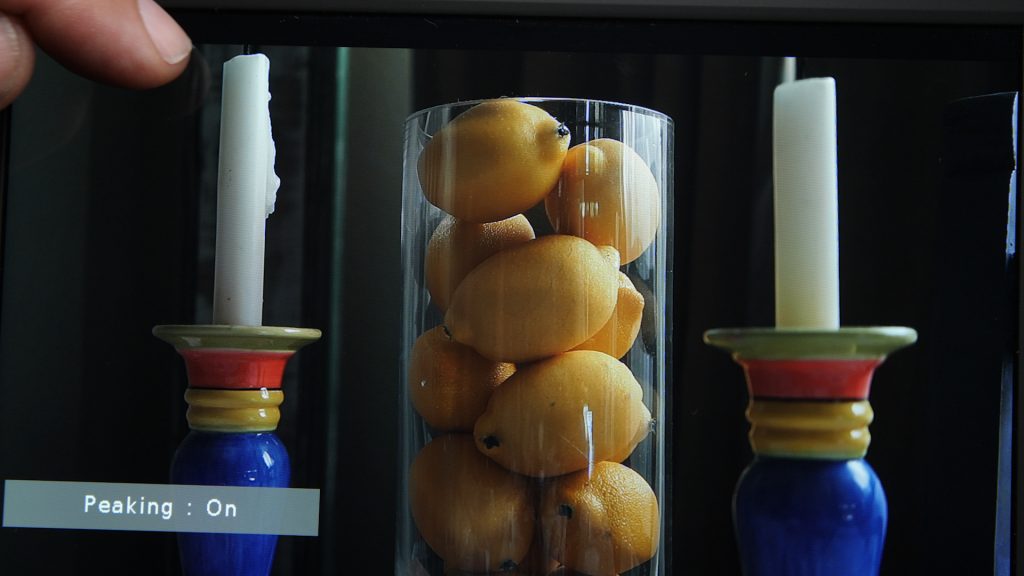
The Eclipse has Focus Peaking in blue. You can’t change the color. The peaking function is not aggressive so you can trust that the image is in focus. Zoom and Pixel to Pixel is also available to assist in focusing.
Exposure Tools
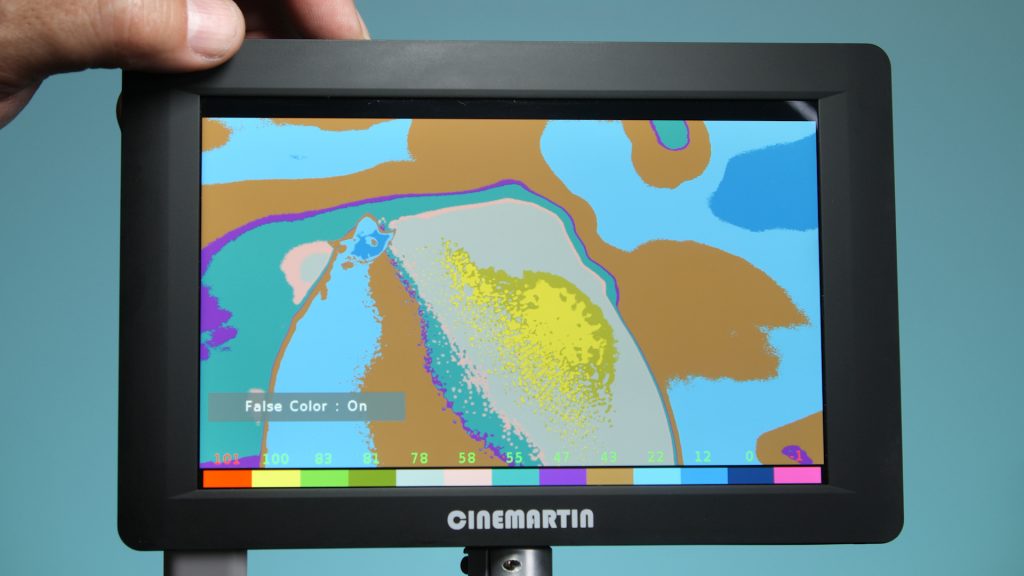
For exposure the monitor has Histogram and False Color but no Waveform monitor. The False Color function is very good. On the bottom of the screen you have an index of what the color values are for quick reference. I like False Color a lot in fact it’s my favorite tool for nailing exposure. Yes it’s a bit psychedelic, but once you get used to using it you will have properly exposed shots every time. By adding it to one of the four presets it’s easy to turn it on and off quickly.
Monitor Calibration
For adjusting the image of the Eclipse the monitor has Brightness, Contrast, Chroma, Sharpness and Tint settings as well as a kelvin setting.
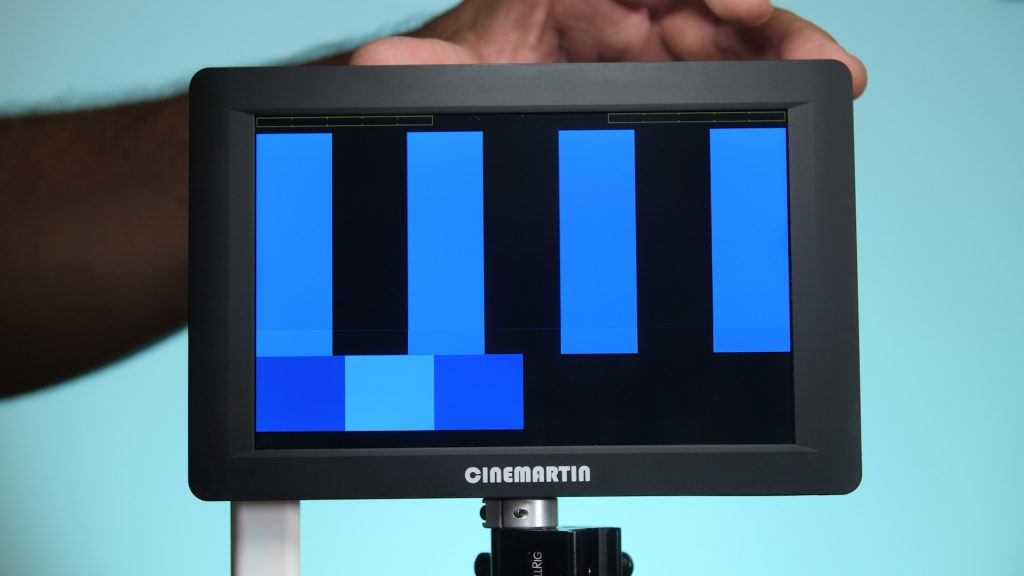
A handy feature for calibrating the monitor is the “Check Fields” option in the “Function” menu. Select “Blue” and feed Color Bars to the monitor from your camera to calibrate. To learn how to do this just Google “Calibrate monitor with Blue gun”. I found 7500K to be the better base color setting then calibrated from this point. A very nice feature to have in a monitor in this price range. Other color temperature options are 9300K, Manual, 5600K and 6500K.
Grids, Guides, Cross Hair and VU Meter
For grids the Eclipse has up to 10 settings. From simple half to a massive 11 x 11 box grid. Guides available are 80%, 90%, 15:94:3, 1:5:1, 1:85:1, 2:1 and 2:35:1 and custom. Crosshair is a simple center plus.
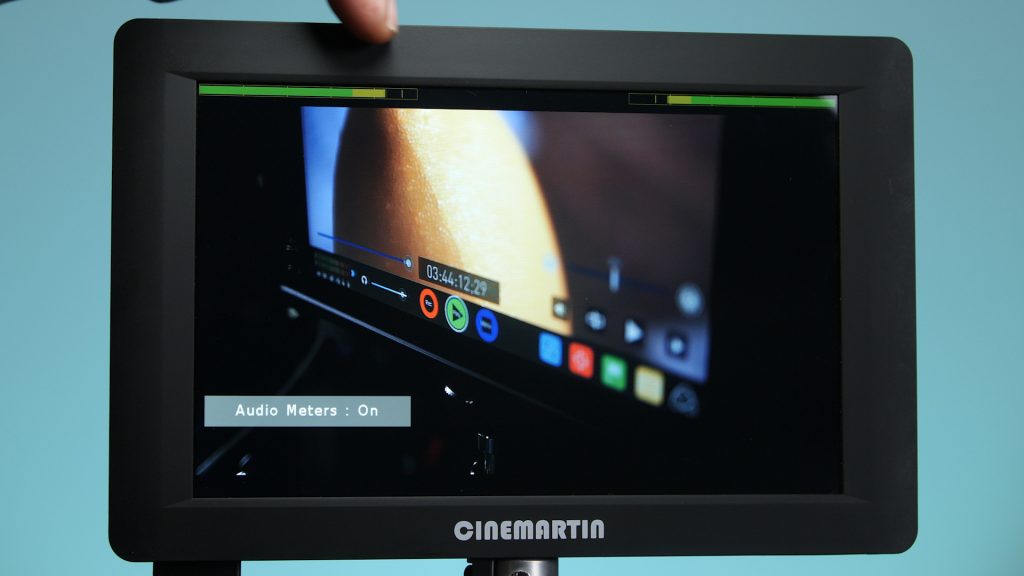
Last is a stereo audio VU meter that is placed on top of the screen. If you have the monitor set for 16×9 aspect ratio the meters sit on the black portion of the frame and does not block the image.
Aspect Ratios
In “Video Configuration” you can set what aspect ratio you need including Anamorphic 2:35:1. I set it to 16:9 to see the full image of HD and UHD cameras. The monitor also has 15:9, 4:3, 1:5:1, 1:85:1, 2:1 and 2:35:1 plus a user defined option and full.
The Cinemartin 7” Eclipse HD monitor has some nice features with very good image quality. The screen being 1000 NITS makes it usable in bright outdoor situations. The build quality isn’t that high with the all plastic body but it keeps the weight down. If you need a larger 7” monitor, but don’t want a to add too much weight it’s a good choice. Treat it nice and it will fine.
I did notice the back gets very hot. This is more common these days so just be aware of it and try not to surprise someone if you hand it off. All in all a nice monitor for this introductory price range of €495 or $590 US plus shipping. For more info go to Cinemartin website.

